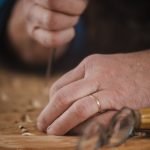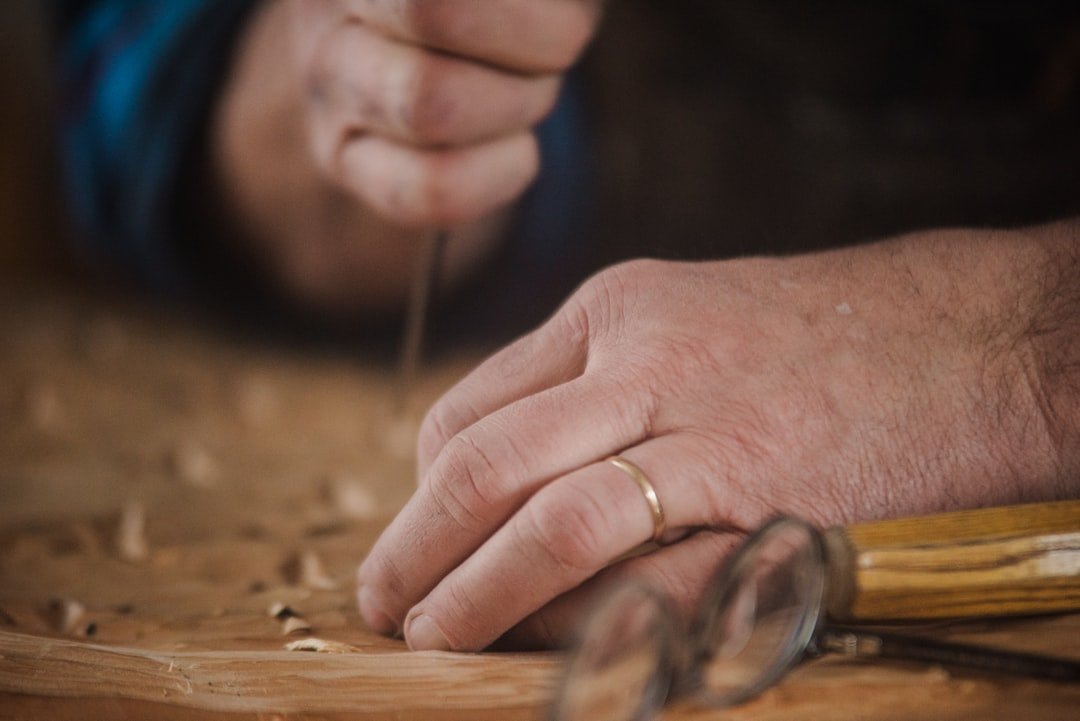
If you want your woodworking projects to hold strong and look professional, applying wood glue evenly is a must. Uneven glue can cause weak joints, messy spills, and a finish that’s far from perfect.
But don’t worry—getting the glue spread just right isn’t as tricky as it seems. In this guide, you’ll discover simple tips and tricks to help you apply wood glue smoothly and evenly every time. Keep reading, and you’ll learn how to make your wood pieces stick together like a pro, saving you time and frustration on your next project.
Credit: www.familyhandyman.com
Choosing The Right Wood Glue
Wood glue helps join pieces of wood firmly. Choosing the right glue makes your project last longer.
Different glues work better for certain wood types and uses. Learn about the options before starting.
Types Of Wood Glue
There are several types of wood glue. Each type has special features for different jobs.
- PVA Glue:Common and easy to use. Dries clear and strong.
- Polyurethane Glue:Waterproof and expands as it dries.
- Epoxy:Two-part glue. Very strong and good for gaps.
- Hide Glue:Traditional glue. Used for antiques and repairs.
- Cyanoacrylate (CA) Glue:Fast drying. Good for small repairs.
Factors To Consider
Pick glue based on wood type, project use, and drying time. These factors affect the bond quality.
- Wood Type:Softwoods may need different glue than hardwoods.
- Moisture Resistance:Choose waterproof glue for outdoor projects.
- Drying Time:Some glues dry fast, others take hours.
- Gap Filling:Use glue that fills gaps if wood pieces are uneven.
- Clean Up:Water-based glues clean easily, others need solvents.

Credit: www.familyhandyman.com
Preparing Wood Surfaces
Applying wood glue evenly starts with preparing the wood surface well. Clean and smooth surfaces help the glue stick better.
Taking time to prepare wood can improve the strength and look of your project.
Cleaning And Drying
Remove dust, dirt, and grease from the wood before gluing. These can stop glue from sticking properly.
Use a clean cloth to wipe the wood surface. Let the wood dry completely before applying glue.
- Wipe wood with a damp cloth
- Remove any sticky residue or oil
- Let wood air dry for at least 30 minutes
Sanding For Better Adhesion
Sanding smooths the wood and opens its pores. This helps glue soak into the surface and hold better.
Use medium-grit sandpaper to sand the area you want to glue. Sand in the direction of the wood grain.
- Choose 120 to 150 grit sandpaper
- Smooth all glue contact areas evenly
- Remove sanding dust with a brush or cloth
Tools For Applying Glue
Applying wood glue evenly is key to a strong bond. Choosing the right tools helps spread glue smoothly and accurately.
Different tools suit different projects. Some tools give more control, while others cover larger areas faster.
Brushes And Spreaders
Brushes and spreaders help you apply glue evenly on wood surfaces. Brushes work well for small or detailed areas. Spreaders cover bigger surfaces quickly.
- Natural or synthetic brushes give smooth glue layers.
- Foam brushes absorb glue and release it evenly.
- Plastic spreaders help push glue into tight joints.
- Rubber spreaders prevent glue waste and mess.
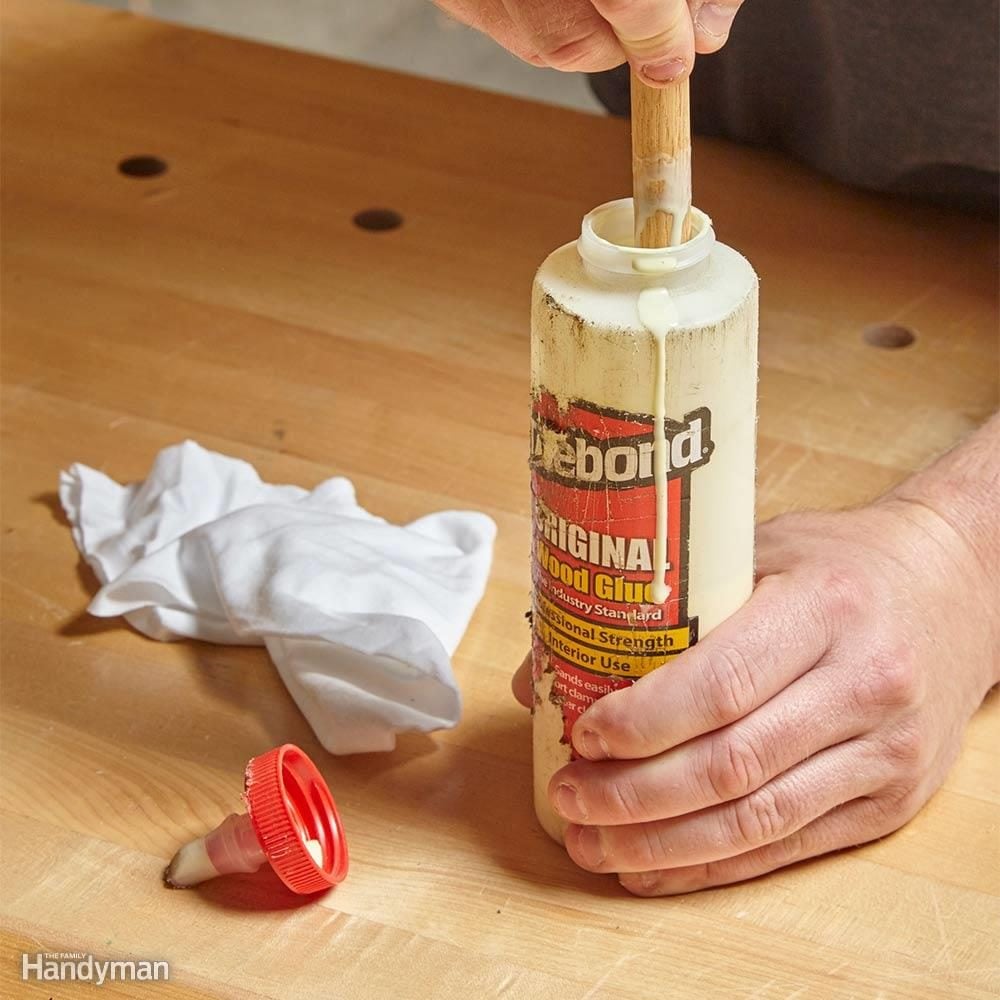
Glue Bottles And Applicators
Glue bottles and applicators offer precise glue control. They reduce spills and allow you to apply glue exactly where needed.
| Tool | Best Use | Benefits |
| Squeeze Bottles | Small joints and edges | Easy to control flow |
| Brush-Tip Applicators | Detailed or fine work | Brush and glue in one tool |
| Glue Syringes | Precise drops in tight spots | Minimal glue waste |
| Roller Applicators | Large flat surfaces | Quick, even coverage |

Credit: www.familyhandyman.com
Techniques For Even Glue Application
Applying wood glue evenly is important for a strong bond. Uneven glue can cause weak spots and messy joints.
Using the right techniques helps spread glue smoothly and avoid waste. This guide covers simple ways to get an even layer every time.
Applying Thin Layers
Thin layers of glue dry faster and hold better. Thick glue can squeeze out and create a mess.
- Apply a small amount of glue to your brush or spreader.
- Use long, even strokes to cover the surface.
- Check that the glue layer is thin but fully covers the wood.
- Add more glue if any spots look dry or bare.
Spreading Glue Consistently
Consistent spreading ensures every part of the joint sticks well. Use the right tools and methods for smooth coverage.
| Tool | Best Use | Tip |
| Brush | Small surfaces | Use soft bristles for smooth spread |
| Plastic Spreader | Large flat areas | Hold at a slight angle to control thickness |
| Foam Roller | Wide boards | Roll gently to avoid bubbles |
| Finger | Edges and corners | Wear a glove to keep hands clean |
Clamping And Drying Tips
Applying wood glue evenly is important for a strong bond. Using clamps helps hold the pieces tight while drying.
Proper drying time ensures the glue sets well. This guide covers choosing clamps and drying tips.
Choosing The Right Clamps
Select clamps that fit your project size and shape. Too much pressure can squeeze out glue, while too little weakens the bond.
- Use bar clamps for wide boards
- Spring clamps work well for small pieces
- C-clamps provide strong, steady pressure
- Pipe clamps adjust easily for irregular sizes
- Protect wood surfaces with pads to avoid marks
Optimal Drying Time
Drying time changes by glue type, temperature, and humidity. Follow instructions for best results.
| Glue Type | Clamping Time | Full Cure Time |
| Polyvinyl Acetate (PVA) | 30-60 minutes | 24 hours |
| Polyurethane | 60-90 minutes | 24 hours |
| Epoxy | 5-30 minutes | 24 hours |
| Hide Glue | 10-20 minutes | 24 hours |
Keep the clamped pieces undisturbed during drying. Avoid removing clamps too soon to prevent weak joints.
Common Mistakes To Avoid
Applying wood glue evenly is important for strong joints. Many people make simple mistakes that reduce glue strength.
Knowing what not to do helps you get better results. Avoid these common errors to improve your woodworking.
Overusing Glue
Using too much glue can weaken the bond. Excess glue can cause messy squeeze-out and take longer to dry.
Glue is strong in thin layers. A thick layer stops wood pieces from fitting tightly together.
- Apply a thin, even coat of glue on one surface
- Use a brush or spreader for smooth coverage
- Wipe off extra glue before clamping
- Too much glue makes cleanup harder
Ignoring Surface Preparation
Not preparing wood surfaces can cause weak bonds. Dirt, dust, or oil prevent glue from sticking well.
Sanding the wood lightly helps the glue soak in. Clean surfaces improve glue adhesion and final strength.
- Smooth rough surfaces with fine sandpaper
- Remove dust with a dry cloth before gluing
- Keep surfaces dry and free of oils
- Check for old glue or finishes and remove them
Troubleshooting Bonding Issues
Applying wood glue evenly is key for a strong bond. Uneven glue can cause weak joints and gaps.
Fixing common problems helps improve your woodworking results. Learn how to fix weak joints and remove excess glue.
Fixing Weak Joints
Weak joints often happen when glue is applied too thin or unevenly. Wood surfaces must be clean and dry.
If a joint feels loose, clamp it tightly and let the glue dry fully. Add more glue if needed before clamping.
- Sand surfaces lightly for better grip.
- Apply glue evenly on both surfaces.
- Use clamps to hold pieces firmly together.
- Let glue dry for the recommended time.
Removing Excess Glue
Excess glue can cause stains and rough spots on wood. Remove it while the glue is still wet for best results.
Use a damp cloth or a plastic scraper to wipe away extra glue. Avoid using metal tools that can damage wood.
- Wipe glue with a damp cloth immediately.
- Scrape gently with a plastic scraper if glue starts to dry.
- Sand dried glue spots carefully after full drying.
- Use fine sandpaper to smooth any rough areas.
Frequently Asked Questions
How Do I Apply Wood Glue Evenly?
Use a brush or roller for an even coat. Spread glue thinly and consistently. Avoid thick spots to prevent uneven drying and weak joints.
What Tools Help Spread Wood Glue Uniformly?
Brushes, foam rollers, or glue spreaders work best. These tools allow smooth, thin layers. They ensure full surface coverage and stronger bonds.
How Much Wood Glue Should I Use?
Apply a thin, even layer covering the entire surface. Too much glue causes mess and weak joints. Too little glue reduces adhesion.
Can I Sand Wood After Gluing?
Yes, sand lightly after glue dries. This smooths excess glue and surface imperfections. Use fine-grit sandpaper for best results.
Conclusion
Applying wood glue evenly makes projects look professional and sturdy. Start with clean, dry surfaces to ensure good adhesion. Use a brush or spreader for a thin, even layer. Check for excess glue and wipe it away promptly. Let the glue dry completely for strong bonds.
Practice these tips to improve your gluing skills. A little patience goes a long way in crafting. Remember, precision matters. This approach helps in achieving a smooth finish. It’s about attention to detail. With practice, you can create flawless wooden pieces.
Enjoy the satisfaction of well-glued projects!