Sanding large surfaces can feel overwhelming, especially if you want a smooth, professional finish. But with the right tips, you can make the job easier and faster.
Imagine saving time and avoiding common mistakes that leave your work rough or uneven. You’ll discover simple, effective strategies that help you tackle big sanding projects with confidence. Keep reading to transform your sanding experience and get results you’ll be proud of.
Choosing The Right Sandpaper
Sanding large surfaces needs the right sandpaper to work well. The right choice saves time and gives a smooth finish.
This guide covers how to pick sandpaper by grit, material, and quality for big sanding jobs.
Grit Selection For Different Stages
Use coarse grit to remove rough spots fast. Medium grit smooths the surface after coarse sanding. Fine grit finishes the job with a smooth touch.
- Coarse grit: 40-60 for heavy sanding
- Medium grit: 80-120 for smoothing
- Fine grit: 150-220 for finishing
Material-specific Sandpapers
Different materials need sandpaper made for them. Wood, metal, and drywall each have special sandpapers that work best.
| Material | Recommended Sandpaper |
| Wood | Aluminum oxide or garnet |
| Metal | Ceramic or zirconia alumina |
| Drywall | Silicon carbide |
Durability And Quality Factors
Choose durable sandpaper to last longer and keep the grit sharp. High-quality sandpaper resists clogging and tears.
- Look for strong backing material
- Check for heat-resistant grit
- Buy sandpaper that resists clogging
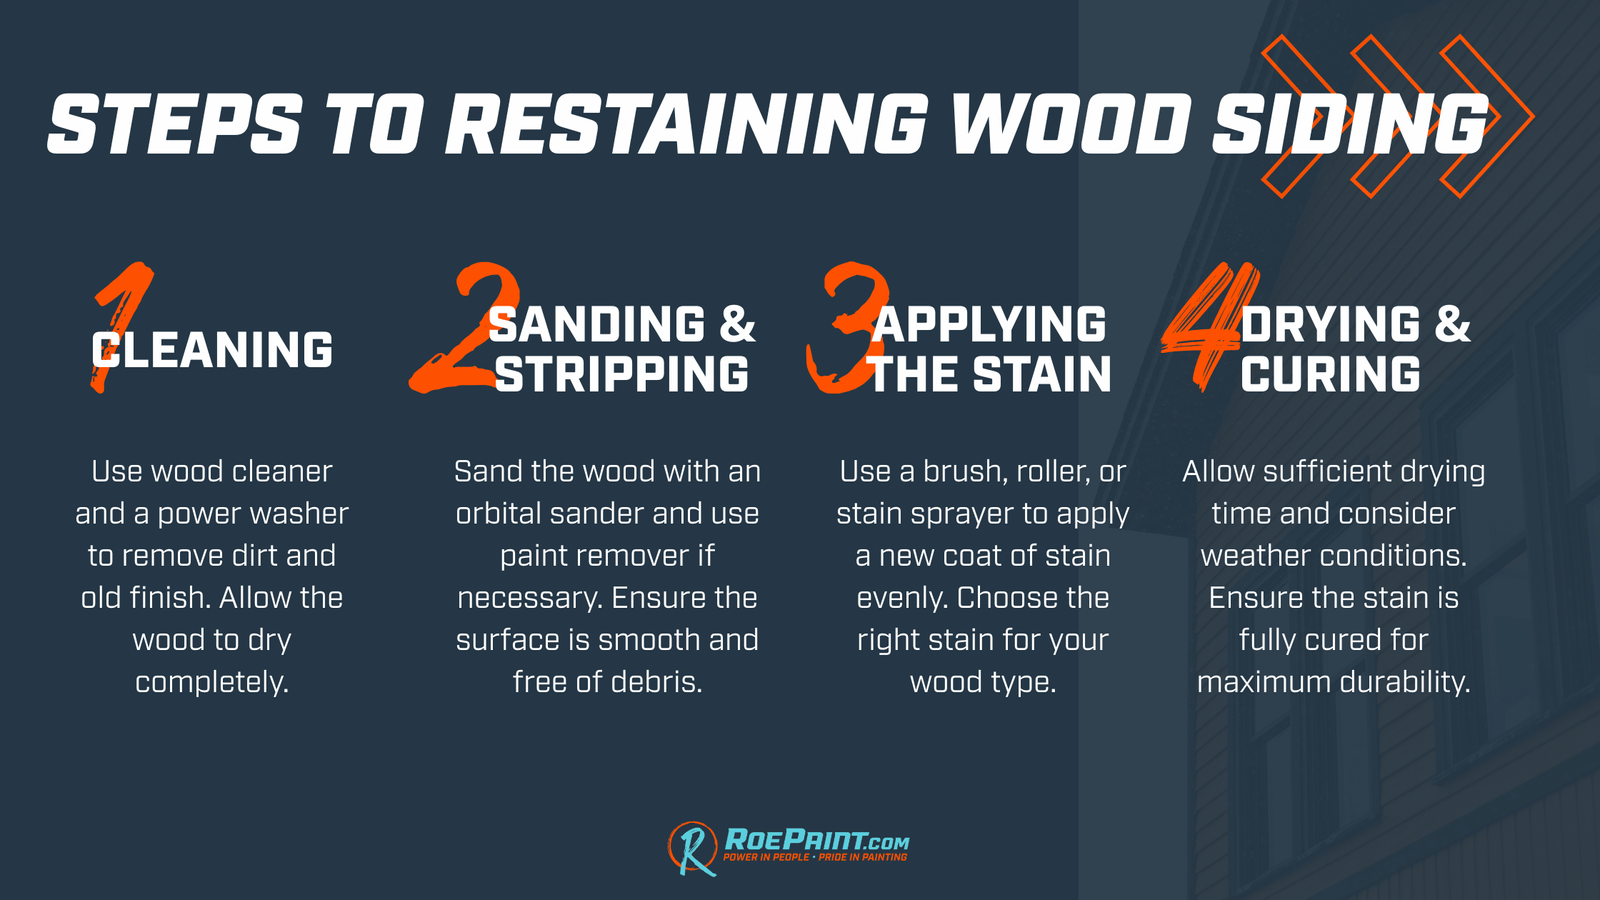
Credit: romerohardwoodfloor.com
Preparing The Surface
Sanding large surfaces requires careful preparation. A clean and smooth surface helps you get the best results.
Take time to prepare the area before you start sanding. This saves effort and improves the finish.
Cleaning And Removing Debris
Remove dust, dirt, and grease from the surface. These particles can clog sandpaper and cause scratches.
Use a vacuum or a soft brush to clear away loose debris. Wipe down with a damp cloth if needed.
- Vacuum dust and dirt
- Brush off loose particles
- Wipe surface with a damp cloth
- Let the surface dry completely
Repairing Imperfections
Fill cracks, holes, or dents before sanding. This prevents uneven sanding and poor finish.
Use wood filler or putty to fix damage. Let it dry fully and sand smooth before starting main sanding.
- Identify cracks and dents
- Apply filler or putty carefully
- Allow filler to dry as per instructions
- Sand repaired areas smooth
Securing The Work Area
Keep your work area stable and safe. Secure the surface to stop it from moving during sanding.
Clear the area of obstacles and ensure good lighting. This helps you work efficiently and avoid accidents.
- Clamp or fix the surface firmly
- Remove clutter and obstacles
- Check for proper lighting
- Wear safety gear like masks and goggles
Sanding Tools For Large Areas
Sanding large surfaces needs the right tools to save time and effort. Choosing good sanding tools helps you get smooth results faster.
There are different tools for sanding big areas. Each tool works well for certain surfaces and tasks.
Orbital Sanders
Orbital sanders move in small circles to sand evenly. They are easy to use and good for fine sanding jobs.
These sanders reduce swirl marks and work well on flat surfaces. They fit well in your hand and control dust.
- Best for smooth finishes
- Good for wood, paint, and varnish
- Lightweight and easy to handle
- Use fine-grit sandpaper for final sanding
Belt Sanders
Belt sanders have a continuous loop of sandpaper. They remove material fast on large, rough surfaces.
These tools are heavier and need steady control. They work best for leveling wood or stripping paint quickly.
- Good for heavy sanding jobs
- Use coarse grit for fast removal
- Keep the sander moving to avoid gouges
- Ideal for floors and large panels
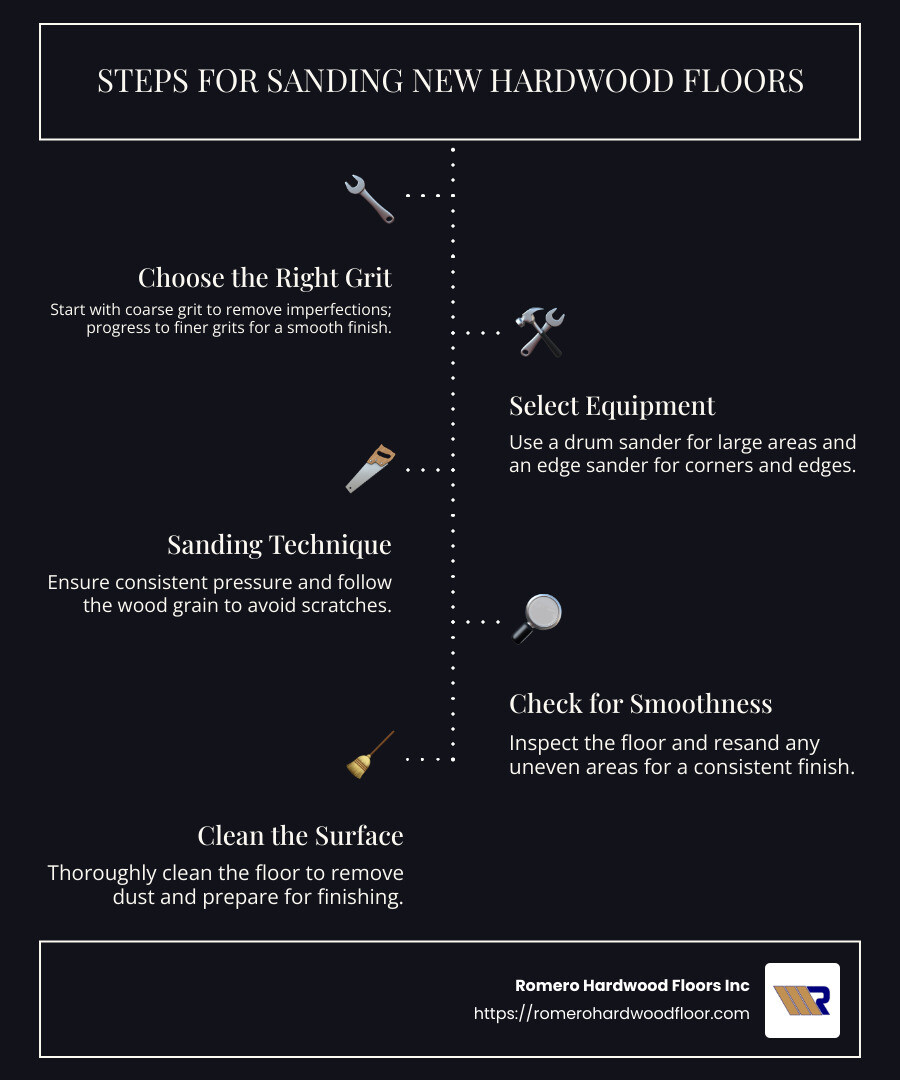
Hand Sanding Techniques
Hand sanding helps reach corners and curved areas. It also allows you to control pressure carefully.
Use sanding blocks or flexible pads to hold the sandpaper. Change sandpaper grit as the surface gets smoother.
- Sand with the grain of the wood
- Start with coarse grit, finish with fine grit
- Use even pressure to avoid uneven surfaces
- Good for touch-ups and detail work
Credit: www.familyhandyman.com
Effective Sanding Techniques
Sanding large surfaces can be tough without the right methods. Using proper techniques helps get smooth results faster.
Focus on how you hold the sandpaper and move it. This will make your work even and clean.
Maintaining Consistent Pressure
Keep the pressure even across the surface. Pressing too hard causes uneven spots. Too light pressure wastes time.
- Hold the sanding block firmly but gently.
- Use your whole hand to spread the pressure.
- Check the surface often for smoothness.
- Adjust pressure if you see rough or shiny spots.
Sanding With The Grain
Always sand in the direction of the wood grain. This helps avoid scratches and keeps the surface smooth.
Sanding against the grain can create marks that are hard to fix. Follow the natural lines on the wood.
Using Long, Even Strokes
Use long and steady strokes to cover large areas. Short strokes leave uneven patches.
| Stroke Length | Effect |
|---|---|
| Short strokes | Uneven surface |
| Long strokes | Smooth, even finish |
Managing Dust And Safety
Sanding large surfaces creates a lot of dust. This dust can harm your lungs and make a big mess. Managing dust and safety helps keep your workspace clean and your body safe.
Use the right tools and safety gear. Also, keep fresh air moving to reduce dust in the air. These tips will make sanding easier and safer.
Dust Collection Methods
Using dust collection tools helps catch dust at the source. This lowers dust spread and cleans up faster. Many sanders come with built-in dust bags or ports for vacuums.
- Attach a vacuum to your sander to collect dust as you work.
- Use sanding pads with dust collection holes.
- Clean dust bags and filters often to keep suction strong.
- Place a drop cloth or plastic sheet to catch dust on the floor.
Protective Gear Recommendations
Protective gear keeps dust from harming your body. Always wear the right equipment before sanding large areas.
| Gear | Purpose |
| Dust Mask or Respirator | Protects lungs from dust particles |
| Safety Glasses | Protects eyes from flying dust and debris |
| Gloves | Keeps hands safe from splinters and irritation |
| Hearing Protection | Reduces noise from power sanding tools |
Ventilation Tips
Good airflow lowers dust concentration in your workspace. It also helps you breathe easier and stay safe while sanding.
Try these ventilation tips:
- Open windows and doors to let fresh air in.
- Use fans to blow dust outside.
- Work outdoors when possible to avoid dust buildup inside.
- Close off other rooms to keep dust contained.
Finishing Touches
Sanding large surfaces takes time and care. Finishing touches make the surface smooth and ready for the next step.
Check your work carefully and prepare the surface well before staining or painting.
Inspecting For Flaws
Look closely at the surface under good light. Find scratches, bumps, or rough spots that need fixing.
- Use a bright lamp to see uneven areas clearly
- Run your hand gently over the surface to feel rough patches
- Mark any flaws with a pencil for easy spotting
- Check corners and edges carefully as they often get missed
Final Sanding Passes
Make light sanding passes to smooth the whole surface. Use fine grit sandpaper for best results.
| Grit Size | Purpose | Tips |
|---|---|---|
| 120-150 | Remove rough spots and scratches | Use with even pressure, sand along the grain |
| 180-220 | Refine surface smoothness | Sand lightly to avoid damage |
| 320+ | Final smoothing before finishing | Use a sanding block for uniform results |
Preparing For Staining Or Painting
Clean the surface well to remove dust and debris. This helps stain or paint to stick better.
- Wipe surface with a tack cloth or damp rag
- Remove all sanding dust from cracks and corners
- Check for any remaining flaws and sand if needed
- Make sure the surface is dry before applying stain or paint
Common Mistakes To Avoid
Sanding large surfaces needs care and attention. Avoiding mistakes saves time and keeps surfaces smooth. This guide points out common errors to help you get better results.
Knowing what to avoid helps you work safer and more efficiently. Read on to learn about three key problems and how to prevent them.
Over-sanding Issues
Sanding too much wears down the material unevenly. This can ruin the surface finish and weaken the wood or wall.
- Stop sanding once the old finish is removed.
- Check the surface often to avoid cutting too deep.
- Use fine-grit sandpaper for the last pass to smooth out scratches.
- Apply even pressure to prevent gouges or dips.
Uneven Surface Causes
Uneven surfaces appear when sanding is not consistent. This affects the paint or stain finish badly.
| Cause | How to Avoid |
| Using worn sandpaper | Replace sandpaper often |
| Skipping grit steps | Follow proper grit progression |
| Uneven pressure | Hold the sander flat and steady |
| Ignoring corners and edges | Sand edges carefully by hand |
Ignoring Safety Precautions
Safety matters when sanding large surfaces. Dust and tools can cause harm if you do not take precautions.
- Wear a dust mask to protect your lungs.
- Use safety glasses to shield your eyes.
- Keep your work area clean and well-ventilated.
- Take breaks to avoid fatigue and errors.

Credit: mrsander.co.uk
Frequently Asked Questions
What Is The Best Grit For Sanding Large Surfaces?
Start with coarse grit (60-80) to remove roughness. Progress to finer grits (120-220) for smooth finishes. This ensures even sanding and saves time on large surfaces.
How Do I Avoid Sanding Marks On Big Surfaces?
Use a sanding block or orbital sander for even pressure. Sand with the grain in smooth, overlapping motions to prevent marks and scratches.
How Long Should I Sand A Large Surface?
Sanding time depends on surface roughness and grit used. Typically, 10-20 minutes per section ensures smooth, even results without over-sanding or damage.
Can I Sand Large Surfaces Without A Power Sander?
Yes, but it requires more effort and time. Use a sanding block with appropriate grit for better control and even sanding on big surfaces.
Conclusion
Sanding large surfaces can seem tough. But with the right tips, it’s manageable. Always use the correct tools for the job. Start with coarse grit, then move to finer grit. Consistent pressure ensures an even finish. Remember to wear protective gear.
Safety first! Take breaks to avoid fatigue. It keeps the work neat. Clean the surface after sanding. Dust can ruin the finish. Practice makes perfect. The more you sand, the better you get. Stay patient and persistent. A smooth surface is worth the effort.
Good luck with your sanding projects!