
If you want smooth, professional-looking surfaces, mastering your belt sander is key. But using this powerful tool without the right technique can lead to uneven results or even damage to your project.
Don’t worry—this guide will show you exactly how to use a belt sander effectively, step by step. By the end, you’ll feel confident handling your sander to save time and get flawless finishes every time. Ready to transform your sanding skills?
Let’s dive in.
Choosing The Right Belt Sander
Using a belt sander is easier when you choose the right one. Picking the right belt sander helps you finish your project faster and better.
This guide explains how to pick the best belt sander for your needs. Focus on types, grit, power, and speed to get good results.
Types Of Belt Sanders
Belt sanders come in different types. Each type works best for certain jobs. Knowing the types helps you pick the right tool.
- Handheld Belt Sanders:Easy to move and good for small to medium jobs.
- Stationary Belt Sanders:Fixed in one place, best for large or detailed work.
- Portable Belt Sanders:Lightweight and good for quick sanding tasks.
Selecting The Correct Grit
The grit of the sanding belt controls how smooth or rough the surface will be. Choose grit based on the job you want to do.
- Coarse Grit (40-60):Removes old paint and shapes rough wood.
- Medium Grit (80-120):Smooths surfaces and removes small scratches.
- Fine Grit (150-220):Prepares wood for finishing or paint.
Power And Speed Considerations
Power and speed affect how well your belt sander works. More power means it can handle tough jobs. Speed controls how fast it sands.
- Power:Higher amps or watts give better performance on hard materials.
- Speed:Variable speed lets you adjust sanding for different tasks.
- Speed Range:Look for belt sanders with 500 to 1500 feet per minute for good control.
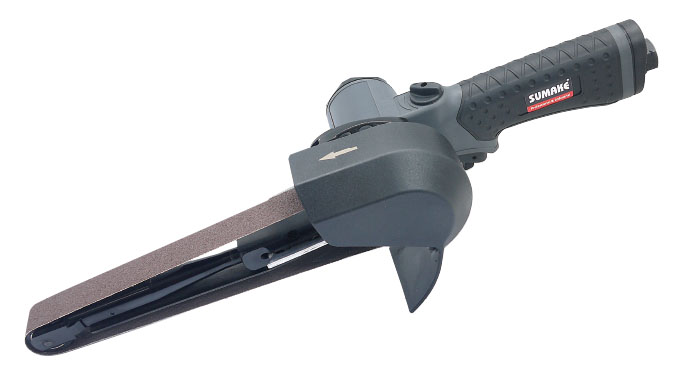
Credit: www.sumake.com
Preparing Your Workspace
Using a belt sander needs a clean and safe workspace. This helps you work well and avoid accidents.
Take time to set up your area before starting. This guide covers the main steps for a good setup.
Clearing And Securing The Area
Clear the workspace of any tools, cords, and debris. A tidy area lets you move safely and focus on sanding.
- Remove loose objects from tables and floors
- Secure cords away from walking paths
- Make sure the workpiece is stable and clamped
- Keep pets and children out of the area
Safety Gear Essentials
Wear the right gear to protect yourself from dust and injury. Safety equipment reduces risks while sanding.
| Safety Item | Purpose |
| Safety glasses | Protect eyes from flying dust and debris |
| Dust mask or respirator | Prevent inhaling fine dust particles |
| Ear protection | Reduce noise damage from the sander |
| Gloves | Protect hands from abrasion and splinters |
Setting Up Dust Collection
Dust collection keeps your workspace clean and helps your lungs. Connect a vacuum or dust bag to the sander.
Follow these tips for dust control:
- Use a vacuum hose that fits tightly to the sander port.
- Empty dust bags regularly to keep suction strong.
- Work in a well-ventilated area to reduce dust buildup.
- Consider wearing a respirator if dust is heavy.
Proper Handling Techniques
Using a belt sander safely and well needs good handling skills. This helps you get smooth results and avoid damage.
Learn how to start and stop the sander, keep steady pressure, and guide it in the right way.
Starting And Stopping Smoothly
Turn the belt sander on before it touches the wood. This avoids deep scratches or gouges.
When you finish, lift the sander off the surface first. Then turn it off to stop the belt from marking the wood.
- Hold the sander firmly before turning it on
- Keep it off the workpiece when switching on
- Lift the tool before switching off
- Wait for the belt to stop moving before setting the sander down
Maintaining Consistent Pressure
Press down gently and evenly. Too much pressure can damage the wood or wear the belt fast.
Let the sander’s weight do most of the work. Keep your hands steady for uniform sanding.
- Do not push hard on the sander
- Keep pressure steady and even
- Use the tool’s weight to sand effectively
- Check the surface often to avoid sanding too deep
Controlling Movement And Direction
Move the sander in the direction of the wood grain. This helps avoid scratches and rough patches.
Keep the sander moving smoothly and avoid staying too long in one spot. Use slow, steady strokes for best results.
- Sand along the wood grain, not against it
- Keep the sander moving at all times
- Use slow, controlled strokes
- Overlap passes slightly for even sanding
Common Mistakes To Avoid
Using a belt sander can speed up your woodworking projects. Still, some mistakes can cause damage or poor results. Knowing what to avoid helps you work safely and well.
Here are common errors that many make when using a belt sander. Avoid these to improve your sanding process and protect your materials.
Over-sanding And Damage Risks
Sanding too much removes too much material. It can ruin the shape or finish of your workpiece. Over-sanding can also cause uneven surfaces and thin spots.
- Do not keep the sander in one spot for long.
- Move the sander steadily and evenly.
- Check your work often to avoid removing too much.
- Use the correct grit for the stage of sanding.
Ignoring Belt Alignment
Belt alignment is key to smooth sanding. A misaligned belt can slip off or wear unevenly. This leads to poor sanding results and wastes belts.
| Problem | Effect | Solution |
| Belt Off-Center | Uneven sanding, belt slips | Adjust tracking knob |
| Belt Too Tight | Motor strain, belt damage | Set proper tension |
| Belt Too Loose | Belt falls off during use | Tighten belt correctly |
Neglecting Regular Maintenance
Skipping maintenance can shorten your sander’s life. Dust buildup and worn parts reduce performance and safety. Clean and check your sander regularly.
- Clean dust from vents and rollers after each use.
- Inspect and replace belts when worn.
- Lubricate moving parts as the manual suggests.
- Check power cords and plugs for damage.
Advanced Tips For Better Results
Using a belt sander is easy, but getting smooth, even results takes skill. These tips help you work smarter and get better finishes.
Try these advanced techniques to improve your sanding projects with a belt sander. They will save time and improve quality.
Using Multiple Grits For Finish
Start sanding with a coarse grit belt to remove rough spots fast. Then switch to finer grits to smooth the surface.
Using several grits gives a clean, polished finish and reduces scratches. Always clean the surface between grit changes.
- Begin with 40 or 60 grit for heavy sanding
- Use 80 or 100 grit for intermediate smoothing
- Finish with 120 or 150 grit for a fine surface
Sanding Curves And Edges
Belt sanders work best on flat surfaces but can handle curves carefully. Use light pressure and move slowly over edges.
Hold the sander at an angle on curved areas. This helps you avoid digging in and damaging the shape.
- Use narrow belts for tight curves
- Sand edges by tilting the sander slightly
- Go slow and check progress often
Combining With Other Tools
Use a belt sander with hand sanding or orbital sanders for better control. Each tool works best on different parts.
Start with the belt sander for large areas. Finish with hand sanding for delicate spots and fine details.
- Belt sander: fast removal on flat surfaces
- Orbital sander: smooths without deep scratches
- Hand sanding: perfect for corners and curves
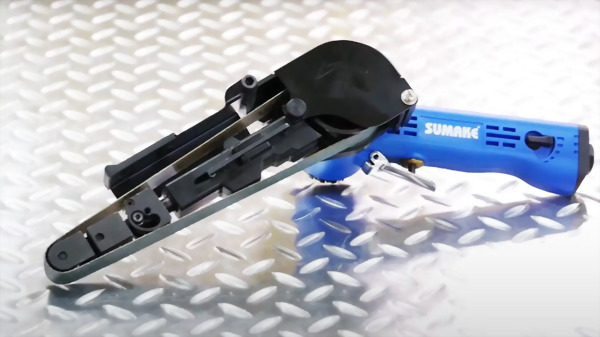
Credit: www.sumake.com
Maintaining Your Belt Sander
Keeping your belt sander in good shape helps it work well for a long time. Regular care stops damage and makes sanding easier.
Follow simple steps to clean, store, and fix your belt sander. This keeps the tool ready whenever you need it.
Cleaning And Storage
Clean your belt sander after every use. Remove dust and debris from the sanding belt and body.
Store the sander in a dry place. Keep it away from moisture and dust to prevent rust and damage.
- Use a brush or compressed air to clean the belt and vents
- Wipe the tool with a dry cloth to remove dust
- Keep the sander in its case or on a shelf
- Avoid places with high humidity or extreme temperatures
Replacing Belts
Change the sanding belt when it wears out or tears. A fresh belt gives better results and protects the motor.
Follow these steps to replace the belt safely and quickly.
- Turn off and unplug the sander
- Release the belt tension lever to loosen the belt
- Remove the old belt carefully
- Place the new belt on the rollers, aligning it properly
- Re-engage the tension lever to secure the belt
- Check the belt tracking and adjust if needed
Troubleshooting Common Issues
If your belt sander stops working well, check some common problems first. Fixing these can save time and money.
Look for these signs and try the suggested solutions.
- Belt slips:Adjust the tension lever or replace worn belts.
- Sander overheats:Clean dust from vents and avoid long continuous use.
- Uneven sanding:Check belt tracking and realign the belt.
- Motor won’t start:Check power source and switch; inspect the cord for damage.
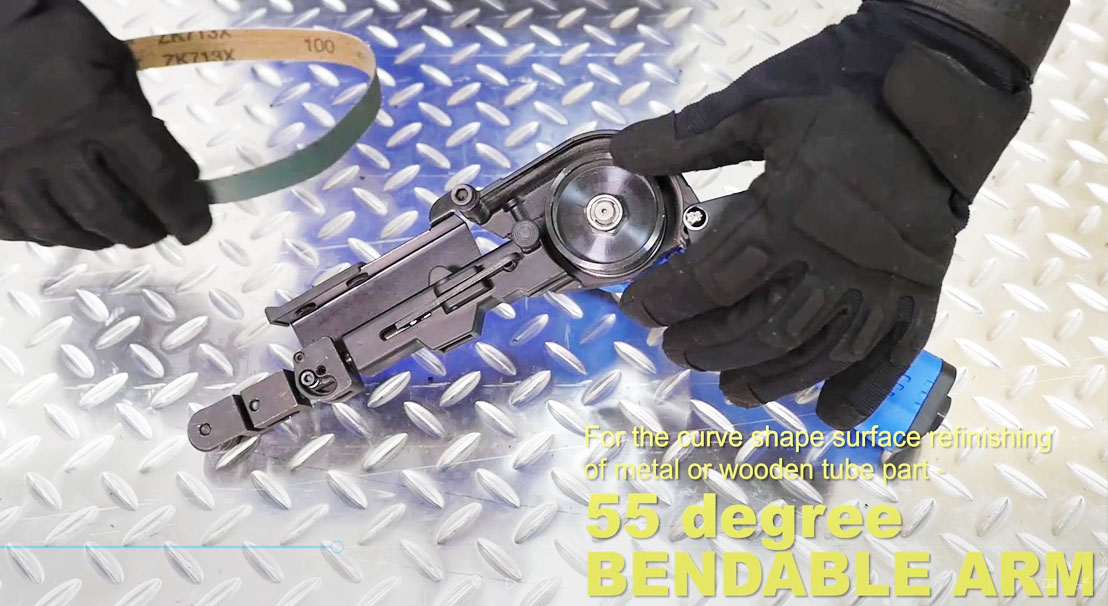
Credit: www.sumake.com
Frequently Asked Questions
What Safety Precautions Should I Take Using A Belt Sander?
Always wear safety goggles and a dust mask. Secure your workpiece firmly. Avoid loose clothing and keep hands clear of the sanding belt. Use hearing protection if needed. Ensure proper ventilation to reduce dust exposure.
How Do I Choose The Right Sandpaper Grit?
Select coarse grit (40-60) for heavy material removal. Use medium grit (80-120) for smoothing surfaces. Fine grit (150-220) is best for finishing touches. Match grit to your project’s sanding stage for optimal results.
Can I Use A Belt Sander On Wood And Metal?
Yes, a belt sander works on both wood and metal. Use appropriate sandpaper grit for each material. For metal, choose sanding belts designed for metalwork to avoid damage and achieve smooth finishes.
How Do I Maintain And Clean My Belt Sander?
Regularly check and replace worn sanding belts. Clean dust from vents and moving parts. Lubricate bearings if recommended by the manufacturer. Store the sander in a dry place to prevent rust and damage.
Conclusion
Using a belt sander carefully saves time and effort. Always keep the sander moving to avoid marks. Choose the right grit for your project. Wear safety gear to protect your eyes and hands. Practice on scrap wood before starting your main work.
Regularly check the belt for wear or damage. These simple steps help you get smooth, even results. A belt sander can make sanding easier and faster. With patience and care, your projects will look better every time.