If you want to make precise angled cuts with your table saw or band saw, mastering the miter gauge is a must. You might have one tucked away, but are you using it to its full potential?
Understanding how to set and adjust your miter gauge can save you time, reduce mistakes, and help you create cleaner, more professional-looking projects. In this guide, you’ll discover simple tips and tricks to get the most out of your miter gauge—whether you’re a beginner or looking to sharpen your skills.
Ready to take your woodworking to the next level? Let’s dive in.
Miter Gauge Basics
A miter gauge helps make precise angled cuts on a table saw or other woodworking tools. It guides the workpiece at a set angle for accuracy and safety. Understanding its basics helps you use it properly.
This guide covers what a miter gauge is, the common types available, and the materials used to build them.
What Is A Miter Gauge
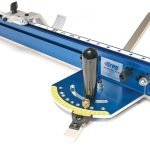
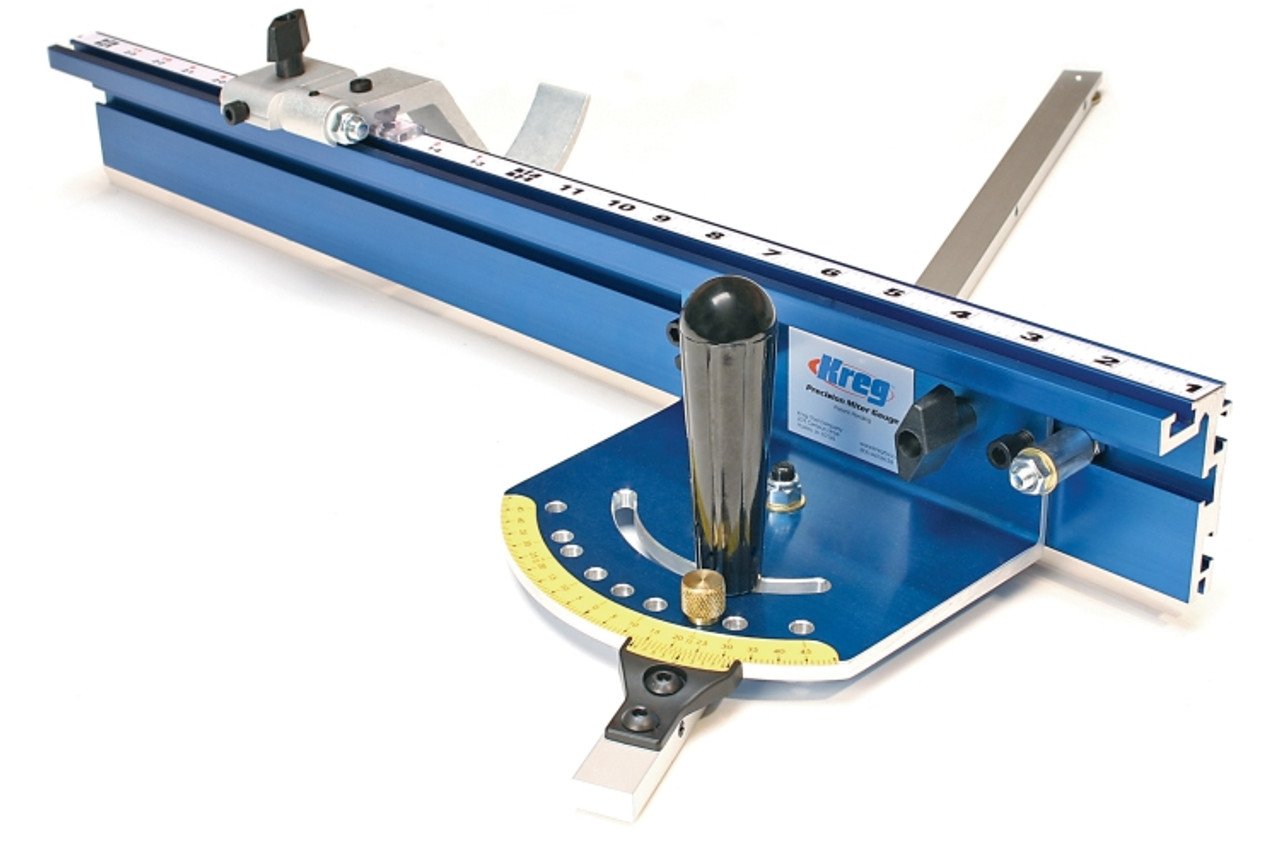
A miter gauge is a tool that fits into a slot on a table saw or router table. It holds the wood at a fixed angle to make angled cuts. Users adjust the gauge to the desired angle and lock it in place. This helps create accurate cuts for frames, trim, and other projects.
Types Of Miter Gauges
- Standard Miter Gauge:Basic gauge with a protractor scale and a fence. It slides in the table slot for simple angle cuts.
- Adjustable Miter Gauge:Allows more precise angle settings and often has stops for common angles like 45° and 90°.
- Digital Miter Gauge:Features a digital readout for exact angles. It is useful for fine woodworking or complex cuts.
- Combination Miter Gauge:Includes extra features like clamping fences or extendable arms for larger workpieces.
Common Materials And Construction
| Material | Description | Benefit |
| Steel | Strong and durable metal used for bars and fences. | Provides stability and long life. |
| Aluminum | Lightweight metal often used for the body or fence. | Easy to handle and resists rust. |
| Plastic | Used in some parts or budget models. | Keeps cost low but less durable. |
| Wood | Sometimes used for fences or custom parts. | Easy to shape and replace but less sturdy. |
Setting Up Your Miter Gauge
A miter gauge helps you make angled cuts on a table saw. Setting it up right makes your cuts safe and precise.
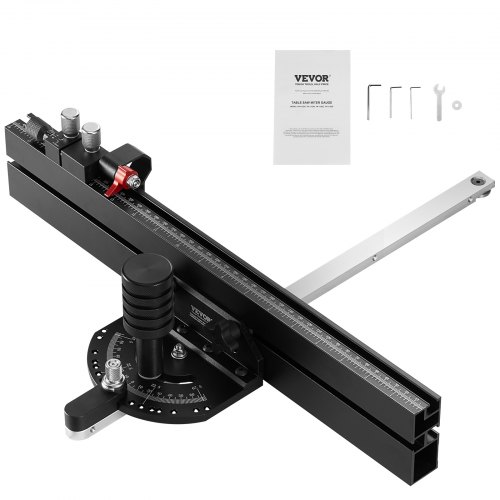
This guide shows how to attach the miter gauge, adjust the angle, and calibrate for accuracy.
Attaching To The Table Saw
First, find the miter slot on your table saw. This slot guides the miter gauge as you cut.
Slide the miter gauge’s bar into the slot. Make sure it fits snugly but can still move smoothly.
Adjusting The Angle
Loosen the angle lock knob to move the miter gauge head. Set the angle you want for the cut.
- Use the angle scale on the gauge for rough alignment.
- Tighten the lock knob once the angle is set.
- Check the angle by holding a square against the blade if possible.
Calibrating For Accuracy
Calibration ensures your miter gauge cuts match the angle settings exactly. Use a square and test cuts.
| Task | Action | Result |
| Check 0° angle | Align gauge with blade and test cut | Cut should be square |
| Adjust gauge head | Loosen knob and move slightly if cut is off | Cut becomes square |
| Check other angles | Set angles like 45° and test cut | Cut matches angle setting |
Techniques For Precise Cuts
Using a miter gauge helps you make accurate cuts with your saw. Proper techniques improve safety and results. This guide covers key methods for precise cutting.
Learn how to handle crosscuts, bevel cuts, and use stops to repeat cuts with confidence and accuracy.
Crosscutting With Confidence
Crosscutting means cutting across the grain of the wood. A firm hold on the miter gauge is important. Keep the wood steady and move the saw smoothly.
- Set the miter gauge to 90 degrees for a straight cut.
- Clamp the wood firmly against the fence.
- Use slow, steady pressure when pushing the saw blade through the wood.
- Check the cut with a square for accuracy.
Making Bevel Cuts
Bevel cuts angle the blade to cut edges or corners. Adjust the saw blade to the correct angle. Use the miter gauge to guide the wood safely.
| Blade Angle | Purpose |
| 0° | Standard crosscut |
| 15° | Shallow bevel for edges |
| 45° | Sharp bevel for joints |
Always support the wood firmly. Keep your hands clear of the blade and use push sticks if needed.
Using Stops For Repeatability
Stops help you make the same cut size many times. Attach a stop block to the miter gauge fence. This saves time and keeps cuts uniform.
- Measure the desired cut length carefully.
- Secure the stop block at that length on the miter gauge fence.
- Clamp the stop block firmly to avoid movement.
- Slide the wood against the stop block each time before cutting.
- Check the first few cuts to confirm accuracy.

Credit: www.vevor.ca
Advanced Tips And Tricks
Using a miter gauge can improve your woodworking projects. This guide shares advanced tips to help you work better.
Learn how to improve control, customize your gauge, and use it with other jigs for better results.
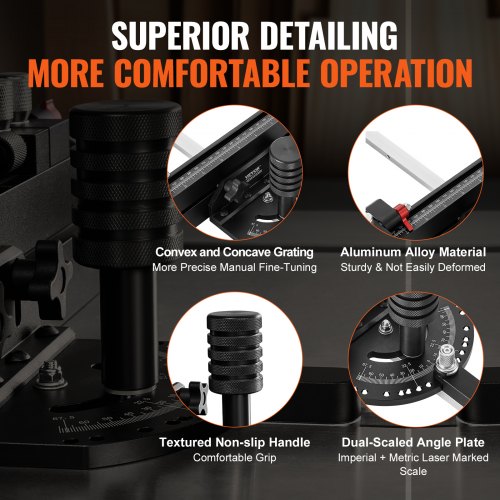
Improving Stability And Control
Keep your workpiece steady to get clean cuts. A loose hold can cause mistakes and unsafe work.
Use clamps or add a wooden fence to your miter gauge to hold pieces firmly. This reduces wobbling.
- Add rubber feet to the gauge for better grip on the table
- Check that the gauge slides smoothly without play
- Use a handle that fits your hand well for better control
Customizing Your Miter Gauge
Modify your miter gauge to fit your project needs. Simple changes can make big differences.
Try adding adjustable stops or a longer fence to handle larger pieces. You can also mark angles for quick setup.
- Attach a wooden or metal fence for extra support
- Use a protractor to mark common angles on the gauge
- Add a T-track to mount accessories like clamps
Combining With Other Jigs
Use your miter gauge with other jigs to expand its functions. This can help with complex cuts.
Pair it with a crosscut sled or a tenoning jig to improve precision and safety on different cuts.
- Use a crosscut sled for wider boards and smoother cuts
- Attach a tenoning jig for accurate tenon joints
- Combine with a tapering jig to cut angles along the length
Common Mistakes To Avoid
Using a miter gauge correctly is key for safe and precise cuts. Many users make avoidable errors that affect results and safety.
Learn the common mistakes to avoid to get the best from your miter gauge and protect yourself.
Misalignment Issues
Misalignment of the miter gauge causes inaccurate cuts and poor fitting pieces. It happens when the gauge is not set firmly against the table or fence.
- Check the miter gauge is tight and not loose before cutting.
- Use a square to verify the gauge angle is exactly what you need.
- Clean the surface to remove dust that can cause the gauge to shift.
- Do test cuts on scrap wood to confirm alignment.
Ignoring Safety Precautions
Ignoring safety rules can cause serious injury. Many accidents happen because users forget basic precautions.
| Safety Tip | Reason |
|---|---|
| Always wear safety glasses | Protects eyes from flying debris |
| Keep hands away from the blade | Prevents cuts and injuries |
| Use push sticks for small pieces | Keeps hands at a safe distance |
| Turn off power before adjustments | Avoids accidental blade start |
Overlooking Maintenance
Neglecting maintenance reduces the miter gauge’s accuracy and lifespan. Dirt and wear can cause poor performance.
- Clean the gauge regularly to remove sawdust.
- Lubricate moving parts to keep smooth motion.
- Inspect screws and bolts for tightness.
- Replace worn parts to maintain precision.
Credit: www.vevor.ca
Maintenance And Care
Taking care of your miter gauge keeps it accurate and safe to use. Regular maintenance extends its life and improves performance.
Simple cleaning and checks prevent problems before they start. Follow these tips to keep your tool in top shape.
Cleaning And Lubrication
Clean your miter gauge after each use to remove dust and debris. Dirt can cause it to stick or move unevenly.
Use a soft cloth and mild cleaner for cleaning. Avoid harsh chemicals that may damage the surface.
- Wipe metal parts with a dry or slightly damp cloth
- Apply a small amount of light machine oil to moving parts
- Do not over-lubricate to avoid attracting dust
- Allow lubrication to dry before using the gauge
Checking For Wear
Regularly inspect your miter gauge for signs of wear or damage. Worn parts can reduce accuracy and safety.
Look for cracks, bent parts, or loose screws. Tighten any loose parts to keep the gauge stable.
- Check the angle scale for fading or damage
- Inspect the fence for warping or cracks
- Ensure the locking mechanism works smoothly
- Replace worn parts promptly to keep accuracy
Storage Best Practices
Store your miter gauge in a dry, clean place. Proper storage protects it from damage and rust.
Keep it away from heavy objects that might bend or break it. Use a storage case if available.
- Store in a toolbox or on a wall rack
- Keep away from moisture and extreme temperatures
- Cover with a cloth to avoid dust buildup
- Keep parts together to avoid losing small pieces
Credit: www.vevor.ca
Frequently Asked Questions
What Is A Miter Gauge Used For?
A miter gauge helps guide wood at precise angles on a table saw. It ensures accurate crosscuts and angled cuts. This tool improves safety and cutting precision. It is essential for woodworking projects requiring angled joints or trim.
How Do I Adjust A Miter Gauge Angle?
Loosen the adjustment knob to set the desired angle. Align the gauge with the angle markings on the tool. Tighten the knob to secure the setting before cutting. Always double-check the angle for accuracy before use.
Can A Miter Gauge Improve Cut Accuracy?
Yes, it stabilizes the workpiece and guides it accurately. This reduces errors and produces cleaner cuts. Using a miter gauge is vital for consistent, repeatable angled cuts. It enhances overall woodworking precision.
What Materials Work Best With A Miter Gauge?
Miter gauges work well with wood, plywood, and soft plastics. They are not suitable for cutting metal or very hard materials. Always ensure the material is compatible with your saw blade and gauge.
Conclusion
A miter gauge is a handy tool for precise cuts. It boosts your woodworking accuracy. Practice and patience are key. Start with simple projects. Gradually, you’ll get better. Check your gauge often for wear. This helps maintain quality. Safety is important, so always be cautious.
Keep your work area clean and organized. This minimizes accidents and improves focus. A good miter gauge enhances your skills. With time, you’ll create impressive pieces. Enjoy the process. Happy woodworking!