Your woodworking bench is more than just a workspace—it’s the heart of every project you create. Setting it up right can save you time, reduce frustration, and boost your creativity.
Imagine having everything you need within arm’s reach, tools organized perfectly, and a surface that supports your work smoothly. You’ll discover simple but powerful tips to transform your bench into a well-oiled machine that works for you, not against you.
Ready to make your woodworking sessions more enjoyable and productive? Keep reading, because these setup secrets will change the way you build forever.
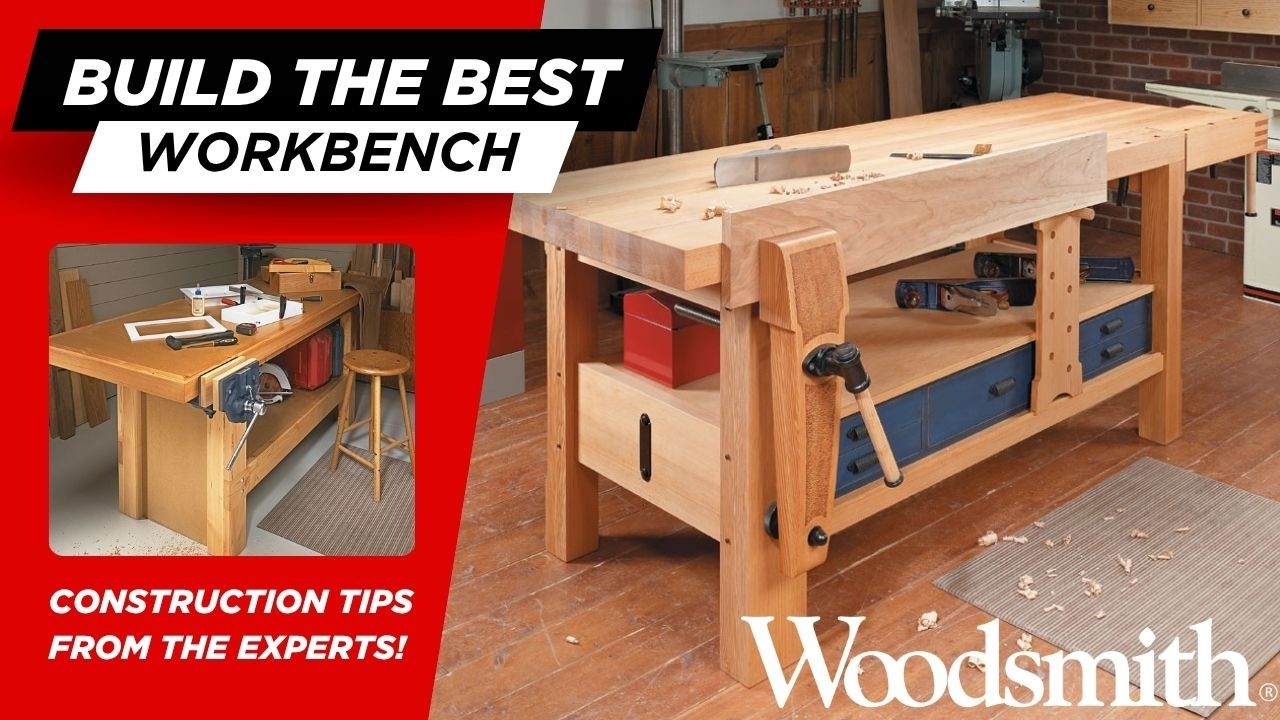
Choosing The Right Bench
Picking the right woodworking bench is key for good work. The bench must fit your needs and space. It should be strong and last long. This guide helps you choose the best bench for your projects.
Consider the materials, size, and bench type. Each affects your work comfort and results. Read on to learn what to look for in a woodworking bench.
Materials And Build Quality
Good materials make benches sturdy and durable. Solid wood like maple or beech is common. Avoid benches made with soft or cheap wood. Metal parts should be rust-resistant and tough.
- Look for hardwood tops for durability
- Check joints and fasteners for strength
- Metal vises and clamps should be solid
- Surfaces should be smooth but not slippery
Size And Workspace Considerations
Your bench size depends on your workspace and projects. A bigger bench holds large pieces but needs more space. A smaller bench fits tight rooms but limits work size.
| Bench Size | Best For | Space Needed |
| Small (up to 4 ft) | Small projects, limited space | Under 20 sq ft |
| Medium (4-6 ft) | Most woodworking tasks | 20-40 sq ft |
| Large (6+ ft) | Large projects, heavy work | 40+ sq ft |
Types Of Woodworking Benches
Different benches fit different work styles. Choose a bench type that matches your needs and skill level.
- Traditional Bench:Heavy and stable with a thick top. Good for hand tool work.
- Assembly Bench:Flat and open top. Ideal for gluing and assembling parts.
- Multi-purpose Bench:Offers storage and various work surfaces. Fits many tasks.
- Portable Bench:Light and foldable. Easy to move but less stable.
Credit: www.familyhandyman.com
Optimal Bench Height
The height of your woodworking bench affects your comfort and work quality. A bench that is too high or too low can cause strain and fatigue.
Choosing the right bench height helps you work longer with less discomfort. It supports better control over your tools.
Measuring For Comfort
Measure your height and the length of your forearm to find a good bench height. Your bench should allow your elbows to bend at about 90 degrees.
Stand with your arms at your sides and bend your elbows. The height of your wrist from the floor is a good guide for your bench height.
- Stand straight with relaxed shoulders
- Bend elbows to a right angle
- Measure from floor to wrist
- Adjust bench height close to this measure
Adjustable Bench Options
Adjustable benches let you change height for different tasks or users. They offer flexibility and improve comfort during long projects.
Some benches use legs that screw up or down. Others have removable blocks or adjustable feet. Pick a style that fits your workshop space.
- Screw-in legs for smooth height changes
- Removable leg blocks for quick adjustments
- Adjustable feet for leveling uneven floors
- Electric or hydraulic lifts for easy raising
Effective Clamping Solutions
Good clamping helps keep your wood steady and safe during work. It makes cutting and shaping easier.
Choosing the right clamps can improve your bench setup and save time on projects.
Built-in Vs. Portable Clamps
Built-in clamps attach directly to your bench. They stay in place and offer strong hold. Portable clamps you can move around as needed. They add flexibility.
- Built-in clamps:Always ready and quick to use.
- Portable clamps:Useful for large or odd-shaped pieces.
- Built-in clamps:Take up less space on your bench.
- Portable clamps:Can be shared between different work areas.
Quick-release Mechanisms
Quick-release clamps make changing the wood faster. They use a lever or button to open the clamp easily.
| Feature | Benefit |
| Lever or button release | Fast clamp removal |
| One-handed operation | Simple to use while holding wood |
| Adjustable pressure | Protects wood from damage |
| Strong grip | Keeps pieces from moving |
Tool Organization Tips
Keeping your woodworking tools tidy helps you work faster and safer. A good setup saves time looking for tools.
Organize your tools so you can reach them easily. Use smart storage ideas to keep your bench clean.
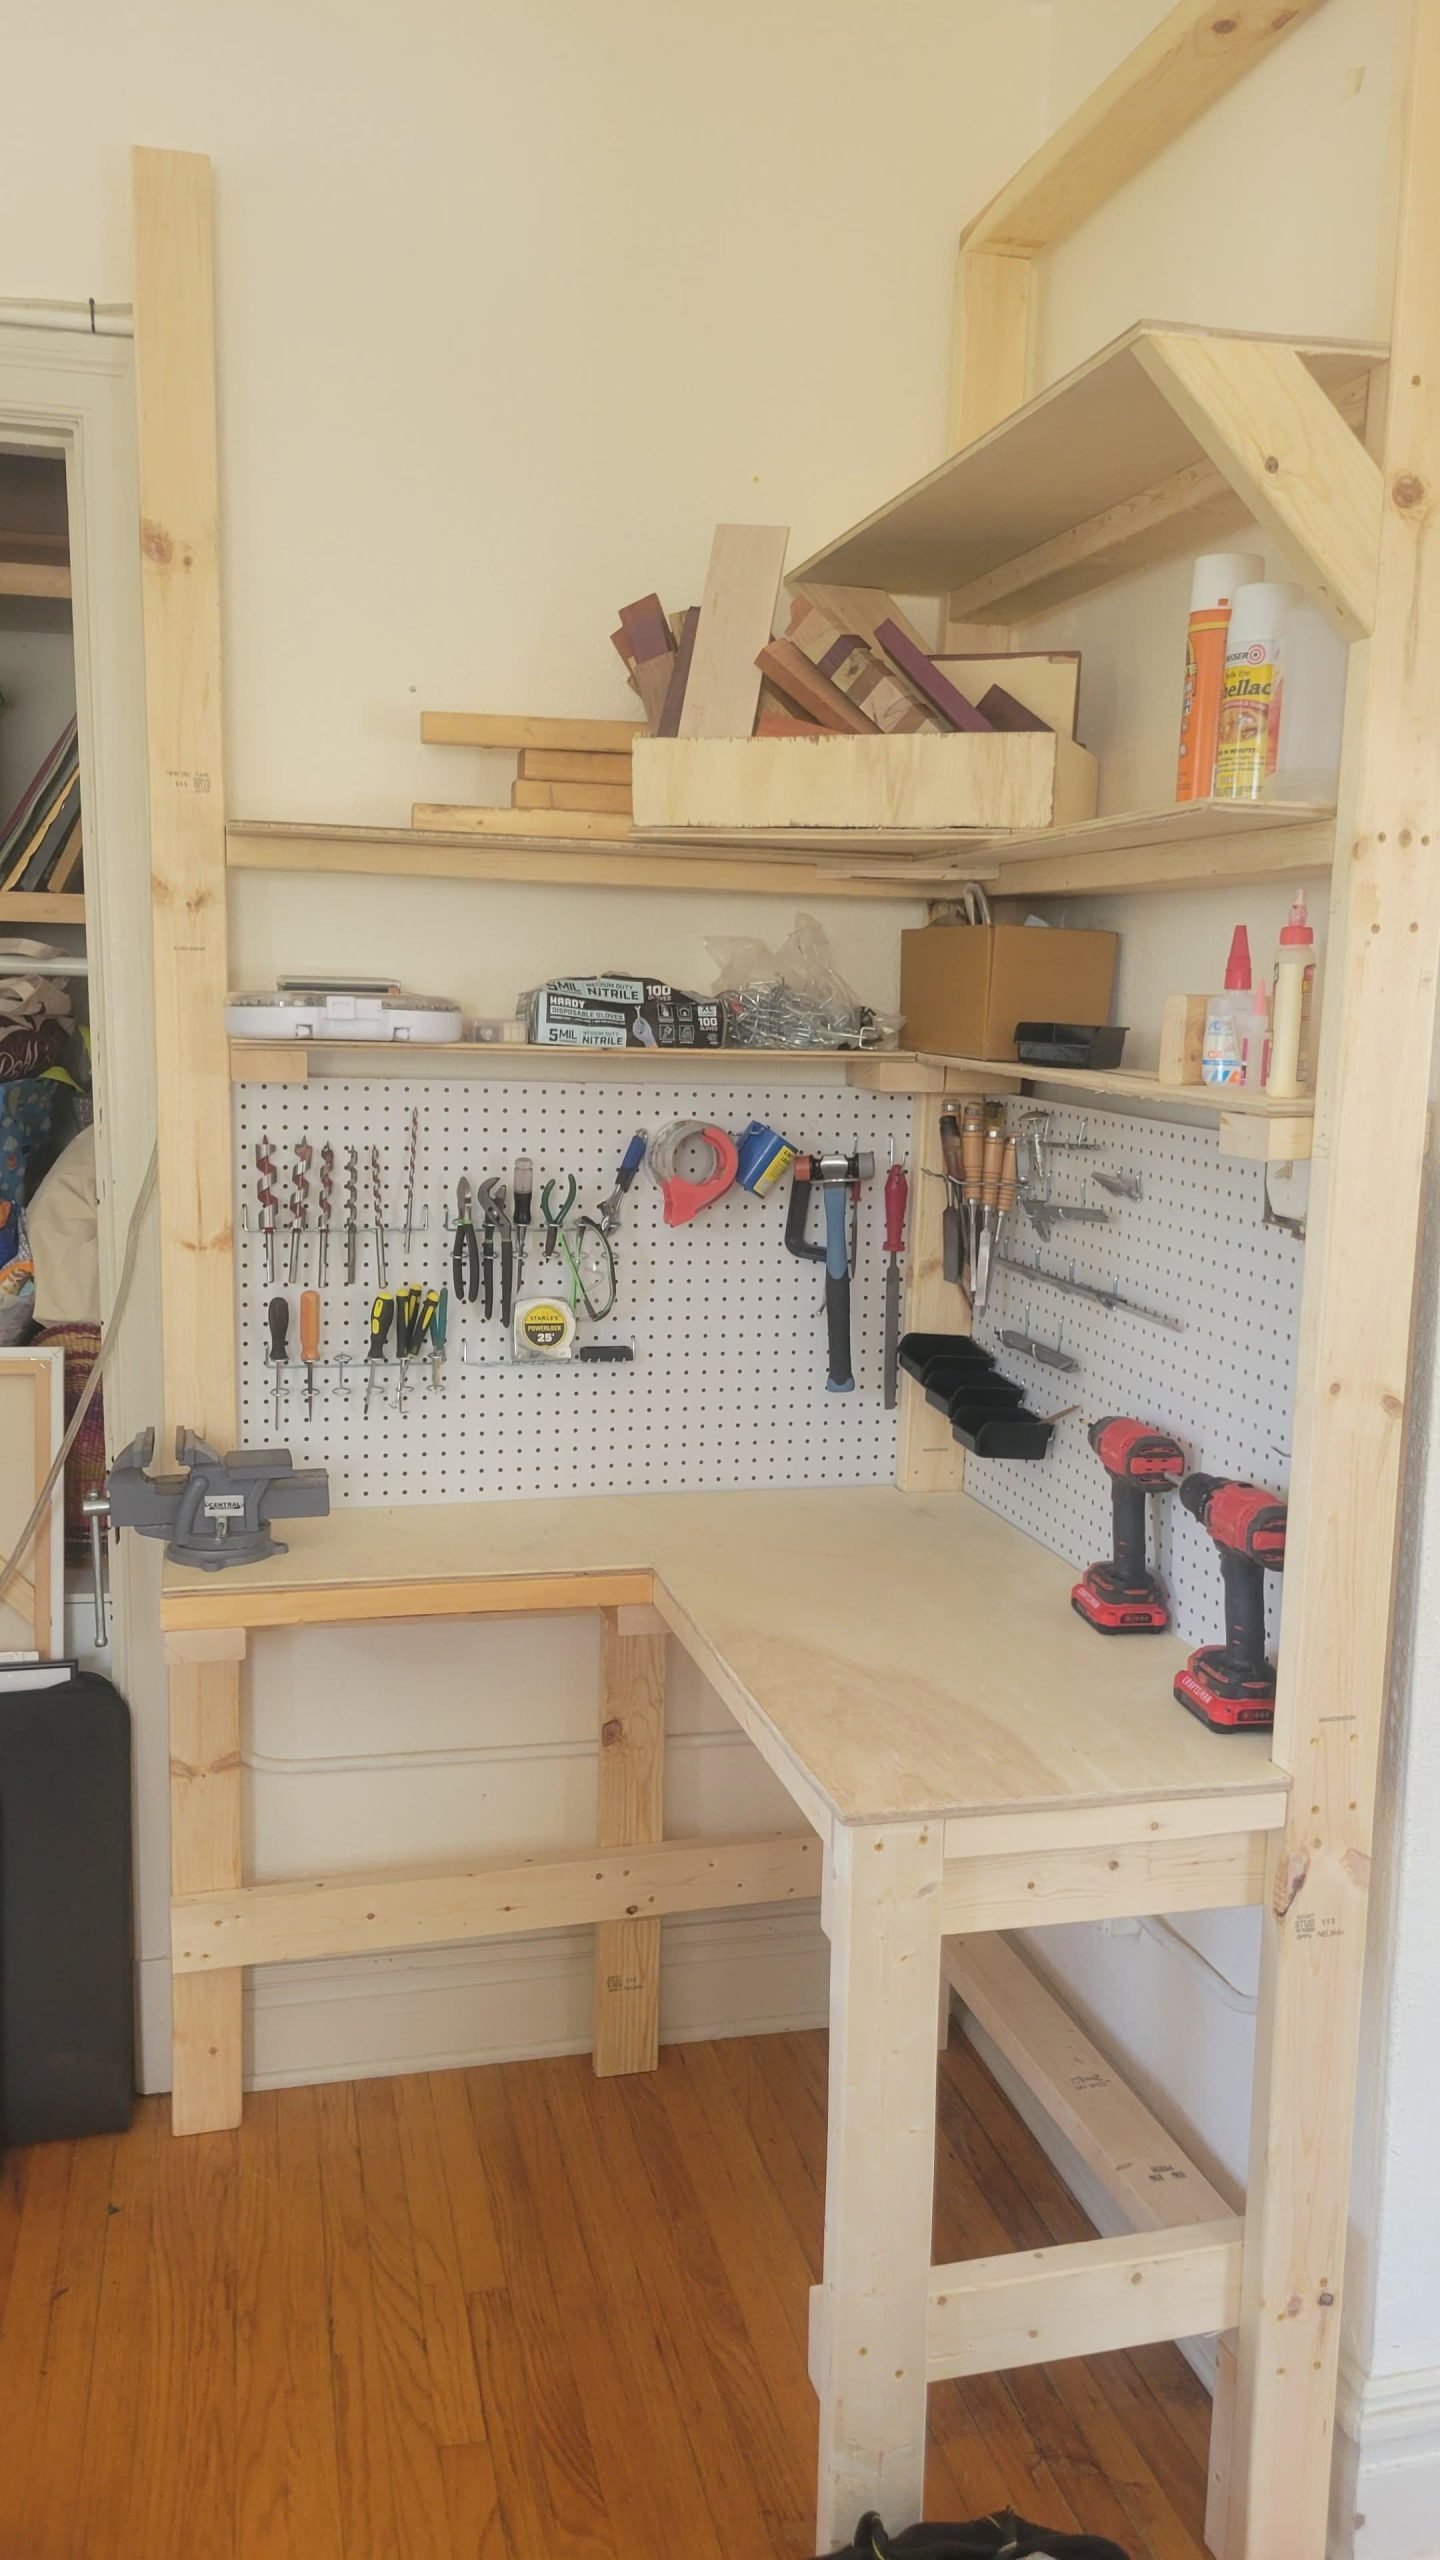
Using Pegboards And Holders
Pegboards let you hang tools on the wall. They keep tools visible and easy to grab when needed.
Use hooks and holders to fit different tools. Group similar tools together to find them quickly.
- Hang screwdrivers, hammers, and pliers on hooks
- Use holders for drills and larger tools
- Arrange tools by size or use frequency
- Label spots on the pegboard for fast return
Drawer And Shelf Arrangements
Drawers keep small tools and parts tidy. Shelves hold bigger tools and materials.
Organize drawers with dividers to separate items. Put heavy tools on lower shelves for safety.
- Sort screws, nails, and bits in small containers inside drawers
- Store clamps and saws on open shelves
- Place often-used tools in top drawers for quick access
- Label drawers and shelves to find tools faster
Workbench Surface Enhancements
A good workbench surface makes woodworking easier and safer. It helps protect your tools and your projects.
Enhancing the surface improves durability and provides better support for your work. Let’s look at two ways to improve it.
Protective Coatings And Finishes
Applying protective coatings keeps your workbench surface safe from damage. It also makes cleaning easier.
- Use polyurethane for a tough, water-resistant finish.
- Apply linseed oil to keep the wood nourished and smooth.
- Wax coatings help reduce sticking and add a smooth feel.
- Consider shellac for a quick-drying, hard surface layer.
Adding Replaceable Inserts
Replaceable inserts let you fix damaged areas without replacing the whole surface. They save time and money.
| Insert Type | Material | Best Use |
| Bench Dog Insert | Hardwood | Holding clamps and stops |
| Cutting Board Insert | Bamboo | Protecting surface during cutting |
| Metal Plate Insert | Steel | Supporting heavy tools and machines |
Lighting And Visibility
Good lighting is very important for any woodworking bench. It helps you see details clearly. Proper visibility reduces mistakes and improves safety.
Choosing the right lighting setup can make your work easier and more enjoyable. This guide covers task lighting and natural light use.
Task Lighting Options
Task lighting focuses bright light where you work most. It helps you see cuts and measurements with accuracy.
- Use adjustable LED lamps for clear, direct light.
- Position lights to reduce shadows on your work surface.
- Clamp-on lights are flexible and easy to move.
- Consider lights with dimmers to control brightness.
- Install under-shelf lights if your bench has shelves above.
Natural Light Optimization
Natural light improves your workspace mood and visibility. Arrange your bench near windows to use daylight well.
| Tip | Benefit |
|---|---|
| Place bench facing east or south windows | Maximizes daylight during work hours |
| Use light-colored walls to reflect light | Brightens the room without extra lamps |
| Keep windows clean and clear | Allows more sunlight inside |
| Use sheer curtains to diffuse harsh light | Reduces glare while keeping brightness |
Maximizing Workspace Efficiency
A well-organized woodworking bench helps you work faster. It keeps tools and materials within easy reach.
Good setup reduces clutter and makes projects flow smoothly. Planning your bench layout is key.
Layout Planning
Place your most used tools close to your main working area. This saves time searching for them.
Keep storage areas organized by type of tool or material. Label bins and drawers for quick access.
- Arrange tools by frequency of use
- Use pegboards to hang tools visibly
- Keep heavy tools near the bench for stability
- Clear workspace for large projects
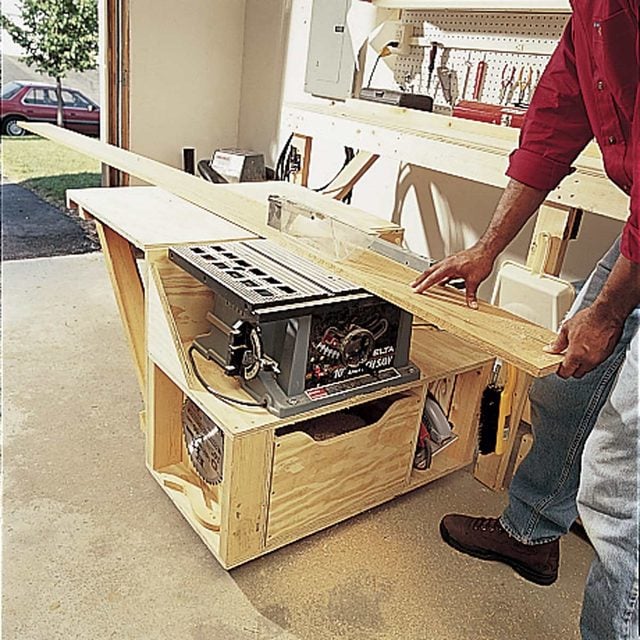
Mobile Workbench Features
A mobile workbench lets you move your workspace around easily. This adds flexibility to your workshop.
Look for wheels with locks to keep the bench steady. Add handles to make moving simple and safe.
- Locking casters for stability
- Compact size to fit small spaces
- Built-in storage for tools and supplies
- Foldable parts to save space

Credit: www.youtube.com
Credit: www.youtube.com
Frequently Asked Questions
What Is The Ideal Height For A Woodworking Bench?
The ideal height is usually 34 to 36 inches. It ensures comfort and reduces strain during work. Adjust height based on your stature for best results.
How Should I Organize Tools On A Woodworking Bench?
Keep frequently used tools within arm’s reach. Use pegboards, drawers, or magnetic strips for easy access. Organized tools boost efficiency and safety.
What Materials Are Best For A Woodworking Bench Surface?
Hardwoods like maple or beech are best. They offer durability and a smooth surface for precision work. Avoid soft woods to prevent dents and damage.
How Can I Improve Bench Stability During Woodworking?
Secure the bench firmly to the floor or add heavy bases. Use sturdy legs and cross braces. Stability prevents accidents and ensures precise cuts.
Conclusion
Setting up a woodworking bench involves careful planning. Prioritize essential tools for easy access. Organize your space to reduce clutter. Proper lighting makes tasks easier. Ensure your bench is sturdy and stable. Safety should be a top priority. Secure your tools to prevent accidents.
Regular maintenance keeps your bench functional. Tailor your setup to fit your specific needs. This enhances productivity and enjoyment. Remember, a well-organized bench leads to better projects. Happy woodworking!
