Are you tired of struggling to make perfect angled cuts for your projects? Using a miter saw can change the game and make your work look professional every time.
Whether you’re building a picture frame, trimming moldings, or working on a DIY project, mastering angled cuts is key. You’ll discover simple tips and tricks to use your miter saw like a pro. Get ready to boost your confidence and save time with precise, clean cuts that fit perfectly.
Keep reading—you’re about to unlock the secret to flawless angled cuts!
Choosing The Right Miter Saw
Using a miter saw helps make angled cuts clean and accurate. Picking the right saw is key to good results.
Learn about the types of miter saws, blade choices, and safety features to find the best fit.
Types Of Miter Saws
Miter saws come in several types. Each type suits different cutting needs and projects.
- Standard Miter Saw:Cuts angled crosscuts easily.
- Compound Miter Saw:Tilts to cut bevels and miters.
- Sliding Compound Miter Saw:Slides forward for wider cuts.
- Dual-Bevel Miter Saw:Tilts both left and right for complex angles.
Blade Selection Tips
Choosing the right blade affects cut quality and tool life. Blades vary by tooth count and type.
| Blade Type | Use | Teeth Count |
| Crosscut Blade | Fine cuts across grain | 60-80 |
| Combination Blade | General purpose cutting | 40-50 |
| Ripping Blade | Cutting with grain | 24-30 |
Safety Features To Look For
Safety is important when using a miter saw. Look for features that protect you during use.
- Blade guards that cover the blade when not cutting
- Electric brakes to stop the blade quickly
- Secure clamps to hold the material firmly
- Non-slip bases to keep the saw steady
Credit: www.woodworkingtalk.com
Setting Up For Angled Cuts
Using a miter saw for angled cuts needs careful setup. Proper setup ensures clean and accurate cuts.
This guide covers how to adjust the miter angle, set the bevel angle, and secure the workpiece.
Adjusting The Miter Angle
Start by unlocking the miter handle on your saw. Turn the saw table to the desired angle. Most saws have angle markings to guide you.
Lock the miter handle to keep the angle steady. Check the angle with a protractor or angle finder for best results.
Setting The Bevel Angle
The bevel angle lets you tilt the blade for compound cuts. Unlock the bevel lever or knob on the saw.
Tilt the saw blade to the needed angle. Most saws show bevel angles on a scale. Lock the bevel lever to hold the angle.
- Check the bevel angle scale carefully.
- Use a digital angle gauge for precision.
- Make small adjustments and re-check the angle.
Securing The Workpiece
Hold the workpiece firmly to get clean cuts and avoid accidents. Use clamps or a vise if available.
| Tool | Purpose |
|---|---|
| Clamps | Hold workpiece tightly on saw base |
| Vise | Secure small pieces for stability |
| Stop Block | Help make repeated cuts at same length |
Make sure the workpiece does not move during the cut. Keep your hands away from the blade at all times.
Techniques For Accurate Cuts
Using a miter saw for angled cuts requires careful attention to detail. Accurate cuts help your project fit together well.
Follow these techniques to improve your cutting precision and get the best results with your miter saw.
Marking Your Cut Lines
Start by measuring your wood carefully. Use a pencil and a square to draw clear, straight cut lines on the wood surface.
- Measure twice to avoid mistakes
- Draw lines on the wood’s face for better visibility
- Use a sharp pencil for thin lines
- Mark the cut side clearly to avoid confusion
Using Clamps And Guides
Clamps and guides hold your wood steady during the cut. This prevents movement and keeps your angle accurate.
| Tool | Purpose |
| Clamps | Secure wood firmly to the saw base |
| Fence Guides | Keep wood aligned with the blade |
| Stop Blocks | Set consistent cut lengths |
Making Test Cuts
Test cuts help you check the angle and fit before cutting your actual workpiece. This saves wood and time.
- Choose scrap wood of the same thickness
- Set the saw to the desired angle
- Make a cut on the scrap piece
- Check the angle with a protractor or square
- Adjust the saw if needed and repeat

Credit: www.amazon.ca
Common Mistakes To Avoid
Using a miter saw for angled cuts can be tricky. Many people make simple mistakes that affect the quality of their work.
Knowing what to avoid helps you cut angles more accurately and safely. Here are some common errors to watch out for.
Misreading Angle Measurements
One common mistake is not reading the angle measurements correctly on the saw. This causes cuts to be off and pieces not fitting well.
Always double-check the angle setting before cutting. Use a protractor or angle finder to confirm the saw’s angle matches your plan.
Ignoring Blade Alignment
Blade alignment is important for clean, precise cuts. Many users do not check if the blade is square to the fence and table.
If the blade is not aligned properly, your angled cuts will be uneven or rough. Adjust the blade and fence to the right position before cutting.
- Check blade angle with a square tool
- Adjust the fence so it is straight
- Test on scrap wood before cutting your project
Forgetting Safety Precautions
Safety is often overlooked when making angled cuts. Not wearing safety gear or rushing can lead to accidents.
Always wear safety glasses and ear protection. Keep your hands away from the blade and use clamps to hold the wood firmly.
- Wear safety glasses and ear protection
- Keep hands at a safe distance from the blade
- Use clamps to secure the wood
- Do not rush the cut; move the saw smoothly
Maintaining Your Miter Saw
Keeping your miter saw in good shape helps it work safely and accurately. Regular care prevents damage and extends its life.
This guide covers cleaning, replacing the blade, and calibration tips. Follow these to keep your saw cutting perfect angles.
Cleaning And Lubrication
Dust and debris can build up and reduce your saw’s performance. Clean the saw often to keep it running smoothly.
- Unplug the saw before cleaning.
- Use a brush to remove sawdust from moving parts.
- Wipe the blade guard and table with a dry cloth.
- Apply lubricant to pivot points and sliding rails.
- Avoid over-lubricating to prevent dust sticking.
Blade Replacement
A sharp blade cuts cleanly and safely. Replace the blade if it is dull or damaged to keep cuts precise.
| Signs You Need a New Blade | Action |
| Burn marks on wood | Replace blade |
| Blade teeth missing or chipped | Replace blade |
| Blade does not cut smoothly | Sharpen or replace blade |
| Excessive vibration | Check blade balance or replace |
Calibration Tips
Check the saw’s angle settings regularly. Proper calibration ensures your cuts stay accurate.
Follow these steps to calibrate your miter saw:
- Set the saw to zero degrees.
- Cut a test piece of wood.
- Measure the cut angle with a protractor.
- Adjust the bevel and miter settings if needed.
- Tighten all screws and locks after adjustment.
Project Ideas Using Angled Cuts
Angled cuts add style and precision to woodworking projects. A miter saw makes these cuts easy and accurate.
You can use angled cuts for many projects. They help create clean corners and decorative details.
Picture Frames
Picture frames often use angled cuts to join the corners tightly. A 45-degree cut on each side forms a perfect corner.
- Choose wood strips for the frame sides
- Cut each end at a 45-degree angle
- Join the pieces to form a square or rectangle
- Sand and finish the frame for a smooth look
Crown Molding
Crown molding requires angled cuts to fit the corners of walls and ceilings. The angles vary depending on the wall shape.
| Wall Angle | Miter Saw Angle | Bevel Angle |
| 90° Corner | 45° | 0° |
| 135° Corner | 22.5° | 33.9° |
| 120° Corner | 30° | 30° |
Furniture Accents
Use angled cuts to add decorative accents on furniture. These cuts create shapes like triangles and diamonds.
Try these ideas for angled cut accents:
- Cut wood strips at 30° and 60° to form diamond shapes
- Create triangle inlays on table legs or cabinet doors
- Use angled edges on shelves for a modern look

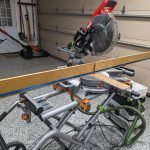
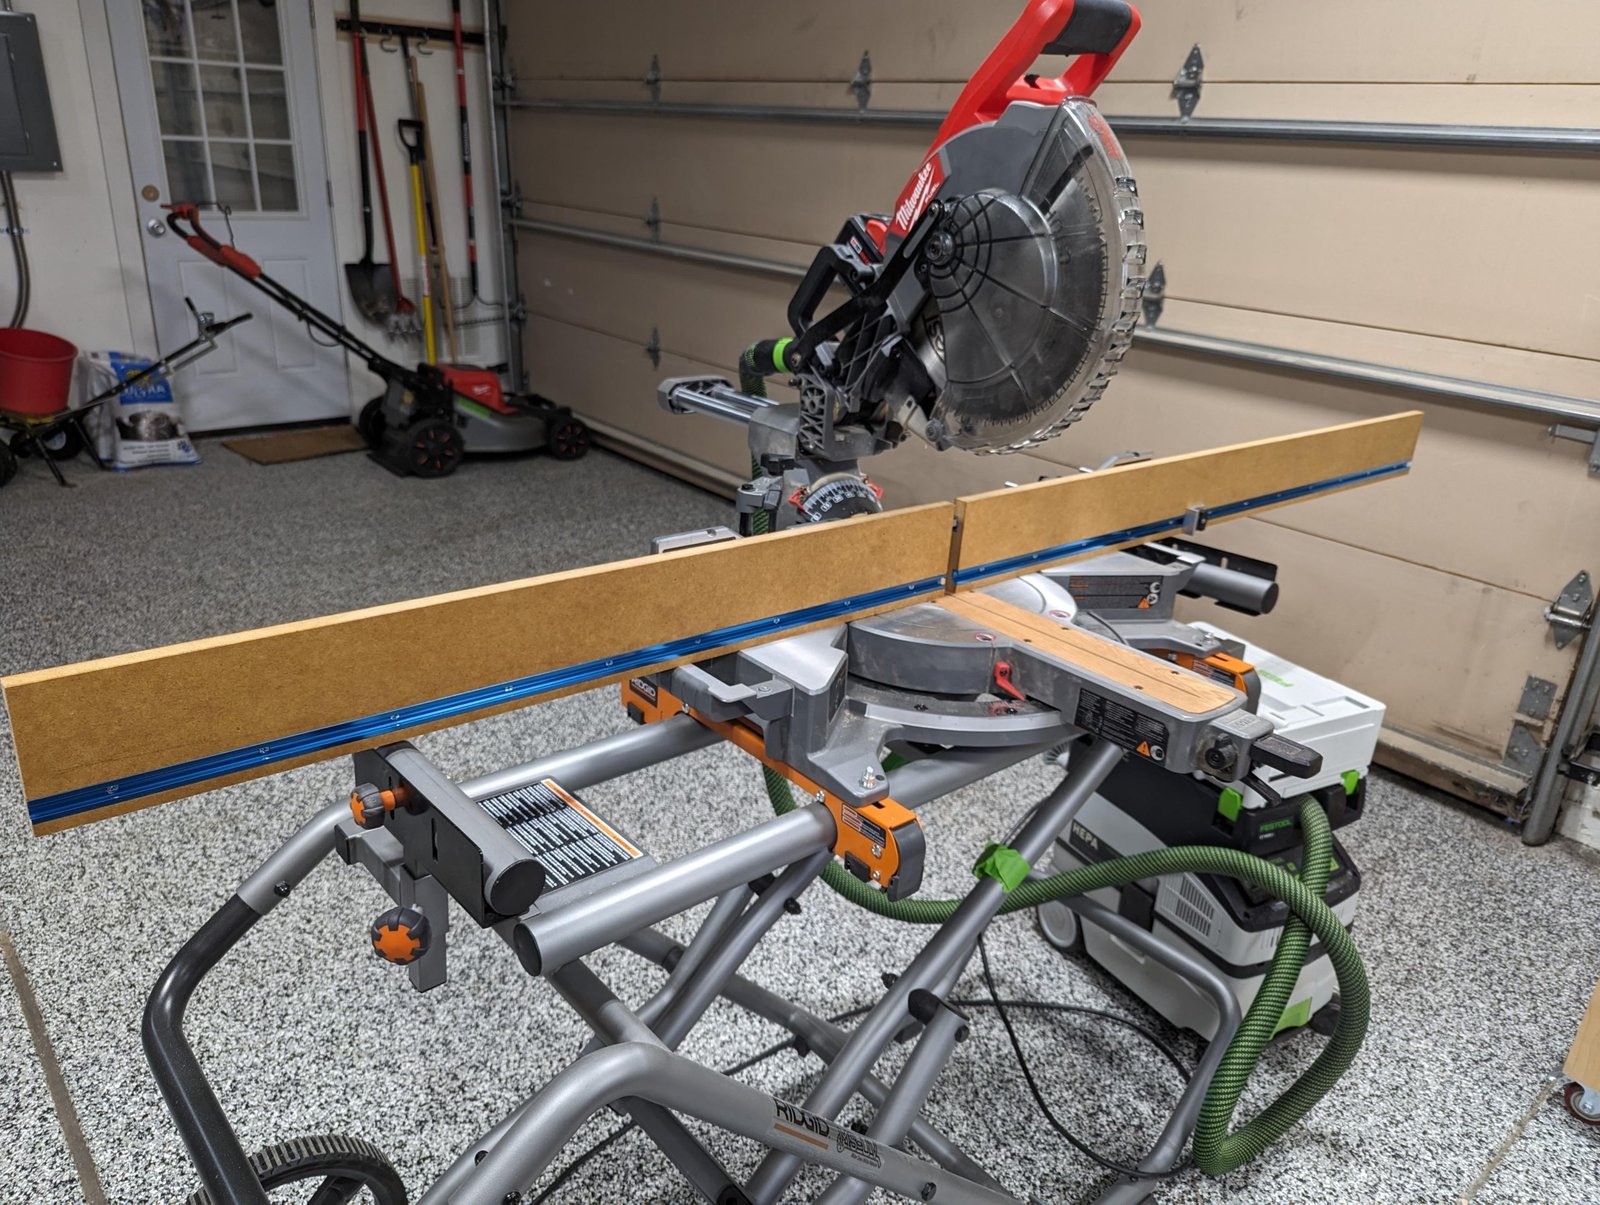
Credit: www.reddit.com
Frequently Asked Questions
What Is A Miter Saw Used For In Woodworking?
A miter saw is used to make precise angled cuts in wood. It helps create perfect joints for frames, moldings, and trim.
How Do You Set The Angle On A Miter Saw?
To set the angle, unlock the bevel or miter adjustment. Rotate the saw to the desired angle and lock it in place.
Can A Miter Saw Cut Bevel And Miter Angles Simultaneously?
Yes, many miter saws allow combined bevel and miter cuts. This is useful for complex angled cuts like crown molding.
What Safety Tips Should I Follow Using A Miter Saw?
Always wear safety glasses, keep hands clear of the blade, and secure the workpiece firmly before cutting.
Conclusion
Using a miter saw for angled cuts makes woodworking easier and more precise. It helps create clean, accurate edges quickly. Practice your cuts to gain confidence and improve skill. Always measure twice to avoid mistakes and waste. Safety matters—wear goggles and keep hands clear of the blade.
A miter saw can handle many projects, from frames to furniture. Take your time, and results will look professional. Simple tools, careful work, great results.