Are you ready to fix your plumbing like a pro? Soldering copper pipes might sound tricky, but once you learn the right steps, it becomes simple and even satisfying.
This guide will walk you through everything you need to know to join copper pipes securely and leak-free. By the end, you’ll have the confidence to handle repairs or new installations yourself, saving time and money. Keep reading—your pipes will thank you!
Tools And Materials
Soldering copper pipes needs the right tools and materials. Using good supplies makes the job easier and safer.
This guide covers the main items you need for soldering copper pipes. It explains types of solder, flux, tools, and safety gear.
Types Of Solder
Solder is a metal alloy that melts to join pipes. There are different types for copper plumbing.
Lead-free solder is best for water pipes. It is safe and works well with copper. Tin and silver solder can add strength.
- Lead-free solder: Safe for drinking water pipes
- Tin-based solder: Easy to melt and flow
- Silver solder: Strong and good for high pressure
Choosing The Right Flux
Flux cleans metal surfaces and helps solder flow smoothly. It also prevents rust during heating.
Use paste or liquid flux made for copper pipes. Avoid acid flux, which can damage plumbing over time.
- Paste flux: Easy to apply and stays in place
- Liquid flux: Good for hard-to-reach areas
- Water-soluble flux: Simple to clean after soldering
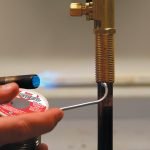
Soldering Irons And Torches
Soldering copper pipes usually needs a torch, not an iron. A torch heats the pipe quickly and evenly.
Propane torches are common for home plumbing. Use a small, handheld torch for better control.
- Propane torch: Portable and heats fast
- MAPP gas torch: Hotter flame for thicker pipes
- Electric soldering iron: Used only for electronics, not pipes
Safety Gear Essentials
Safety gear protects you from burns and fumes. Always wear proper equipment during soldering.
Use gloves, goggles, and a mask. Keep a fire extinguisher nearby for emergencies.
- Heat-resistant gloves: Protect hands from burns
- Safety goggles: Shield eyes from sparks and flux
- Respirator mask: Prevents inhaling fumes
- Fire extinguisher: Ready for accidental fires
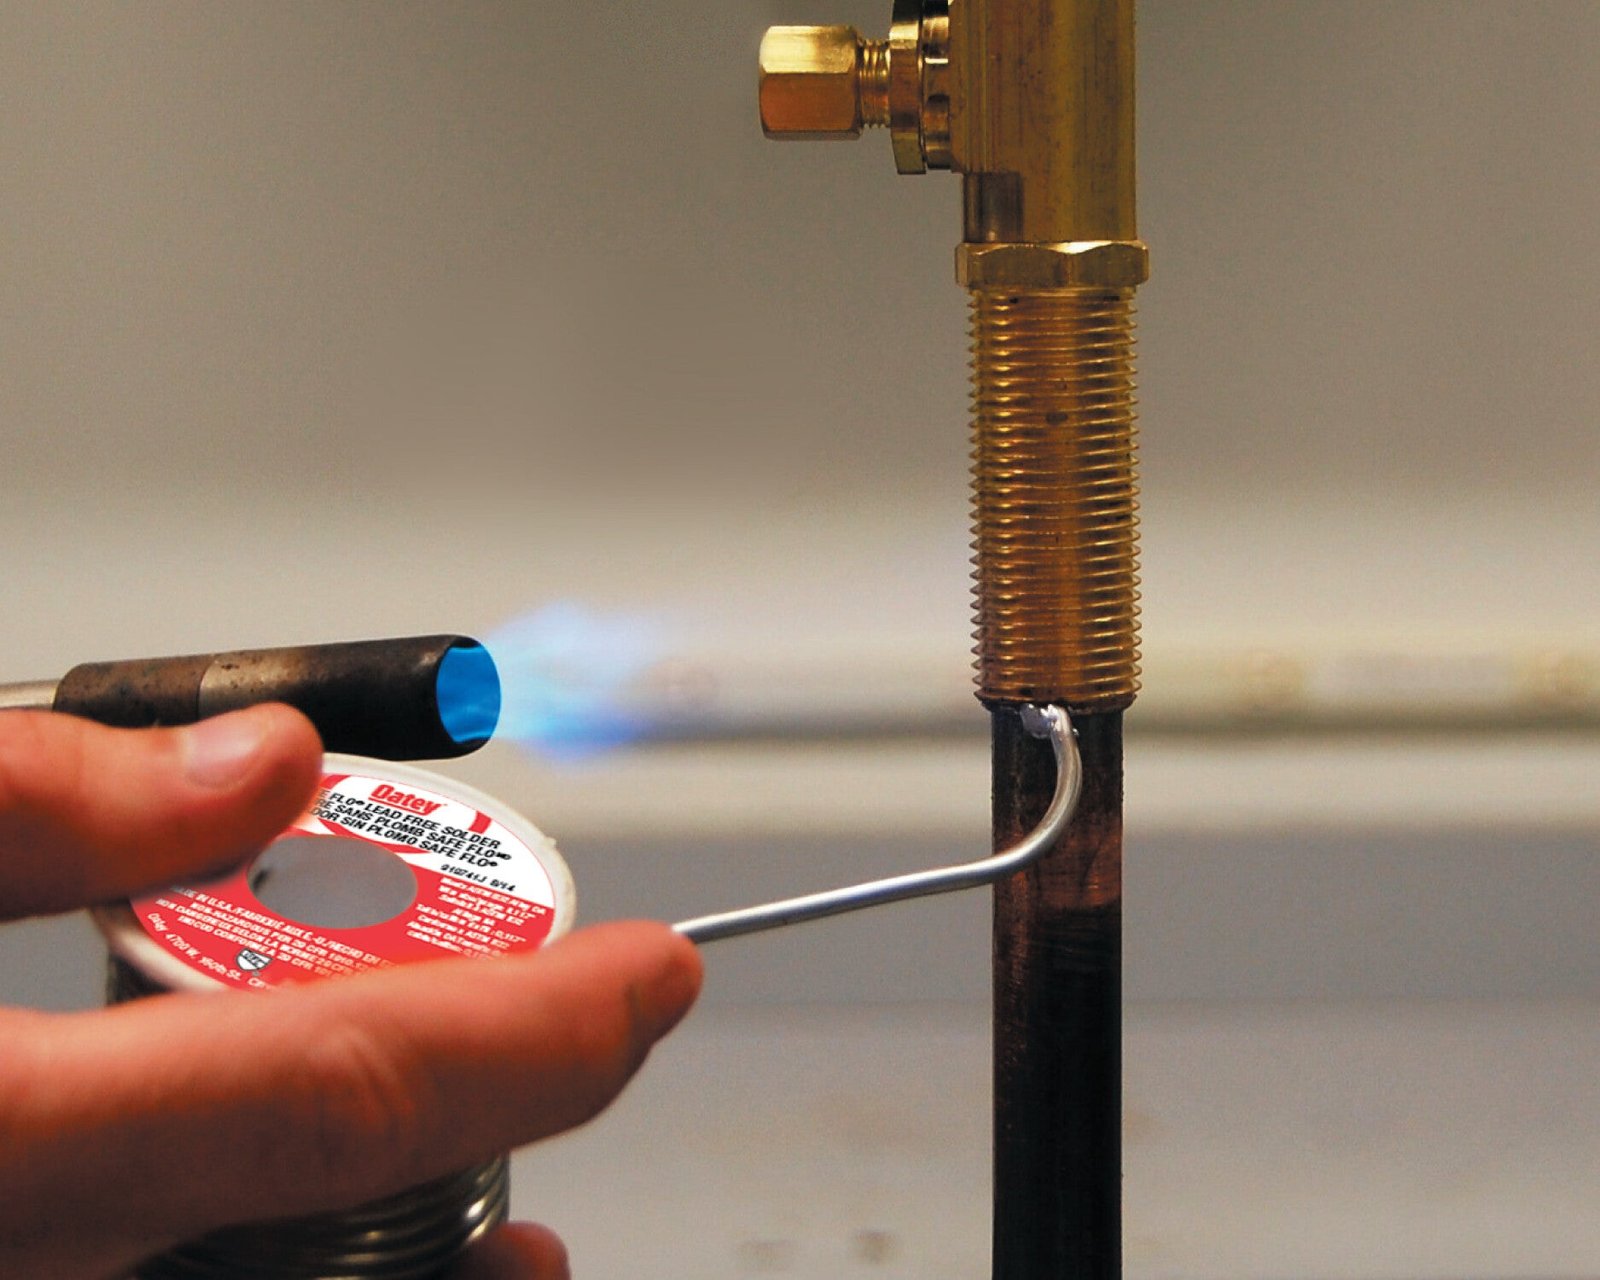
Credit: www.oatey.com
Preparing Copper Pipes
Preparing copper pipes properly is key to a strong solder joint. You must cut, clean, and fit pipes carefully. These steps help prevent leaks and ensure good flow.
Each part of the preparation takes time. This guide explains how to cut pipes cleanly, remove burrs, and fit pipes together correctly.
Cutting Pipes Cleanly
Use a pipe cutter for straight cuts. Avoid using saws that can leave rough edges. Turn the cutter slowly around the pipe for a smooth cut. Keep the pipe steady to prevent bending.
- Mark the cutting point clearly
- Place the pipe cutter on the mark
- Tighten the cutter gently
- Rotate the cutter around the pipe
- Tighten slightly after each full turn
- Stop when the pipe is cut through
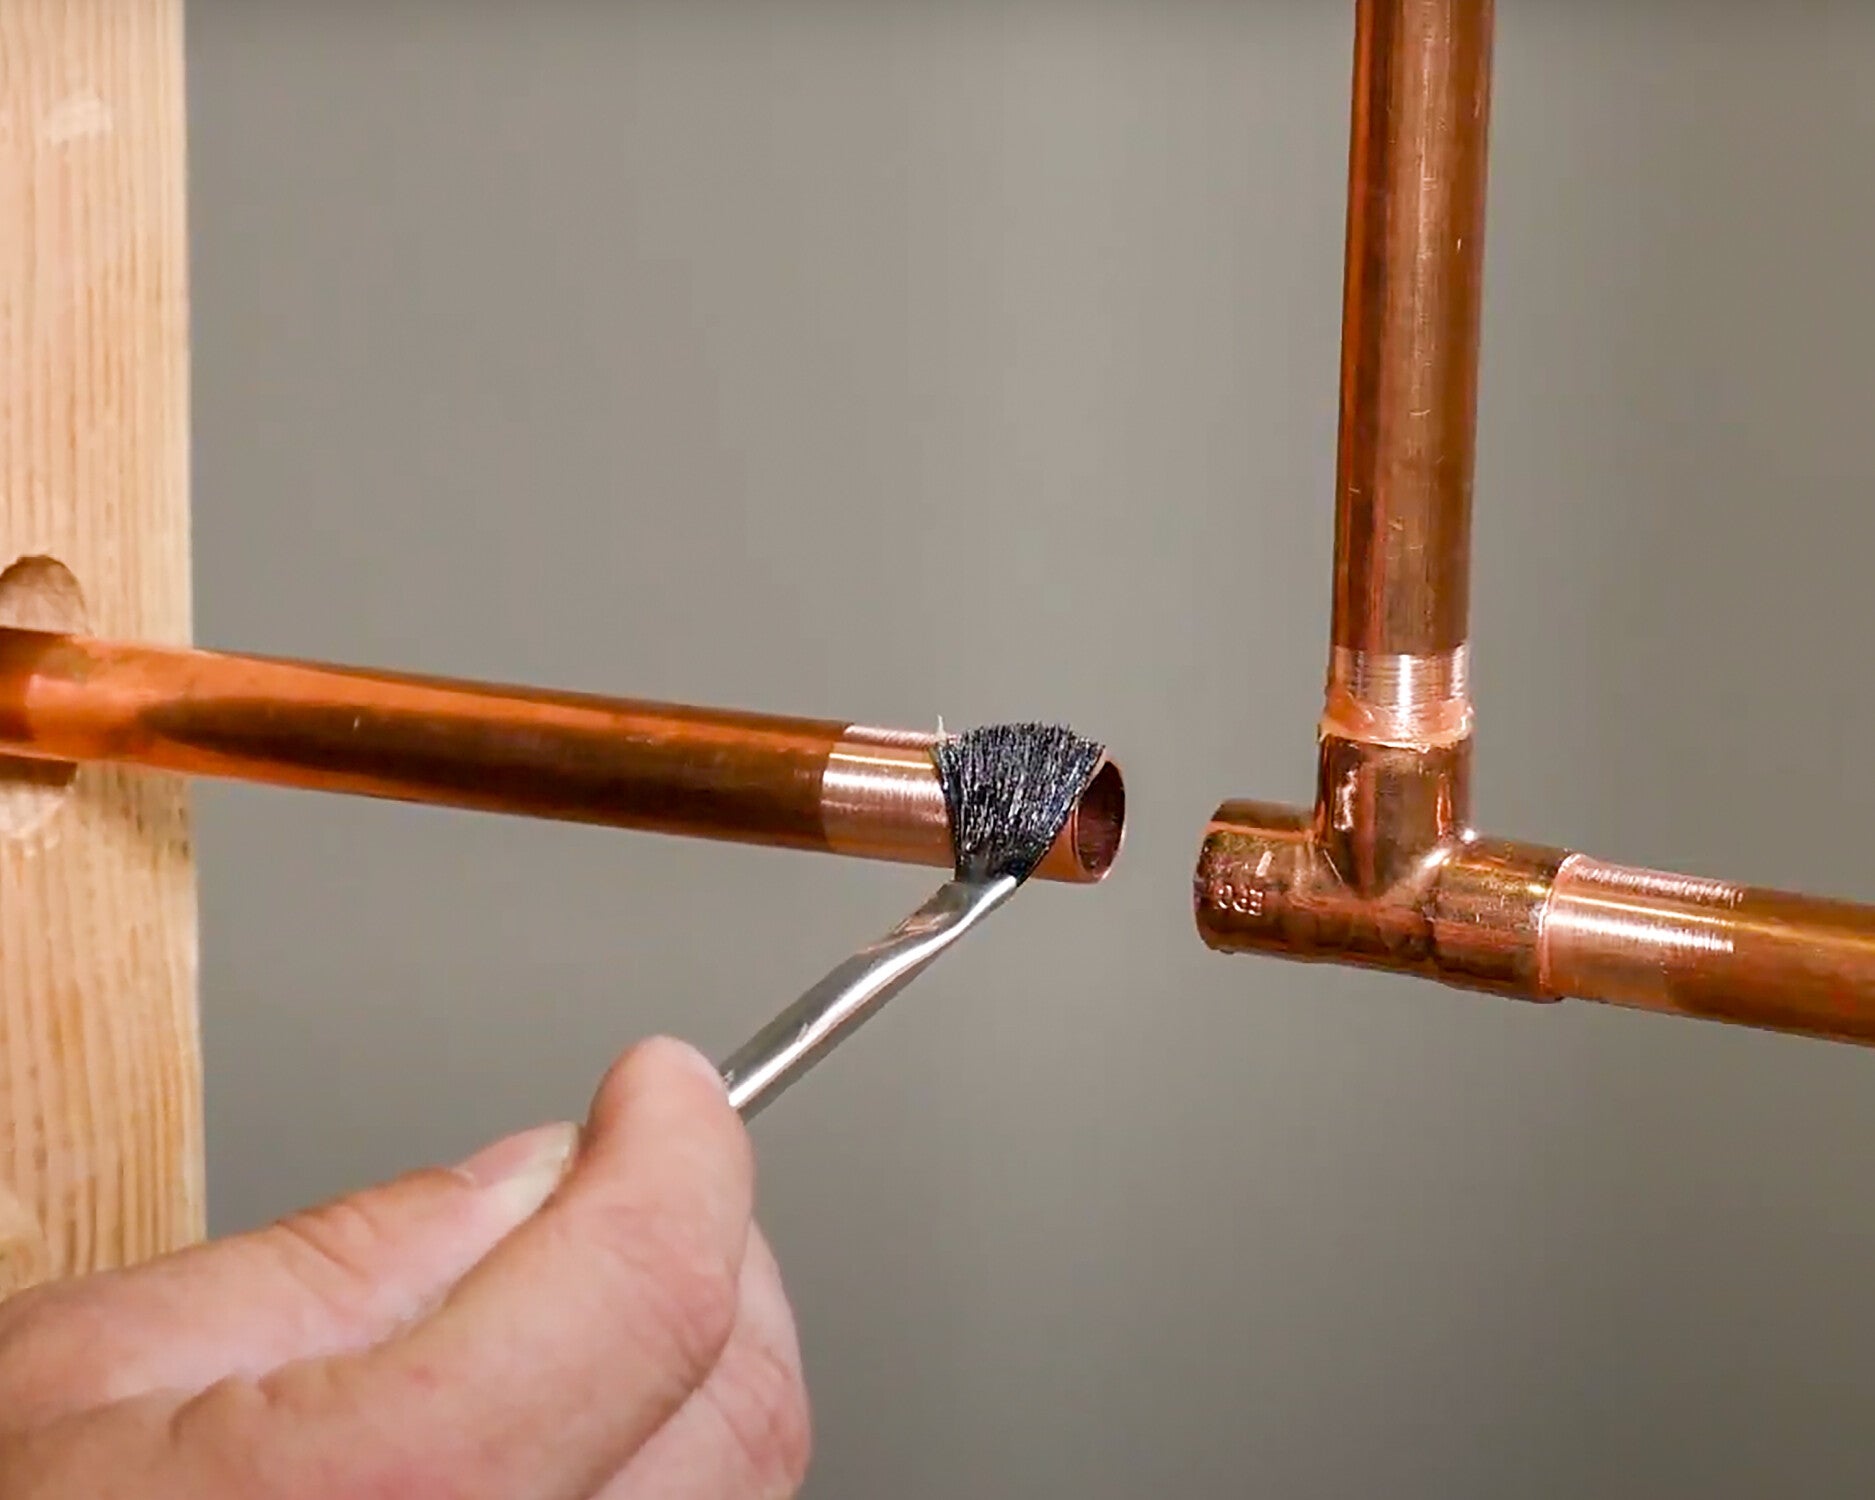
Cleaning And Deburring
Remove any rough edges or burrs left after cutting. Use a deburring tool or a round file. Clean the outside and inside of the pipe. Dirt and oxidation can stop solder from sticking well.
| Tool | Purpose |
| Deburring tool | Remove sharp edges inside the pipe |
| Sandpaper or steel wool | Clean outside surface |
| Wire brush | Clean inside fitting |
Fitting And Aligning Pipes
Fit pipes together so they touch fully. Check that pipes are aligned straight. Use pipe supports if needed. Proper alignment makes solder flow evenly and creates a tight seal.
Tips for fitting pipes:
- Push pipes fully into fittings
- Hold pipes steady while soldering
- Keep pipes clean during fitting
- Use clamps to hold pipes if needed
Soldering Techniques
Soldering copper pipes needs care and the right method. Using proper techniques helps create strong, leak-free joints.
This guide explains key steps for soldering copper pipes safely and effectively.
Applying Flux Correctly
Flux helps clean the pipe and allows solder to flow better. Apply it evenly to both the pipe and fitting surfaces.
- Use a small brush to spread flux around the pipe end.
- Cover the inside of the fitting with flux.
- Do not use too much flux to avoid mess.
- Make sure all surfaces that will join are coated.
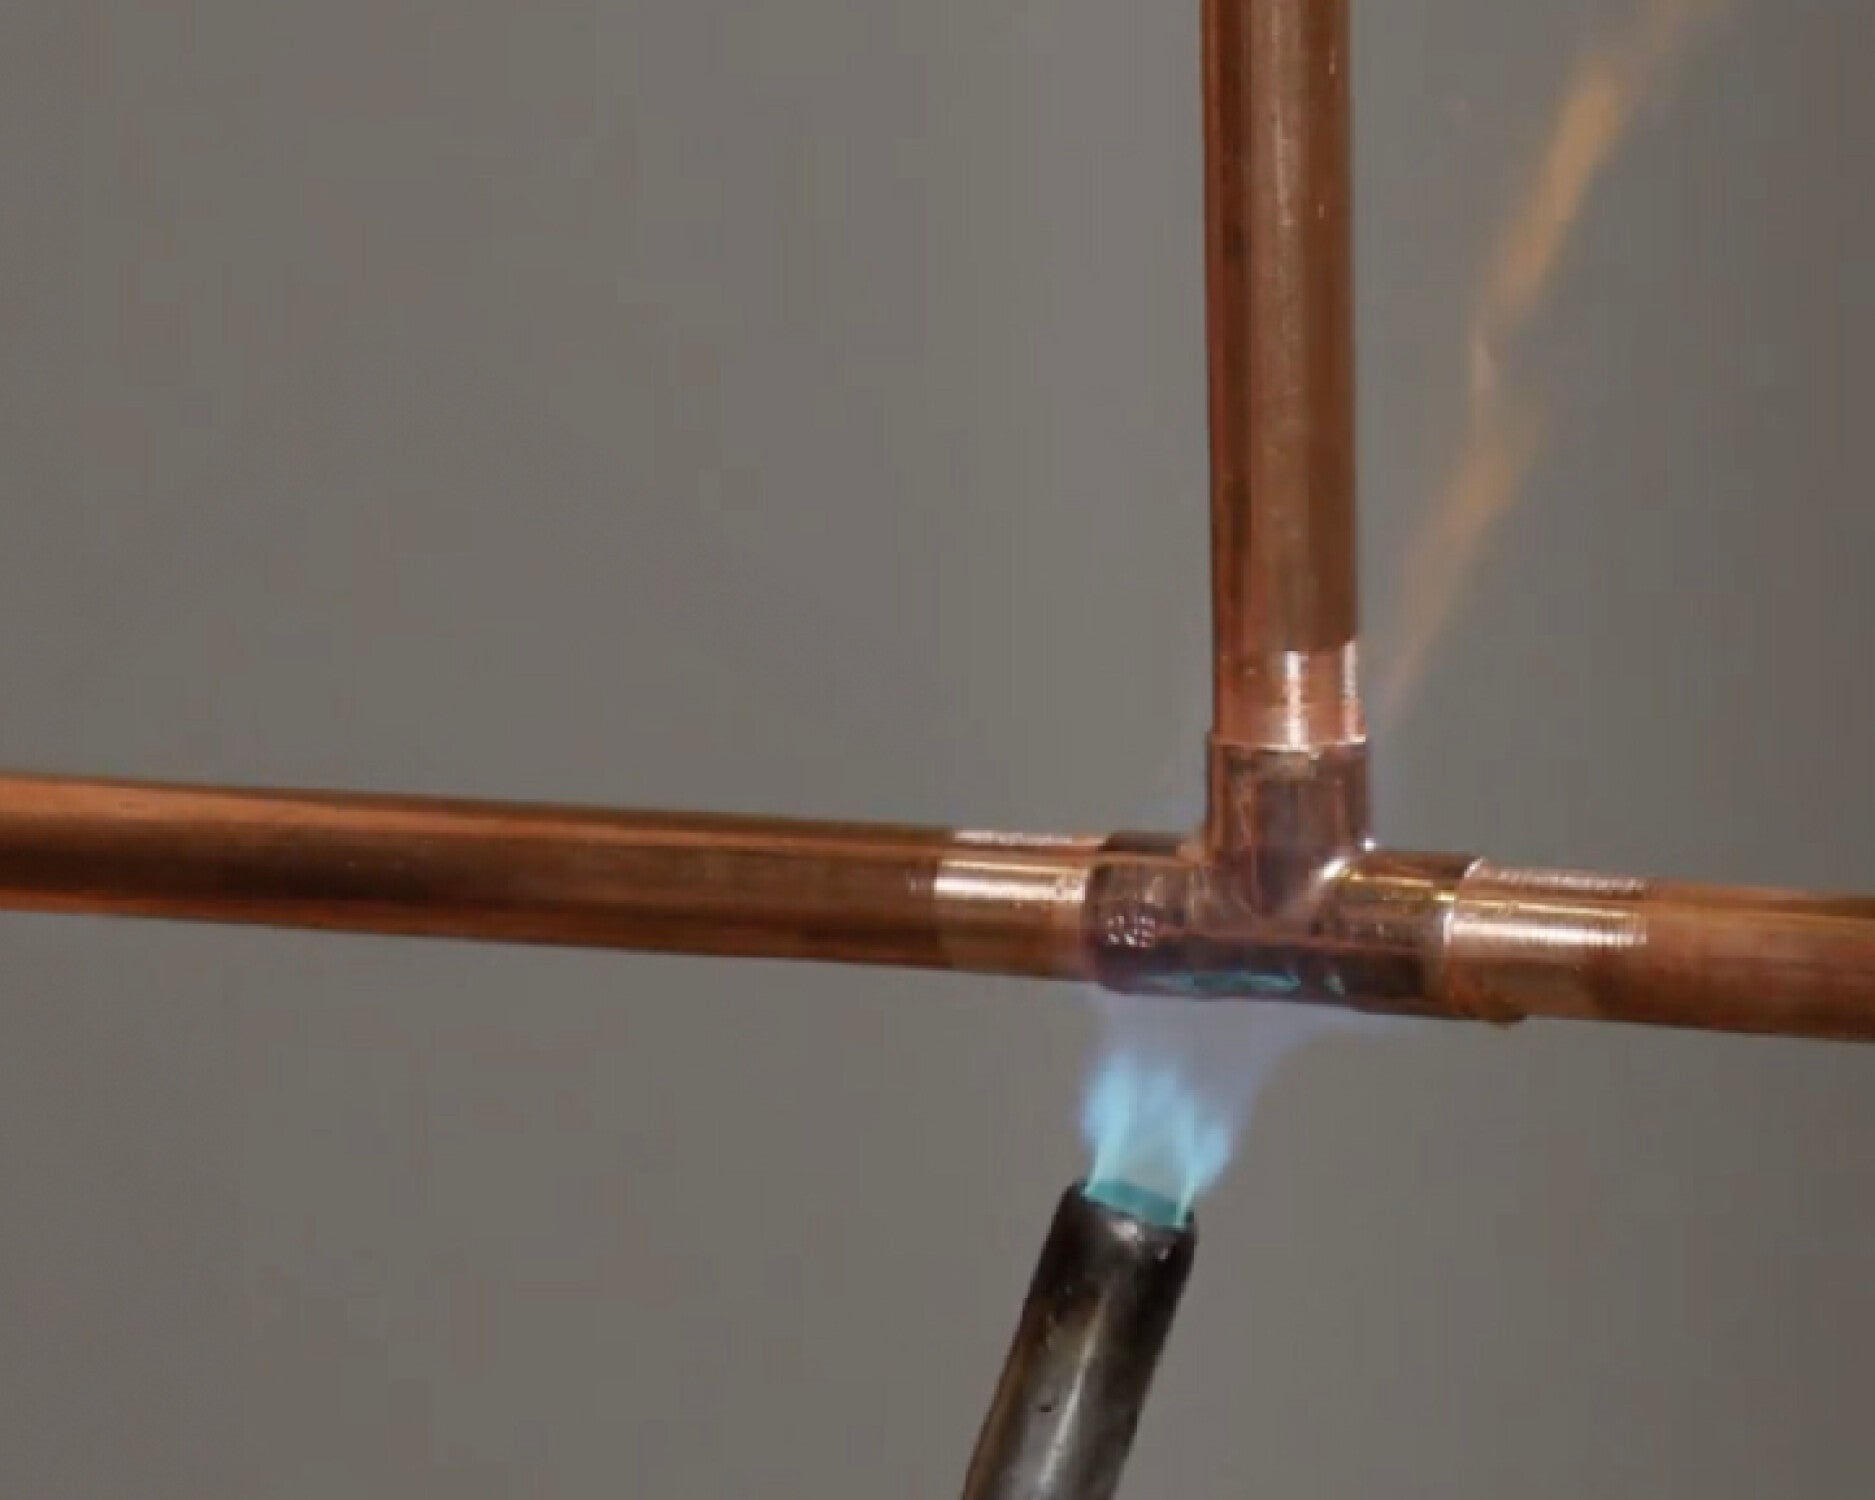
Heating The Joint
Heat the joint evenly using a propane torch. Move the flame around the pipe and fitting to warm both parts.
- Light the torch and adjust to a blue flame.
- Start heating the fitting, not the solder.
- Keep the flame moving to avoid overheating.
- Check if the flux sizzles, signaling the right temperature.
Applying Solder
Touch the solder wire to the heated joint. The heat melts the solder, which flows into the gap.
| Common Solder Types | Melting Point | Use |
|---|---|---|
| Lead-free 95/5 | 430°F (221°C) | Potable water pipes |
| Lead-based 60/40 | 370°F (188°C) | Heating systems (not for drinking water) |
| Silver solder | 1200°F (649°C) | High strength joints |
Cooling And Inspecting
Let the joint cool naturally without touching or moving it. Then check for solid solder coverage.
- Do not use water to cool the joint fast.
- Inspect for gaps or cracks in the solder ring.
- Wipe excess flux with a damp cloth after cooling.
- Test the joint by running water and checking for leaks.
Credit: www.youtube.com
Common Issues And Fixes
Soldering copper pipes is a useful skill for plumbing repairs. Some problems can happen during the process.
Knowing common issues helps you fix them fast. It keeps your pipes strong and leak-free.
Cold Joints
A cold joint happens when solder does not melt properly. This makes a weak connection that can leak.
Cold joints often occur if the pipe is not hot enough or if it moves while cooling.
- Heat the pipe and fitting evenly before applying solder.
- Keep the pipe steady until the solder cools.
- Clean the pipe and fitting before soldering.
Leaks And How To Seal Them
Leaks appear when solder does not fill the joint completely. Dirt or moisture can cause leaks too.
Seal leaks by reheating the joint and adding fresh solder carefully.
- Remove any water inside the pipe before soldering.
- Use flux to clean and protect the joint.
- Apply enough solder to fill gaps fully.
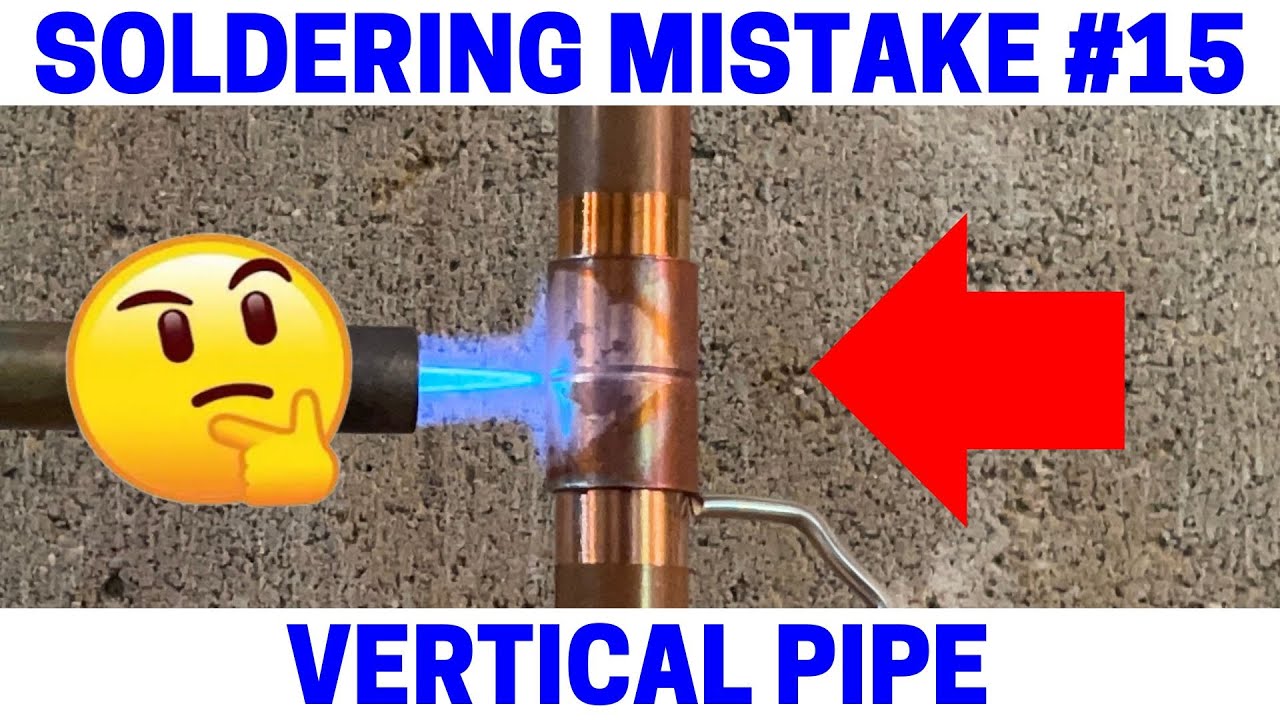
Overheating Problems
Overheating can damage pipes and fittings. It may cause the solder to burn or flow badly.
Keep the flame moving and watch the color of the pipe. Stop heating once solder melts.
- Avoid holding the flame on one spot too long.
- Use a medium heat setting on your torch.
- Practice on scrap pipe to control heat better.
Maintenance And Longevity
Keeping copper pipes in good shape helps avoid leaks and costly repairs. Regular care extends their life and keeps your plumbing safe.
This guide shares tips on inspecting pipes, stopping corrosion, and knowing when to replace pipes.
Regular Inspection Tips
Check your copper pipes often to find problems early. Look for signs like wet spots, green stains, or strange noises.
- Look under sinks for leaks or moisture
- Listen for dripping or banging sounds
- Feel pipes for cold spots or dampness
- Check pipe joints for looseness or corrosion
- Inspect exposed pipes in basements or crawlspaces
Preventing Corrosion
Corrosion weakens copper pipes and causes leaks. Avoid it by keeping pipes dry and clean.
| Cause | Prevention |
| Water acidity | Use water neutralizers |
| Electrolysis | Install dielectric unions |
| Physical damage | Protect pipes from impact |
| Moisture exposure | Insulate and dry pipe areas |
When To Replace Pipes
Replace copper pipes if you see leaks, heavy corrosion, or low water pressure. Old pipes may also burst without warning.
- Frequent leaks or drips
- Green or white corrosion buildup
- Water discoloration or bad taste
- Visible cracks or dents
- Low water pressure in multiple areas
Credit: www.oatey.com
Frequently Asked Questions
What Tools Do I Need For Soldering Copper Pipes?
You need a propane torch, solder, flux, pipe cutter, wire brush, and safety gloves. These tools ensure clean, strong joints and safe handling during soldering.
How Do I Prepare Copper Pipes For Soldering?
Clean pipes with a wire brush to remove oxidation. Apply flux evenly to joints before heating. Proper preparation ensures a secure, leak-free connection.
What Is The Correct Soldering Temperature For Copper Pipes?
Heat the pipe until the flux sizzles, typically around 600°F (315°C). Avoid overheating to prevent pipe damage and ensure proper solder flow.
How Can I Avoid Leaks When Soldering Copper Pipes?
Use the right amount of flux and solder. Heat joints evenly and allow solder to flow completely around the connection for a solid seal.
Conclusion
Mastering soldering techniques ensures leak-free copper pipe joints. With patience and practice, anyone can do it. Always remember to clean pipes thoroughly. Heat control is crucial. Use the right amount of solder. Safety gear is essential. Protect your eyes and skin.
Keep a fire extinguisher nearby. Check for leaks after soldering. Tight connections ensure durability. Soldering can save money and time. It also boosts your DIY skills. Enjoy the satisfaction of a job well done. Practice regularly to improve your skills.
Happy soldering!