If you’ve ever struggled with loose or unreliable connections, you know how frustrating it can be. Getting your connectors crimped just right is key to ensuring a strong, lasting bond.
But how do you know which technique will work best for your project? You’ll discover the best techniques for crimping connectors that will save you time, improve your results, and make your work look professional. Keep reading, and you’ll master the skills that make every connection count.
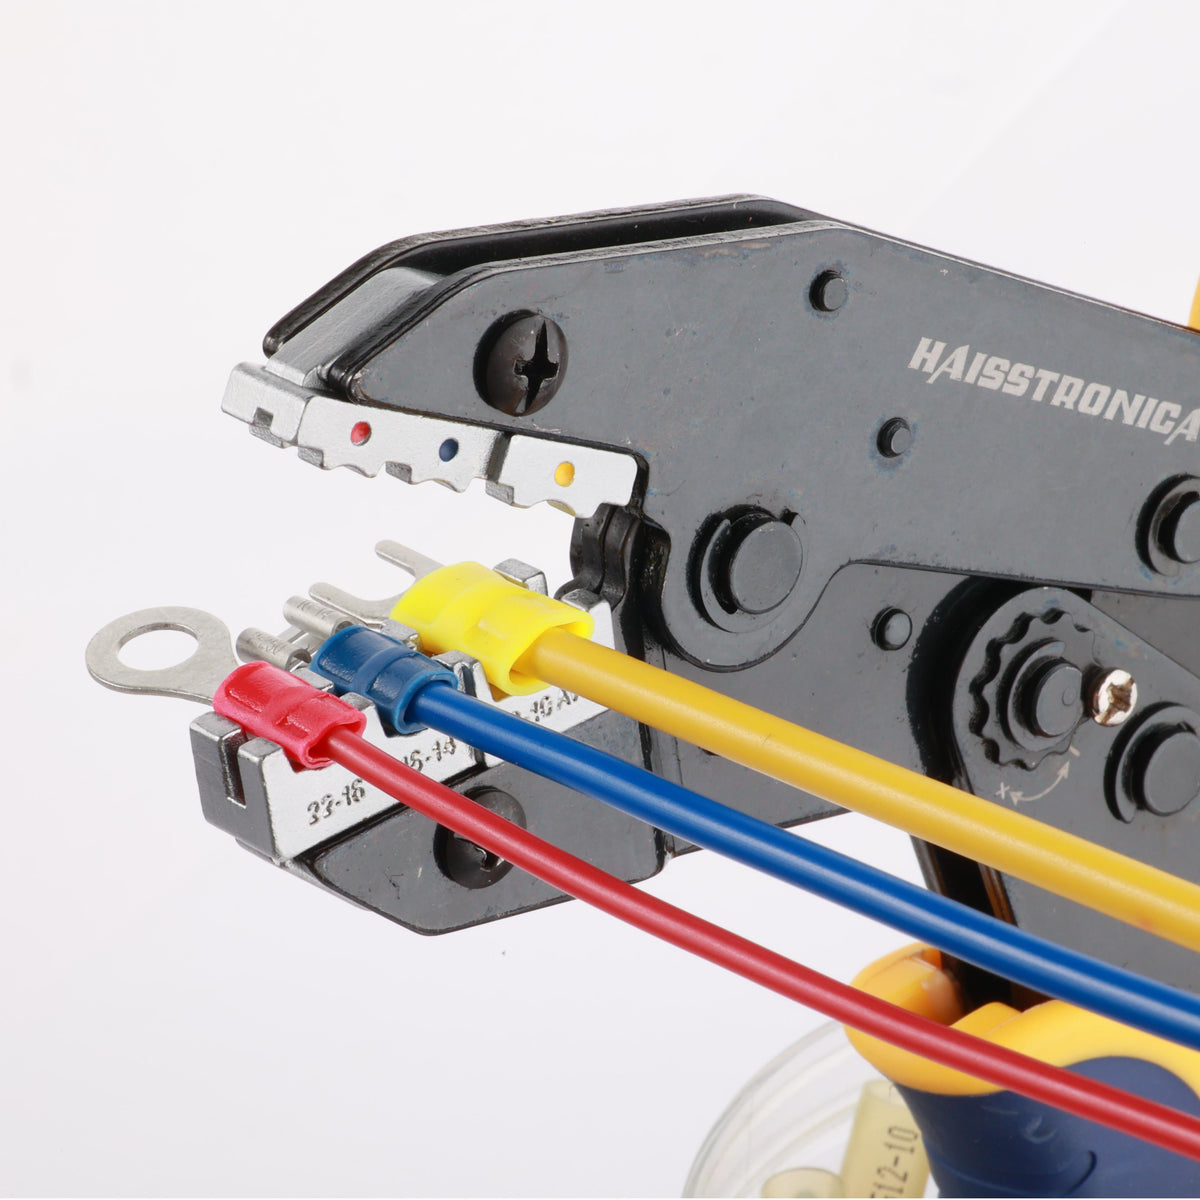
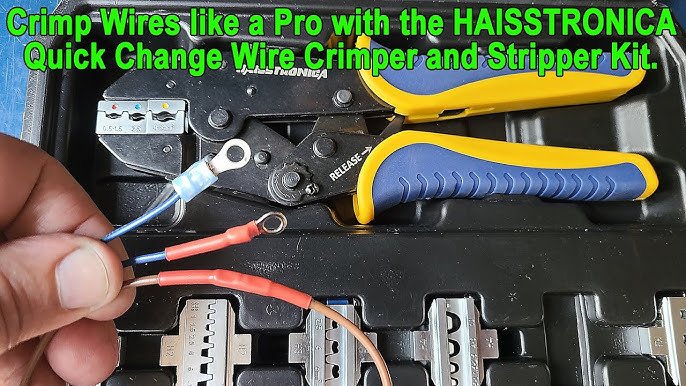
Credit: haisstronica.com
Choosing The Right Connector
Choosing the right connector is important for a secure and lasting connection. The right connector ensures good electrical contact and prevents damage.
Using the wrong connector can cause failures or safety issues. It is essential to know the types, materials, and compatibility before crimping.
Types Of Connectors
Connectors come in many shapes and sizes. Each type fits different wire sizes and applications.
- Ring terminals: fit over screws or bolts
- Spade terminals: easy to connect and disconnect
- Butt connectors: join two wires end-to-end
- Pin terminals: insert into terminal blocks
- Quick disconnects: allow fast wire removal
Material Considerations
Connector materials affect durability and conductivity. Common materials include copper, brass, and aluminum.
Many connectors have coatings like tin or nickel. These coatings protect against corrosion and improve performance.
- Copper: high conductivity, often plated
- Brass: strong and corrosion-resistant
- Aluminum: lightweight but less conductive
- Tin plating: prevents rust and oxidation
- Nickel plating: good for high temperatures
Connector Compatibility
Check that the connector fits your wire size and type. Using the wrong size can cause a weak connection.
Match the connector to the wire’s insulation and the crimp tool’s specifications for best results.
- Wire gauge: choose connectors for your wire size
- Insulation type: ensure the connector fits insulation thickness
- Crimp tool: use tools made for your connector type
- Application: consider environmental and electrical needs
Essential Tools For Crimping
Crimping connectors securely needs the right tools. Using proper equipment makes your work safer and easier.
This guide covers key tools for crimping, focusing on manual and hydraulic crimpers, wire strippers and cutters, and inspection tools.
Manual Vs. Hydraulic Crimpers
Manual crimpers are simple hand tools. They work well for small jobs and light wires. Hydraulic crimpers use fluid pressure. They apply more force and are best for heavy-duty work.
- Manual crimpers need physical strength.
- Hydraulic crimpers reduce hand fatigue.
- Manual tools are cheaper and portable.
- Hydraulic tools give a stronger, consistent crimp.
- Choose based on wire size and job scale.
Wire Strippers And Cutters
Wire strippers remove insulation without damaging the wire. Cutters trim wires cleanly. Both tools help prepare wires for crimping.
| Tool | Purpose | Key Feature |
| Wire Stripper | Remove insulation | Multiple gauge settings |
| Wire Cutter | Cut wire ends | Sharp blades for clean cuts |
Inspection Tools
Inspection tools check crimp quality. They spot loose connections or damage. Using these tools ensures safe and reliable electrical work.
- Crimp gauges measure compression accuracy.
- Magnifying glasses reveal small defects.
- Multimeters test electrical continuity.
Preparing Wires For Crimping
Preparing wires correctly is essential for a strong and safe crimp connection. Proper preparation ensures good electrical contact and prevents failures.
Pay attention to stripping insulation, twisting wires, and cutting the right length. Each step helps create a secure crimp.
Stripping Wire Insulation
Remove the wire insulation carefully to expose the metal conductor. Avoid nicking or cutting the wire strands.
- Use a proper wire stripper tool for your wire gauge.
- Set the stripper blade to the right depth.
- Strip only the length needed for the connector.
- Check the exposed wire for damage before crimping.
Wire Twisting Techniques
Twist wire strands tightly to hold them together. This improves contact and makes insertion easier.
| Twisting Method | Purpose |
| Clockwise twist | Aligns strands for better contact |
| Uniform tightness | Prevents wire fraying |
| Short twists | Fits well inside connectors |
Ensuring Proper Wire Length
Cut the wire to the right length before crimping. Too long or too short wire causes poor connections.
- Measure the connector barrel length.
- Strip insulation to match the barrel size.
- Leave no exposed wire outside the connector.
- Double-check length before crimping.

Credit: www.icrimptools.com
Step-by-step Crimping Process
Crimping connectors is an important skill for creating strong electrical connections. This process uses a tool to press the connector onto the wire securely.
Following the correct steps helps avoid poor connections and electrical problems later on.
Inserting The Wire Correctly
Strip the wire insulation carefully without damaging the metal strands. Insert the bare wire fully into the connector barrel.
Make sure no strands are left outside. The wire should fit snugly inside the connector for a solid hold.
- Use the right wire stripper size
- Strip about 1/4 inch of insulation
- Check that wire strands are not cut or frayed
- Push wire fully into the connector
Positioning The Connector
Place the connector in the crimping tool at the correct slot. The slot size should match the connector type.
Hold the connector steady. Align it so the tool presses evenly on the connector barrel.
- Match tool slot size to connector size
- Center the connector in the tool jaws
- Keep the connector straight and stable
Applying The Right Pressure
Squeeze the crimping tool handles firmly and evenly. Apply enough pressure to deform the connector barrel around the wire.
Do not use too little pressure. A weak crimp can cause a loose connection. Avoid too much pressure that may damage the connector.
- Hold tool handles firmly
- Apply steady, even pressure
- Release only after full crimping
- Check the crimp for tightness and shape
Common Crimping Mistakes
Crimping connectors properly is key for strong electrical connections. Many people make simple mistakes that cause problems later.
Understanding common errors helps you avoid weak or faulty crimps. This guide explains common crimping mistakes to watch for.
Over-crimping And Under-crimping
Over-crimping happens when you squeeze the connector too hard. It can damage the wire or connector, causing poor contact.
Under-crimping occurs if the crimp is too loose. This makes the connection weak and may cause the wire to fall out.
- Over-crimping can break the wire strands inside.
- Under-crimping may cause electrical resistance and heat.
- Both reduce the reliability of the connection.
Using Incorrect Tools
Using the wrong crimping tool can ruin your connectors. Each tool fits specific connector types and sizes.
A tool that does not match the connector may not apply even pressure. This results in weak or unsafe crimps.
- Select a tool made for your connector type.
- Check if the tool matches the wire gauge.
- Avoid using pliers or other non-crimping tools.
Ignoring Wire And Connector Sizes
Using connectors that do not fit your wire size causes bad connections. Too large connectors fail to hold the wire tight.
Too small connectors can damage the wire when crimped. Always match wire size with the correct connector size.
- Check the wire gauge before choosing a connector.
- Use connectors labeled for your wire size.
- Proper fit ensures a strong and safe connection.

Credit: xbcomponents.com
Testing And Inspecting Crimps
Proper testing and inspection ensure crimp connectors work safely and reliably.
Use different methods to check the quality of each crimp before use.
Visual Inspection Tips
Look closely at the crimp for any signs of damage or poor connection.
- Check if the wire insulation is cut or damaged.
- Ensure the crimp barrel is fully closed around the wire.
- Look for uneven or crushed metal parts.
- Make sure the wire strands are inside the crimp and not outside.
- Confirm there is no discoloration from overheating.
Pull Test Methods
Pull tests check how strong the crimp holds the wire under force.
| Test Type | Purpose | Procedure |
| Tensile Pull | Check strength of wire hold | Pull wire until it slips or breaks |
| Manual Pull | Quick strength check | Pull wire by hand firmly |
| Machine Pull | Precise measurement | Use a machine to apply set force |
Electrical Continuity Checks
Check if electricity passes through the crimp without interruption.
- Use a multimeter set to continuity mode.
- Place probes on the wire ends connected by the crimp.
- Listen for a beep or check for zero resistance.
- Test each crimp point to confirm full electrical flow.
- Repeat tests after any adjustments or repairs.
Advanced Crimping Techniques
Crimping connectors properly ensures strong electrical connections. Skilled techniques improve durability and safety in wiring projects.
This guide covers advanced methods that enhance the quality of crimped joints. These include double crimping, heat shrink use, and ferrule application.
Double Crimping For Strength
Double crimping adds extra strength to the connection by compressing the connector twice. This reduces the chance of wire slip or failure.
- First, crimp the connector firmly onto the wire.
- Check the initial crimp for tightness and alignment.
- Apply a second crimp slightly offset from the first.
- Inspect both crimps to ensure even compression and no damage.
Heat Shrink Application
Heat shrink tubing protects crimped connectors from moisture and mechanical stress. It also insulates the connection to prevent shorts.
| Step | Action |
|---|---|
| 1 | Cut heat shrink tubing to fit over the crimped area. |
| 2 | Slide tubing onto the wire before crimping. |
| 3 | Crimp the connector securely. |
| 4 | Move tubing over the crimped connector. |
| 5 | Use a heat gun to evenly shrink the tubing. |
Using Ferrules For Wire Protection
Ferrules protect wire strands during crimping and improve connection reliability. They prevent fraying and ensure consistent contact.
Benefits of using ferrules include:
- Preventing wire strand damage
- Improving electrical contact
- Reducing connector wear
- Making future maintenance easier
Maintaining Crimping Tools
Proper maintenance keeps crimping tools working well. It helps avoid damage and ensures good connections.
Regular care extends the tool’s life and improves safety during use.
Cleaning And Lubrication
Keep tools clean to remove dirt and debris. Use a soft brush or cloth for cleaning.
- Wipe the tool after each use
- Apply light machine oil to moving parts
- Remove rust with fine sandpaper if needed
- Do not use harsh chemicals that damage metal
Calibration Procedures
Check calibration often to keep crimping force accurate. Poor calibration causes weak or damaged connections.
| Calibration Step | Description | Frequency |
| Visual Inspection | Look for worn or damaged parts | Before each use |
| Test Crimp Force | Use a gauge to measure pressure | Monthly or after heavy use |
| Adjust Settings | Follow tool manual to reset force | When test results are off |
Storage Best Practices
Store tools in a dry, clean place to prevent rust and damage. Use cases or racks to keep them organized.
- Keep tools away from moisture
- Use protective covers or cases
- Store in a cool, dry area
- Keep tools separated to avoid impact damage
Frequently Asked Questions
What Is The Best Tool For Crimping Connectors?
The best tool depends on connector type. Ratchet crimpers provide consistent pressure and are ideal for most connectors. Choose a tool that matches your connector size for secure, reliable crimps.
How Do I Ensure A Strong Crimp Connection?
Strip the wire correctly, insert it fully into the connector, and use a proper crimping tool. Apply even pressure to avoid loose or damaged crimps, ensuring a durable electrical connection.
Can I Reuse Crimped Connectors Safely?
No, crimped connectors should not be reused. Once crimped, connectors deform and lose integrity. Reusing them can cause poor electrical contact and potential safety hazards.
What Is The Difference Between Soldering And Crimping?
Crimping mechanically secures connectors without heat, while soldering uses melted metal to bond wires. Crimping is faster, cleaner, and often more reliable for electrical connections.
Conclusion
Mastering crimping techniques ensures secure and reliable connections. Practice often for better results. Choose the right tools for each task. Quality matters. Always inspect your work to avoid issues. Safety first. Use protective gear when necessary. Ensure a clean workspace.
This enhances precision and efficiency. Consistent practice builds confidence and skill. Crimping connectors properly saves time and reduces errors. A well-crimped connection lasts longer. Stay informed about the latest tools and methods. This keeps your skills sharp. Enjoy the satisfaction of a job well done.
Happy crimping!