Have you ever wondered if your switch is really working or if it’s time for a replacement? Testing switches might sound tricky, but with a multimeter in your hand, it becomes a simple and quick task you can do yourself.
Imagine saving time and money by spotting problems before they cause bigger issues. You’ll learn exactly how to test switches step-by-step, even if you’re not a tech expert. Ready to take control and fix things like a pro? Let’s get started!
Credit: mrelectric.com
Tools Needed
Testing switches with a multimeter requires specific tools. These tools help you check if the switch works correctly.
Gathering the right equipment makes the testing process safe and accurate. Let’s look at what you need.
Choosing The Right Multimeter
Select a multimeter that can measure continuity and resistance. A digital multimeter is easier to read than an analog one.
- Look for a multimeter with a continuity test feature.
- Ensure the device has a clear digital display.
- Choose one with a range that includes low resistance values.
- Check if the multimeter comes with test leads and probes.
Additional Equipment
| Equipment | Purpose |
| Test Leads | Connect the multimeter to the switch terminals |
| Insulated Gloves | Protect from electric shock while testing |
| Screwdriver | Remove switch covers safely |
| Flashlight | Improve visibility in dark areas |
| Contact Cleaner | Clean switch contacts if needed |
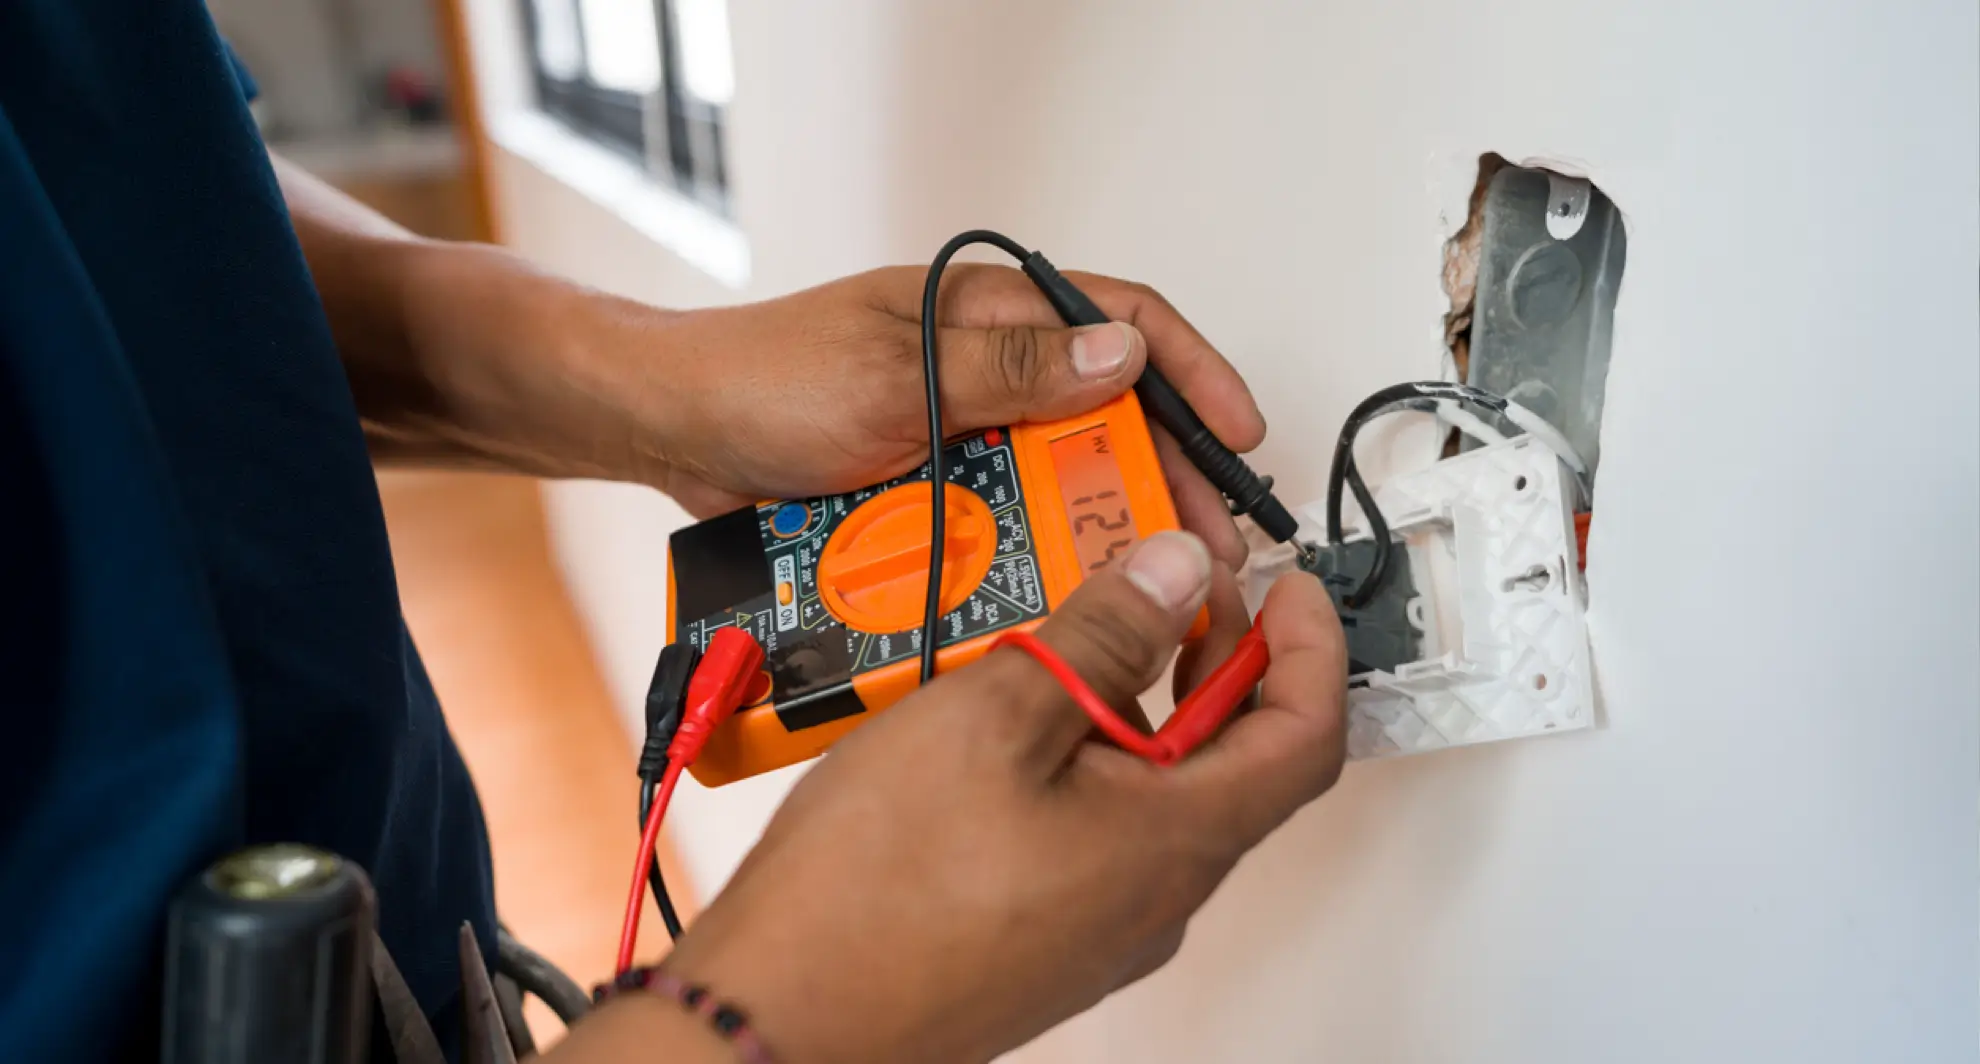
Preparing The Switch
Testing a switch with a multimeter starts with proper preparation. This ensures accurate results and keeps you safe.
Before you begin, you need to power off the device and access the switch terminals carefully. Follow these steps for a smooth process.
Power Off And Safety
Always turn off the power before testing a switch. Unplug the device or switch off the circuit breaker. This prevents electric shock and damage to your multimeter.
- Disconnect power source completely
- Wear insulated gloves if needed
- Use tools with insulated handles
- Work in a dry environment
- Double-check the power is off with your multimeter
Accessing The Switch Terminals
To test the switch, you must reach the terminals where the wires connect. This may require removing a cover or panel.
| Tool | Purpose |
|---|---|
| Screwdriver | Remove screws on the switch plate or panel |
| Flashlight | Improve visibility in tight spaces |
| Needle-nose pliers | Hold or move wires safely |
Setting Up The Multimeter
Testing switches with a multimeter requires proper setup. This ensures accurate readings and safety.
Start by preparing your multimeter before connecting it to the switch. Follow simple steps to set it up correctly.
Selecting Continuity Or Resistance Mode
Choose the correct mode on your multimeter to test a switch. Continuity mode checks if the switch allows current to flow.
Resistance mode measures how much the switch resists the electric current. Both modes help find if the switch works properly.
- Turn the dial to the continuity setting, often marked with a sound wave or diode symbol.
- If your multimeter lacks continuity mode, select a low resistance setting (ohms).
- In continuity mode, the meter beeps when the switch is closed.
- In resistance mode, a low reading means the switch is good; a high reading means it may be faulty.
Calibrating The Meter
Calibrate your multimeter for accurate results. Calibration removes small errors in the meter’s readings.
| Calibration Step | Description |
|---|---|
| Check Battery | Replace if low to avoid false readings. |
| Zero Adjustment | Short the test leads together and adjust meter to zero if needed. |
| Test Known Resistor | Measure a resistor with a known value to verify accuracy. |
Testing The Switch
Testing switches with a multimeter helps find if they work well. A switch controls the flow of electricity in a circuit.
You can test different types of switches by checking their electrical connection. This guide shows how to test normally open and normally closed switches.
Testing Normally Open Switches
A normally open switch stays off until pressed or activated. This means no current flows when it is resting.
- Set your multimeter to continuity mode or lowest resistance setting.
- Place the probes on the two switch terminals.
- The meter should show no continuity when the switch is off.
- Press or activate the switch.
- The meter should then show continuity or near zero resistance.
Testing Normally Closed Switches
A normally closed switch allows current to flow when resting. It opens the circuit when pressed.
- Turn the multimeter to continuity or resistance mode.
- Touch the probes to the switch terminals.
- The meter should show continuity or low resistance without pressing.
- Press or activate the switch.
- The meter reading should then show no continuity or very high resistance.
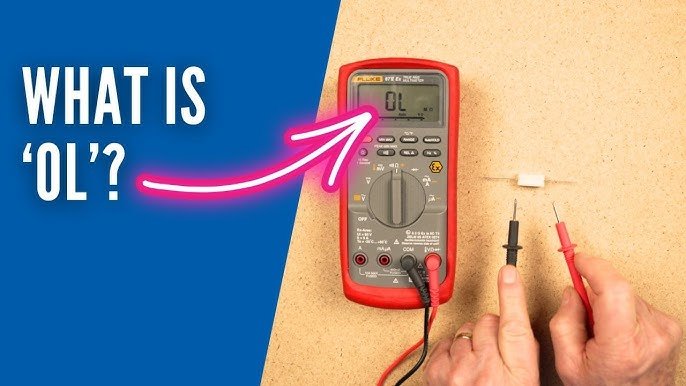
Interpreting Multimeter Readings
Understanding the meter readings helps decide if the switch is good or bad.
| Reading | Meaning |
|---|---|
| Continuity (beep sound or 0 Ω) | Switch is closed, current can flow |
| No continuity (no beep or infinite Ω) | Switch is open, no current flow |
| High resistance (above a few ohms) | Possible switch damage or dirt inside |
Troubleshooting Common Issues
Testing switches with a multimeter helps find problems fast. It checks if switches work right or have faults.
Some common issues appear during testing. Knowing these helps fix switches quickly and avoid wrong results.
False Readings And How To Avoid Them
False readings happen when the multimeter shows wrong results. This can confuse you about the switch’s condition.
False readings often occur due to bad connections or dirty contacts. They also happen if the multimeter is set incorrectly.
- Make sure multimeter probes touch the switch terminals firmly.
- Clean switch contacts before testing to remove dust or rust.
- Set the multimeter to the correct mode, usually continuity or resistance.
- Check the multimeter battery to ensure accurate readings.
- Avoid touching metal parts of probes with your fingers during testing.
When To Replace The Switch
Replace the switch if it shows no continuity when it should be closed. This means the switch is broken inside.
If the switch has high resistance even when closed, it may cause problems. Replacement is better in this case.
- The switch feels loose or stuck when toggled.
- Multimeter shows no change in readings when switching on and off.
- Visible damage like cracks or corrosion on the switch body.
- Switch causes flickering or inconsistent operation in the device.
Credit: www.keysight.com
Tips For Accurate Testing
Testing switches with a multimeter helps find electrical problems. Accurate testing ensures correct results and saves time.
Simple steps can improve your testing accuracy. Focus on your tools and the switch contacts for best results.
Maintaining Multimeter Probes
Clean and well-kept probes give better contact with switch terminals. Dirty or worn probes can cause false readings.
Check probes before testing. Replace damaged tips and clean them regularly for clear results.
- Wipe probes with a soft cloth
- Use rubbing alcohol to remove dirt
- Replace probes if tips are bent or broken
- Store probes properly to avoid damage
Ensuring Clean Contacts
Switch contacts must be clean for accurate readings. Dirt and corrosion block electrical flow and affect test results.
Clean contacts gently with fine sandpaper or a contact cleaner. Avoid using too much force to prevent damage.
- Turn off power before cleaning contacts
- Use a soft brush or cloth to remove loose dirt
- Apply contact cleaner if needed
- Dry contacts fully before testing

Credit: www.familyhandyman.com
Frequently Asked Questions
How Do I Test A Switch With A Multimeter?
Set the multimeter to continuity mode. Place probes on switch terminals. Press the switch; a beep or zero reading shows it works.
Can A Multimeter Detect A Faulty Switch?
Yes, a multimeter detects faults by checking switch continuity. No beep or infinite reading indicates a faulty switch.
What Multimeter Setting Is Best For Testing Switches?
Use the continuity or resistance (ohms) setting. Continuity mode quickly shows if the switch closes the circuit properly.
How To Test A Single-pole Switch Using A Multimeter?
Connect probes to switch terminals. Toggle the switch on and off. Continuity should exist only when the switch is on.
Conclusion
Testing switches with a multimeter is easy and efficient. This process ensures switches work correctly, preventing electrical issues. Start by gathering your tools and following the steps carefully. Always prioritize safety by turning off power sources first. A multimeter helps identify faulty switches quickly.
Regular checks can save you from future problems. Practice makes the process smoother over time. Understanding these steps boosts your confidence in handling electrical tasks. With patience, anyone can master this essential skill. Keep your multimeter handy for routine checks.
Happy testing!