Bending conduit might seem tricky at first, but once you know the right steps, it becomes simple and even satisfying. If you want your electrical work to look clean and professional, learning how to bend conduit properly is a must.
You’ll discover easy tips and tricks that save you time, avoid mistakes, and make your project stand out. Ready to master this skill and take your work to the next level? Keep reading, and you’ll see how straightforward it can be.
Tools Needed For Bending Conduit
Bending conduit properly requires the right tools. These tools help you make clean, accurate bends. Using the correct equipment also keeps you safe.
In this guide, we look at three main tool categories. These include different types of conduit benders, measuring tools, and safety gear.
Types Of Conduit Benders
Conduit benders come in several types. Each type works best for specific conduit sizes and bend styles. The most common ones are hand benders and hydraulic benders.
- Hand Benders:Used for small conduit sizes. They are simple and portable.
- Hydraulic Benders:Best for large or thick conduit. They use hydraulic power to reduce effort.
- Electric Benders:Automated machines for quick bending on job sites.
Measuring Tools
Accurate measurements make sure your bends fit the plan. Use tape measures, rulers, and angle finders to check lengths and angles.
| Tool | Use |
| Tape Measure | Measures length of conduit |
| Angle Finder | Checks the bend angle accurately |
| Marker | Marks bend points on conduit |
Safety Gear
Safety gear protects you from injuries during bending. Always wear gloves and eye protection. Hard hats and steel-toed boots help on busy sites.
- Safety gloves to protect your hands
- Safety glasses to shield your eyes
- Hard hats for head protection
- Steel-toed boots to protect your feet

Credit: shieldenstrut.com
Selecting The Right Conduit Material
Choosing the correct conduit material is key to bending conduit properly. Different materials have unique properties that affect how they bend and perform. Understanding these differences helps you pick the best conduit for your project.
This guide covers three common types of conduit materials: rigid metal conduit, electrical metallic tubing, and flexible conduit. Each has its own uses and bending methods.
Rigid Metal Conduit
Rigid metal conduit (RMC) is thick and strong. It protects wires well from damage. Bending RMC takes more effort because of its thickness.
This conduit is best for outdoor or industrial use. It resists corrosion and physical impact. Use a heavy-duty conduit bender for smooth bends.
Electrical Metallic Tubing
Electrical metallic tubing (EMT) is thinner and lighter than RMC. It is easier to bend by hand or with simple tools. EMT is popular for indoor wiring in homes and offices.
- Made of steel or aluminum
- Lightweight and easy to handle
- Requires less force to bend
- Good for tight spaces and simple bends
- Needs a bending spring or hand bender for best results
Flexible Conduit
Flexible conduit is made from plastic or metal coils. It bends easily without tools. This makes it ideal for places with many twists or changes in direction.
| Type | Material | Best Use |
| Rigid Metal Conduit | Thick Steel | Outdoor and Industrial |
| Electrical Metallic Tubing | Thin Steel or Aluminum | Indoor Wiring |
| Flexible Conduit | Plastic or Metal Coil | Complex Bends and Tight Spaces |
Preparing For The Bend
Bending conduit correctly starts with good preparation. Careful planning helps ensure accurate bends and safe installation.
Before bending, focus on measuring, choosing the right bend radius, and securing the conduit firmly in place.
Measuring And Marking
Measure the conduit carefully to determine where the bend will go. Mark the spot clearly using a pencil or marker.
- Use a tape measure for precise length.
- Mark the conduit at the exact point for the bend.
- Double-check your measurements before marking.
- Use a permanent marker to avoid smudging.
Choosing The Bend Radius
Select a bend radius that matches the conduit size and type. The bend radius affects the conduit’s strength and wire capacity.
| Conduit Size | Minimum Bend Radius |
| 1/2 inch | 4 inches |
| 3/4 inch | 6 inches |
| 1 inch | 8 inches |
| 1 1/4 inches | 10 inches |
Securing The Conduit
Hold the conduit steady before bending. Use clamps or a vise to prevent slipping or twisting.
- Place the conduit in a secure clamp or vise.
- Make sure it is straight and aligned.
- Check the clamp tightness to avoid movement during bending.
- Wear gloves to protect your hands while handling the conduit.
Techniques For Accurate Bends
Bending conduit properly is important for safe and neat electrical work. Accurate bends help the conduit fit well and protect the wires inside.
Using the right tools and techniques makes bending easier and more precise. Below are some ways to bend conduit correctly.
Using A Hand Bender
A hand bender is a simple tool for bending conduit by hand. It works best for small bends and thinner conduit.
Place the conduit into the bender and pull the handle slowly. Watch the angle carefully to get the right bend shape.
- Mark the conduit where you want the bend
- Insert conduit into the bender with the mark aligned
- Pull the handle steadily to avoid kinks
- Check the angle with a level or angle finder
- Make small adjustments if needed
Employing A Hydraulic Bender
Hydraulic benders use fluid pressure to bend conduit. They are good for large or thick conduit and reduce manual effort.
Place the conduit in the machine and start the hydraulic pump. The machine bends the conduit smoothly and evenly.
- Measure and mark the bend location clearly
- Secure the conduit in the hydraulic bender
- Operate the pump slowly to control the bend
- Stop often to check the bend angle
- Release pressure carefully after bending
Avoiding Common Mistakes
Many mistakes can ruin conduit bends. Avoiding these errors saves time and keeps the conduit safe.
- Do not bend without measuring and marking
- Avoid bending too fast to prevent cracks
- Do not overbend beyond the required angle
- Check for kinks or flattened areas after bending
- Use the right tool for the conduit size
Checking And Adjusting Bends
Bending conduit correctly is important for a safe electrical setup. After bending, check the shape and angle carefully.
Adjust any bends that look off to make sure the conduit fits well and works right.
Verifying Angles
Use a protractor or angle finder to check each bend’s angle. This helps make sure the conduit fits the design.
Measure the bend against your plan before moving on. Even small errors can cause problems later.
- Place the angle tool on the bend carefully
- Compare the angle to the required degrees
- Mark bends that need adjustment
Correcting Imperfections
Fix bends that are too sharp or too loose by gently reheating or re-bending the conduit. Use a conduit bender for better control.
Check for any dents or flattening after bending. Smooth out these imperfections to avoid damage or weak points.
- Apply gentle pressure to reshape the bend
- Use a round form to prevent flattening
- Heat the conduit if it is hard to adjust
Ensuring Electrical Code Compliance
Follow local electrical codes for bend radius and angles. This keeps the wiring safe and easy to install inside the conduit.
Check code rules about the number of bends allowed in a row. Too many bends can cause wire damage or installation issues.
- Maintain minimum bend radius as per code
- Limit bends to avoid wire strain
- Use approved tools and methods
Tips For Different Bend Types
Bending conduit correctly is important for safe and neat wiring. Different bends need different techniques.
Knowing how to make L-bends, U-bends, and offset bends helps you work faster and avoid mistakes.
L-bends
L-bends are simple 90-degree bends used to change direction of the conduit. Mark the bend point carefully.
Use a conduit bender and apply steady pressure to make a smooth bend. Avoid sharp angles or kinks.
- Place the conduit firmly in the bender’s groove
- Align your marks with the bender’s arrow
- Bend slowly to control the angle
- Check the angle with a square tool
U-bends
U-bends turn the conduit back the way it came. They need more bending length than L-bends.
Measure twice to find the center of the U-bend. Bend one side, then the other, keeping them even.
- Mark two points equal distance from the center
- Make the first bend slowly
- Flip the conduit and bend the second side
- Check that both bends are the same angle
Offset Bends
Offset bends move the conduit sideways to avoid obstacles. They use two bends in opposite directions.
Calculate the distance and angle needed for the offset. Bend the first side, then the second at the correct spacing.
- Measure the offset distance needed
- Calculate the bend angle using a chart or formula
- Mark the two bend points on the conduit
- Bend the first point, then the second in the opposite direction
- Check the offset width and angle with a level or ruler
Maintenance And Storage Of Tools
Proper care of conduit bending tools keeps them working well for a long time. Clean and store them correctly after use. This helps avoid damage and keeps the tools ready.
Regular checks and cleaning prevent rust and wear. Good habits save time and money by extending tool life.
Cleaning Benders
Remove dirt and grease from your benders after each use. Wipe them with a dry cloth to clear dust. Use a mild cleaner if needed, then dry thoroughly.
- Use a wire brush for stuck debris
- Apply light oil to moving parts
- Dry tools completely before storage
- Clean handles for a better grip
Proper Storage Practices
Store benders in a dry place to avoid rust. Keep them away from moisture and direct sunlight. Hang them or place them in toolboxes where they do not touch other metal tools.
| Storage Method | Benefits |
| Hanging on hooks | Prevents damage and easy to find |
| Toolbox with dividers | Keeps tools organized and protected |
| Dry cabinet | Protects from moisture and dust |
Regular Inspection
Check your benders often to find wear or damage. Look for cracks, rust, or loose parts. Fix or replace tools that do not work well.
- Inspect bending shoes for wear
- Check handles for cracks or bends
- Test moving parts for smooth action
- Tighten any loose screws or bolts
Credit: ftp.spaceneedle.com

Credit: www.studocu.com
Frequently Asked Questions
How Do You Bend Conduit Without Kinking?
Use a proper conduit bender and apply steady pressure. Mark the bend location, align the bender, and bend slowly. Avoid sharp angles to prevent kinks. Practice helps improve accuracy and prevents damage to the conduit.
What Tools Are Needed For Bending Conduit?
A conduit bender, measuring tape, marker, and level are essential. Choose the right bender size for the conduit type. Using proper tools ensures precise bends and maintains conduit integrity.
How To Measure Conduit For Accurate Bends?
Measure from the conduit end to the bend start point. Mark the exact location clearly. Use the bender’s degree marks to achieve precise angles. Accurate measurements prevent fitting errors and rework.
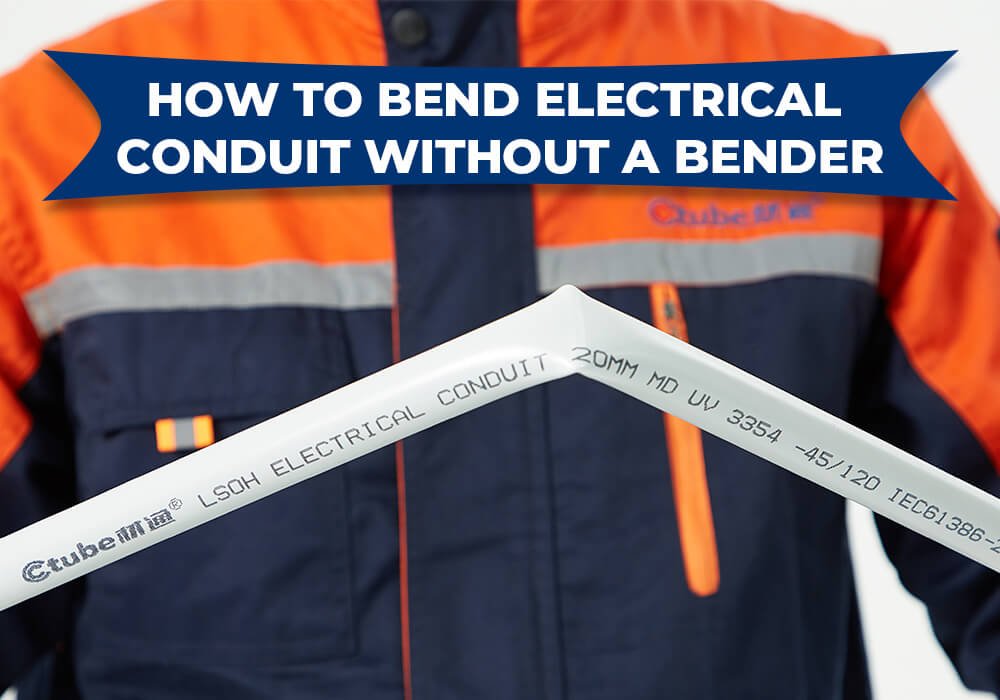
Can You Bend Conduit Without A Bender?
Bending conduit without a bender is not recommended. It can cause kinks or damage the conduit. Using the right bender ensures smooth, professional bends and maintains conduit strength.
Conclusion
Bending conduit properly ensures a safe and neat electrical system. Start with understanding the tools and materials needed. Measure accurately to avoid mistakes. Use the right technique for each type of bend. Practice improves your skills and confidence. Safety must always be your top priority.
Remember to wear protective gear. By following these steps, your conduit bending will be precise. Keep practicing and refining your technique. Proper conduit bending helps in creating reliable electrical installations. Your projects will look professional and function well. Happy bending!