Are you struggling to get perfect cuts with your router table? Aligning your router table correctly is the secret to achieving precise, clean results every time.
When your router table is out of alignment, your work can end up uneven, wasted, and frustrating. But don’t worry—this guide will show you simple, step-by-step ways to align your router table for precision. By following these tips, you’ll save time, reduce mistakes, and create flawless projects that truly impress.
Ready to take your woodworking to the next level? Let’s get started!

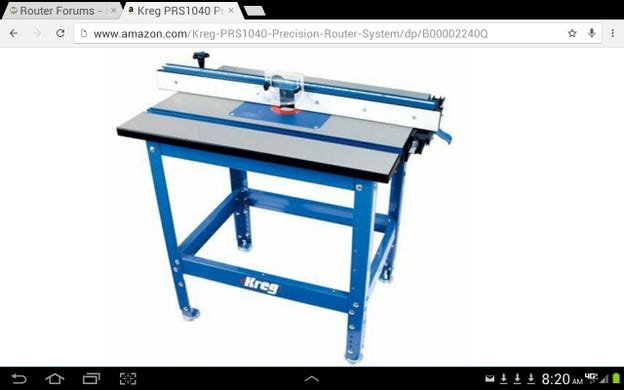
Credit: rumbointerior.com
Tools Needed For Alignment
Aligning your router table ensures precise cuts every time. Using the right tools helps you set up accurately.
This guide covers the essential tools you need to align your router table correctly.
Essential Measuring Instruments
Measuring instruments help you check the flatness and straightness of your router table. They ensure parts are level and even.
Common measuring tools include rulers, tape measures, and calipers. They provide basic measurements for alignment.
- Steel ruler for straight edges
- Tape measure for length checking
- Calipers for precise distance measurement
Choosing The Right Squares
Squares help you check if your router table parts meet at perfect right angles. This is key for accuracy.
Try to use a combination square or a carpenter’s square. They are easy to use and give reliable results.
- Combination square for multiple angle checks
- Carpenter’s square for quick 90-degree checks
- Try square for simple edge alignment
Using Dial Indicators
Dial indicators measure small changes in position. They help you detect even tiny misalignments on the router table.
Mount the dial indicator near the fence or router bit. Slowly move parts and watch the dial for any variation.
- Check fence parallelism to the router bit
- Measure table flatness
- Detect spindle runout or wobble
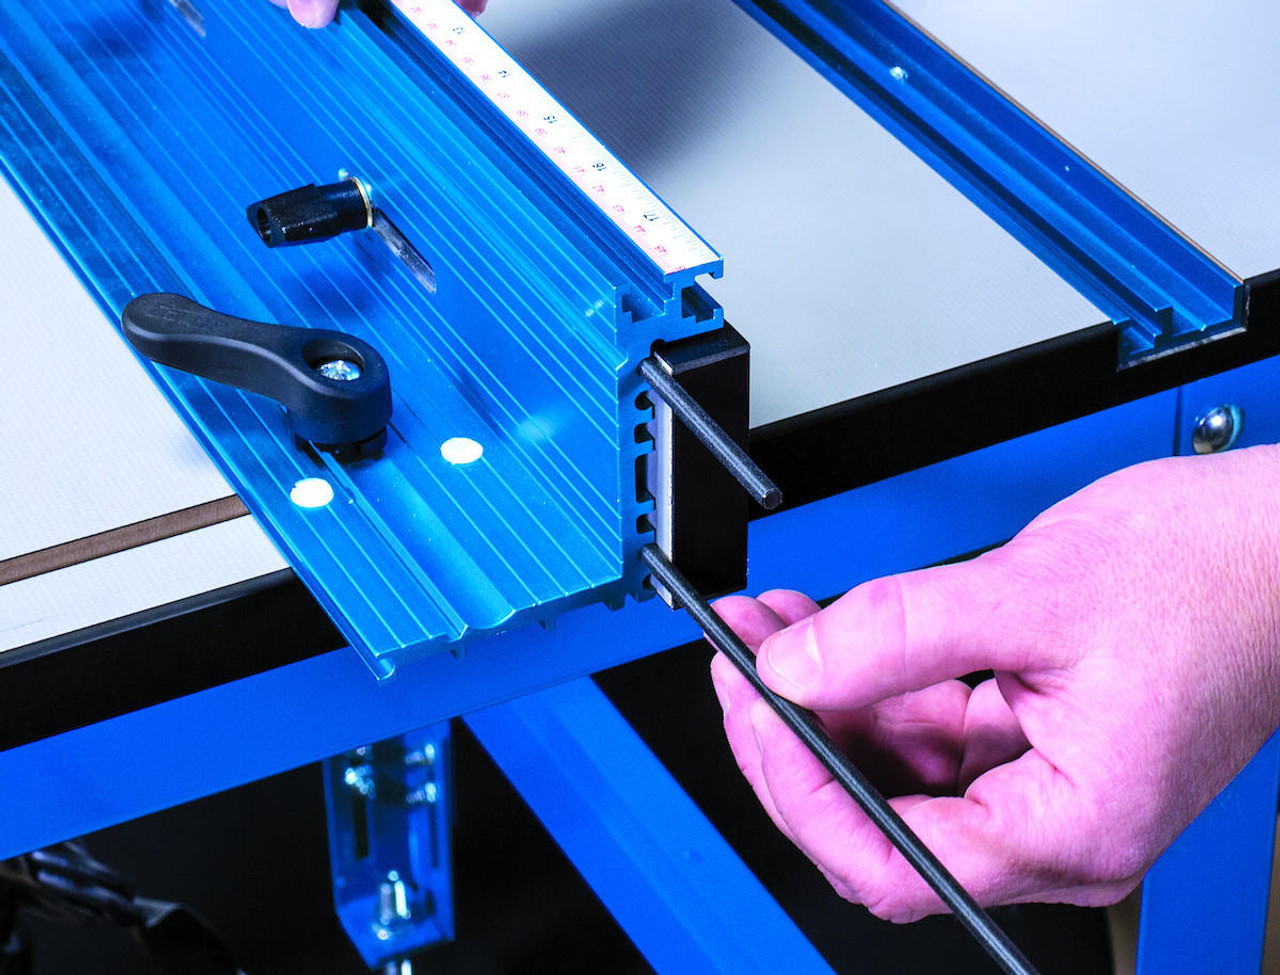
Credit: ahturf.com
Preparing The Router Table
Setting up your router table correctly is key for precise cuts. Preparation helps avoid mistakes and ensures safety.
This guide covers cleaning the surface, checking the fence and miter gauge, and securing the router and bit.
Cleaning And Clearing The Surface
Start by removing dust, wood chips, and any debris from the table surface. A clean surface prevents the wood from slipping.
- Use a soft brush or cloth to sweep the table.
- Check for sticky spots and clean with mild detergent if needed.
- Make sure the surface is dry before use.
Checking The Fence And Miter Gauge
Inspect the fence and miter gauge to ensure they are square and firmly attached. Proper alignment keeps cuts straight and safe.
| Part | Check | Adjustment Needed |
| Fence | Square to table surface | Use a carpenter’s square |
| Miter Gauge | Fits slot snugly | Tighten or replace if loose |
| Fence Locks | Hold fence firmly | Tighten screws if loose |
Securing The Router And Bit
Make sure the router is mounted tightly and the bit is secured properly. Loose parts cause vibration and inaccuracy.
- Turn off and unplug the router before adjustments.
- Use the correct wrench to tighten the collet nut.
- Check the bit for damage or dullness before use.
- Confirm the router is firmly locked to the table plate.
Aligning The Fence
Aligning the fence on a router table is important for precision. A well-aligned fence keeps your cuts straight and safe.
This guide explains how to set the fence parallel to the miter slot, adjust it for the bit position, and lock it securely.
Setting Fence Parallel To The Miter Slot
Start by loosening the fence locks so you can move it freely. Place a straight edge along the miter slot and the fence face.
Adjust the fence until it is parallel to the miter slot. This ensures your workpieces will feed evenly along the fence.
- Loosen the fence locks
- Place a straight edge from the miter slot to the fence
- Move the fence until it is parallel
- Tighten the fence locks lightly to hold position
Adjusting For Bit Position
After setting the fence parallel, adjust it to the correct distance from the router bit. This controls the cut depth and width.
Move the fence closer or farther from the bit depending on your project needs. Always measure twice before cutting.
- Measure distance from fence to bit
- Adjust fence to desired cut width
- Check bit exposure above table
- Ensure fence is still parallel after adjustment
Locking Fence In Place
Once the fence is parallel and positioned correctly, tighten all locks firmly. This prevents movement during cutting.
Double-check fence alignment after locking. A loose fence can cause inaccurate cuts and safety risks.
- Tighten fence locks securely
- Test fence stability by trying to move it
- Make minor adjustments if fence shifts
- Confirm fence remains parallel and correct distance
Leveling The Router Bit
Leveling the router bit is key to precise cuts on your router table. A bit that is not level can cause uneven cuts and poor results.
This guide helps you check and adjust the router bit to get accurate and clean cuts every time.
Ensuring Bit Is Perpendicular
The router bit must stand straight up, not tilted. A tilted bit cuts unevenly and can damage your workpiece.
Use a square or a try square to check if the bit is perpendicular to the table surface.
- Turn off the router and unplug it for safety.
- Place the square against the table and the bit.
- Look for any gaps between the bit and the square.
- Adjust the bit or router base until it aligns perfectly.
Using A Dial Indicator For Height
A dial indicator helps measure the exact height of the router bit. This tool shows small changes in bit height clearly.
Set the dial indicator on the table and slowly raise the bit. Watch the dial to see when the bit reaches the right height.
- Attach the dial indicator to the router table fence or a stable surface.
- Move the router bit up or down while watching the dial.
- Stop adjusting when the dial shows the desired height.
- Double-check the reading to confirm accuracy.
Fine-tuning For Accuracy
After rough adjustments, fine-tune the router bit height for exact cuts. Small changes make a big difference.
Make tiny adjustments and test on scrap wood. This helps you find the perfect level before working on your project.
- Use the router’s height adjustment knob for small moves.
- Cut a test groove on scrap wood.
- Check the groove for evenness and depth.
- Adjust and test again until the cut is perfect.
Testing And Calibration
Aligning your router table is important for precision. Testing and calibration help ensure your cuts are accurate. Careful checking will save you time and material.
This process involves making test cuts, measuring how close they are to the mark, and adjusting the router table setup as needed.
Making Test Cuts
Start by making simple test cuts on scrap wood. Use the same settings you plan for your project. Make cuts along the fence and bit to check alignment.
Cut shapes or grooves that will show if the bit is straight and the fence is square. Keep the scrap pieces for measuring.
Measuring Cut Accuracy
Use a ruler, square, or calipers to measure your test cuts. Look for straight edges and correct widths. Check if the groove fits your project parts well.
- Measure the distance from the fence to the cut edge
- Check if the cut is even on both sides
- Use a square to test if edges are at 90 degrees
Note any differences or unevenness. This tells you how much adjustment the router table needs.
Adjusting Based On Results
Make small changes to the fence or bit position based on your measurements. Move the fence closer or farther from the bit as needed. Tighten all locks after adjustment.
Repeat the test cuts and measuring until you get the desired precision. Patience here improves your final work quality.
Maintenance Tips For Long-term Precision
Keeping your router table aligned helps you get accurate cuts every time. Regular care keeps your tool working well for years.
Simple maintenance steps can prevent mistakes and improve safety when using your router table.
Regular Cleaning Routines
Dirt and dust can build up on your router table parts. Cleaning often stops this build-up and keeps parts moving smoothly.
- Remove sawdust and debris from the table surface.
- Clean the router bit and collet after use.
- Wipe down metal parts with a dry cloth.
- Apply a light coat of wax to the table top to reduce friction.
Checking Alignment Periodically
Check the alignment of your router table parts to keep cuts precise. Small shifts can cause big errors.
| Part | What to Check | How Often |
| Fence | Parallel to the miter slot | Monthly |
| Router bit | Centered and straight | Before each use |
| Table surface | Level and flat | Quarterly |
Replacing Worn Components
Over time, parts wear out and affect your router table’s precision. Replace parts to keep your work sharp.
- Change the router bit if it becomes dull or chipped.
- Replace worn fence inserts and clamps.
- Check and tighten any loose screws or bolts regularly.
- Swap out damaged table inserts for a flat surface.
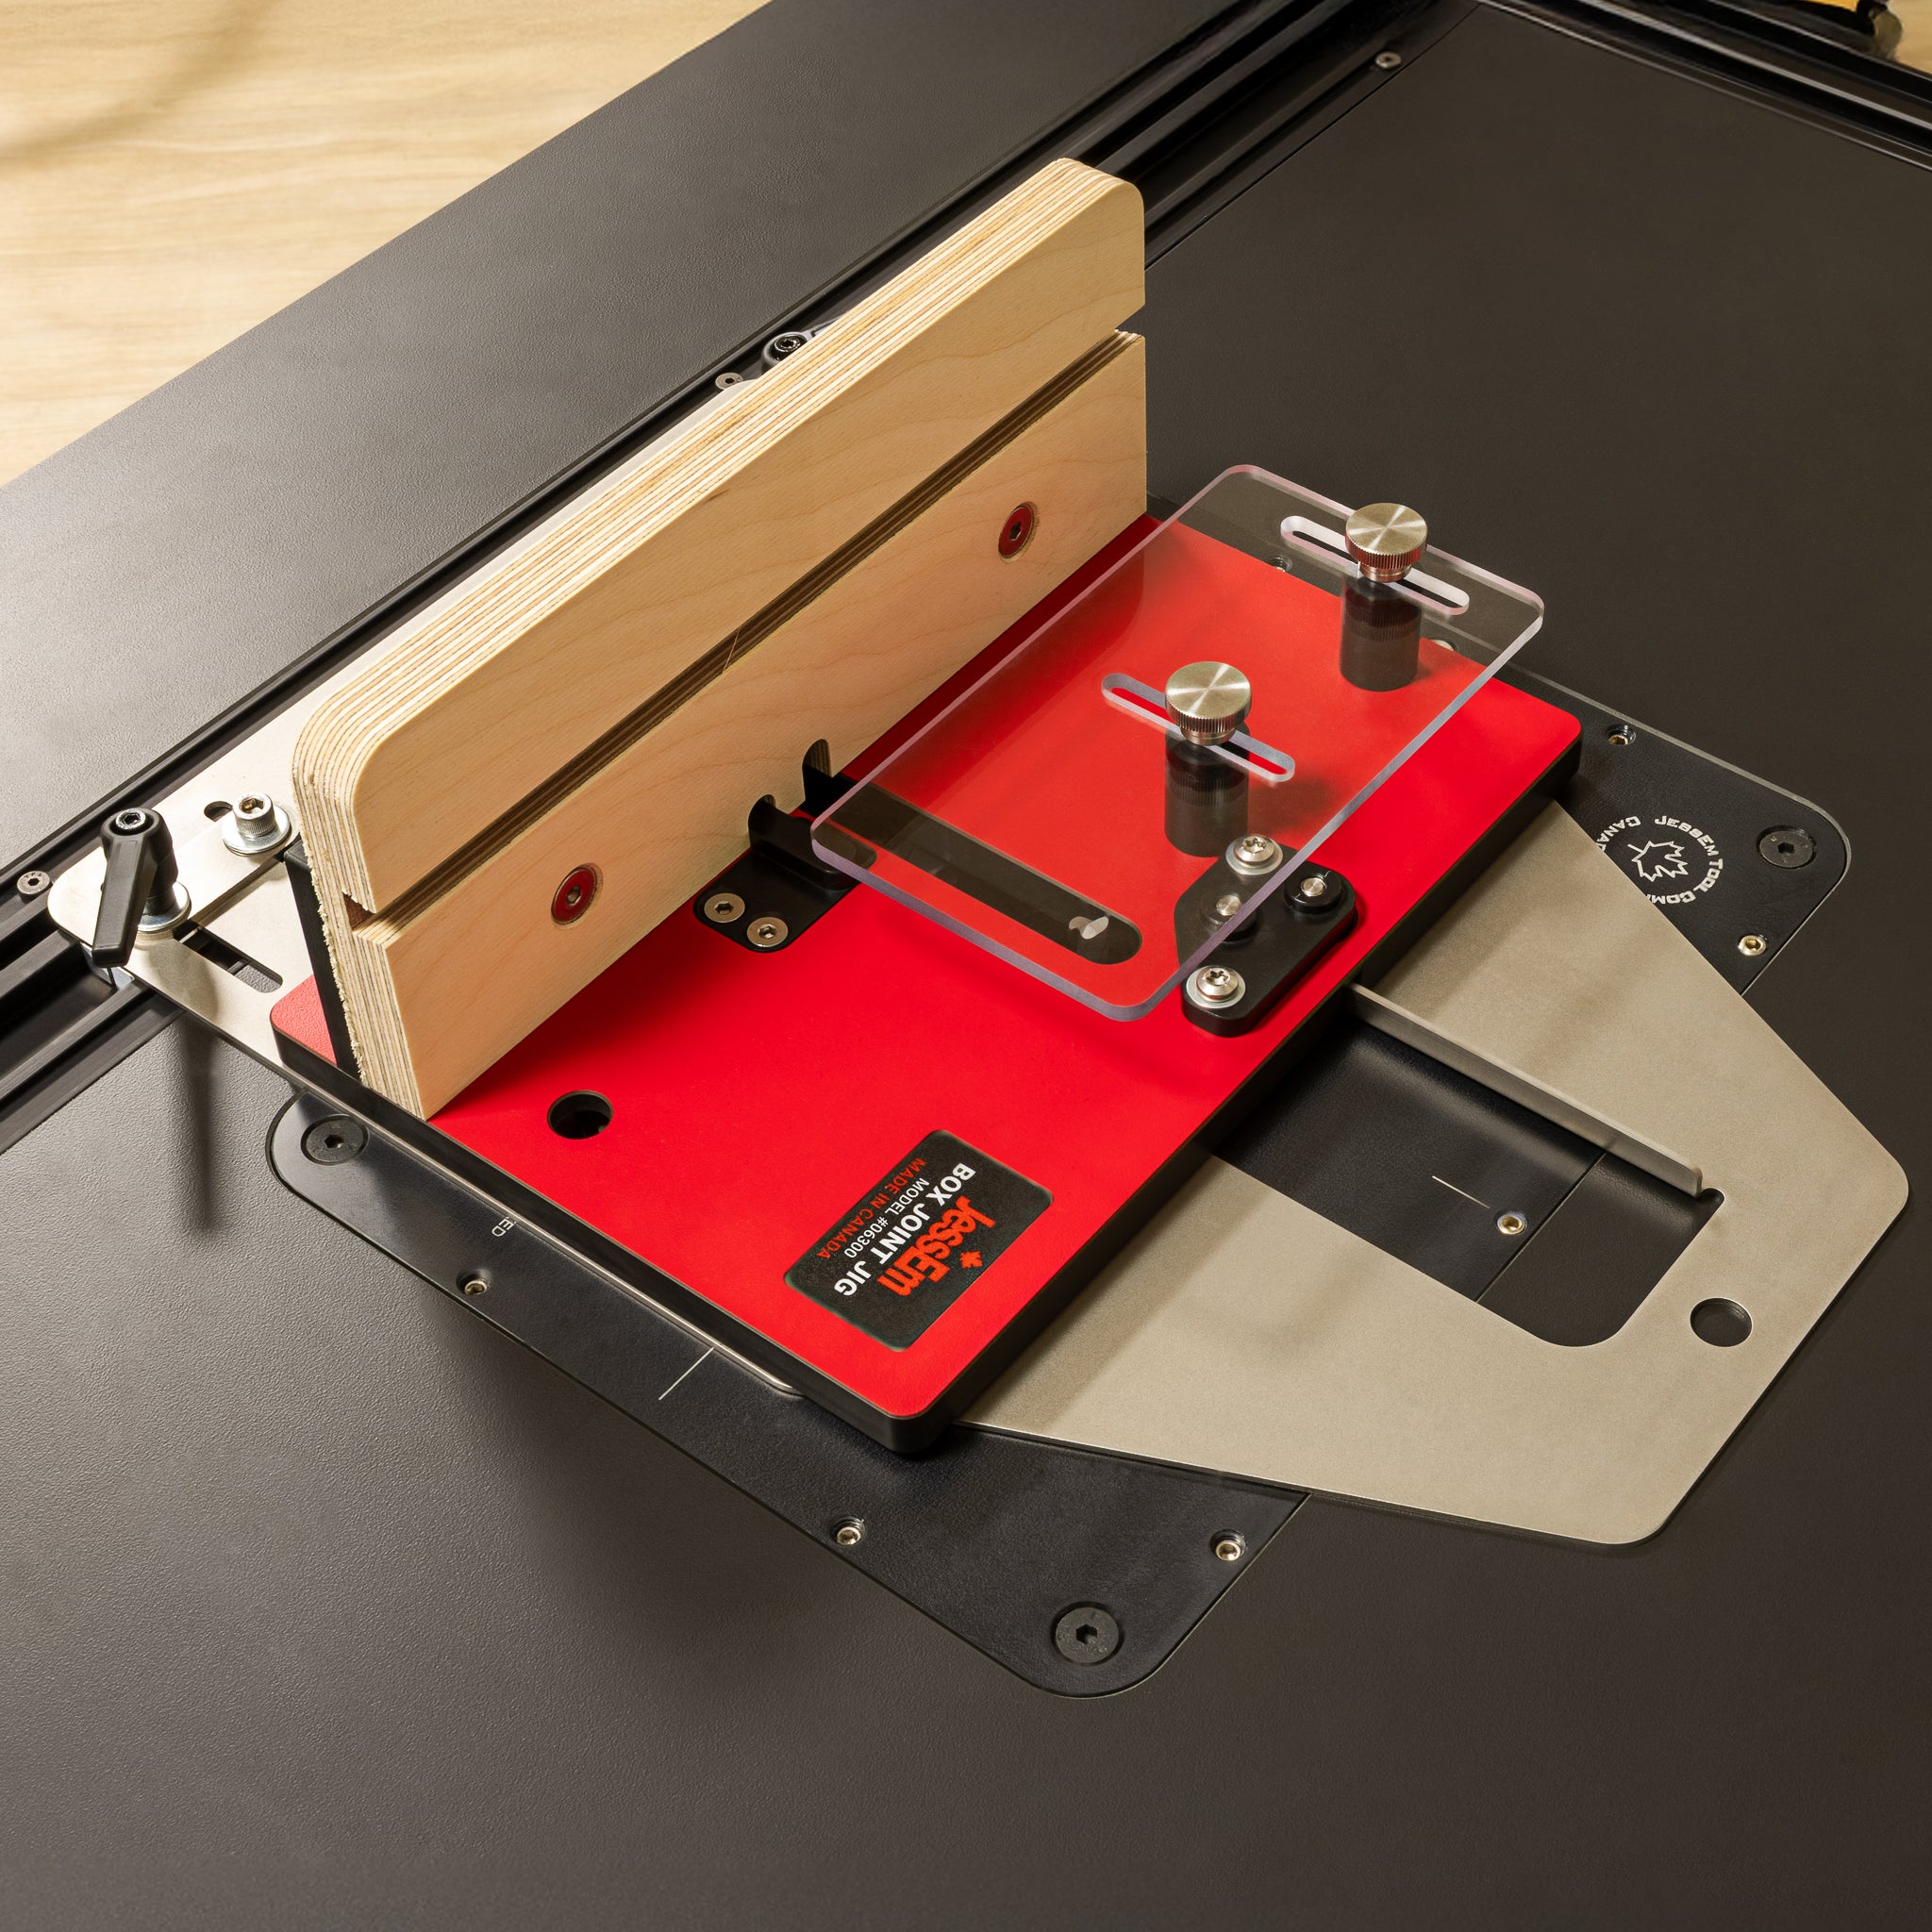
Credit: jessem.com
Frequently Asked Questions
How Do I Align My Router Table For Precision Cuts?
Start by ensuring the fence is perfectly parallel to the router bit. Use a straight edge or dial indicator for accuracy. Adjust the fence and table until the bit aligns with the fence edge. This minimizes tear-out and ensures clean, precise cuts every time.
Why Is Router Table Alignment Important For Woodworking?
Proper alignment prevents uneven cuts and improves safety. It ensures the router bit follows the intended path smoothly. This results in cleaner edges, consistent cuts, and better fitting joints. Misalignment can cause kickback or damage to your workpiece.
What Tools Help Align A Router Table Accurately?
Use a combination square, straight edge, and dial indicator for precise alignment. Featherboards help hold stock firmly against the fence. These tools ensure the bit and fence are parallel and the table surface is flat for reliable results.
How Often Should I Check Router Table Alignment?
Check alignment before each major project or after moving the router. Frequent checks maintain precision and prevent errors. Regular maintenance keeps your router table functioning optimally and extends its lifespan.
Conclusion
Aligning your router table ensures precise cuts every time. With proper alignment, your woodworking projects will improve. Follow the steps carefully to achieve the best results. Regular checks and adjustments keep your router table in top shape. Practice makes perfect.
Don’t rush the process, take your time. Precision requires patience and attention to detail. Happy woodworking!