Are you ready to take control of your home repairs and save money? Learning how to solder copper pipes is one of the most useful skills you can have.
Imagine fixing a leak quickly without waiting for a plumber. This guide will walk you through every step, making the process simple and stress-free. By the end, you’ll feel confident handling your own plumbing projects and avoiding costly damage. Keep reading to discover the easy way to master soldering copper pipes.
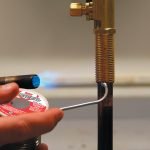
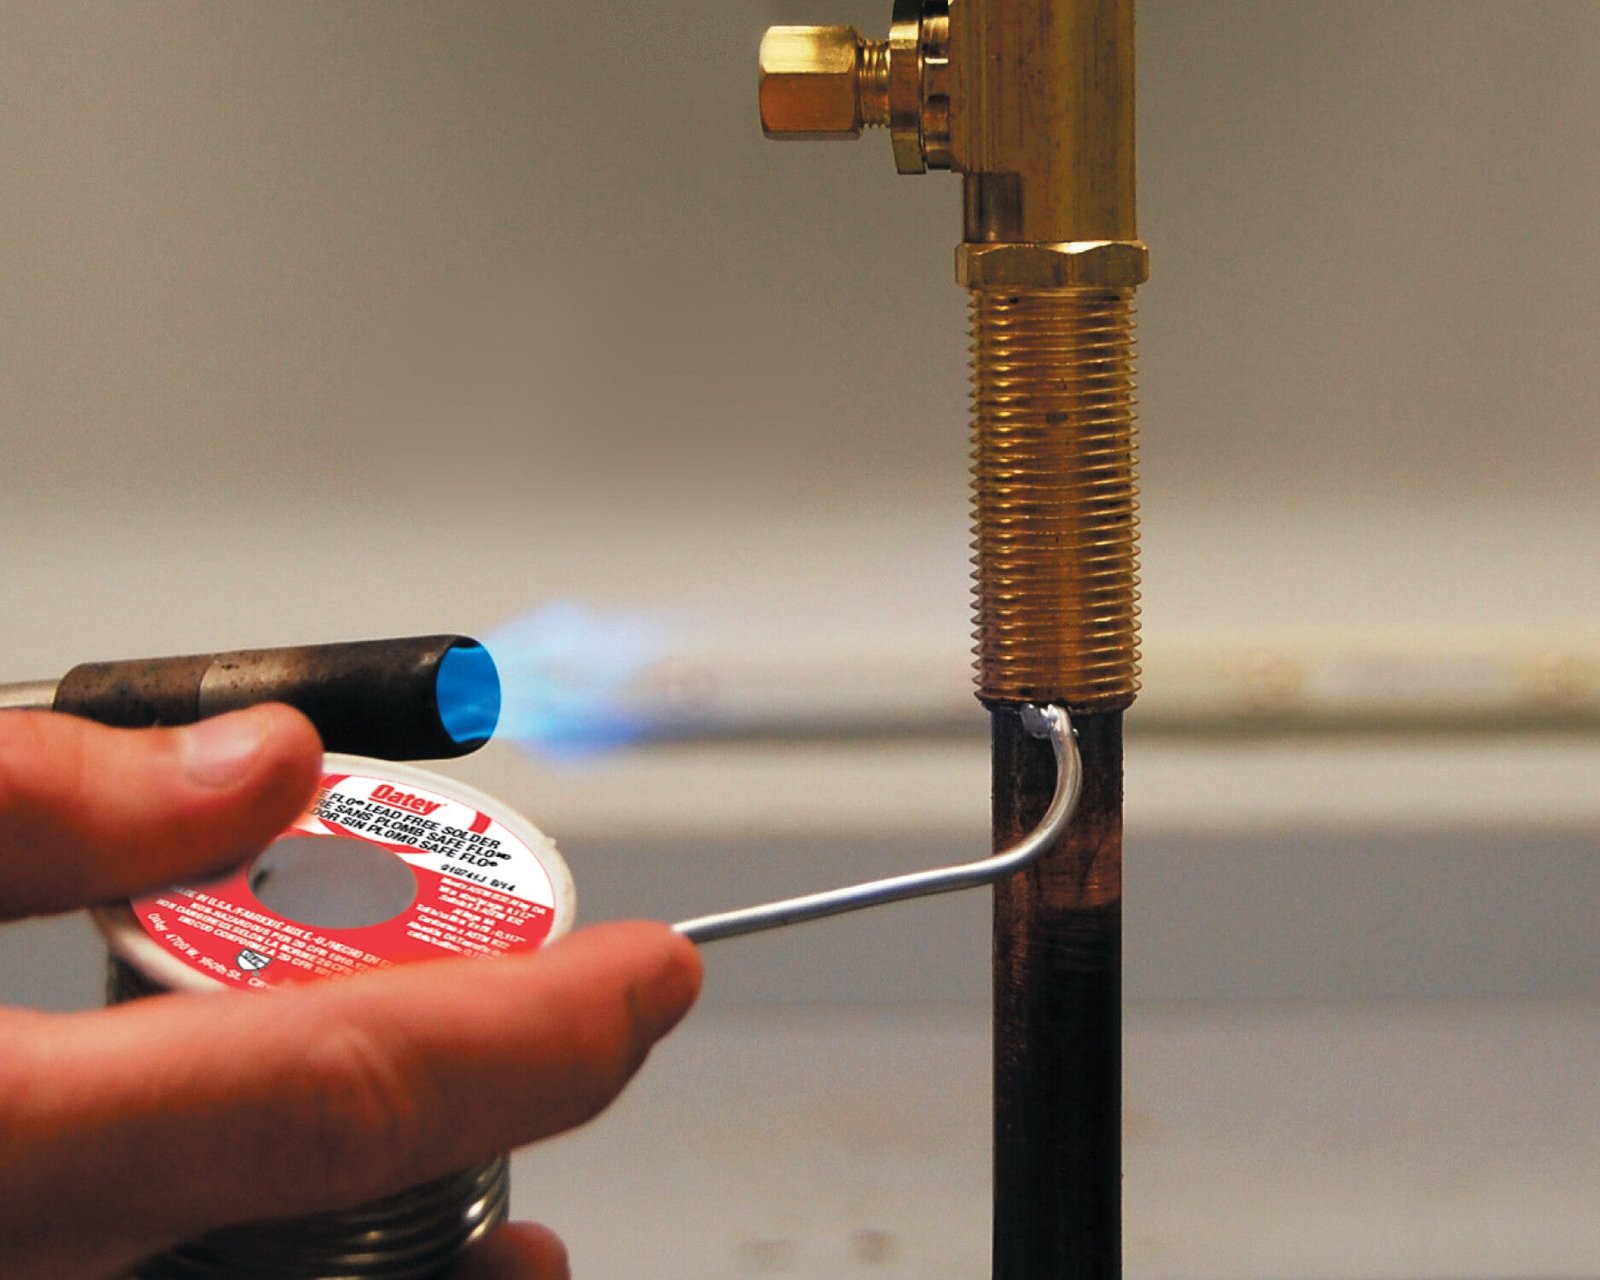
Credit: www.oatey.com
Tools And Materials Needed
Soldering copper pipes requires the right tools and materials. Using correct items makes the job safer and easier.
This guide covers the essential tools, types of solder and flux, and safety gear you need to get started.
Essential Tools
You need basic tools to cut, clean, and join copper pipes properly. These tools help ensure a tight and leak-free connection.
- Pipe cutter to make clean cuts
- Emery cloth or wire brush for cleaning pipe ends
- Propane torch for heating joints
- Heat-resistant gloves to protect your hands
- Pipe fitting brush to clean inside fittings
- Flux brush to apply soldering paste
- Fire extinguisher for safety
Types Of Solder And Flux
Solder and flux come in different types. Choose the right ones for copper pipe work to get a strong seal.
| Material | Description | Use |
|---|---|---|
| Lead-Free Solder | Safe for drinking water pipes | Most common for plumbing |
| Lead Solder | Contains lead, not safe for potable water | Used only for non-potable pipes |
| Rosin-Based Flux | Good for electrical work, not plumbing | Rarely used for copper pipes |
| Water-Soluble Flux | Cleans and helps solder flow | Preferred for plumbing |
Safety Gear
Protecting yourself is important when soldering. Use the right safety gear to avoid burns and injuries.
- Safety goggles to shield your eyes
- Heat-resistant gloves to protect hands
- Long-sleeve shirts and pants to cover skin
- Fire extinguisher nearby in case of flames
- Well-ventilated area to avoid fumes

Credit: www.youtube.com
Preparing The Copper Pipes
Preparing copper pipes is important for a strong, leak-free joint. Careful preparation helps the solder stick well and creates a lasting connection.
This guide covers cutting pipes, cleaning and deburring, and fitting pipes together before soldering.
Cutting Pipes To Length
Measure the pipe carefully to match the needed length. Use a pipe cutter for a clean cut. Avoid using a saw, as it can leave rough edges.
Turn the cutter around the pipe, tightening it slightly after each turn. Stop when the pipe is cut through. Make sure the cut is straight and smooth.
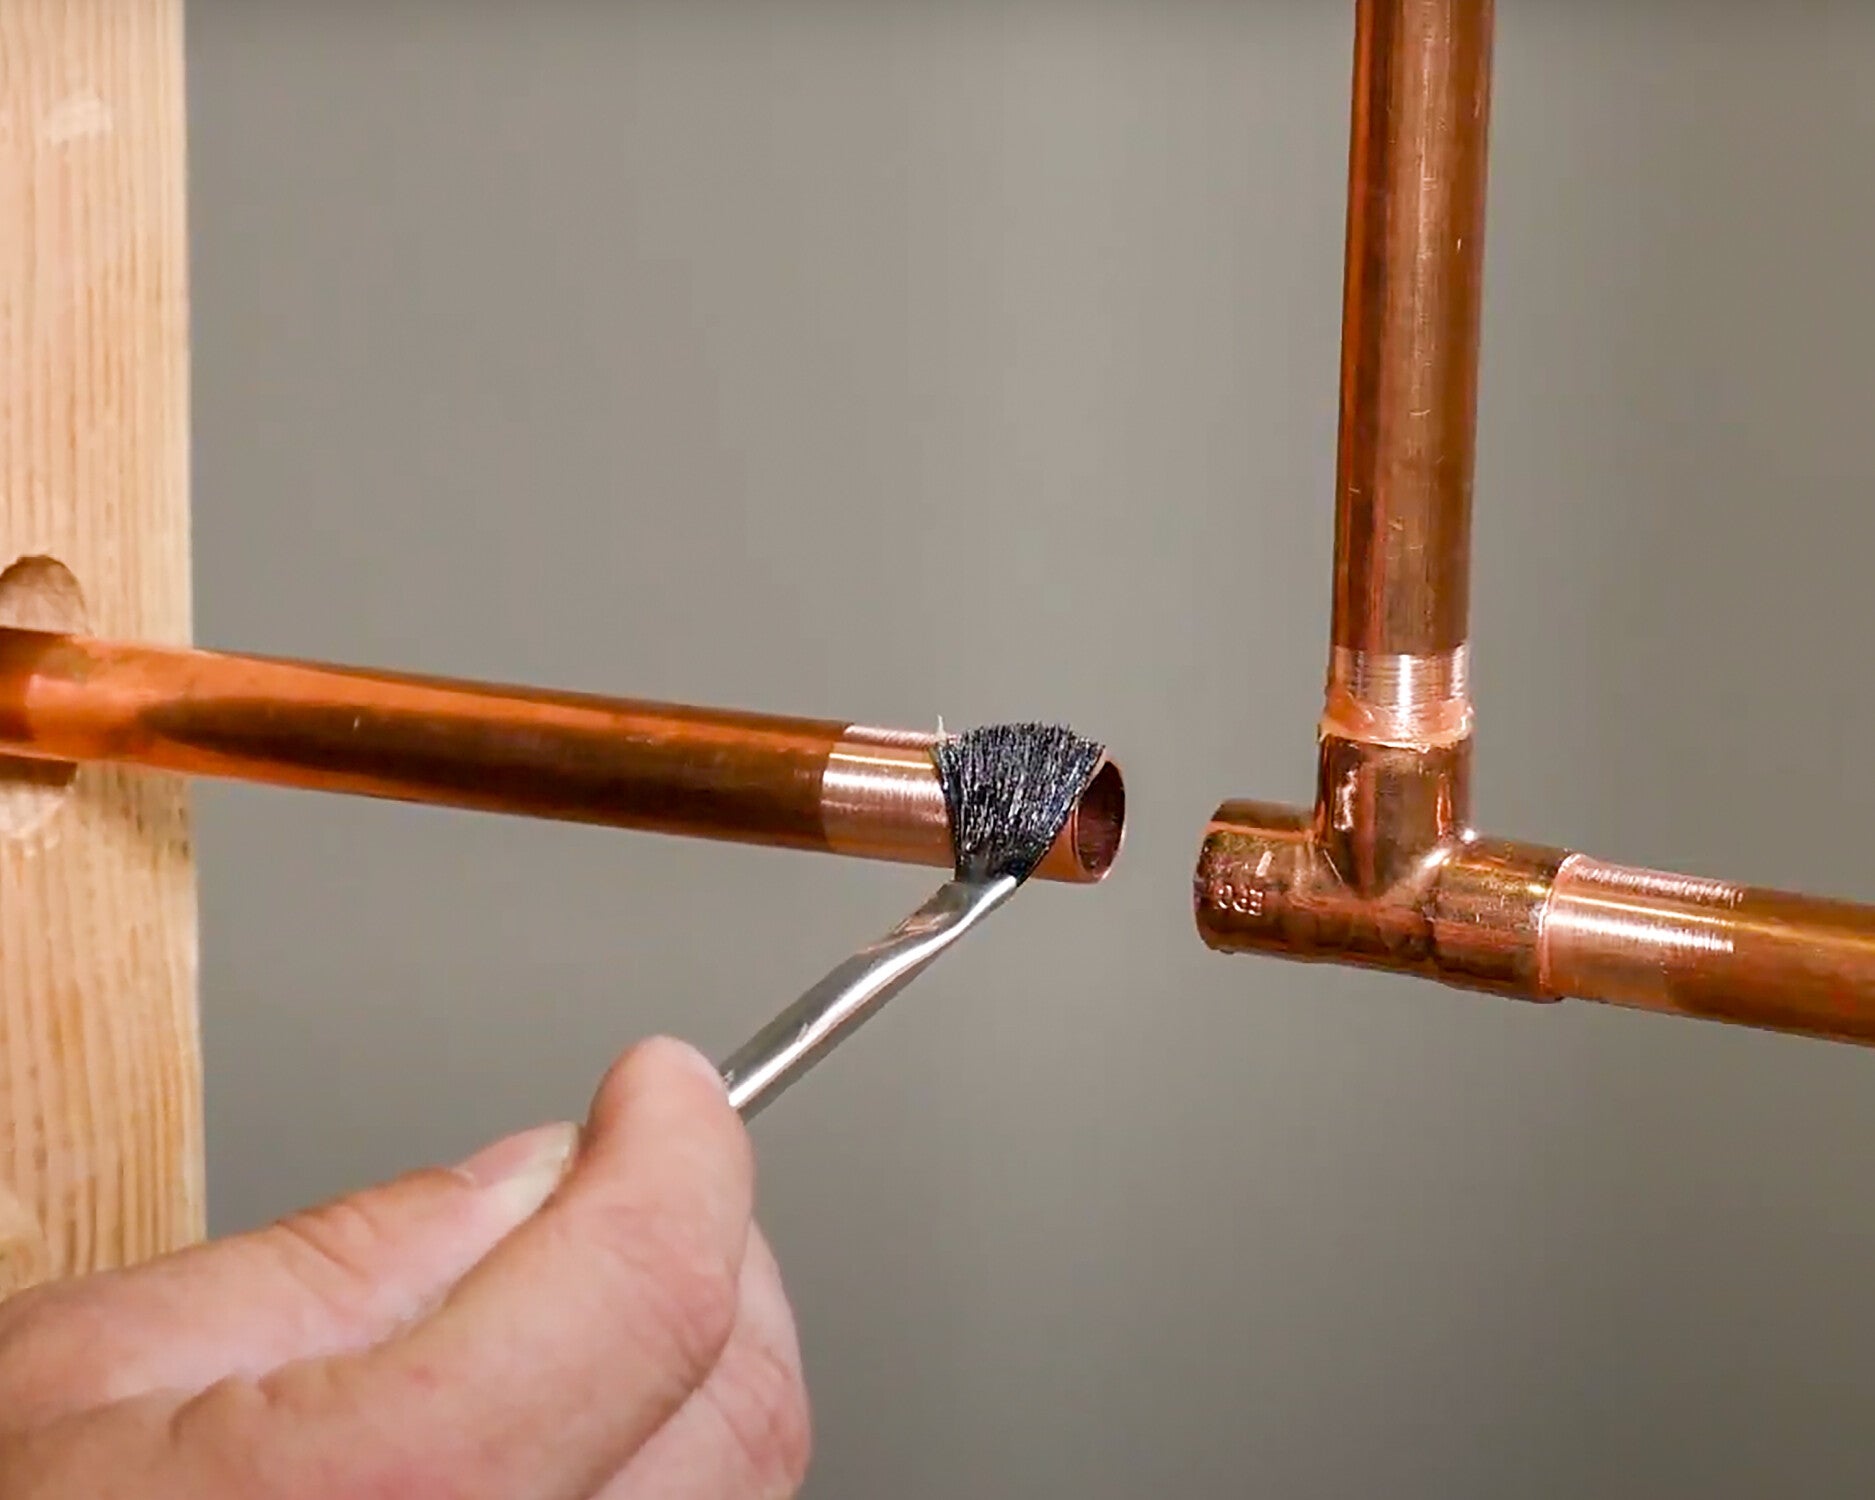
Cleaning And Deburring
After cutting, clean the pipe ends and remove burrs inside and outside. Burrs can stop the pipe from fitting well and cause leaks.
- Use a deburring tool or a round file to remove sharp edges inside the pipe.
- Scrub the outside of the pipe and the inside of the fitting with sandpaper or a wire brush.
- Wipe the surfaces with a clean cloth to remove dust and oil.
Fitting Pipes Together
Test fit the pipe and fitting before soldering. The pipe should slide easily into the fitting but fit snugly without too much force.
| Pipe Diameter | Fitting Type | Fit Description |
| 1/2 inch | Compression | Snug, no gaps |
| 3/4 inch | Push-fit | Slides in with slight resistance |
| 1 inch | Soldered | Firm fit, no wobble |
Applying Flux And Assembling
Soldering copper pipes requires careful preparation. Applying flux and assembling parts are key steps.
Flux helps clean the pipe and allows solder to flow smoothly. Proper assembly ensures a strong, leak-free joint.
Choosing The Right Flux
Pick a flux designed for copper pipe soldering. It should be non-corrosive and water-soluble.
Use lead-free flux for drinking water pipes. Check the label to confirm it is safe and meets plumbing codes.
- Use paste or liquid flux made for copper pipes
- Avoid flux with acid that can damage pipes
- Choose flux that cleans and protects the metal
How To Apply Flux Properly
Clean the pipe and fitting with sandpaper or a wire brush first. This removes dirt and oxidation.
Spread a thin, even layer of flux on both the outside of the pipe and the inside of the fitting.
- Apply flux with a small brush or applicator
- Cover all surfaces that will join together
- Do not use too much flux to avoid drips
Aligning Pipe Joints
Fit the pipe into the fitting fully. Make sure the joint is straight and snug.
Hold the pipes steady before heating. Proper alignment helps solder flow evenly and prevents leaks.
- Push pipe all the way into the fitting
- Check that pipes are straight and not twisted
- Secure pipes to prevent movement during soldering
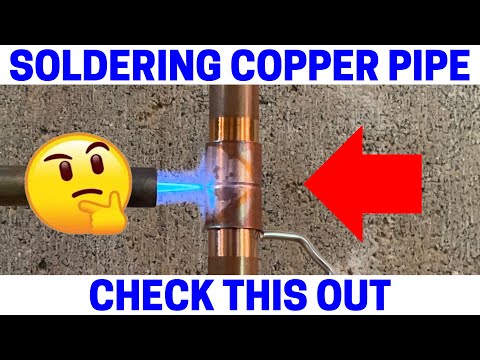
Credit: www.youtube.com
Heating And Soldering Process
Soldering copper pipes joins them tightly using heat and metal filler. The process needs proper heating and technique.
Using the right tools and steps helps create strong, leak-proof connections in plumbing.
Using A Propane Torch
A propane torch provides the heat needed to melt solder on copper pipes. It is easy to control and heats pipes quickly.
Make sure to use a torch designed for plumbing work and follow safety rules to avoid accidents.
Heating Pipes Correctly
Heat the pipe and fitting evenly before applying solder. Focus the flame on the joint area, not the solder itself.
The pipe should be hot enough to melt solder but not so hot that it burns the flux or pipe.
- Move the torch around the joint for even heating
- Watch for a slight change in pipe color as a heat sign
- Do not overheat to avoid damage to pipe or fittings
Applying Solder To Joints
Touch the solder wire to the heated joint, not the flame. The heat melts the solder, drawing it into the joint by capillary action.
Move the solder around the joint evenly. Stop applying when a full ring of solder forms around the pipe.
- Keep the flame on the joint, not the solder wire
- Let solder flow smoothly into the gap
- Remove heat and let the joint cool naturally
Cooling And Cleaning Joints
After soldering copper pipes, it is important to cool and clean the joints properly. This helps keep the pipes strong and leak-free. Cooling and cleaning also remove harmful residues left from soldering.
Taking the time to cool and clean each joint improves the life of your plumbing work. It also makes sure the water flows safely through the pipes.
Allowing Joints To Cool
Let the soldered joint cool down naturally without touching it. Moving the joint while hot can cause cracks or weak spots.
Cooling usually takes a few minutes. Do not use water or any cooling sprays on the joint. This can damage the metal and cause leaks.
Removing Excess Flux
Flux helps solder flow, but it can cause corrosion if left on pipes. Use a wet cloth or brush to clean off any extra flux from the joint.
Make sure to clean all sides of the joint. Removing flux prevents rust and keeps the pipes safe for water.
- Use warm water for better cleaning
- Gently scrub with a soft brush
- Wipe dry after cleaning
Inspecting For Leaks
Check the joint after soldering and cleaning. Look for any signs of leaks or cracks in the pipes.
Turn on the water and watch the joint closely. If you see water dripping, the joint needs to be fixed or redone.
- Look for wet spots around the joint
- Listen for hissing sounds of escaping water
- Check the pipe pressure after soldering
Common Mistakes To Avoid
Soldering copper pipes requires care and attention. Mistakes can cause leaks and damage.
Knowing common errors helps you get strong, lasting joints. Avoid these to save time and money.
Overheating Pipes
Heating pipes too much can weaken the metal. It can also burn off the protective coating.
Overheated pipes may crack or cause solder to not stick well. Use a moderate flame and move it evenly.
- Keep the flame moving around the joint
- Do not hold heat in one spot for too long
- Use a heat shield if needed to protect nearby areas
Insufficient Cleaning
Dirty pipes stop solder from bonding correctly. Dirt, grease, and oxidation block proper adhesion.
Always clean the pipe and fitting before soldering. Use sandpaper or a wire brush for best results.
- Remove all dirt and old solder
- Use a cleaning brush or emery cloth
- Apply flux only after cleaning the surfaces
Using Wrong Solder
Not all solders work for copper pipes. Using the wrong type can cause leaks or weak joints.
Use lead-free solder made for plumbing. Avoid electrical or stained glass solder for pipes.
- Choose solder labeled for copper plumbing
- Lead-free solder is safe for drinking water
- Check the solder’s melting point matches your torch
Tips For Durable, Leak-free Joints
Soldering copper pipes is a skill that requires care. Good joints last longer and do not leak. Using the right methods helps keep your plumbing safe.
This guide shares tips to make strong, leak-free joints when soldering copper pipes.
Proper Heat Distribution
Even heat keeps solder flowing and bonding well. Heat the pipe and fitting evenly, not just one spot. This avoids weak joints and leaks.
- Use a propane torch with adjustable flame size.
- Start heating the fitting, then the pipe.
- Move the flame around the joint steadily.
- Watch for the solder to melt and flow into the joint.
- Do not overheat to avoid damage.
Maintaining Equipment
Clean and check tools before use. Dirty or broken equipment makes poor joints and waste solder.
| Equipment | Maintenance Tips |
| Propane Torch | Check flame color; clean tip regularly |
| Solder Wire | Store in dry place; use lead-free solder |
| Flux Brush | Clean after use; replace if bristles wear out |
| Pipe Cutter | Sharpen blade; remove burrs after cutting |
Regular Inspection
Check soldered joints often to catch leaks early. Look for signs like moisture, corrosion, or discoloration.
- Inspect joints after cooling to see any gaps.
- Run water through pipes to test seals.
- Look under sinks and behind walls for drips.
- Fix small leaks quickly to avoid bigger damage.
Frequently Asked Questions
How Do You Prepare Copper Pipes For Soldering?
Clean the copper pipes thoroughly using a wire brush or sandpaper. Remove all dirt, oxidation, and grease. Apply flux evenly to ensure proper solder adhesion and a leak-free joint.
What Type Of Solder Is Best For Copper Pipes?
Use lead-free solder specifically designed for plumbing. It is safe for drinking water and provides a strong, durable joint. Avoid using electrical solder, as it contains harmful chemicals.
How Hot Should The Copper Pipe Be For Soldering?
Heat the pipe evenly until the flux sizzles and melts. The pipe should be hot enough to melt solder on contact, usually around 400-600°F (204-316°C).
Can I Solder Copper Pipes Without A Torch?
No, a propane or MAPP gas torch is essential. It provides the necessary heat to melt solder and create strong joints. Alternative heat sources are generally not effective.
Conclusion
Soldering copper pipes can seem challenging at first. But with practice, it becomes easier. Always remember safety first. Wear gloves and goggles. Gather your tools beforehand. Clean the pipes thoroughly. Heat evenly for strong joints. Don’t rush the process. Let the pipes cool naturally.
Inspect your work for leaks. A little patience goes a long way. Soon, you’ll handle repairs like a pro. Practice makes perfect. Keep your tools organized. And enjoy the satisfaction of a job well done. Happy soldering!