Are you struggling to find out if a wire or circuit is complete and working properly? Testing continuity with a multimeter is the simple skill you need.
Knowing how to do this can save you time, money, and frustration when fixing electronics or electrical issues. In this guide, you’ll learn step-by-step how to test continuity quickly and accurately, even if you’ve never used a multimeter before. Keep reading, and you’ll gain the confidence to troubleshoot like a pro.

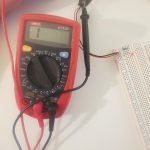
Credit: www.reddit.com
What Is Continuity Testing
Continuity testing checks if an electrical path is complete. It tells you if current can flow through a wire or circuit.
Electricians and technicians use continuity tests to find broken wires or bad connections.
Understanding Continuity
Continuity means the circuit has no breaks. If the path is continuous, electricity flows easily.
If there is no continuity, the circuit is open. This stops current from moving through.
What A Multimeter Does In Continuity Testing
A multimeter measures electrical properties like voltage, current, and resistance. It can also test continuity.
When testing continuity, the multimeter checks if current flows between two points in a circuit.
Signs Of Continuity On A Multimeter
Most multimeters beep if they detect continuity. This sound means the circuit is complete.
- A continuous path shows low resistance
- No beep or high resistance means no continuity
- Some multimeters show a zero or near zero reading
Why Test Continuity
Testing continuity helps find broken wires or bad connections. It saves time when fixing circuits.
It also ensures electrical parts work correctly before use or installation.
Tools Needed For Continuity Testing
Testing continuity helps check if electrical parts connect properly. You need some basic tools to do this test.
Here are the main tools to prepare before testing continuity with a multimeter.
Digital Multimeter
A digital multimeter measures electrical properties like voltage, current, and resistance. It also tests continuity.
Choose a multimeter with a continuity mode. It usually makes a sound if the circuit is complete.
Test Leads Or Probes
Test leads connect the multimeter to the circuit or component. They come with sharp metal tips to touch wires easily.
Make sure the test leads fit well into the multimeter. Check that the wires and tips are not damaged.
Insulated Gloves
Insulated gloves protect your hands from electric shocks. They are useful when working with live circuits.
Use gloves if you test continuity on devices connected to power or unknown wires.
Screwdrivers And Wire Strippers
Screwdrivers help open devices or access wires. Wire strippers remove insulation from wires for better contact.
Use these tools to prepare the circuit before using the multimeter for testing continuity.
Preparing The Multimeter
Testing continuity helps find breaks in wires or circuits. You need to prepare your multimeter before testing.
Setting up the multimeter correctly ensures accurate results and protects your device.
Selecting The Continuity Mode
Turn the multimeter dial to the continuity mode. This mode often shows a symbol like a sound wave or diode.
Continuity mode lets the multimeter beep when there is a complete path for electricity.
- Look for a symbol that looks like a sound wave or a diode.
- Use the dial to select this mode before testing.
- If unsure, check your multimeter manual.
Setting Up The Probes
Insert the black probe into the COM port of the multimeter. The red probe goes into the port labeled for continuity or resistance.
Hold the probes by their insulated handles. Touch the metal tips together to test if the meter beeps.
- Black probe goes into the COM port.
- Red probe goes into the VΩ or continuity port.
- Touch tips to check if the multimeter beeps.
- If no beep, check battery and connections.

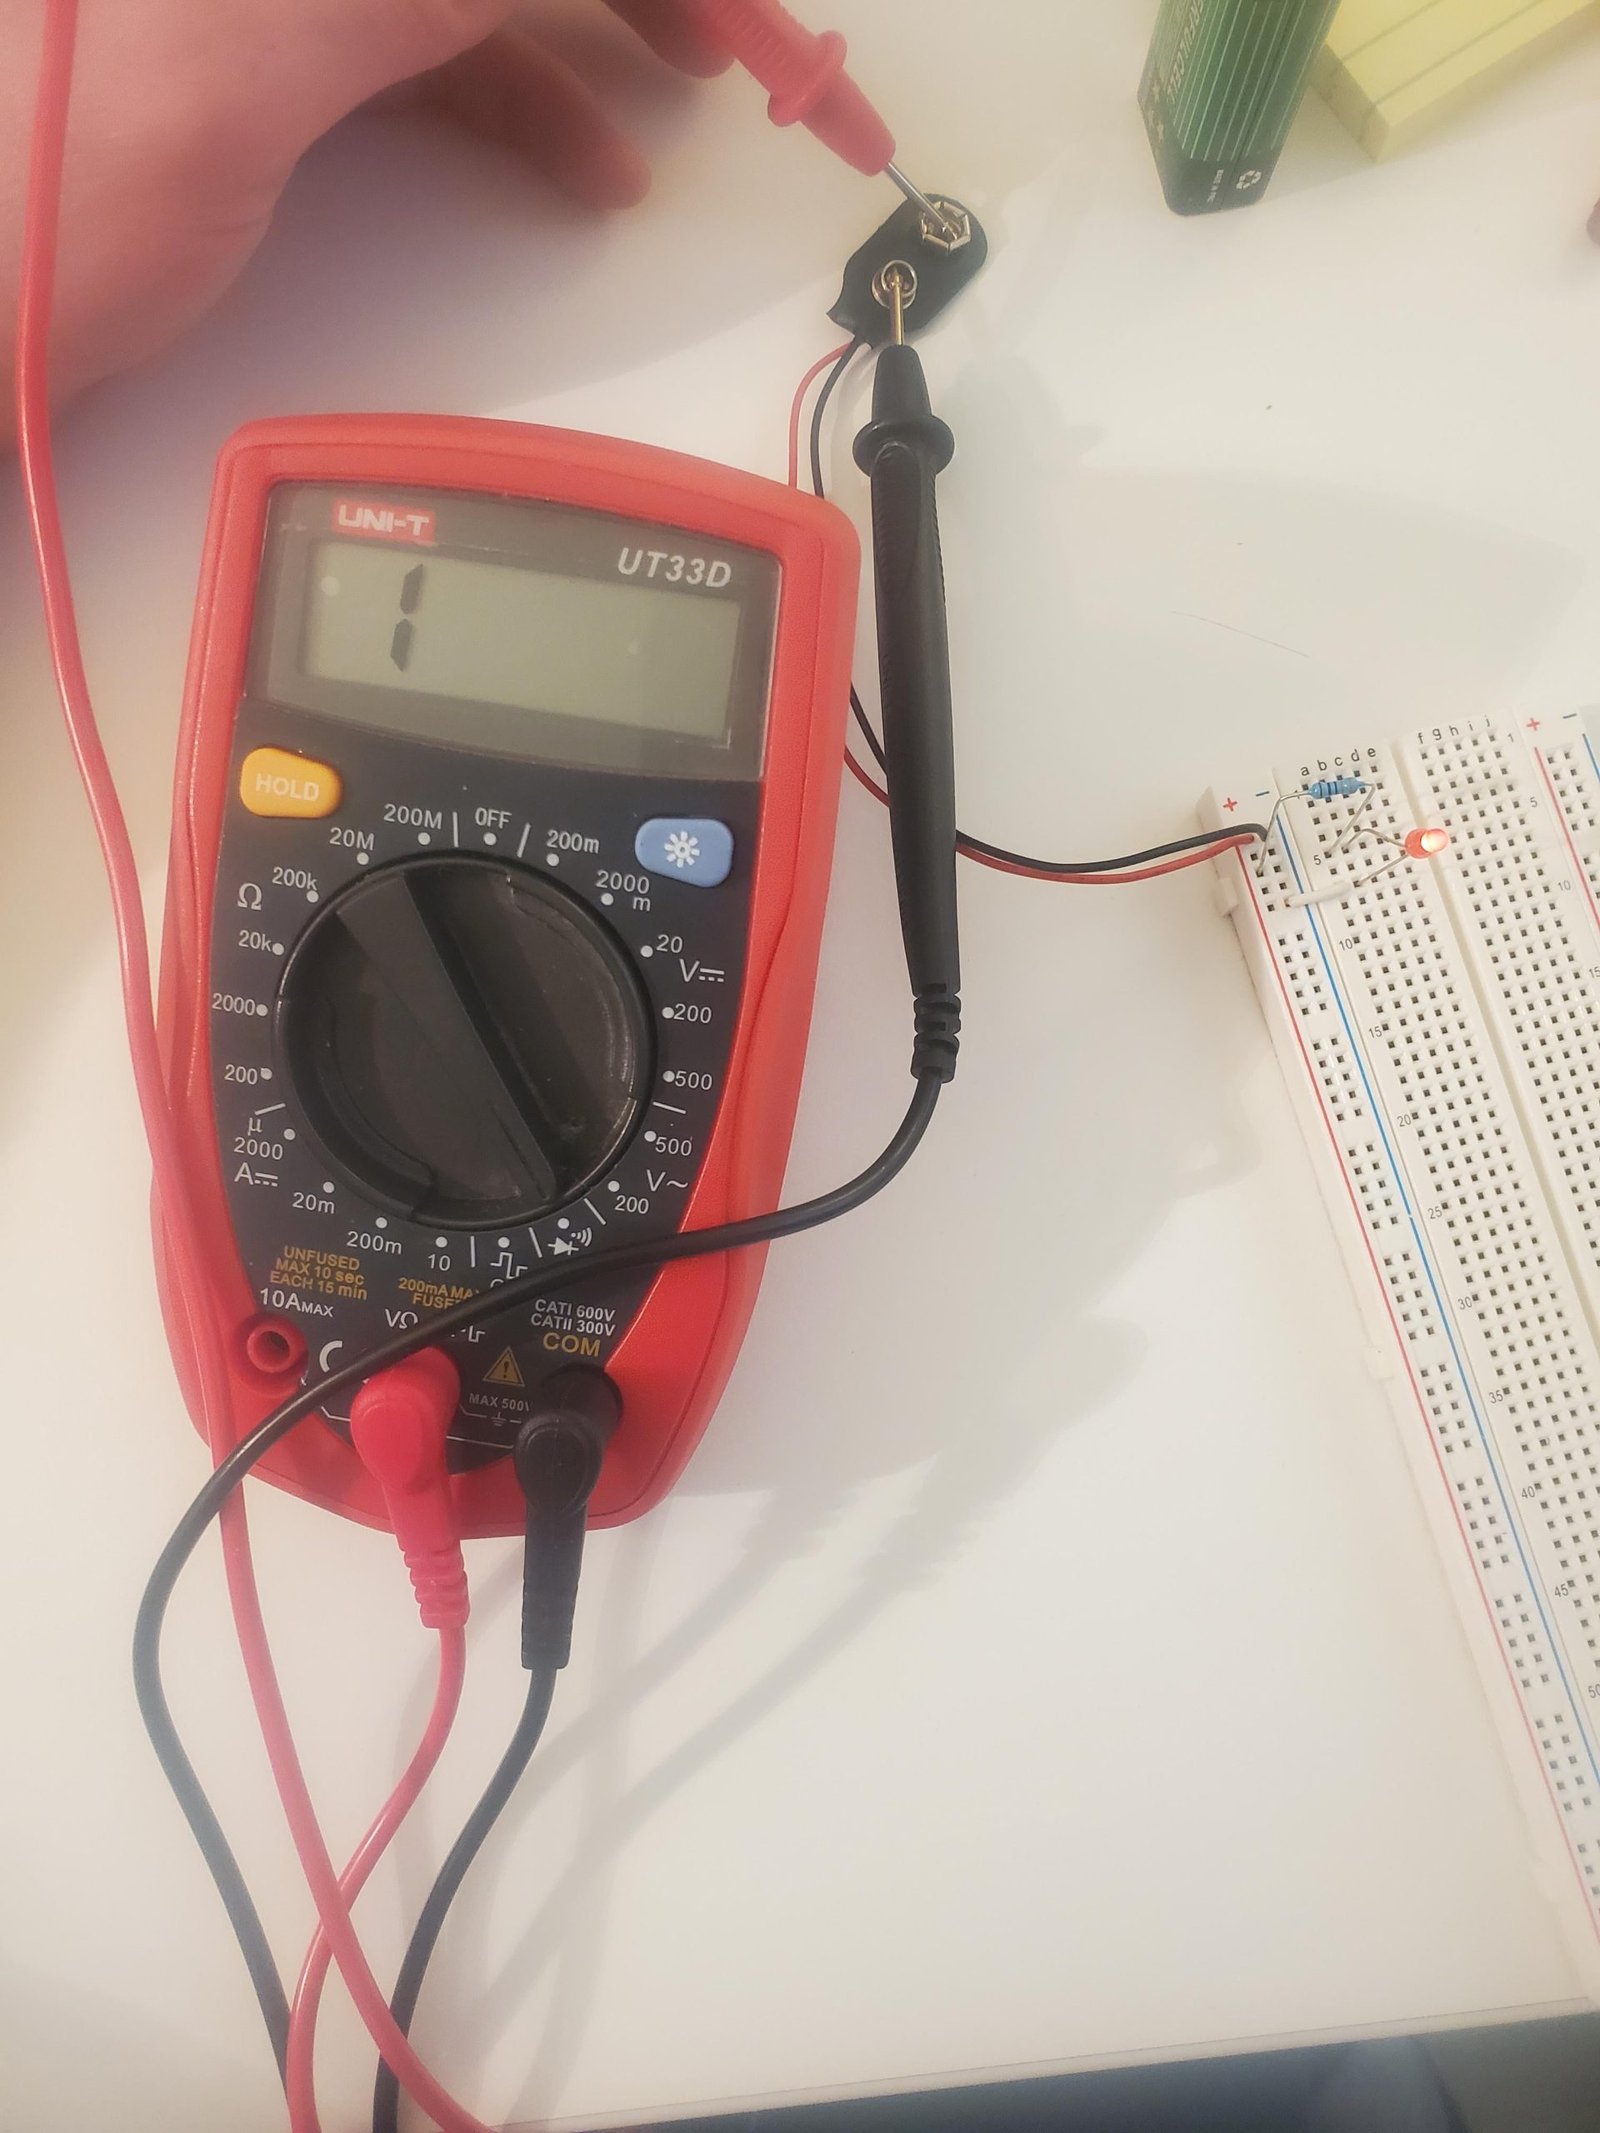
Credit: www.youtube.com
Step-by-step Continuity Test
Testing continuity helps check if an electrical path is complete. A multimeter is the tool used for this test.
It shows if current can flow through a wire or device. Follow simple steps to test continuity safely.
Testing A Wire
Testing a wire checks if it is broken inside. Use the multimeter to find breaks without cutting the wire.
Set the multimeter to the continuity mode. Touch the probes to each end of the wire.
- If the multimeter beeps, the wire is good.
- No beep means the wire is broken or damaged.
Checking A Switch Or Connector
Switches and connectors control electrical flow. Testing them ensures they work correctly.
Turn off power. Set the multimeter to continuity mode. Place probes on the switch terminals or connector points.
- A beep means the switch or connector is allowing current through.
- No beep means it is open or faulty.
Inspecting Fuses
Fuses protect circuits by breaking if current is too high. Testing them shows if they are blown.
Remove the fuse from its holder. Set the multimeter to continuity mode. Touch probes to both ends of the fuse.
- A beep means the fuse is good and complete.
- No beep means the fuse is blown and needs replacement.
Interpreting Multimeter Results
Testing continuity with a multimeter helps check if a wire or circuit is complete. Understanding the results is key to knowing if the circuit works.
This guide explains what the multimeter beep means and how to read the display values during continuity tests.
What A Beep Means
A beep sound means the multimeter detected a complete path for current. This shows that the circuit or wire has continuity.
If the multimeter beeps, it means electricity can flow without breaks. No beep means the circuit is open or broken.
- Beep = Circuit is closed and continuous
- No beep = Circuit is open or broken
- Quick beep = Good connection
- No sound but low number may mean weak continuity
Reading Display Values
The multimeter screen shows numbers that help understand the circuit. It usually shows resistance in ohms (Ω).
Low numbers mean good continuity. High numbers or “OL” mean no continuity or an open circuit.
| Display Value | Meaning |
|---|---|
| Close to 0 Ω | Strong continuity, circuit is closed |
| High number (e.g., 1,000 Ω) | Weak continuity or resistance in circuit |
| OL or “Open Loop” | No continuity, circuit is broken |

Credit: www.youtube.com
Common Mistakes To Avoid
Testing continuity with a multimeter helps check if a circuit is complete. Many beginners make simple errors that give wrong results. Avoiding these mistakes saves time and ensures safety.
This guide explains common errors to watch out for when testing continuity. Understanding these will help you use your multimeter correctly.
Not Turning Off Power Before Testing
Always switch off the power to the circuit before testing continuity. Testing live circuits can damage the multimeter or cause electric shock.
Power can also cause false readings. Make sure the device is unplugged or the battery is removed.
Using The Wrong Multimeter Setting
Set your multimeter to the continuity mode before testing. Using resistance or voltage mode may give confusing results.
Continuity mode usually has a symbol like a sound wave or diode. Double-check your dial to avoid mistakes.
Poor Contact Between Probes And Test Points
Ensure the probes touch the metal parts firmly. Loose contact can show no continuity even if the circuit is good.
Clean the test points if they are dirty or rusty. This helps the multimeter read correctly.
Ignoring The Multimeter’s Battery Level
Check your multimeter’s battery before use. A weak battery can cause wrong or no readings.
Replace the battery if the display is dim or the meter acts strangely during tests.
Not Testing The Multimeter Before Use
Test your multimeter on a known good circuit or wire before measuring. This confirms the meter works properly.
- Touch the two probes together.
- The meter should beep or show zero resistance.
- If no sound or reading appears, check the meter or probes.
Misinterpreting Continuity Test Results
Continuity means the circuit is complete, not always that it works perfectly. Some components may still fail even with continuity.
Use continuity tests with other methods for better troubleshooting results.
Safety Tips During Testing
Testing continuity with a multimeter is common in electrical work. Safety is key to avoid injury or damage.
Follow proper steps and precautions before and during testing to keep yourself safe.
Turn Off Power Before Testing
Always switch off the power to the circuit you want to test. Live circuits can cause electric shocks or damage your multimeter.
Use Proper Protective Equipment
Wear safety glasses and insulated gloves. These protect your eyes and hands from sparks or accidental contact with electricity.
Check Your Multimeter Settings
Set your multimeter to the correct continuity mode before testing. Wrong settings may give false readings or harm the device.
Inspect Test Leads And Equipment
- Ensure test leads have no cracks or exposed wires.
- Check that probes are clean and not bent.
- Replace damaged leads immediately.
Avoid Touching Metal Parts
Hold the insulated parts of test probes. Touching metal tips can cause electric shock or affect test results.
Test In A Dry Environment
Avoid testing continuity near water or in damp places. Wet conditions increase the risk of electric shock.
Frequently Asked Questions
What Is Continuity Testing With A Multimeter?
Continuity testing checks if an electrical path is complete. A multimeter measures resistance to confirm if current flows freely. It helps identify broken wires or faulty connections quickly and safely.
How Do I Set My Multimeter For Continuity Test?
Turn the multimeter dial to the continuity symbol, often a sound wave or diode icon. This mode allows the meter to beep when a complete circuit is detected, simplifying the test process.
Can Continuity Tests Detect Short Circuits?
Yes, continuity tests can reveal short circuits by showing very low resistance. If the multimeter beeps unexpectedly between two points, it indicates a potential short or unintended connection.
Why Does My Multimeter Not Beep During Continuity Test?
No beep means the circuit is open or the probe contacts aren’t secure. Check connections, probe placement, and ensure the multimeter is set correctly for continuity mode.
Conclusion
Testing continuity with a multimeter is straightforward and essential. It helps ensure circuits work properly. Start by setting your multimeter to the continuity mode. Touch the probes to the circuit points. A beep means continuity exists, indicating a closed circuit.
No beep suggests a break. Always remember to turn off power before testing. Safety first! Practice using your multimeter on different circuits. This builds confidence and skills. Regular testing prevents electrical problems. Keep your multimeter handy for quick checks. With these steps, ensure your electrical projects succeed.