Are you struggling to remove stubborn nails without damaging your wood or walls? Using a crowbar might seem tricky at first, but once you know the right technique, it becomes a simple and powerful tool in your hands.
In this guide, you’ll learn step-by-step how to use a crowbar safely and effectively to pull out nails quickly. Whether you’re fixing furniture or tackling a home project, mastering this skill will save you time and frustration. Keep reading, and you’ll discover tips that make nail removal easier than ever before.
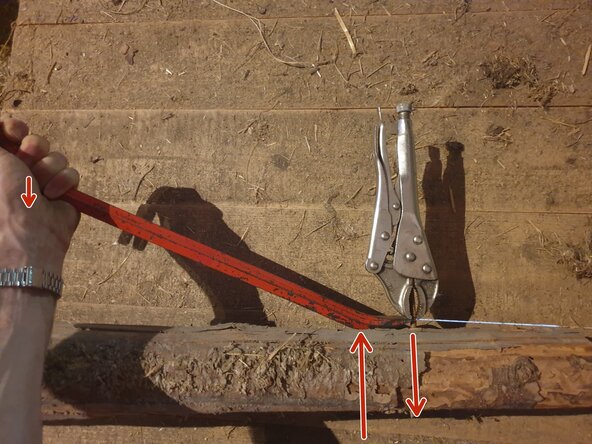
Credit: www.ifixit.com
Choosing The Right Crowbar
A crowbar is a useful tool for removing nails safely and easily. Picking the right one helps you work better and avoid damage. This guide explains how to choose a crowbar for nail removal.
Consider the type, material, and size of the crowbar. These factors affect your comfort and the tool’s strength.
Types Of Crowbars
Crowbars come in different shapes and designs. Each type fits certain tasks and nail sizes. Knowing them helps pick the best tool for your job.
- Flat Pry Bar:Thin and flat, good for small nails and tight spaces.
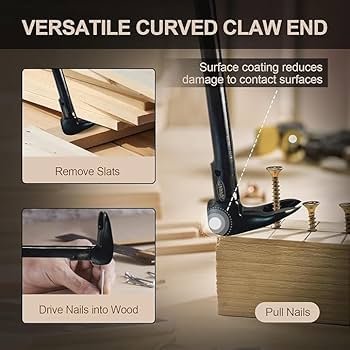
- Gooseneck Crowbar:Curved end helps with strong leverage to pull out large nails.
- Wrecking Bar:Long and heavy, ideal for heavy-duty nail removal and demolition.
- Nail Puller:Has a notch designed to grip nails firmly without bending.
Material And Size Considerations
Materials affect the crowbar’s durability and weight. Size impacts how easy it is to use in different spaces.
| Material | Benefits | Drawbacks |
|---|---|---|
| Steel | Strong and durable, resists bending | Heavier to carry |
| Carbon Steel | Very tough, good for heavy work | Can rust if not cared for |
| Aluminum | Lightweight, easy to handle | Less strong, may bend on hard nails |
- Length:Short bars (12-18 inches) fit tight spots. Long bars (24 inches or more) give more leverage.
- Weight:Heavy bars help with tough nails but tire your hand faster.
- Grip:Look for rubber or textured handles for a firm hold.
Preparing For Nail Removal
Using a crowbar to remove nails needs careful preparation. Getting ready helps avoid injuries and makes the work easier.
Before starting, focus on safety and checking the work area. These steps protect you and the place where you work.
Safety Gear To Wear
Wear the right safety gear to protect your body while removing nails. This gear lowers the risk of cuts and accidents.
- Safety glasses to protect your eyes from flying debris
- Heavy-duty gloves to guard your hands from sharp nails and splinters
- Long sleeves and pants to cover your skin
- Sturdy boots to protect your feet from falling tools or nails
- Ear protection if you work in a noisy environment
Inspecting The Work Area
Check the area where you will remove nails. Look for hazards and things that might block your work.
| Task | What to Check | Why |
| Clear space | Remove loose objects around the work zone | Prevent trips and falls |
| Lighting | Ensure the area is well-lit | See nails and tools clearly |
| Surface stability | Check if the wood or material is steady | Avoid slips or accidents |
| Nearby wires or pipes | Identify electrical wires or plumbing | Prevent damage or shocks |
Positioning The Crowbar
Using a crowbar to remove nails requires the right positioning. Proper placement helps you pull nails easily and safely.
This guide covers two key steps: finding the nail head and placing the lever correctly.
Finding The Nail Head
Look carefully for the nail head before using the crowbar. The nail head is the flat part that sits on the surface.
- Clear any dirt or debris from the nail area.
- Use a flashlight if the nail head is hard to see.
- Tap around the nail gently to find its exact spot.
- Make sure the nail head is exposed enough to fit the crowbar under it.
Proper Lever Placement
Place the crowbar’s curved end under the nail head for best leverage. The straight part acts as the lever arm.
| Placement Tip | Reason |
| Insert crowbar close to the nail head | Prevents damage to the wood surface |
| Use the longer side of the crowbar | Increases pulling power with less effort |
| Rest the fulcrum (pivot) on the wood | Gives stable support while pulling |
| Lift slowly and steadily | Reduces risk of bending the crowbar or breaking the nail |
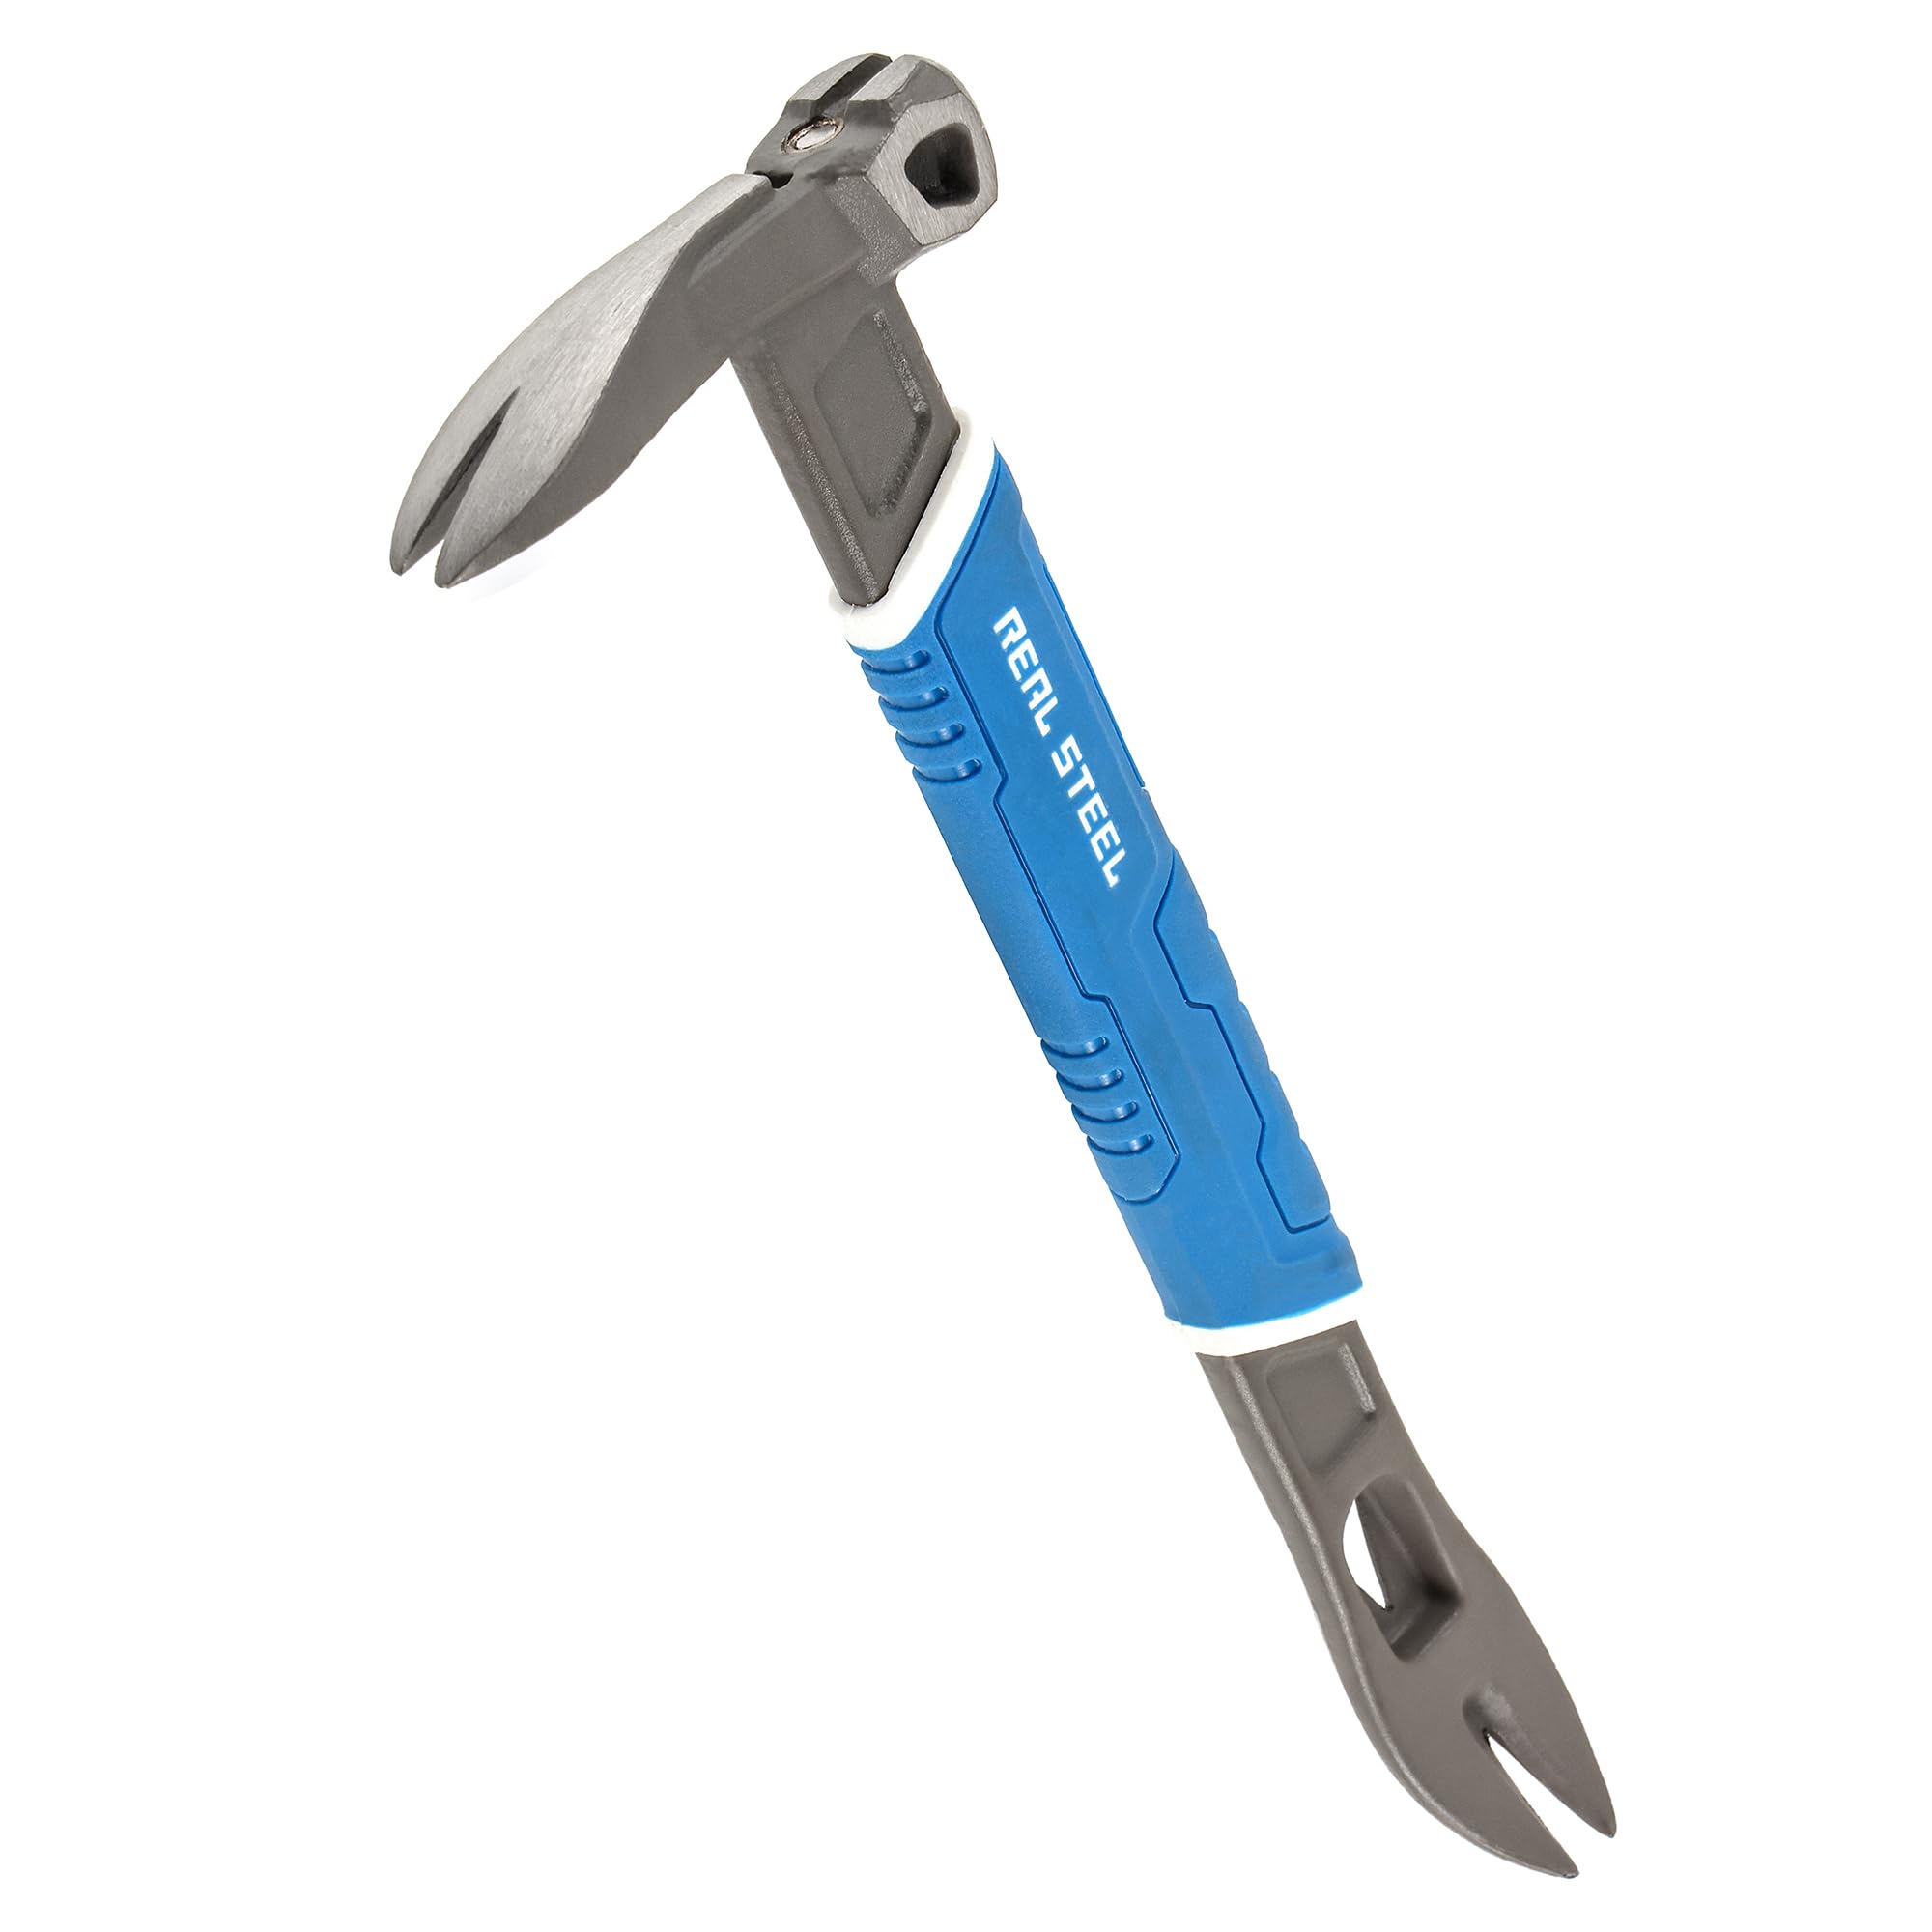
Credit: www.amazon.com
Removing Nails Step-by-step
Using a crowbar to remove nails is a simple task if done correctly. It requires care and the right technique to avoid damage.
This guide explains how to remove nails safely using a crowbar. Follow the steps to work efficiently and protect your materials.
Applying Controlled Pressure
Start by placing the crowbar’s claw around the nail head. Apply steady pressure to lift the nail slowly.
- Grip the crowbar firmly near the claw.
- Push down on the handle gently.
- Increase pressure gradually to avoid sudden jerks.
- Lift the nail out as it loosens.
Using A Wooden Block For Leverage
Place a wooden block under the crowbar’s curved end. This helps protect the surface and increases leverage.
| Benefit | Explanation |
| Surface Protection | Prevents damage to wood or floors. |
| Better Leverage | Makes pulling nails easier and safer. |
| Control | Helps maintain steady pressure without slipping. |
Handling Stubborn Nails
Some nails are hard to remove because they are deep or rusted. Use extra care to avoid bending the crowbar or breaking the wood.
- Try rocking the crowbar slightly to loosen the nail.
- Use a hammer to tap the nail head upward if stuck.
- Work from different angles if needed.
- Wear gloves to protect your hands during tough jobs.
Aftercare And Cleanup
Using a crowbar to remove nails can leave marks or damage on wood surfaces. Aftercare is important to keep the area safe and tidy.
Cleaning up properly prevents accidents and helps maintain your tools and workspace.
Checking For Damage
After removing nails, inspect the wood or material closely. Look for cracks, splinters, or dents caused by the crowbar.
- Check around the nail hole for any cracks.
- Feel for rough edges or splinters that need sanding.
- Note any dents that might require filling.
- Make sure the surface is smooth before repainting or refinishing.
Disposing Of Removed Nails Safely
Removed nails can be sharp and cause injury. Dispose of them carefully to avoid harm.
| Disposal Method | Instructions |
| Use a metal container | Collect nails in a sturdy metal box or tin. |
| Seal the container | Close the container tightly before disposal. |
| Recycle if possible | Take nails to a scrap metal recycling center. |
| Avoid loose nails | Do not throw nails directly into trash bags. |

Credit: www.ifixit.com
Frequently Asked Questions
What Is The Best Way To Use A Crowbar For Nails?
Use the crowbar’s claw end to grip the nail head firmly. Apply steady leverage by rocking the bar back to pull the nail out. Ensure proper hand placement to avoid slipping and damaging the wood surface.
Can A Crowbar Remove Nails Without Damaging Wood?
Yes, by gently prying and using controlled force, a crowbar can remove nails with minimal wood damage. Placing a small block under the crowbar can protect the wood while pulling nails out safely.
How Do You Avoid Bending Nails When Using A Crowbar?
Grip the nail close to its head with the crowbar’s claw. Apply slow, steady pressure to pull the nail straight out. Avoid twisting or jerking motions that can bend or break the nail.
Is A Crowbar Better Than Pliers For Nail Removal?
A crowbar provides greater leverage and is more effective for stubborn nails. Pliers work well for small nails, but crowbars excel at removing larger or deeply embedded nails quickly and efficiently.
Conclusion
Using a crowbar for nail removal is simple and effective. Start by positioning the crowbar carefully under the nail. Apply steady pressure to lift the nail out. Remember to use gentle force to avoid damaging the wood. A crowbar provides leverage, making the task easier.
Always prioritize safety; wear gloves and goggles. Practice makes perfect, so don’t worry if it takes time. With patience, you’ll become more efficient. Keep your tools in good condition for best results. Use these tips for a smooth nail-removing experience.
Happy DIYing!