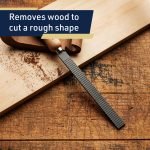
If you’ve ever worked with wood, you know how important it is to get the perfect shape and smooth finish. A wood rasp is a simple tool that can help you do just that, but only if you know how to use it right.
Imagine being able to quickly shape rough edges, smooth curves, and add those finishing touches with ease. In this guide, you’ll discover clear, step-by-step tips that make using a wood rasp straightforward and even enjoyable. By the end, you’ll have the confidence to tackle your woodworking projects like a pro.
Ready to transform your skills and your woodwork? Let’s dive in.
Credit: commonwoodworking.com
Choosing The Right Wood Rasp
Using the right wood rasp helps you shape wood easily. Different rasps suit different tasks. Picking the right one makes your work better and faster.
This guide covers types of wood rasps, how to select based on wood type, and why handle design matters.
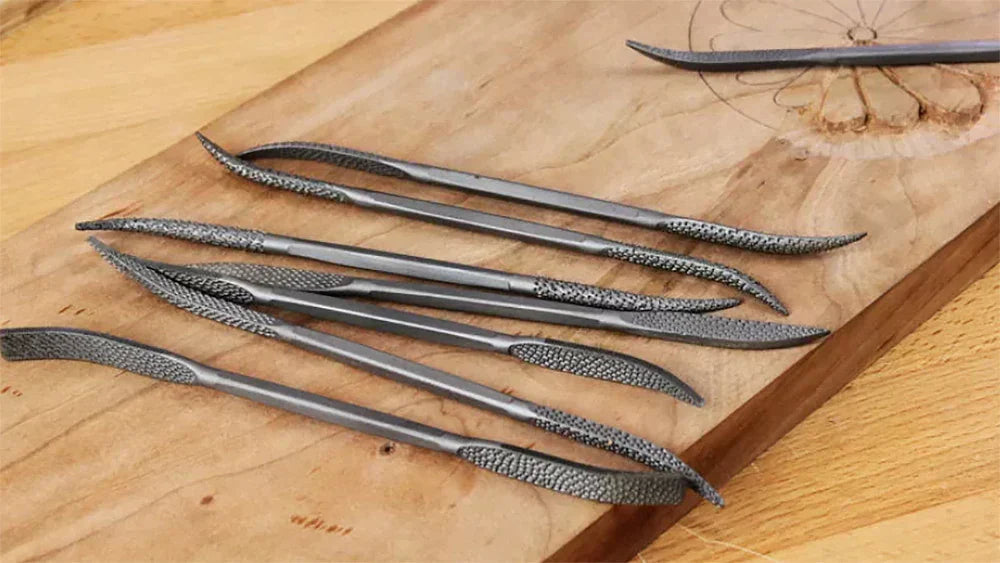
Types Of Wood Rasps
Wood rasps come in many shapes and tooth patterns. Each type fits a specific use. Some rasps remove wood fast, others smooth the surface.
- Coarse Rasps:Have large teeth for quick wood removal.
- Fine Rasps:Have small teeth for detailed shaping.
- Half-Round Rasps:Curved for shaping concave surfaces.
- Flat Rasps:Good for flat surfaces and edges.
- Round Rasps:Used for shaping curves and holes.
Selecting Based On Wood Type
| Wood Type | Recommended Rasp | Reason |
| Softwood (pine, cedar) | Coarse Rasp | Removes wood quickly without clogging |
| Hardwood (oak, maple) | Fine Rasp | Provides smooth finish and control |
| Green Wood | Coarse or Half-Round Rasp | Handles moisture and soft fibers well |
| Burl or Knotty Wood | Round or Half-Round Rasp | Shapes irregular surfaces easily |
Ergonomic Handles And Grip
Comfort matters when working with a rasp. An ergonomic handle reduces hand strain. It also gives better control and safety.
- Look for handles shaped to fit your hand.
- Choose materials that prevent slipping, like rubber or textured wood.
- Consider the rasp’s weight for long jobs.
- Check handle length for good leverage and balance.
Preparing Your Workspace
Before using a wood rasp, set up your workspace carefully. A good setup makes your work easier and safer.
Focus on holding the wood steady, having enough light, and staying safe. These steps help you work well.
Securing The Wood Piece
Keep the wood piece still to avoid slips. Use clamps or a vise to hold it firmly on your workbench.
- Check that clamps are tight but not damaging the wood
- Place the wood at a comfortable height
- Make sure the wood does not move when pressed
- Use a non-slip mat if needed under the wood
Ensuring Proper Lighting
Good lighting helps you see fine details on the wood. Set up bright and even light in your workspace.
| Lighting Type | Benefits |
| Natural daylight | Best color visibility and brightness |
| LED desk lamp | Focused light without heat |
| Overhead lights | Even lighting on the whole work area |
Safety Precautions
Wear safety gear to protect yourself. Use gloves and eye protection before starting.
- Wear safety goggles to protect eyes from wood dust.
- Use gloves to avoid cuts from sharp rasp edges.
- Keep your workspace clean to prevent tripping.
- Make sure tools are in good condition before use.
Basic Wood Rasp Techniques
A wood rasp is a hand tool used to shape wood by removing small amounts of material. It has coarse teeth that cut wood fibers quickly.
Using a wood rasp properly helps you shape wood smoothly and safely. Learn the basic techniques to get good results.
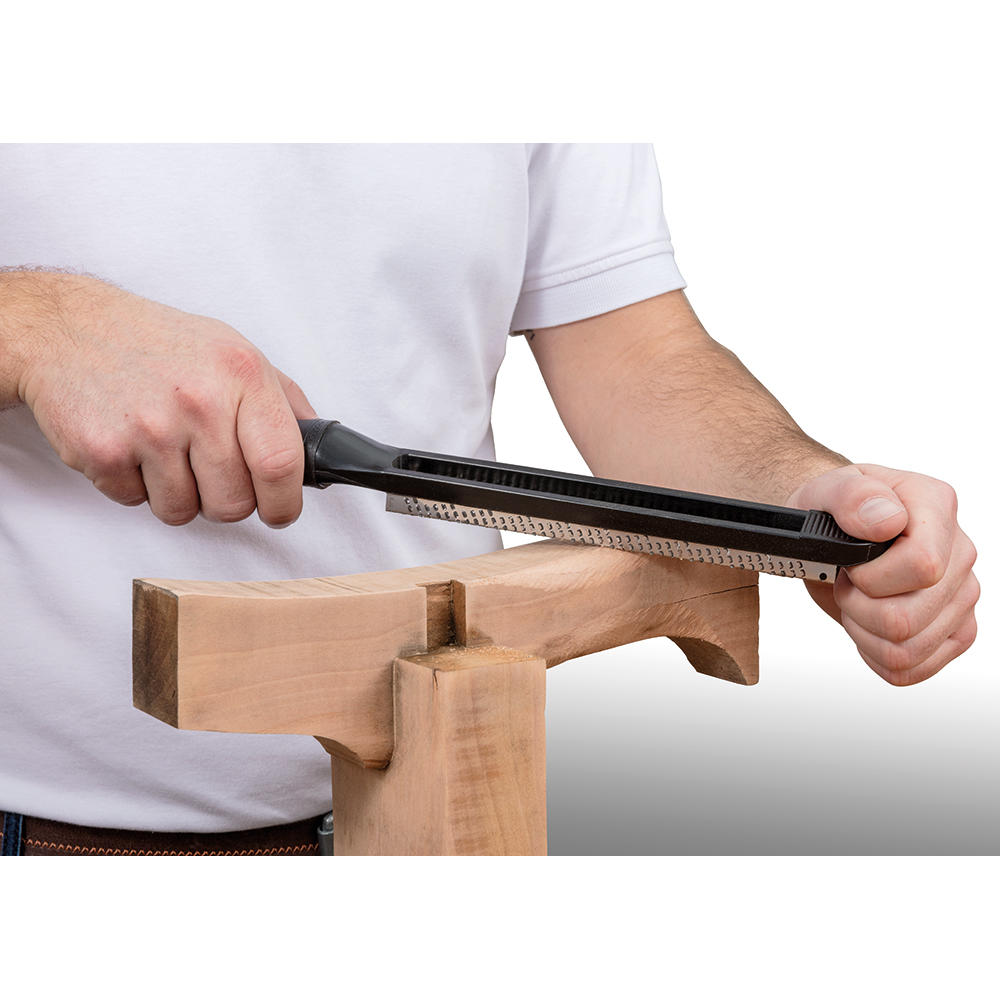
Correct Hand Positioning
Hold the wood rasp with both hands for control. One hand grips the handle, and the other guides the front.
Keep your hands steady and avoid placing fingers near the teeth. This keeps you safe and steady while working.
- Grip the handle firmly with your dominant hand
- Place your other hand near the rasp’s tip for guidance
- Keep fingers clear of the rasp teeth
Proper Stroke Movements
Move the rasp in long, even strokes along the wood grain. This removes material smoothly.
Lift the rasp on the return stroke to avoid dulling the teeth and damaging the wood.
- Push the rasp forward along the grain
- Lift it slightly on the way back
- Keep strokes steady and consistent
Controlling Pressure
Apply moderate pressure to let the rasp do the work. Too much force can cause rough cuts.
Reduce pressure as you near the final shape. This helps create a smooth, even surface.
- Start with firm but controlled pressure
- Ease pressure as you finish shaping
- Avoid pressing too hard to prevent gouges
Advanced Shaping Tips
Using a wood rasp can help you shape wood with more control. Advanced shaping techniques improve the look and feel of your projects.
These tips will guide you through creating smooth curves, detailing edges, and blending surfaces for a fine finish.
Creating Smooth Curves
Hold the rasp at a consistent angle to shape curves evenly. Use long, smooth strokes to avoid rough spots.
Check your work often by running your hand over the surface. This helps you find areas that need more shaping.
- Use the side of the rasp for wider curves
- Apply gentle pressure for a smooth finish
- Work slowly to keep the curve even
Detailing Edges And Corners
Use the tip or narrow edge of the rasp to shape tight corners and edges. Small, controlled strokes work best.
Remove sharp edges by lightly rasping them until they feel smooth but still defined.
- Hold the rasp steady to avoid slipping
- Work around the edge in small sections
- Keep checking edge sharpness by touch
Blending Surfaces Seamlessly
To blend two surfaces, rasp in overlapping strokes across the joint. This helps remove visible lines or gaps.
Use a light touch near the edges to avoid creating dips or uneven spots.
- Start with coarse rasp strokes to shape roughly
- Finish with finer strokes for a smooth blend
- Check the surface by sight and touch often
Maintaining Your Wood Rasp
Keeping your wood rasp in good condition helps it last longer. Regular care improves its cutting power and safety.
Simple maintenance steps include cleaning, sharpening, and storing your rasp properly. Each step protects your tool from damage.
Cleaning After Use
After using a wood rasp, clean it to remove wood chips and dust. This stops clogging and rust from forming.
Use a wire brush or stiff nylon brush to clean the teeth. Brush in one direction to clear debris without damage.
- Brush rasp teeth with a wire brush
- Tap the rasp gently to shake off loose dust
- Wipe the handle with a dry cloth
- Keep the rasp dry to prevent rust
Sharpening Methods
Sharpening a wood rasp is rare but possible if teeth become dull. It needs careful work to keep the shape.
Use a small triangular file to sharpen each tooth. Work slowly and keep the file at the same angle as the teeth.
- Secure the rasp in a clamp or vise
- Use a fine triangular file for sharpening
- File each tooth gently and evenly
- Check progress often to avoid over-filing
Storage Best Practices
Store your wood rasp in a dry place to prevent rust and damage. Protect the teeth from contact with other tools.
Use a tool roll, sheath, or a dedicated slot in your toolbox. Keep the rasp away from moisture and dust.
- Keep rasp in a dry, cool area
- Use a cover or protective case
- Store separate from other sharp tools
- Check rasp before each use for damage
Common Mistakes To Avoid
Using a wood rasp can make your woodworking easier and more precise. Still, some mistakes can damage the wood or cause injury.
Knowing which errors to avoid will help you work safely and get better results with your rasp.
Overworking The Wood
Applying too much pressure or rasping in one spot for too long can ruin your project. It can create uneven surfaces or deep gouges that are hard to fix.
- Use light, even strokes to shape the wood.
- Move the rasp along the grain, not across it.
- Check your progress often to avoid removing too much material.
- Take breaks to see the wood from different angles.
Ignoring Safety Measures
Wood rasping involves sharp tools and wood chips. Ignoring safety rules can cause injuries.
- Wear protective gloves to avoid cuts.
- Use safety glasses to protect your eyes from wood dust and chips.
- Keep your workspace clean and free of clutter.
- Secure the wood piece firmly before rasping.
Using Incorrect Rasp Types
Using the wrong rasp can slow your work or damage the wood surface. Different rasps have different teeth patterns for specific tasks.
| Rasp Type | Best Use | Effect on Wood |
| Coarse Rasp | Removing large amounts of wood quickly | Leaves rough surface, needs sanding |
| Medium Rasp | General shaping and smoothing | Balanced finish, less sanding needed |
| Fine Rasp | Detail work and final smoothing | Produces smooth surface, minimal sanding |
Project Ideas For Practice
Using a wood rasp can help you shape wood easily. Practice on small projects to gain confidence.
Try different types of projects to improve your skills. This also lets you see what a rasp can do.
Simple Shaping Projects
Start with small items like wooden spoons or handles. These projects let you practice smoothing and shaping edges.
Work slowly to get the shape you want. Use the rasp to remove rough parts and create curves.
- Wooden spoon handles
- Small toy parts
- Simple knife handles
- Basic wooden blocks with rounded edges
Custom Furniture Components
Practice shaping parts for furniture like chair legs or armrests. This helps you learn detailed rasp use on larger wood pieces.
Focus on creating smooth curves and fitting joints. The rasp makes shaping easier than sanding alone.
- Chair legs with curved details
- Armrest shapes
- Table edge trims
- Drawer handles
Artistic Wood Carvings
Use the rasp for artistic projects like wood sculptures or decorative panels. This lets you shape wood creatively.
Try making flowing shapes or textured surfaces. The rasp adds unique patterns and smooth curves to your art.
- Abstract wood sculptures
- Decorative wall panels
- Textured wooden plaques
- Wooden figurines with smooth curves
Credit: infinitytools.com
Credit: www.dictum.com
Frequently Asked Questions
What Is The Primary Use Of A Wood Rasp?
A wood rasp shapes and smooths wood surfaces. It removes rough edges and refines curves. It’s ideal for detailed woodworking tasks.
How Do I Hold A Wood Rasp Properly?
Hold the rasp handle firmly with one hand. Use the other hand to guide the front. Maintain a comfortable grip for control.
Can A Wood Rasp Be Used On Other Materials?
Wood rasps work best on soft materials like wood. They are less effective on metal or plastic. Use specialized tools for harder materials.
How Do I Clean A Wood Rasp After Use?
Use a wire brush to remove wood shavings. Clean between teeth to maintain sharpness. Regular cleaning extends the rasp’s lifespan.
Conclusion
A wood rasp is a handy tool for shaping wood. It offers control and precision. Remember to choose the right rasp for your project. Always work with care and patience. Safety is important, so wear protective gear. Practice will help improve your skills.
Keep your rasp clean for better performance. Now you can confidently tackle wood projects. Enjoy the process and creativity. With these tips, crafting becomes easier. Happy woodworking!