
Are you tired of seeing uneven corners and gaps every time you cut miters? Getting those perfect angles can feel tricky, but with the right approach, you can achieve clean, precise cuts every single time.
Imagine your projects looking sharp and professional, impressing everyone who sees them. You’ll discover simple yet powerful tips that will help you master miter cuts quickly. Keep reading, and you’ll learn how to save time, reduce mistakes, and boost your confidence with every cut you make.
Your next project deserves that flawless finish—let’s make it happen!
Choosing The Right Tools
Cutting miters accurately needs the right tools. Using good tools helps you make clean and precise cuts.
Picking the right tools saves time and reduces mistakes. It also makes your work look professional.
Miter Saws Vs. Hand Saws
Miter saws are power tools that cut angles quickly and accurately. They are great for many projects.
Hand saws need more skill and time. They can work well for small jobs or when you want more control.
- Miter saws give fast and clean cuts
- Hand saws are good for detailed or small cuts
- Miter saws are best for repeated angle cuts
- Hand saws are portable and need no power
Essential Measuring Tools
Accurate measuring tools help you cut miters with exact angles. They reduce guesswork and errors.
Common tools include protractors, combination squares, and tape measures. These tools guide your cuts.
- Protractors measure angles precisely
- Combination squares help mark straight lines
- Tape measures check length and width
- Marking tools like pencils or knives improve accuracy
Clamps And Supports
Clamps hold your work steady while cutting. This prevents movement that can cause mistakes.
Supports like sawhorses or workbenches keep your materials level. They also improve safety during cutting.
- Use clamps to secure wood firmly
- Choose supports that match your project size
- Stabilize long pieces with extra supports
- Check clamps before cutting to avoid slips
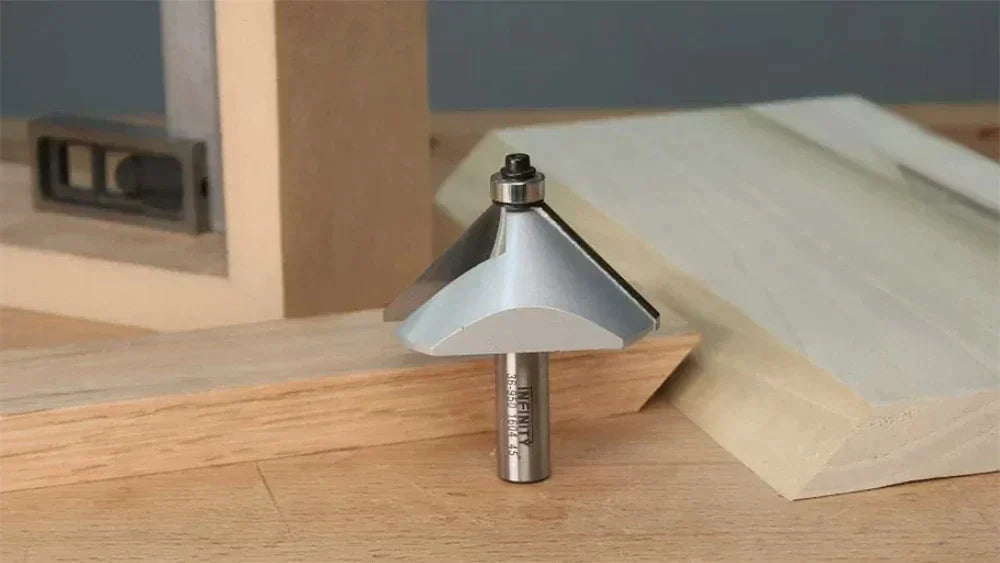
Credit: infinitytools.com
Preparing Your Workspace
Cutting miters accurately needs a well-prepared workspace. A good setup helps you make precise cuts safely.
Organizing your area before cutting saves time and reduces mistakes. Focus on three key parts below.
Setting Up A Stable Surface
Use a flat, sturdy table or workbench for your cutting tasks. A stable surface stops wood from moving.
Clamp your wood pieces tightly to keep them in place. This makes your cuts cleaner and safer.
- Choose a solid workbench or table
- Check for wobbling or uneven spots
- Use clamps to secure wood firmly
- Clear the surface of clutter
Marking Clear Cut Lines
Draw clear cut lines before cutting. Use a sharp pencil or fine marker for accuracy.
Mark both sides of the wood for better visibility. Double-check angles with a protractor or miter gauge.
- Use a sharp pencil or fine tip marker
- Mark cut lines on both sides
- Verify angles with a protractor or miter gauge
- Keep lines thin and precise
Ensuring Proper Lighting
Good lighting helps you see cut lines and measurement marks clearly. Avoid shadows on your workspace.
Use bright, focused lights like LED lamps. Position lights to shine directly on your cutting area.
- Use bright LED lamps or daylight bulbs
- Position lights above or beside your workbench
- Reduce shadows by using multiple light sources
- Adjust lighting before cutting
Measuring And Marking Angles
Cutting miters accurately depends on careful measuring and marking. You need precise angles to get clean joints. This guide helps you use tools and methods to mark angles correctly.
Focus on using the right tools, checking your work, and marking both pieces properly. Each step reduces errors and improves your final cuts.
Using Protractors And Angle Finders
Protractors and angle finders help measure angles precisely. Place the tool on the workpiece and read the angle. Angle finders often have digital displays for easy reading.
- Align the protractor’s baseline with the edge of the wood.
- Rotate the arm to match the cut angle needed.
- Note the angle shown and transfer it to your marking tool.
- Use angle finders to measure existing angles quickly.
Double Checking Measurements
Always check your measurements twice before cutting. Small errors can cause gaps or misaligned joints. Double checking saves wood and time.
- Measure the angle on your first piece.
- Mark the angle clearly with a pencil.
- Measure again to confirm the angle is the same.
- Repeat the process on the second piece you will join.
Marking Both Pieces Accurately
Mark both pieces clearly to avoid confusion when cutting. Use sharp pencils and straight edges. Make sure the marks are visible but not too thick.
| Tip | Reason |
|---|---|
| Mark the cut line on the face of the wood | Helps guide the saw blade accurately |
| Use a square or ruler to extend the line | Keeps marks straight and easy to follow |
| Label each piece with its position | Avoids mixing parts during assembly |
| Draw a small arrow showing the cut direction | Clarifies which side to cut along the line |
Cutting Techniques For Precision
Cutting miters accurately takes practice and good technique. Precise cuts make your project look clean and professional.
Using the right methods helps you avoid mistakes and save time on adjustments. Focus on your saw blade, cutting speed, and material handling.
Proper Saw Blade Positioning
Set the saw blade at the correct angle before cutting. Check your miter gauge and blade alignment carefully.
Make sure the blade is sharp and clean. A dull blade can cause rough cuts and reduce accuracy.
- Align the blade with your cut line
- Double-check the miter angle setting
- Use a sharp, clean blade for smooth cuts
Slow And Steady Cutting
Cut slowly to maintain control and accuracy. Fast cuts can cause the blade to wander off the line.
Keep steady pressure and let the saw do the work. Avoid forcing the blade through the material.
- Start the cut carefully to guide the blade
- Maintain a steady speed throughout
- Do not rush or push too hard
Avoiding Tear-out
Tear-out happens when wood fibers pull away during cutting. It makes the edges rough and uneven.
Use painter’s tape over the cut line to reduce tear-out. Score the cut line with a sharp blade before cutting.
- Apply painter’s tape along the cut
- Score the wood grain with a utility knife
- Use a fine-tooth blade for cleaner cuts
Checking And Adjusting Joints
Cutting miters accurately is key for clean and tight joints. Checking and adjusting your pieces before final assembly saves time and material.
This guide covers how to test fit, sand for a perfect fit, and fix common errors in miter joints.
Test Fitting Pieces
Always dry fit your mitered pieces before gluing. This shows if the angles match and the joint closes tightly.
Look for gaps or uneven edges. If you spot any, mark the problem areas clearly for adjustment.
Sanding For Perfect Fit
Sanding helps refine your miter cuts and remove small gaps. Use a sanding block or sponge to keep the angle even.
- Sand lightly on the inside edge of the miter
- Check fit often to avoid removing too much material
- Use fine-grit sandpaper for a smooth finish
- Maintain the original angle while sanding
Correcting Common Errors
| Error | Cause | Solution |
|---|---|---|
| Gap in joint | Cut angle too wide or narrow | Sand edges gently or recut the miter |
| Uneven edges | Unequal length cuts | Trim longer piece to match |
| Pieces don’t line up flat | Blade or fence misaligned | Check and adjust saw setup |

Credit: www.familyhandyman.com
Advanced Tips From Experts
Cutting miters accurately can be tricky, even for skilled woodworkers. Experts use special techniques to get perfect joints every time.
These tips focus on fine-tuning your process to reduce mistakes and improve precision.
Using Stop Blocks
Stop blocks help keep your pieces the same length. Attach them firmly to your saw fence or workbench.
They prevent your wood from sliding and ensure each cut starts at the exact spot.
- Measure and clamp the stop block securely.
- Check the block position before each cut.
- Use a scrap piece to test the setup first.
Cutting Compound Miters
Compound miters involve two angles: bevel and miter. Set your saw to the correct angles for each cut.
Double-check your saw’s angle scales and practice on scrap wood to avoid errors.
- Use a protractor or angle finder for precise settings.
- Mark your wood clearly to guide the cut.
- Cut slowly to keep control and accuracy.
Maintaining Your Tools
Sharp blades and clean tools make cutting easier and more accurate. Dull blades cause rough cuts and mistakes.
Regularly check your saw for damage and clean off dust and resin build-up.
- Sharpen or replace blades often.
- Lubricate moving parts for smooth operation.
- Keep your saw aligned and calibrated.

Credit: www.reddit.com
Frequently Asked Questions
What Tools Ensure Accurate Miter Cuts?
Using a miter saw with a sharp blade is essential. A protractor or angle finder helps set precise angles. Clamps stabilize your workpiece, reducing movement. Proper measuring tools, like a tape measure, improve accuracy. Always double-check measurements before cutting.
How To Measure Angles For Perfect Miter Cuts?
Use a protractor or digital angle finder to measure angles precisely. Mark the angle clearly on your workpiece. Verify measurements twice to avoid errors. Adjust your miter saw to match the measured angle before cutting. Accurate measuring is key for clean joints.
Why Is Blade Sharpness Important In Miter Cuts?
A sharp blade ensures clean, smooth cuts with less tear-out. It reduces the risk of splintering and rough edges. Sharp blades also improve safety by requiring less force. Regularly inspect and replace blades to maintain cutting accuracy and quality.
How To Avoid Gaps In Miter Joints?
Ensure both pieces are cut at exactly the same angle. Use clamps to hold the pieces tightly while joining. Sand edges lightly for a better fit. Check your saw’s angle calibration regularly. Precision and proper fitting prevent visible gaps.
Conclusion
Cutting miters accurately takes practice and patience. Use a sharp blade. Measure twice, cut once. Secure your material firmly. Check angles with a protractor or square. Make test cuts on scrap wood first. Adjust your saw settings if needed. Consistency is key for precise miters.
Keep your tools well-maintained for best results. Stay focused and work carefully. With time, your skills will improve. Achieving perfect miters can enhance your projects. Enjoy the satisfaction of clean, crisp joints. Your hard work will pay off in the end.
Happy crafting!