Are you ready to make perfect cuts every time? Knowing how to mark wood for cutting angles can save you from costly mistakes and wasted materials.
Whether you’re building furniture, framing a project, or crafting something unique, getting your angles right is key. In this guide, you’ll discover simple, clear steps to mark your wood accurately—no guesswork, no frustration. Keep reading, and you’ll gain the confidence to tackle angled cuts like a pro.
Tools Needed
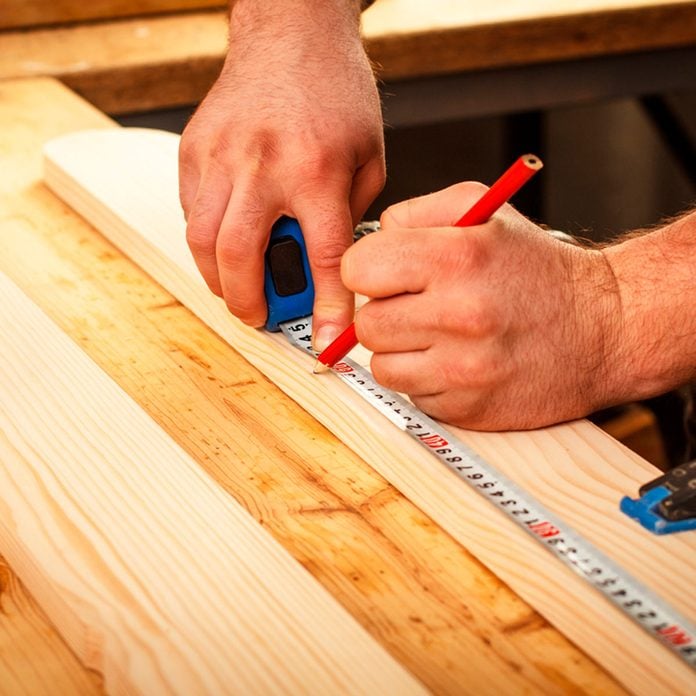
Marking wood correctly is key for accurate angle cuts. Using the right tools helps you measure and mark precisely. This guide covers the essential tools you need for the job.
Each tool has a specific role, from marking lines to measuring angles. Choose tools that fit your project and skill level for better results.
Essential Marking Tools
Start with tools that allow clear and precise marks on wood. A sharp pencil or marking knife works best for fine lines. A square helps you make straight, right-angle marks.
- Carpenter’s pencil or marking knife for clear lines
- Combination square for right angles and straight edges
- Marking gauge for parallel lines
- Speed square to mark angles quickly
Choosing The Right Saw
Selecting the correct saw depends on the angle and type of cut. Miter saws are common for angled cuts. A handsaw can work if you have steady control and the right blade.
| Saw Type | Best For | Blade Feature |
| Miter Saw | Precise angle cuts | Adjustable angle guide |
| Handsaw | Small projects or quick cuts | Fine or crosscut blade |
| Table Saw | Long straight cuts at angles | Tilting blade for bevel cuts |
Additional Measuring Aids
Extra measuring tools improve accuracy for angled cuts. Use a protractor or digital angle finder to check exact angles. A tape measure helps confirm lengths before cutting.
- Protractor for measuring angles
- Digital angle finder for precise readings
- Tape measure for length checks
- Clamps to hold wood steady during marking and cutting
Preparing The Wood
Marking wood for cutting angles starts with proper preparation. Good preparation helps you get precise cuts and save material.
Take time to prepare the wood before you mark it. This makes the cutting process easier and more accurate.
Selecting The Wood Piece
Choose wood that matches your project needs. Look for straight boards without warps or cracks.
Select wood that is the right size and thickness for your angle cuts. Avoid pieces with knots or defects near the cutting area.
- Pick wood with a straight grain
- Avoid boards with splits or holes
- Check for moisture content to prevent warping
Ensuring A Smooth Surface
A smooth surface lets you mark angles clearly. Sand the wood lightly to remove rough spots and dirt.
Clean the wood surface with a dry cloth after sanding. This removes dust that can blur your marks.
- Sand with fine-grit sandpaper
- Wipe away all dust and debris
- Check that the surface is even and flat
Securing The Wood For Marking
Hold the wood firmly while marking. Use clamps or a workbench to keep it from moving.
Stable wood helps you draw straight lines and accurate angles. Avoid marking on loose or shifting pieces.
- Use clamps to fix the wood to your work surface
- Check that the wood does not wobble
- Mark angles with a sharp pencil or marking knife
Measuring Angles
Cutting wood at the right angle is important for a good fit. Measuring angles helps you make accurate cuts. You need tools to mark the wood before cutting.
This guide explains three ways to measure and mark angles on wood. You can use a protractor, mark common angles, or transfer angles with a bevel gauge.
Using A Protractor
A protractor is a simple tool for measuring angles. Place it on the wood edge to find the exact angle. Read the degree where the wood line meets the protractor scale.
Mark the angle on the wood with a pencil. Check that the protractor stays steady to avoid mistakes.
Marking Common Angles
- 45 degrees: Often used for corners and trim.
- 90 degrees: Standard straight cut for edges.
- 30 degrees: Common in roof framing.
- 60 degrees: Used for decorative cuts.
Use a speed square or angle finder to quickly mark these angles. These tools help save time on repeated cuts.
Transferring Angles With A Bevel Gauge
A bevel gauge copies angles from one piece to another. Adjust the blade to match the angle you want to transfer. Tighten the knob to hold the angle.
| Step | Action |
| 1 | Place the bevel gauge blade along the angle to copy. |
| 2 | Lock the blade in place using the knob. |
| 3 | Move the gauge to the wood to be cut. |
| 4 | Draw along the blade edge to mark the angle. |

Credit: www.wikihow.com
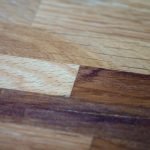
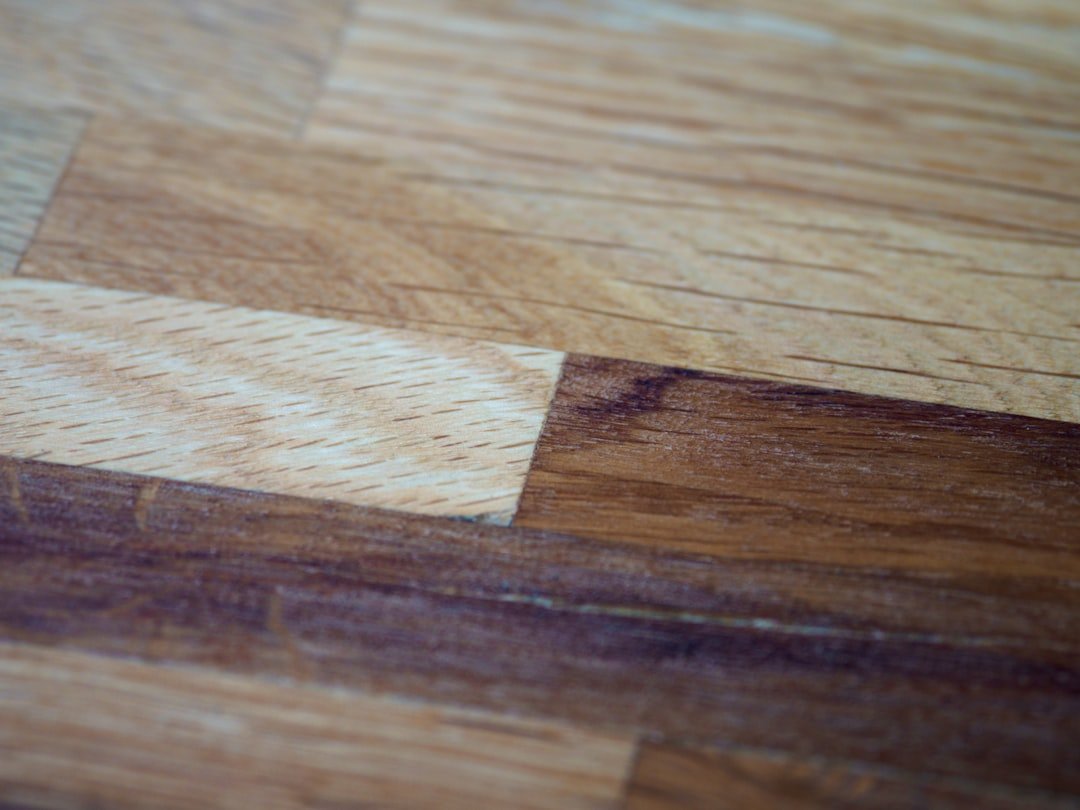
Marking Techniques
Marking wood accurately is important before cutting angles. Clear marks guide your saw and help you get precise cuts.
Using the right tools and methods can make marking easier and more reliable. This guide covers key techniques to mark wood for angle cuts.
Drawing Clear Cut Lines
Use a sharp pencil or marking knife to draw cut lines. Clear lines reduce mistakes and help you follow the cut path.
Make sure your marking tool is fine enough to draw thin lines. Thick lines can hide the exact cut edge.
Using A Carpenter’s Square
A carpenter’s square helps you draw perfect right angles and angled lines. It is a simple tool with two straight edges joined at 90 degrees.
- Place the square firmly against the wood edge.
- Align the pencil along the square edge to draw your line.
- For angled cuts, use the square’s angled side or adjustable bevel.
- Check the square for damage to keep lines accurate.
Double-checking Measurements
| Check | How to Do It |
|---|---|
| Measure Twice | Use a tape measure and mark two points before drawing lines. |
| Confirm Angles | Use a protractor or angle finder to verify the angle you marked. |
| Compare Both Ends | Make sure lines on both ends of the wood match in length and angle. |
| Use a Square | Check lines are straight and 90 degrees where needed. |
Cutting Tips
Marking wood accurately is key to making clean angle cuts. Careful preparation helps you cut pieces that fit well.
Follow simple tips to improve your cutting accuracy and safety when working with angled cuts.
Aligning The Saw Blade
Set your saw blade to the correct angle before cutting. Use the saw’s angle guide or a protractor to adjust it precisely.
- Check the blade angle twice before starting.
- Make sure the blade is sharp to get a clean cut.
- Secure the wood firmly to avoid movement.
- Test the cut on scrap wood first.
Maintaining Steady Hands
Hold the saw firmly with both hands to keep it steady. Avoid rushing the cut to prevent mistakes.
| Tip | Why It Helps |
| Use a clamp | Keeps wood still |
| Stand with feet apart | Improves balance |
| Keep elbows close | Better control |
| Cut slowly | More precise cuts |
Checking The Cut Angle
After cutting, check the angle with a carpenter’s square or angle finder. This step ensures your cut matches the mark.
Use this quick checklist:
- Place angle finder on cut edge.
- Compare reading with your desired angle.
- If off, adjust saw settings and recut if needed.

Credit: www.familyhandyman.com
Troubleshooting Errors
Marking wood for cutting angles can be tricky. Errors in marking cause poor cuts and wasted materials.
This guide helps you find common marking mistakes and fix inaccurate cuts. It also shows ways to improve your precision.
Common Marking Mistakes
Many beginners make these errors when marking wood for angles. Spotting them saves time and wood.
- Using a dull pencil or marker that creates thick lines
- Not holding the square or protractor firmly against the wood
- Measuring from the wrong edge or reference point
- Marking angles with inconsistent pressure, causing uneven lines
- Failing to double-check measurements before marking
Fixing Inaccurate Cuts
If your cuts do not match the marked lines, try these fixes. Adjust your approach to improve results.
| Problem | Cause | Solution |
| Cut is too wide | Blade not aligned with mark | Realign blade carefully before cutting |
| Cut is too narrow | Mark was inside the cut line | Mark outside the cut line for saw kerf |
| Angle does not match | Incorrect angle set on saw | Recalibrate saw angle and test on scrap wood |
| Wood splits after cut | Dull blade or too fast feed | Sharpen blade and slow down cutting speed |
Improving Future Precision
Use these tips to mark wood better and reduce errors in future projects.
- Always use a sharp pencil or marking knife for thin, clear lines.
- Hold measuring tools tightly against the wood to avoid slips.
- Measure twice and mark once to prevent mistakes.
- Use scrap wood to practice setting angles before cutting your project piece.
- Keep your tools clean and calibrated for accuracy.
Credit: www.familyhandyman.com
Frequently Asked Questions
What Tools Are Best For Marking Wood Angles?
Use a protractor, combination square, or speed square. These tools provide accurate angle measurements. They are easy to use and widely available. Mark angles clearly with a sharp pencil or marking knife for precision.
How Do You Measure Wood For Angled Cuts?
Measure the angle using a protractor or angle finder. Transfer the angle onto the wood with a square or straightedge. Double-check measurements before marking. Accurate measuring ensures clean, precise cuts and reduces waste.
What Is The Easiest Way To Mark Angled Cuts?
Use a speed square for quick angle marking. Align it with the wood edge and pivot to the desired angle. Draw a clear line along the square’s edge. This method is fast, accurate, and beginner-friendly.
How Do You Ensure Accuracy When Marking Angles?
Double-check your measurements and use sharp marking tools. Keep the wood stable while marking to avoid errors. Use consistent reference points and measure twice before cutting. Accuracy prevents mistakes and improves the final project quality.
Conclusion
Marking wood for cutting angles can be easy. Follow simple steps. Start by measuring accurately. Use a quality protractor. Mark clearly with a pencil. Align your saw carefully. Cut precisely for the best results. Practice makes perfect. Mistakes happen but teach valuable lessons.
Keep tools sharp and ready. Always double-check your work. Safety should never be overlooked. Wear protective gear always. Enjoy your woodworking projects. With these tips, you’ll succeed. Happy woodworking!