If you’re planning to build a sturdy frame for your next project, knowing how to use a claw hammer correctly is key. This simple tool can make your work faster, safer, and more precise.
But if you don’t use it the right way, you might struggle or even damage your materials. In this guide, you’ll discover easy steps and insider tips to handle a claw hammer like a pro. By the end, you’ll feel confident and ready to tackle any framing job with skill and ease.
Keep reading to unlock the secrets that will transform your hammering experience.
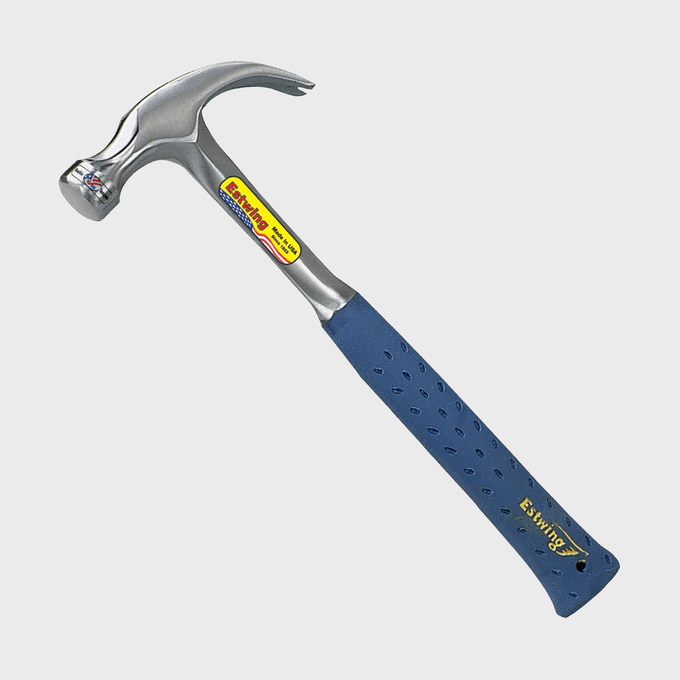
Credit: www.familyhandyman.com
Choosing The Right Claw Hammer
Picking the right claw hammer is important for framing tasks. It helps you work faster and safer.
Different hammers fit different needs. Look at the hammer type, weight, and handle before you buy.
Types Of Claw Hammers
There are several types of claw hammers. Each type has a specific use in framing work.
- Curved Claw: Good for pulling nails and general use.
- Straight Claw: Better for prying and demolition.
- Rip Claw: Designed for heavy framing and removing large nails.
Hammer Weight And Balance
Weight affects how much force you can deliver. Balance controls comfort and control.
| Weight | Use | Best For |
| 16 oz | Light | Small nails and finish work |
| 20 oz | Medium | General framing |
| 22 oz or more | Heavy | Large nails and heavy framing |
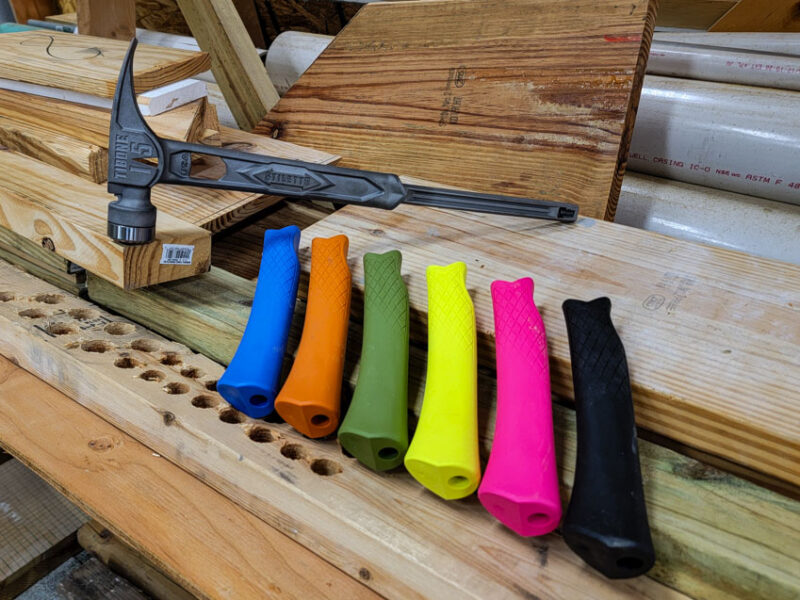
Handle Materials And Grip
Handles come in wood, steel, and fiberglass. Grip affects how well you hold the hammer.
- Wood: Classic feel, absorbs shock but can break.
- Steel: Very strong, but can cause more vibration.
- Fiberglass: Good shock absorption and durability.
- Rubber Grip: Helps prevent slipping and improves comfort.
Essential Safety Gear
Using a claw hammer for framing can be risky without the right safety gear. Protecting yourself helps prevent injuries on the job.
Wearing proper safety equipment makes your work safer and more comfortable. Focus on three main items to stay safe.
Protective Eyewear
Protective eyewear keeps your eyes safe from flying debris and dust. Always wear safety glasses when hammering nails.
Choose glasses that fit well and have impact-resistant lenses. Wraparound styles offer extra protection on the sides.
Work Gloves
Work gloves protect your hands from splinters, cuts, and blisters. Use gloves made for construction work for the best grip.
Look for gloves with padding on the palms. This helps reduce hand fatigue during long framing tasks.
Proper Footwear
Wear sturdy boots with slip-resistant soles to protect your feet. Steel-toed boots offer extra safety from heavy objects.
Good footwear keeps you steady on uneven ground. Avoid open-toed shoes or sneakers when framing.
Preparing For Framing
Framing requires careful preparation before you start nailing wood together. Proper setup saves time and ensures strong, safe results.
Focus on three main areas: selecting the right nails, measuring and marking accurately, and setting up your workspace for efficiency.
Selecting Nails
Choose nails that fit the wood thickness and framing type. Using the right nails helps the frame hold firmly without splitting the wood.
- Use 16d nails for standard wall framing
- Pick galvanized nails for outdoor projects
- Opt for box nails to reduce wood splitting
- Consider length: nails should be three times the thickness of the wood
Measuring And Marking
Accurate measurements keep your framing square and strong. Mark points clearly before hammering nails.
| Tool | Purpose |
| Tape Measure | Measure lengths of wood |
| Pencil | Mark cutting and nailing points |
| Speed Square | Check and mark right angles |
| Chalk Line | Mark long straight lines |
Setting Up Your Workspace
A clean and organized workspace helps you work faster and safer. Arrange tools and materials within reach.
- Clear debris and obstacles from the work area
- Set up sawhorses or a sturdy table for cutting wood
- Keep a bucket or container for nails and small tools
- Ensure good lighting and ventilation
- Wear safety gear like gloves and goggles nearby
Credit: www.protoolreviews.com
Basic Hammering Techniques
Using a claw hammer for framing needs some simple skills. Good hammering helps you build strong frames fast.
Learn how to hold the hammer, start nails, and drive them well. These basics make your work easier.
Proper Grip And Stance
Hold the hammer near the end of the handle. This gives more power with each swing.
Stand with your feet shoulder-width apart. Keep your body balanced and stable for better control.
- Grip hammer handle firmly but not too tight
- Stand straight with knees slightly bent
- Face the nail directly to hit it squarely
Starting The Nail
Hold the nail near its top between your thumb and finger. Place it where you want to drive it.
Tap the nail gently with the hammer to set it in the wood. Make sure it stays straight before hitting harder.
- Hold nail steady at first
- Use light taps to start nail
- Check nail angle before full swings
Driving Nails Efficiently
Swing the hammer in a smooth arc from your elbow. Use the hammer’s weight to drive the nail with less effort.
Hit the nail head squarely to avoid bending. Keep your eyes on the nail and keep a steady rhythm.
- Use controlled, firm swings
- Hit the nail center on the head
- Keep a steady pace to finish fast
Using The Claw For Nail Removal
The claw hammer is not only for driving nails. It also helps remove nails from wood easily. Using the claw properly saves time and protects your work.
Knowing how to use the claw can prevent damage to wood and make nail removal smoother. This guide covers key tips for using the claw hammer well.
Leveraging Techniques
Use the claw as a lever to pull nails out. Place the claw under the nail head. Push the handle down to lift the nail slowly.
Move the hammer handle back and forth gently. This gives better control and reduces the risk of breaking the wood or bending the nail.
- Insert claw under nail head firmly
- Push hammer handle down slowly
- Use small back and forth motions
- Lift nail steadily to avoid snapping
Avoiding Damage To Wood
Protect wood by placing a thin piece of scrap wood between the hammer claw and the surface. This stops dents and scratches.
Pull nails out gently. Do not use too much force at once. This helps keep the wood strong and clean after nail removal.
- Use a scrap wood block as a buffer
- Apply slow and steady pressure
- Do not twist or jerk the hammer
- Check wood surface for damage often
Dealing With Stubborn Nails
Stubborn nails may be rusted or deeply embedded. Wiggle the claw side to loosen the nail before pulling it out.
If the nail is stuck, use a small hammer or mallet to tap the claw deeper under the nail head. This gives more grip and power.
- Wiggle the claw gently to loosen nails
- Tap claw deeper under nail head if needed
- Pull slowly to avoid nail breaking
- Use pliers if nail head is damaged
Advanced Framing Tips
Using a claw hammer for framing takes skill and care. Knowing how to handle different woods and keep your hammer in good shape helps you work better. This guide shares tips to improve your speed and accuracy with framing.
Each type of wood needs a different approach. Also, fast and precise hammering saves time and makes your frames stronger. Finally, keeping your hammer clean and sharp keeps your tools working well.
Working With Different Wood Types
Softwood and hardwood behave differently when you hammer nails. Softwood is easier to drive nails into but can split if you are not careful. Hardwood needs more force but holds nails better.
- Use nails with a sharp point for hardwood to prevent bending.
- Pre-drill small holes for hardwood to reduce splitting.
- Tap nails lightly at first to avoid damaging softwood.
- Choose the right nail length for the wood thickness.
Speed And Accuracy
Speed improves as you practice, but accuracy is key to strong framing. Focus on hitting the nail head squarely. This prevents bent nails and wood damage.
| Tip | Reason |
| Hold the hammer near the end of the handle | Gives more power and control |
| Keep your wrist straight when swinging | Improves accuracy and reduces injury |
| Watch the nail head, not the hammer | Helps you hit the target every time |
| Use smooth, steady swings | Prevents missing or bending nails |
Maintaining Your Hammer
A well-maintained hammer lasts longer and works better. Clean the head and handle after use. Check for damage often.
- Remove dirt and sap with a rag and mild cleaner.
- Sharpen the claw edges carefully to remove rust.
- Tighten or replace loose handles.
- Store your hammer in a dry place to avoid rust.
Credit: medium.com
Frequently Asked Questions
What Is The Best Claw Hammer Size For Framing?
A 16 to 20-ounce claw hammer is ideal for framing. It balances power and control. This size helps drive nails efficiently into wood without causing fatigue.
How Do You Hold A Claw Hammer For Framing?
Grip the hammer near the end of the handle. This provides better leverage and control. Keep your wrist relaxed to reduce strain and increase accuracy.
Can A Claw Hammer Remove Framing Nails?
Yes, the claw end is designed for nail removal. Position the claw under the nail head and use leverage to pull nails out. It works well for framing nails without damaging wood.
How To Swing A Claw Hammer Safely For Framing?
Use a smooth, controlled swing with your elbow. Avoid wild or fast swings to prevent injury. Always wear safety goggles and ensure your workspace is clear.
Conclusion
Using a claw hammer for framing becomes simple with practice. Focus on grip. Ensure your hand feels comfortable. Always use the right nail for the job. Safety is crucial. Wear gloves and goggles. Practice your swing to gain precision. Over time, you’ll hit nails with ease.
This tool is essential for framing tasks. Keep it clean and stored properly. A well-maintained hammer lasts longer. Remember, patience leads to better results. Each project will improve your skills. Enjoy the process and the satisfaction it brings. Happy building!