Are you struggling to get the exact thickness of your wood for your project? Measuring wood thickness precisely can make all the difference between a perfect fit and a frustrating gap.
Whether you’re building furniture, crafting, or doing repairs, knowing how to measure correctly saves time, money, and effort. You’ll discover simple yet effective methods to measure wood thickness with confidence. Keep reading, and you’ll never have to guess or rework your wood pieces again.
Credit: www.popularwoodworking.com
Choosing The Right Tools
Measuring wood thickness accurately needs the correct tools. Picking the right one helps get exact results. This guide explains popular measuring tools for wood thickness.
Each tool fits different needs and skill levels. Learn about their uses to choose what works best for your project.
Calipers For Accuracy
Calipers are common tools for measuring thickness. They can measure inside, outside, and depth dimensions. They come in digital, dial, and vernier types.
- Easy to use with quick readings
- Good for wood pieces with flat edges
- Digital calipers show clear numbers
- Vernier types need skill to read
Micrometer Advantages
Micrometers provide very precise measurements. They are best for small thickness and tight spaces. They use a spindle and anvil to hold the wood firmly.
| Feature | Benefit |
| High precision | Measures to thousandths of an inch |
| Locking mechanism | Holds measurement steady |
| Small size | Fits narrow wood pieces |
Using A Depth Gauge
Depth gauges measure thickness in hard-to-reach spots. They use a probe to reach inside grooves or holes. This tool helps when edges are not accessible.
It is simple to read and gives good precision. Use it for detailed wood projects with complex shapes.
Laser Measuring Devices
Laser devices measure thickness without touching wood. They send a laser beam and calculate distance from the reflection. This method is quick and clean.
Some laser tools come with digital displays and memory. They suit large wood sheets or irregular shapes. They also reduce errors from tool pressure.
Preparing The Wood Surface
Measuring wood thickness accurately starts with a clean and smooth surface. Dirt, dust, and rough spots can cause wrong readings. Preparing the wood well helps you get the right measurement every time.
This guide explains how to clean and smooth wood and avoid common measurement mistakes.
Cleaning And Smoothing
Remove all dirt and dust from the wood surface before measuring. Use a soft brush or cloth to clean it gently. Avoid using water on wood that is not sealed, as it can cause swelling.
After cleaning, smooth the surface with fine sandpaper. Sanding removes bumps and rough patches. This helps the measuring tool sit flat and gives a more exact thickness reading.
- Use a soft brush or dry cloth to remove dust
- Smooth rough spots with fine-grit sandpaper (220 grit works well)
- Wipe off sanding dust with a clean cloth
- Avoid wetting the wood unless sealed
Avoiding Measurement Errors
Check that the wood is stable and not warped before measuring. Warped wood causes uneven readings. Lay the wood flat on a solid surface to get a true thickness.
Use the right measuring tool and place it carefully. Avoid pressing too hard with calipers or rulers, as this can compress the wood and change the result.
- Measure wood on a flat, stable surface
- Use a precise tool like calipers or a micrometer
- Do not press the measuring tool too hard
- Take multiple measurements at different points
- Record the smallest thickness for accuracy
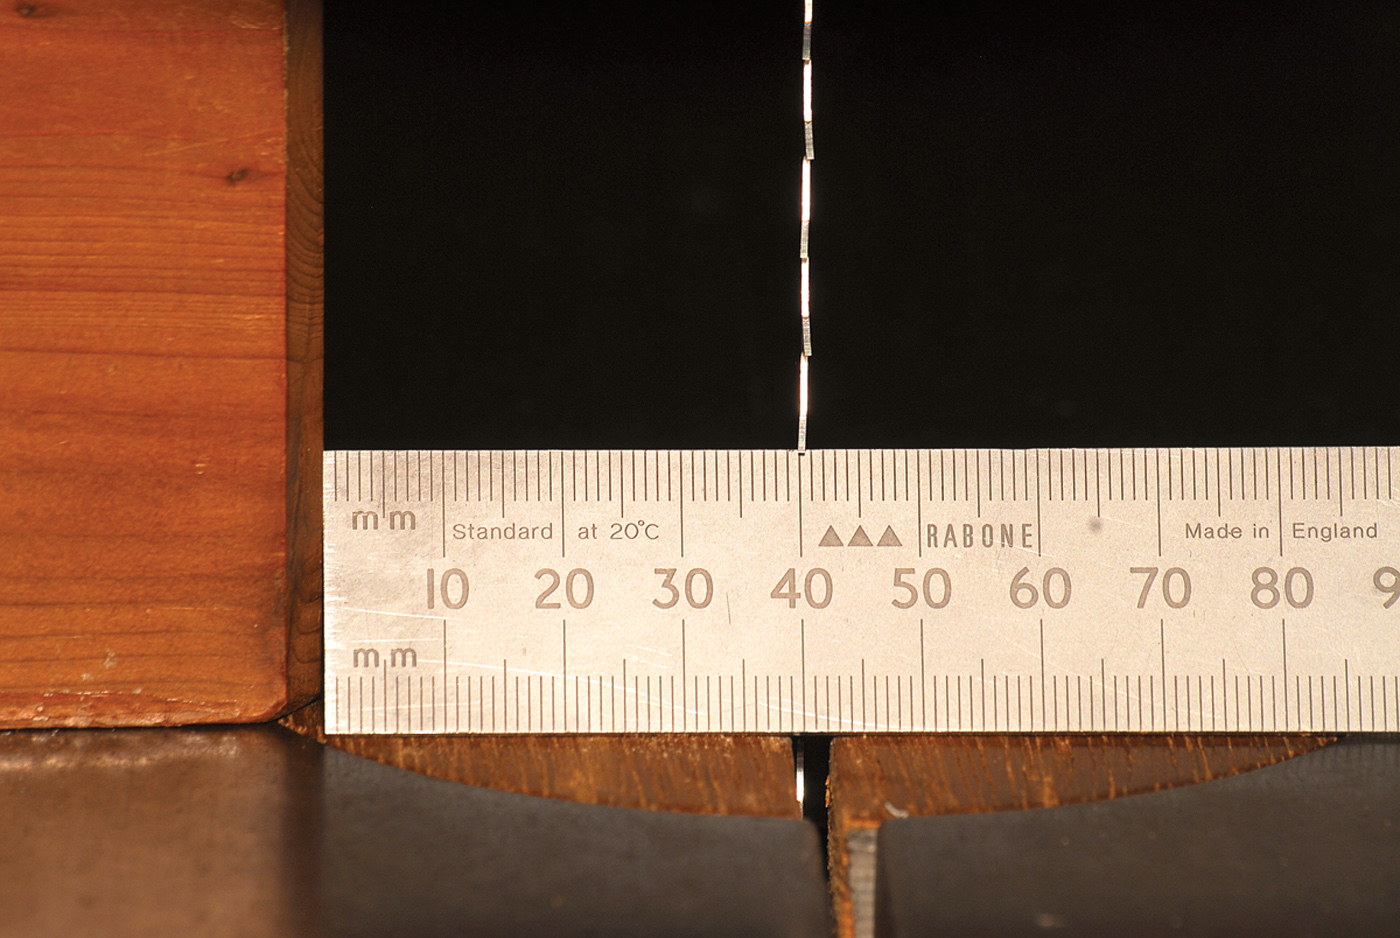
Step-by-step Measurement Techniques
Measuring wood thickness accurately is important for many woodworking projects. Using the right tools and methods helps get precise results.
This guide explains simple techniques to measure wood thickness correctly. Follow these steps to avoid mistakes and get reliable measurements.
Single Point Measurement
Single point measurement means checking the wood thickness at one spot. Use a caliper or micrometer for best accuracy.
- Place the tool jaws flat on the wood surface
- Close the jaws gently until they touch the wood on both sides
- Read the measurement from the tool scale or digital display
- Record the thickness value carefully
Multiple Points For Consistency
Wood thickness can vary across the board. Measure several points to check for evenness.
| Location | Thickness (mm) |
| Center | 18.5 |
| Left edge | 18.3 |
| Right edge | 18.6 |
| Top edge | 18.4 |
| Bottom edge | 18.5 |
Compare values to find any thin or thick spots. This helps decide if the wood needs planing or sanding.
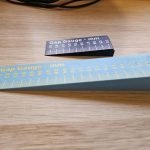
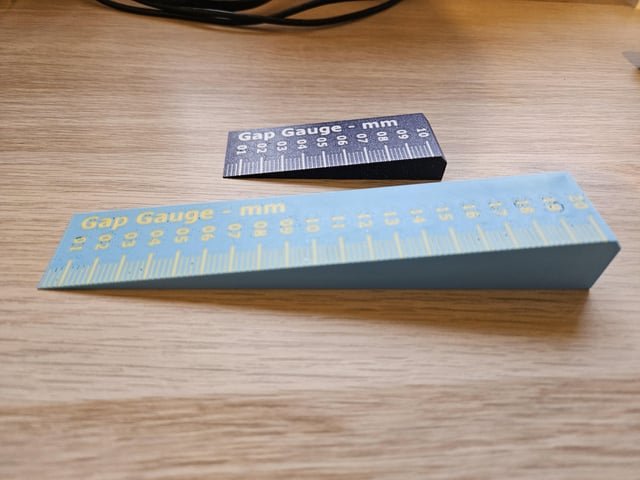
Measuring Irregular Shapes
Curved or uneven wood requires careful measuring. Use flexible tools or custom methods.
Try this method for irregular pieces:
- Use a flexible tape measure to find the total length along the curve.
- Mark multiple points along the curve.
- At each point, measure thickness with a caliper, adjusting tool angle to the surface.
- Write down each measurement with its location.
- Calculate average thickness from all points.

Credit: www.instructables.com
Common Measurement Challenges
Measuring wood thickness can be tricky. Many factors cause errors and inaccurate results.
Knowing common challenges helps you get better, more precise measurements every time.
Dealing With Warped Wood
Warped wood bends or twists, making it hard to measure thickness at a single spot.
Measure in several places to find the thinnest and thickest points. Use the smallest value for accuracy.
- Check for curves or twists before measuring
- Use a straight edge to find high and low spots
- Take multiple measurements across the board
- Record the smallest thickness found
Handling Rough Surfaces
Rough wood surfaces can cause your measuring tool to slip or give false readings.
Smooth the surface lightly or use a caliper with flat jaws to improve accuracy.
- Sand the wood lightly before measuring
- Clean off dust and debris
- Use tools designed for uneven surfaces
- Hold the tool steady to avoid slipping
Temperature And Moisture Effects
Wood expands and contracts with changes in temperature and moisture. This affects thickness.
Measure wood in stable conditions to reduce size changes caused by humidity or heat.
- Measure wood indoors in a dry place
- Avoid measuring right after rain or watering
- Allow wood to acclimate to room temperature
- Note temperature and moisture for reference
Improving Measurement Precision
Measuring wood thickness accurately is key for woodworking projects. Precise measurements help avoid mistakes and wasted material.
Using the right techniques and tools improves how exact your readings are. This guide covers three ways to boost your measurement precision.
Calibrating Your Tools
Always check and adjust your measuring tools before use. Calibration makes sure your tools give correct readings every time.
- Use a known standard thickness to test your calipers or micrometer.
- Adjust the tool’s zero setting if it does not read zero when fully closed.
- Repeat calibration regularly to maintain accuracy.
- Keep tools clean and free from dust or rust.
Using Jigs And Fixtures
Jigs and fixtures hold wood pieces steady for consistent measuring. They reduce human error and keep your tools in the right place.
| Type of Jig | Purpose | Benefit |
|---|---|---|
| Thickness Stop Block | Limits wood movement | Ensures same measuring spot |
| Holding Clamp | Secures wood firmly | Prevents slipping during measure |
| Guide Rails | Aligns measuring tool | Keeps tool straight and steady |
Recording And Comparing Data
Write down all measurements to track differences. Comparing data helps spot errors and improve your process.
- Measure the same wood piece multiple times.
- Note each measurement with date and tool used.
- Compare results to find inconsistencies.
- Adjust methods or tools based on your findings.
Expert Tips For Reliable Results
Measuring wood thickness precisely is important for good woodworking. Small mistakes can cause problems in your project. Using the right techniques helps you get accurate results every time.
This guide shares expert tips to improve your measuring skills. Following these tips will help you avoid errors and work with confidence.
Consistent Measuring Pressure
Use the same pressure each time you measure wood thickness. Pressing too hard or too soft changes the reading. Consistency makes your results more reliable.
Practice holding your measuring tool steady. Avoid squeezing or bending the tool during measurement. This keeps your numbers accurate and repeatable.
- Hold the tool firmly but not too tight
- Apply even pressure on the wood surface
- Check the reading quickly to avoid tool movement
Regular Tool Maintenance
Keep your measuring tools clean and in good shape. Dirt or damage can cause wrong thickness readings. Regular checks help maintain tool accuracy.
Wipe your tools after each use. Inspect for dents, rust, or worn parts. Replace or repair tools that no longer measure correctly.
- Clean tools with a soft cloth
- Store tools in a dry place
- Calibrate tools if possible
Choosing The Best Time For Measurement
Measure wood thickness when the wood is stable. Wood can change size with temperature and humidity. Measure in a controlled environment for best results.
Avoid measuring right after cutting or sanding. Let the wood rest so it adjusts to the room’s conditions. This prevents incorrect readings caused by wood movement.
- Measure indoors at room temperature
- Wait a few hours after cutting or finishing
- Avoid wet or very dry conditions

Credit: medium.com
Frequently Asked Questions
How Do I Measure Wood Thickness Accurately?
Use a caliper or micrometer for precise thickness measurement. Place the tool on the wood edge and read the value. Avoid measuring on uneven or rough surfaces for accuracy.
What Tools Are Best For Measuring Wood Thickness?
Calipers and micrometers are ideal for wood thickness measurement. They provide precise readings within fractions of a millimeter or inch. Choose digital or dial versions for ease of use.
Can I Measure Wood Thickness Without Special Tools?
Yes, a ruler or tape measure can work but is less precise. Ensure the wood edge is smooth and measure at multiple points. This method is good for rough estimates only.
Why Is Measuring Wood Thickness Important?
Accurate thickness ensures proper fitting in woodworking projects. It affects structural integrity and finish quality. Consistent thickness helps avoid gaps and alignment issues.
Conclusion
Measuring wood thickness precisely is essential for quality projects. Accurate measurements ensure perfect fits and sturdy structures. Use tools like calipers or micrometers for exact readings. Always check tools for accuracy before use. Practice measuring on scrap wood to improve skills.
Consistent practice leads to better results. Remember, patience and precision are key. Don’t rush the process. A little extra time ensures better outcomes. With these tips, measuring wood becomes simple and effective. So, invest in good tools and practice regularly.
Your projects will benefit from your accuracy and attention to detail.