
You might have a mallet sitting in your toolbox, but do you truly know how to unleash its full potential? When it comes to assembling joints, using a mallet can transform your DIY projects from frustrating to flawless.
Imagine putting together furniture or building a wooden frame with ease, all because you mastered this simple yet powerful tool. Curious about how a mallet can make your life easier? You’re in the right place. We’ll guide you through the steps to effectively use a mallet for assembling joints, ensuring your projects are sturdy and well-constructed.
Ready to discover the secret to perfect joints every time? Let’s dive in!

Credit: woodworkersinstitute.com
Choosing The Right Mallet
Using a mallet correctly helps assemble joints without damage. Picking the right mallet depends on the type of work and materials involved.
This guide explains different mallet types, materials used, and how size and weight affect your work.
Types Of Mallets
There are several mallet types for woodworking and joinery. Each type suits different joint assembly needs and materials.
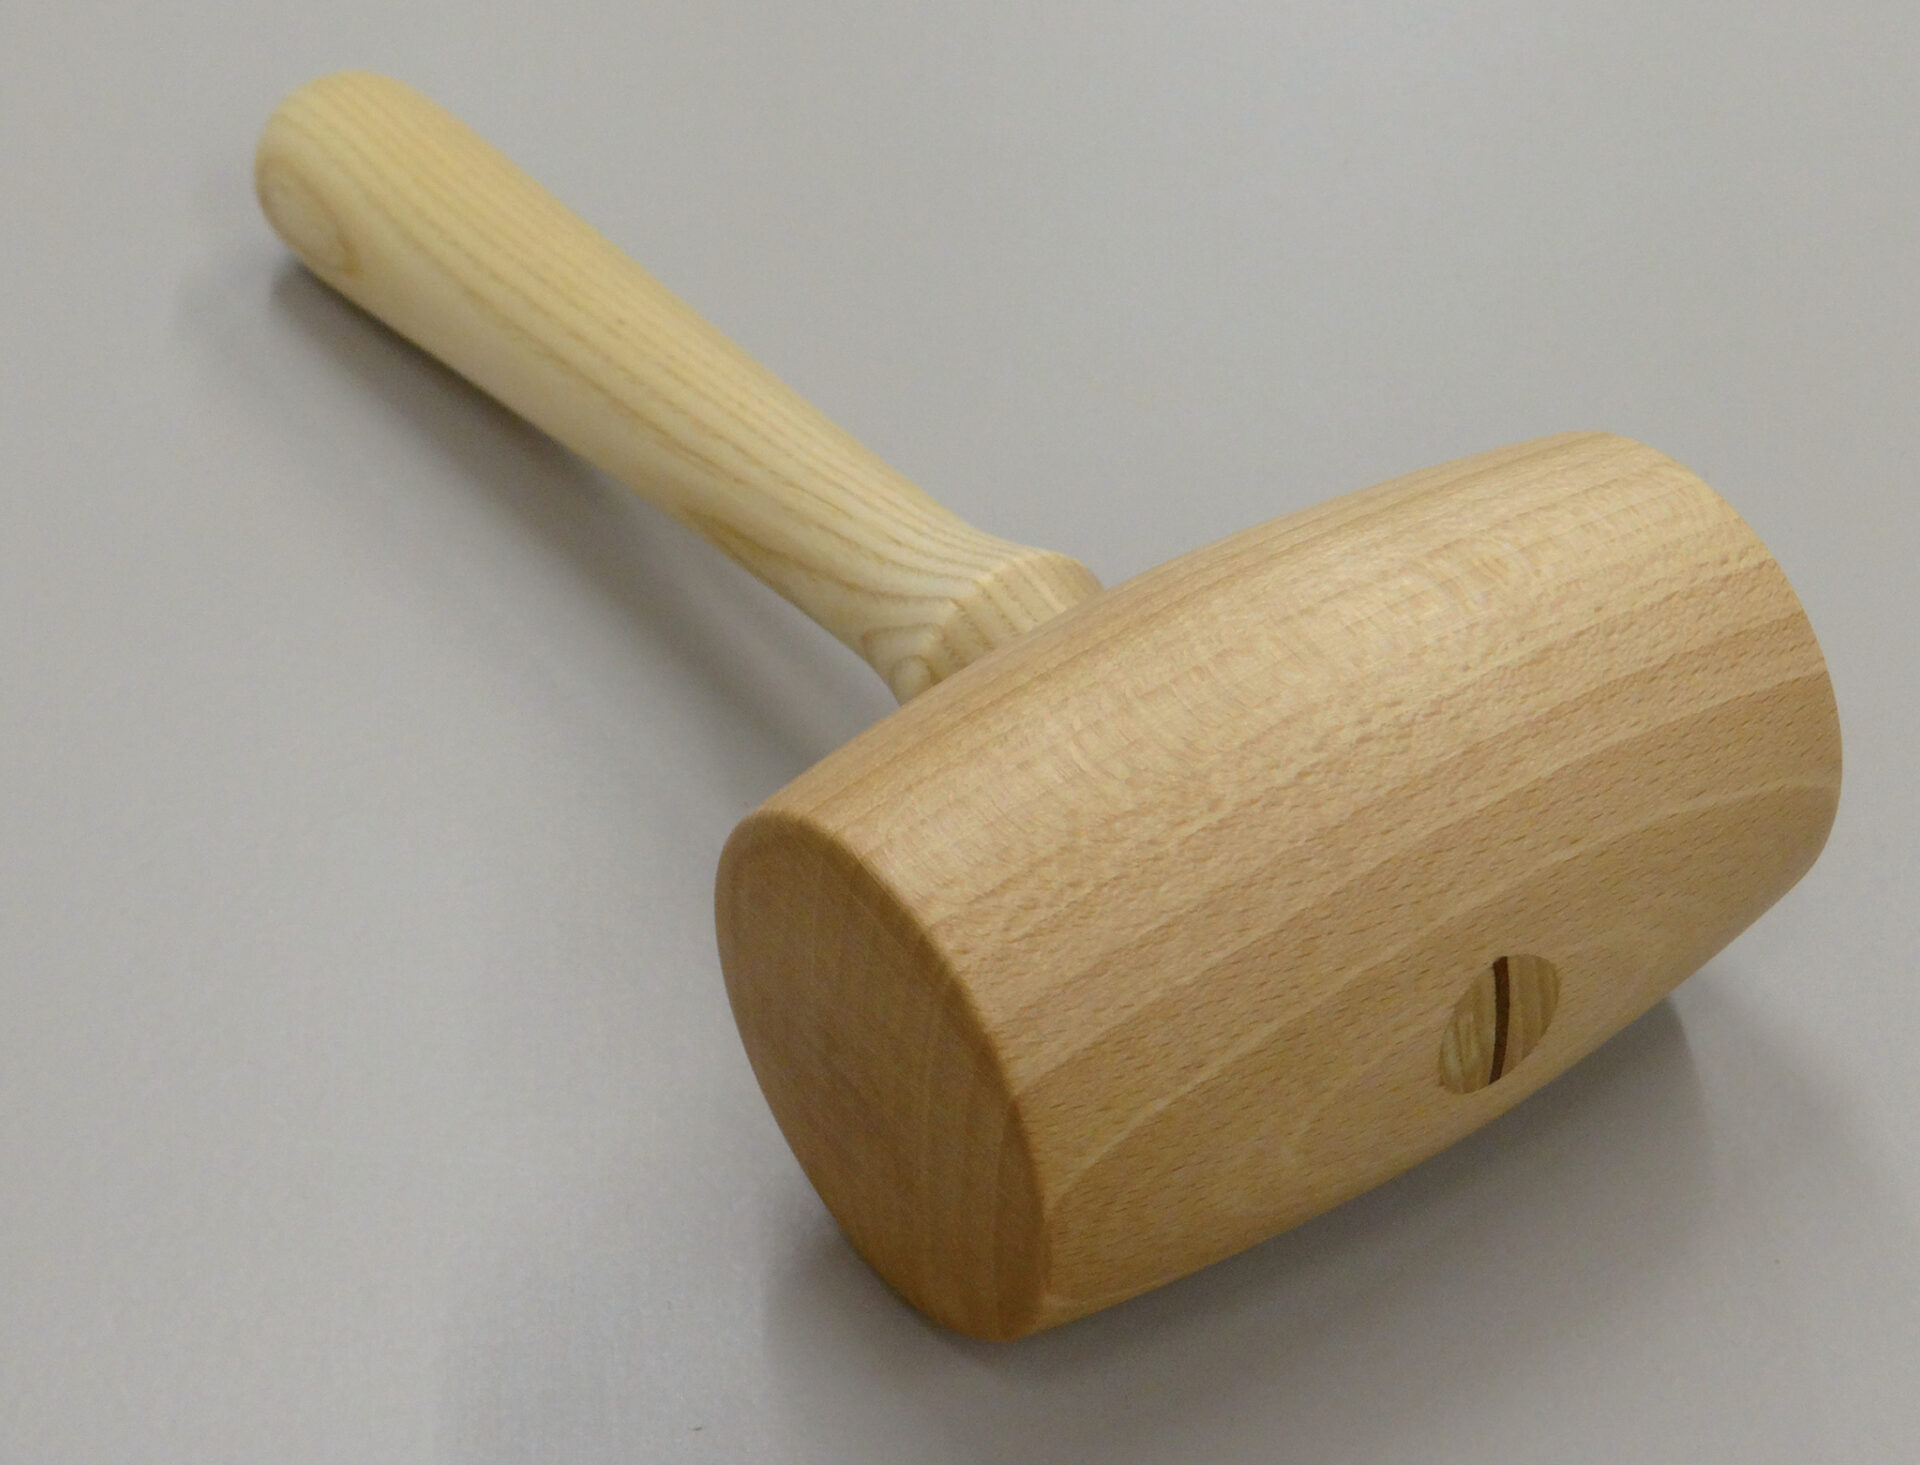
- Wooden Mallets:Made from hard wood, these offer soft blows that protect wood surfaces.
- Rubber Mallets:Ideal for gentle tapping, they prevent marring and absorb shock.
- Rawhide Mallets:Used for fine work, they deliver controlled force without damage.
- Plastic Mallets:Lightweight and durable, good for light assembly tasks.
Material Considerations
The mallet head material affects how much force is transferred and how much damage occurs. Choose materials based on your joint and wood type.
| Material | Advantages | Best Use |
| Wood | Soft impact, protects wood surfaces | Wood joinery and delicate pieces |
| Rubber | Shock absorption, non-marring | Assembly without dents or marks |
| Rawhide | Controlled force, gentle | Fine woodworking and detail work |
| Plastic | Lightweight and durable | Light assembly and general use |
Size And Weight Factors
Choose a mallet size and weight that fits your strength and the job. Too heavy can cause damage; too light may not work well.
- Smaller mallets offer more control for delicate joints.
- Larger mallets deliver stronger blows for tough assembly.
- Heavier mallets give power but may tire your hand.
- Lighter mallets reduce fatigue but need more hits.
Preparing Your Workspace
Using a mallet to assemble joints requires a clean and organized workspace. A good setup helps you work safely and efficiently.
Before starting, prepare your area by setting up a stable surface, gathering your tools, and following safety rules.
Setting Up A Stable Surface
Choose a flat, sturdy surface to work on. This surface will support your materials and keep them steady while you use the mallet.
If possible, use a workbench or a solid table. Avoid surfaces that wobble or tilt. Place a non-slip mat or clamp your pieces to prevent movement.
Gathering Necessary Tools
Collect all tools before you start. Having everything close by saves time and keeps the work smooth.
- Mallet suitable for woodworking
- Wood glue or adhesive
- Clamps for holding pieces
- Measuring tape or ruler
- Chisels or other joint tools
- Protective gloves and glasses
Safety Precautions
| Safety Tip | Reason |
|---|---|
| Wear safety glasses | Protects eyes from flying chips and dust |
| Use gloves | Prevents hand injuries and splinters |
| Keep workspace clean | Reduces risk of slipping or tripping |
| Check mallet condition | Prevents accidents from damaged tools |
Techniques For Assembling Joints
Using a mallet correctly helps you join pieces tightly without damage. Good technique makes your woodworking stronger and cleaner.
This guide covers ways to hold the mallet, strike with control, and align joints well for the best results.
Proper Grip And Stance
Hold the mallet handle firmly but not too tight. Your grip should let your wrist move freely for smooth hits.
Stand with your feet shoulder-width apart for balance. Keep your body relaxed and position yourself square to the joint.
- Grip mallet near the end of the handle
- Keep wrist loose, not stiff
- Feet shoulder-width apart
- Face the joint straight on
Controlled Striking Methods
Use gentle taps to start moving the pieces together. Increase force slowly if needed, but avoid heavy blows that can split wood.
Keep your strikes smooth and consistent. Let the mallet do the work instead of forcing it with your arm.
- Begin with light taps to test fit
- Gradually increase strike force
- Use wrist motion, not arm strength
- Keep hits even and steady
Aligning Joints Accurately
Check the joint pieces before striking to make sure they line up well. Misaligned parts can weaken the joint.
Tap the mallet on the side to adjust the pieces gently. Keep checking the fit as you assemble the joint.
- Inspect joint edges before assembly
- Tap sides to fix alignment
- Ensure surfaces meet evenly
- Test fit frequently during assembly
Credit: woodworkersinstitute.com
Common Challenges And Solutions
Using a mallet to assemble joints can be tricky. You might face problems like damaging the wood or fitting parts too tightly.
Knowing how to handle these issues will help you get strong, clean joints without extra work.
Avoiding Damage To Wood
When you hit wood with a mallet, you risk leaving dents or marks. Soft wood is especially easy to damage.
Use a wooden or rubber mallet instead of a metal hammer. Always strike gently and check the fit often.
- Place a scrap piece of wood between the mallet and joint
- Tap lightly at first to avoid deep marks
- Use a rubber mallet for delicate work
- Keep the mallet face clean and smooth
Dealing With Tight Fits
Joints that are too tight can be hard to assemble. Forcing them may break parts or cause cracks.
Check the pieces before assembly and adjust if needed. Sand or plane the edges slightly to make fitting easier.
- Lightly sand the joint edges
- Use a mallet with gentle taps
- Apply a small amount of wax or soap to the joint
- Test the fit often while tapping
Correcting Misaligned Joints
Sometimes joints do not line up perfectly. You can fix this by adjusting the parts carefully.
Use the mallet to tap the joint in the right direction. Tap on the side that needs to move to align the pieces.
- Tap gently on the low side to raise it
- Avoid hitting the high side hard
- Check alignment from different angles
- Repeat small adjustments until parts fit well
Maintenance And Care Of Your Mallet
Keeping your mallet in good shape helps it last longer. Regular care improves its performance when assembling joints.
Simple cleaning and proper storage prevent damage. Knowing when to replace your mallet avoids problems during work.
Cleaning Tips
Clean your mallet after every use. Remove dirt and glue with a soft cloth. Avoid soaking the wood in water to prevent swelling.
- Wipe the mallet with a dry cloth.
- Use mild soap and water for sticky spots.
- Dry it immediately after cleaning.
- Apply light oil to wooden handles to stop cracking.
Storage Recommendations
Store your mallet in a dry place. Avoid areas with high humidity or direct sunlight. Use a tool rack or drawer to keep it safe.
| Storage Condition | Effect on Mallet |
| Dry and cool area | Prevents wood from warping |
| Humid or wet area | Causes swelling and mold |
| Direct sunlight | Leads to cracking and fading |
| Tool drawer or rack | Protects from damage and dust |
When To Replace Your Mallet
Check your mallet often for damage. Replace it if the head is loose or cracked. A worn mallet can harm your work and tools.
- Look for deep cracks or splits in the wood.
- Check if the head moves or feels loose.
- Replace if the striking surface is heavily worn.
- Consider a new mallet if it causes damage to your joints.

Credit: woodworkersinstitute.com
Frequently Asked Questions
What Type Of Mallet Is Best For Assembling Joints?
A rubber or wooden mallet is best for assembling joints. They deliver controlled force without damaging the wood. Avoid metal hammers to prevent dents or splits. Choose a mallet size that fits your project for better precision and safety.
How Do You Properly Strike With A Mallet?
Strike the joint squarely with the mallet’s flat face. Use steady, controlled taps instead of hard blows. This ensures tight joints without damaging the wood. Maintain a firm grip and keep your wrist relaxed for better control and accuracy.
Can A Mallet Prevent Joint Damage During Assembly?
Yes, a mallet helps prevent joint damage by applying gentle, even force. Unlike metal hammers, it reduces the risk of dents or splits. Using a mallet ensures snug joints and maintains the wood’s integrity throughout assembly.
How To Maintain A Mallet For Long-term Use?
Keep your mallet clean and dry to prevent damage. Store it in a cool, dry place away from moisture. Check for cracks or wear regularly and replace the head if needed. Proper care extends the mallet’s life and effectiveness.
Conclusion
Using a mallet properly makes joint assembly easier and safer. Tap gently to avoid damage and keep control. Choose the right mallet for your project every time. Practice helps you feel the right force and rhythm. Small tips can make big differences in your work.
Keep your mallet clean and in good shape. Follow these simple steps, and your joints will fit well. Enjoy building with confidence and care.
