Threading pipes can seem tricky at first, but getting it right is easier than you think. If you want strong, leak-free connections and to avoid costly mistakes, this guide is for you.
You’ll learn simple, step-by-step tips that make threading pipes smooth and precise every time. Keep reading to discover how you can save time, money, and frustration on your next project. Your perfect pipe thread starts here.
Credit: www.familyhandyman.com
Tools Needed For Pipe Threading
Threading pipes requires the right tools to do the job well. Using proper tools helps avoid mistakes and keeps threads clean.
This guide explains the main tools you need and how to choose the best ones for your work.
Types Of Threading Tools
You can thread pipes by hand or with machines. Each tool has its use and suits different pipe sizes.
- Pipe Threading Dies:These are round tools with sharp edges that cut threads on pipes.
- Threading Machines:Power tools that make threading faster and easier for large jobs.
- Manual Threaders:Hand tools good for small pipes and light work.
- Reamers and Cutters:Used to clean and cut pipe ends before threading.
Choosing The Right Die
Selecting the correct die is key. It must match the pipe’s size and thread type to fit properly.
| Die Size | Pipe Diameter | Thread Type |
| 1/2 inch | 0.840 inches | NPT (National Pipe Thread) |
| 3/4 inch | 1.050 inches | BSP (British Standard Pipe) |
| 1 inch | 1.315 inches | NPT |
| 1 1/4 inch | 1.660 inches | BSP |
Essential Safety Gear
Wear safety gear to protect yourself while threading pipes. This gear prevents injuries from sharp tools and metal shavings.
- Safety glasses to protect eyes from flying debris
- Gloves to avoid cuts and improve grip
- Ear protection if using power threading machines
- Long sleeves to protect arms from metal shavings
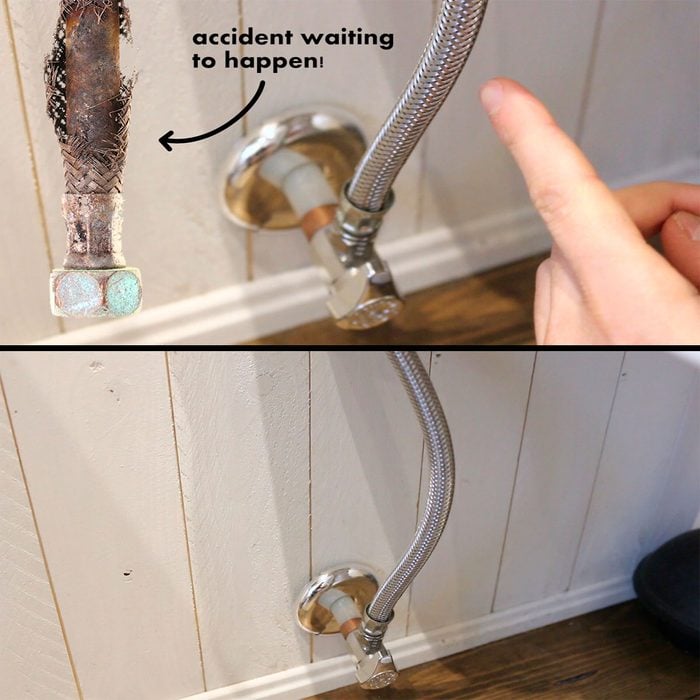
Credit: www.familyhandyman.com
Preparing Pipes For Threading
Threading pipes is a task that needs care to avoid mistakes. Preparing the pipes well makes threading easier and safer.
Good preparation helps create clean threads and strong pipe connections. This guide covers key steps before threading.
Measuring And Marking Pipes
Measure the pipe length carefully to match your project needs. Mark where the thread will start using a clear line.
Use a marker or pencil that shows well on the pipe surface. Double-check your measurements before marking.
- Use a tape measure for accuracy
- Mark the pipe with a permanent marker
- Check measurements twice before cutting
Cleaning And Deburring
Clean the pipe surface to remove dirt and oil. This helps the threading tool work smoothly and prevents damage.
Deburr the pipe ends by removing rough edges. Use a deburring tool or file to make the pipe edge smooth and safe.
- Wipe pipes with a clean cloth
- Use a wire brush to remove rust
- File pipe ends to remove burrs
Securing The Pipe Properly
Hold the pipe firmly to keep it steady while threading. Use a pipe vise or clamp designed for pipes.
Make sure the pipe is level and will not move. This prevents uneven threads and possible injury.
- Use a pipe vise to hold the pipe
- Check that the pipe is secure before starting
- Do not overtighten to avoid damaging the pipe
Step-by-step Threading Process
Threading pipes requires careful steps to avoid mistakes. Following the right process ensures strong, clean threads.
This guide will help you thread pipes safely and correctly. Focus on alignment, lubrication, and turning control.
Aligning The Die Correctly
Start by placing the die squarely on the pipe end. Proper alignment prevents crooked threads and damage.
Check that the die is centered and straight. Adjust it before tightening the holder to keep the pipe steady.
Applying Cutting Oil
Use cutting oil on the pipe to reduce friction. It helps the die cut smoothly and stops overheating.
Apply oil before starting and reapply often during threading. This keeps the process clean and easy.
Making Even And Controlled Turns
Turn the die slowly and evenly around the pipe. Avoid rushing to keep threads uniform and precise.
After each full turn, back the die slightly to clear chips. This prevents clogging and damage to the threads.
- Turn forward one full rotation
- Turn backward a quarter turn to clear debris
- Repeat until threading is complete
Avoiding Common Threading Errors
Threading pipes correctly is important for a strong and leak-free connection. Mistakes can cause leaks or damage the pipes. Learning to avoid common errors helps you do the job right the first time.
This guide covers key tips to prevent mistakes when threading pipes. Focus on proper handling to keep threads clean and accurate.
Preventing Cross-threading
Cross-threading happens when the thread does not line up properly. This can ruin the pipe and cause leaks. Always start threading carefully by hand before using tools.
Make sure the pipe and tool are aligned straight. Turn slowly and feel for resistance. Stop if threads do not catch smoothly.
- Begin threading by hand to align threads
- Keep the pipe and die perfectly straight
- Turn slowly and watch for smooth engagement
- Stop if you feel binding or roughness
Dealing With Thread Damage
Thread damage weakens the pipe connection and can cause leaks. Avoid damaging threads by using clean tools and correct pressure. Inspect threads often during the process.
If you see damaged threads, do not force the pipe. Use a thread file or chaser to clean the threads gently. Replace the pipe if damage is severe.
- Use clean, sharp threading tools
- Apply steady, even pressure while threading
- Stop and check threads regularly
- Repair minor damage with a thread chaser
- Replace pipes with severe thread damage
Ensuring Thread Depth Accuracy
Thread depth affects how well the pipes fit together. Too shallow or too deep threads cause weak joints or leaks. Measure thread depth carefully to get the right fit.
Use a thread gauge or caliper to check depth. Stop threading once you reach the correct depth. Avoid over-threading to protect pipe strength.
- Use a thread depth gauge for accurate measurement
- Check depth often during threading
- Stop once the desired thread depth is reached
- Do not force threading beyond the right depth
- Maintain proper tool alignment to avoid uneven depth
Finishing And Inspecting Threads
Threading pipes is a skill that needs care and attention. Finishing and inspecting threads helps avoid leaks and failures.
This guide explains how to clean, check, and test threads after cutting them.
Cleaning Threads After Cutting
After cutting threads, remove all metal chips and dirt. Clean threads well to help parts fit tightly.
Use a wire brush or compressed air to clean inside the threads. Avoid using water, as it can cause rust.
Using Thread Gauges
Thread gauges check the size and shape of threads. Use them to make sure threads meet the right standards.
There are two types: go and no-go gauges. The go gauge should fit easily. The no-go gauge should not fit.
- Go gauge confirms thread size is correct
- No-go gauge prevents threads from being too large
- Use gauges after cleaning threads
Testing Thread Fit
Test thread fit by screwing the pipe into a matching fitting. It should turn smoothly without force.
Check for gaps or looseness. Tighten until it feels secure but do not over-tighten and damage the threads.

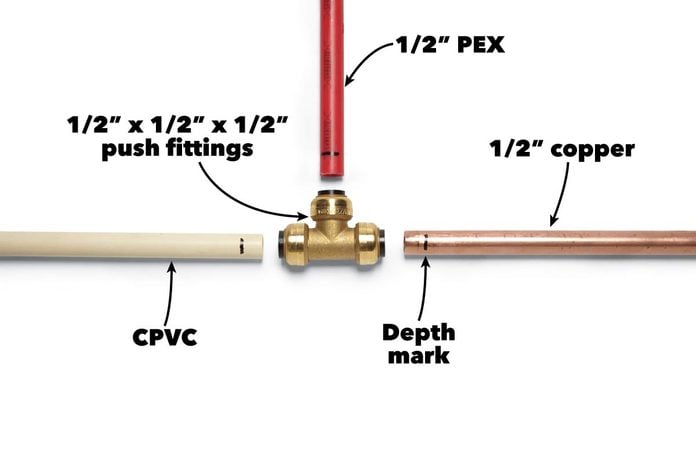
Credit: rcworst.com
Maintaining Threading Tools
Threading pipes needs clean and sharp tools. Keeping your threading tools in good shape helps you avoid mistakes.
Regular care of your tools saves money and makes your work easier. Let’s look at how to keep them well maintained.
Cleaning And Lubricating Dies
Dies cut the threads on pipes. Dirt and metal bits can stick to them and cause bad threads.
Clean the dies after each use with a brush or cloth. Use oil or a light lubricant to keep them smooth.
- Remove all dirt and metal shavings
- Apply a thin layer of machine oil
- Do not use too much oil to avoid slipping
- Check for rust and clean it away
Storing Tools Properly
Proper storage stops damage and rust. Keep tools in a dry and clean place.
Use cases or toolboxes that fit each tool well. Avoid tossing tools in piles where they can break.
- Store dies in protective cases
- Keep threading tools away from moisture
- Use silica gel packs to reduce humidity
- Organize tools to avoid banging and scratches
Replacing Worn Parts
Worn dies and parts make threading harder and less accurate. Check tools often for wear.
Replace any dull or damaged parts right away. Using good parts keeps threads clean and safe.
- Inspect dies for chips or cracks
- Replace dies that no longer cut well
- Change worn handles or ratchets
- Use parts that match your threading tools
Frequently Asked Questions
How Do I Prepare Pipes For Threading?
Clean the pipe ends thoroughly to remove rust and debris. Use a proper pipe cutter for straight cuts. Secure the pipe firmly in a vise to ensure stability during threading.
What Tools Are Essential For Threading Pipes?
You need a pipe threader, cutting oil, a pipe cutter, and a vise. These tools help create clean, precise threads and protect the pipe from damage.
How Can I Avoid Cross-threading Pipes?
Align the die squarely with the pipe end before threading. Rotate the die slowly and keep it perpendicular to avoid cross-threading and ensure a tight, leak-free fit.
How Much Cutting Oil Should I Use When Threading?
Apply a generous amount of cutting oil to the pipe threads before and during threading. This reduces friction, prevents overheating, and extends the tool’s life.
Conclusion
Threading pipes with precision is essential for every DIY enthusiast. Start by gathering the right tools and materials. Follow each step carefully to avoid common pitfalls. Practice makes perfect, so don’t rush the process. Always double-check your work to ensure a secure fit.
Mistakes happen, but patience helps you learn and improve. With these tips, threading pipes becomes a manageable task. Remember, safety always comes first in any project. Happy threading!