Marking perfect circles and smooth arcs on wood and metal can be tricky. But you don’t have to struggle or waste materials trying to get it right.
With the right tips and simple tools, you can achieve clean, precise lines every time. Whether you’re a DIY enthusiast, a craftsman, or just tackling a home project, mastering these techniques will save you time and frustration. Keep reading to discover easy methods that will improve your skills and make your work look professional.
Your next project deserves nothing less!
Tools For Marking Circles
Marking circles on wood and metal requires the right tools for accuracy. Using proper tools helps you get clean and precise lines. This guide covers common tools used for this task.
Each tool suits different sizes and types of circles. Knowing how to use these tools improves your project quality.
Compasses And Dividers
Compasses and dividers are basic tools for drawing circles and arcs. A compass has one pointed leg and one with a pencil or scribe. Dividers have two pointed legs for measuring distances.
They work best for small to medium circles. Adjust the legs to set the radius. Use the pointed leg as the center and rotate the tool to mark the circle.
Beam Compass Options
Beam compasses use a long bar to mark larger circles. They have adjustable sliding points to change the radius easily. These are useful for circles too big for regular compasses.
- Fixed beam compass: simple and sturdy for consistent sizes
- Adjustable beam compass: offers more radius options
- Heavy-duty beam compass: made for tough materials like metal
Circle Templates
Circle templates are plastic or metal sheets with cut-out circles. You place the template on the material and trace the inner edge. These templates offer quick marking for common sizes.
| Template Type | Material | Best Use |
| Plastic | Lightweight | Wood and soft materials |
| Metal | Durable | Wood and metal marking |
| Multi-size | Plastic or metal | Various circle sizes |
Preparing The Surface
Marking circles and arcs on wood and metal needs a clean and smooth surface. Dirt, rust, or roughness can cause errors in your lines. Preparing the surface helps make clear and accurate marks.
Take time to prepare the area before you mark. This improves your work and reduces mistakes.
Cleaning And Smoothing
Remove dirt, oil, and rust from the surface. For wood, sand the area gently to smooth rough spots. For metal, use a wire brush or sandpaper to clear rust and grime. A clean surface helps the marking tools work better.
- Wipe wood with a damp cloth to remove dust
- Sand wood with fine-grit sandpaper for smoothness
- Use a wire brush on metal to remove rust
- Apply a degreaser on metal to clear oil and dirt
- Dry the surface completely before marking
Applying Marking Media
Marking media makes lines visible on the surface. Use a contrasting color that shows well on your wood or metal. For wood, pencil or chalk works well. For metal, try layout dye or a marker pen. Apply media evenly to avoid smudging.
| Material | Recommended Marking Media |
|---|---|
| Light Wood | Graphite pencil, chalk |
| Dark Wood | White chalk, carpenter’s pencil |
| Clean Metal | Layout dye, white marker |
| Rusty Metal | Wire brush first, then marker pen |
Choosing The Right Pencil Or Scriber
Pick a pencil or scriber that fits your surface and marking needs. A sharp pencil works well on wood. A scriber with a fine tip is best for metal. Using the right tool keeps your lines clear and precise.
- Use a soft pencil for wood to get dark lines
- Try a carpenter’s pencil for rough wood surfaces
- Choose a steel scriber for metal marking
- Keep pencils and scribers sharp for accuracy
- Replace worn tips to avoid blurry marks
Techniques For Marking Circles On Wood
Marking circles on wood requires precision and the right tools. Clear markings help in cutting or shaping wood accurately.
Using proper methods reduces mistakes and saves time during woodworking projects.
Using A Center Pin
A center pin acts as a pivot point for your compass or divider. It helps keep the circle steady and true.
Press the pin gently into the wood at the circle’s center. This prevents the tool from slipping while marking.
Adjusting Compass For Accuracy
Set your compass carefully before drawing. The distance between the point and pencil must match the circle’s radius.
- Loosen the compass screw to adjust the legs.
- Measure the distance with a ruler or tape.
- Tighten the screw to keep the setting firm.
- Test the radius on scrap wood before marking.
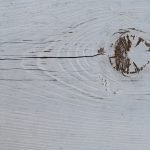
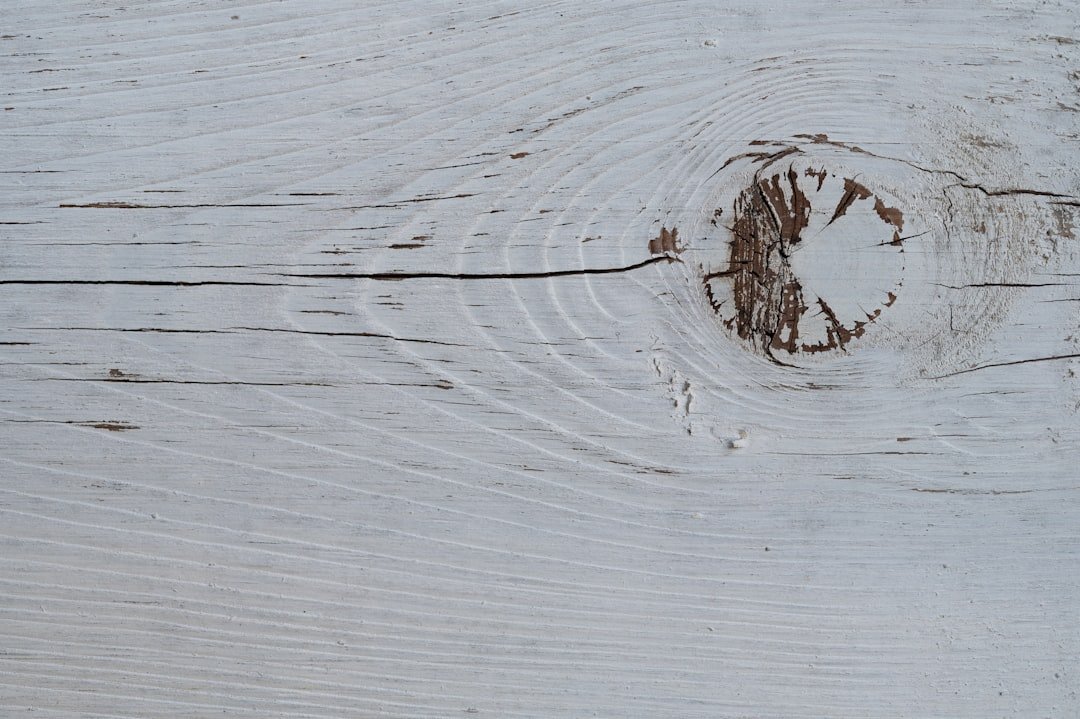
Avoiding Wood Grain Interference
Wood grain can cause compass points to slip or skip. Choose a smooth, flat surface to mark circles clearly.
| Wood Type | Tip for Marking |
| Softwood | Use a sharp center pin for better grip |
| Hardwood | Apply light pressure to avoid tearing |
| Knotted Wood | Mark on less knotty areas to keep lines smooth |
Credit: www.familyhandyman.com
Techniques For Marking Circles On Metal
Marking circles on metal requires precision and the right tools. Unlike wood, metal surfaces can be harder to mark clearly.
Using special techniques helps create accurate circles for cutting or drilling on metal pieces.
Scribing Instead Of Drawing
Scribing leaves a fine, clear line on metal surfaces. It works better than pencil or marker, which can smudge or fade.
Use a sharp scriber or a metal marking tool. Press lightly but firmly to create a visible groove on the metal.
Using Layout Fluid
Layout fluid makes metal surfaces easier to mark. It creates a dark background that shows scribed lines clearly.
- Apply a thin coat of layout fluid on the metal.
- Let it dry completely before marking.
- Use a scriber to mark your circle over the fluid.
- The scribed lines will stand out sharply against the dark background.
Ensuring Clear Visibility
Good lighting and contrast help you see marks on metal. Inspect your work under bright light or use a magnifying glass if needed.
| Tip | Reason |
| Use a bright LED light | Highlights fine scribed lines |
| Wear magnifying glasses | Improves line visibility on small circles |
| Keep metal clean | Removes dirt that can hide marks |
Marking Arcs With Precision
Marking arcs on wood and metal requires care and accuracy. A precise arc ensures parts fit well and look clean.
Using the right tools and methods helps you draw smooth, exact arcs for any project. This guide shares simple tips.
Setting Arc Length
Start by measuring the arc length you need. Use a flexible tape or a strip of paper to measure curves.
Mark the length clearly before transferring it to your workpiece. This step keeps your arc size correct.
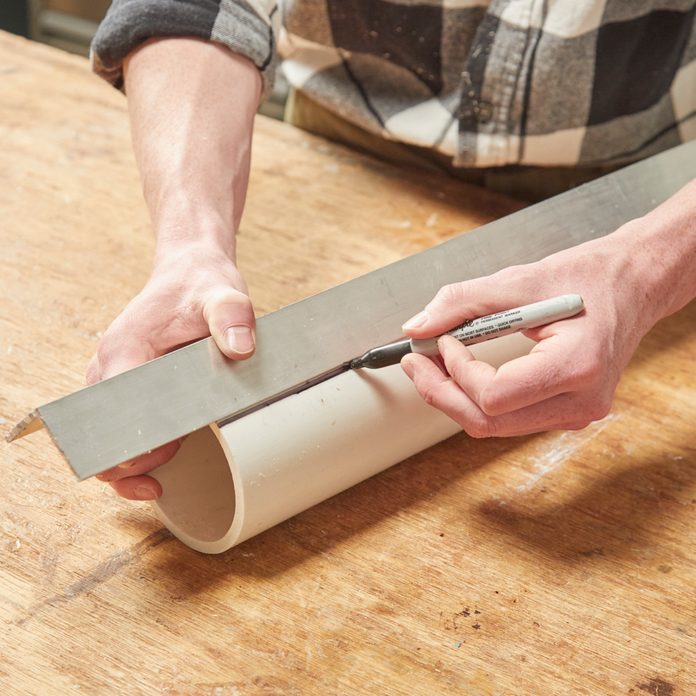
Using Templates And Jigs
Templates and jigs help repeat the same arc shape many times. They hold your tool steady for even curves.
- Make templates from thin plywood or plastic
- Use jigs to guide your marking tool along the arc
- Clamp templates or jigs securely to avoid movement
- Double-check alignment before marking
- Clean templates to keep marks sharp and clear
Freehand Arc Marking Tips
| Tip | Description |
|---|---|
| Use a sharp pencil | Ensures thin, precise lines that are easy to see. |
| Draw lightly first | Makes it easy to erase mistakes without damage. |
| Keep your hand steady | Rest your wrist or elbow on a stable surface. |
| Practice slow movements | Better control leads to smoother arcs. |
| Use a compass if possible | For perfect circles or arcs with fixed radius. |

Credit: zeebeeleather.com
Common Challenges And Fixes
Marking circles and arcs on wood and metal is not always easy. Many people face problems like slipping tools and unclear marks. Fixing these issues helps to make accurate cuts and better projects.
This guide covers common problems and ways to solve them. You will learn how to prevent slippage, correct marks, and keep your tools sharp.
Preventing Slippage
Slippage happens when your marking tool moves while drawing a circle or arc. This can cause uneven or wrong lines. Use these tips to keep your tools steady.
- Hold the compass or divider firmly to avoid movement.
- Use a fine point pencil or scribe for better grip on the surface.
- Apply light pressure instead of heavy pushing to reduce slipping.
- Use masking tape on smooth metal or wood to create texture.
- Check that the pivot point is sharp and set deeply to stay fixed.
Correcting Inaccurate Marks
Sometimes marks are off or unclear. You can fix these mistakes with simple steps to improve your work.
| Problem | Cause | Fix |
| Circle too large or small | Wrong compass setting | Measure radius again and adjust compass |
| Lines not clear | Dull pencil or scribe | Sharpen tool or replace pencil |
| Marks smudged | Touching or rubbing | Let ink or pencil dry; avoid excess pressure |
| Pivot point slips | Rounded or blunt point | Sharpen pivot or use a nail for better grip |
Maintaining Tool Sharpness
Sharp tools make clear and precise marks. Dull tools cause errors and extra work. Keep your marking tools sharp with these habits.
Tips to keep tools sharp:
- Use a fine file or sharpening stone regularly on metal points.
- Keep pencils sharpened with a good sharpener.
- Store tools in a dry place to avoid rust and damage.
- Check tool tips before each use and sharpen if needed.
- Avoid dropping tools to prevent bending or dulling.
Safety Tips During Marking
Marking circles and arcs on wood and metal needs care to avoid accidents.
Following safety tips helps protect you and others in your workspace.
Handling Sharp Tools
Use sharp tools with care to prevent cuts and injuries. Always cut away from your body.
- Keep blades and points sharp to reduce slipping.
- Hold tools firmly and use steady pressure.
- Store tools safely when not in use.
- Never leave sharp tools unattended on the workbench.
Work Area Setup
Arrange your workspace to avoid accidents and distractions. Good lighting helps you see markings clearly.
| Aspect | Recommendation |
| Lighting | Use bright, even light to avoid shadows. |
| Surface | Work on a clean, stable surface. |
| Space | Keep area clear of clutter and obstacles. |
| Tools | Place tools within easy reach but not in the way. |
Protective Gear Recommendations
Wear proper gear to protect yourself during marking tasks. Safety glasses shield your eyes from debris.
- Safety glasses or goggles
- Gloves to protect hands from sharp edges
- Dust mask if working with metal shavings or wood dust
- Closed-toe shoes to protect feet

Credit: www.familyhandyman.com
Frequently Asked Questions
What Tools Are Best For Marking Circles On Wood?
Using a compass or a beam compass provides precise circles on wood. Pencil marks easily erase or sand off afterward. For larger circles, a string and pencil method works well. Ensure the tool is sharp for clear, accurate lines.
How Do You Mark Arcs Accurately On Metal Surfaces?
Use a scribe or metal marking pen for clear arc outlines on metal. Secure the metal piece to avoid movement. A flexible curve ruler helps shape smooth arcs. Always double-check measurements before marking for accuracy.
Can I Use The Same Method For Wood And Metal Marking?
Some methods, like using a compass, work for both wood and metal. However, metal requires scribing tools, while wood can use pencils. Adjust pressure and tools based on material hardness for best results.
What Safety Tips Should I Follow When Marking Metal?
Wear safety goggles to protect eyes from metal shavings. Use gloves to avoid cuts from sharp edges. Work in a well-lit, stable area to ensure precise markings. Keep tools in good condition to prevent slips.
Conclusion
Marking circles and arcs on wood and metal can be simple. Use the right tools and techniques for accurate results. Practice makes perfect. Start with basic methods. Gradually, try more advanced techniques. Always double-check measurements before cutting. This reduces errors and waste.
Keep tools sharp for best performance. Clean tools after use for longevity. With patience and practice, precision becomes second nature. Happy crafting!