Measuring large spaces or projects can feel overwhelming. But with the right approach, using a tape measure becomes simple and accurate, no matter the size.
If you’ve ever struggled to get precise measurements or felt unsure about handling a long tape, this guide is for you. You’ll learn practical tips and tricks that make measuring big areas easier and faster. Keep reading, and by the end, you’ll have the confidence to tackle any large project with your tape measure like a pro.
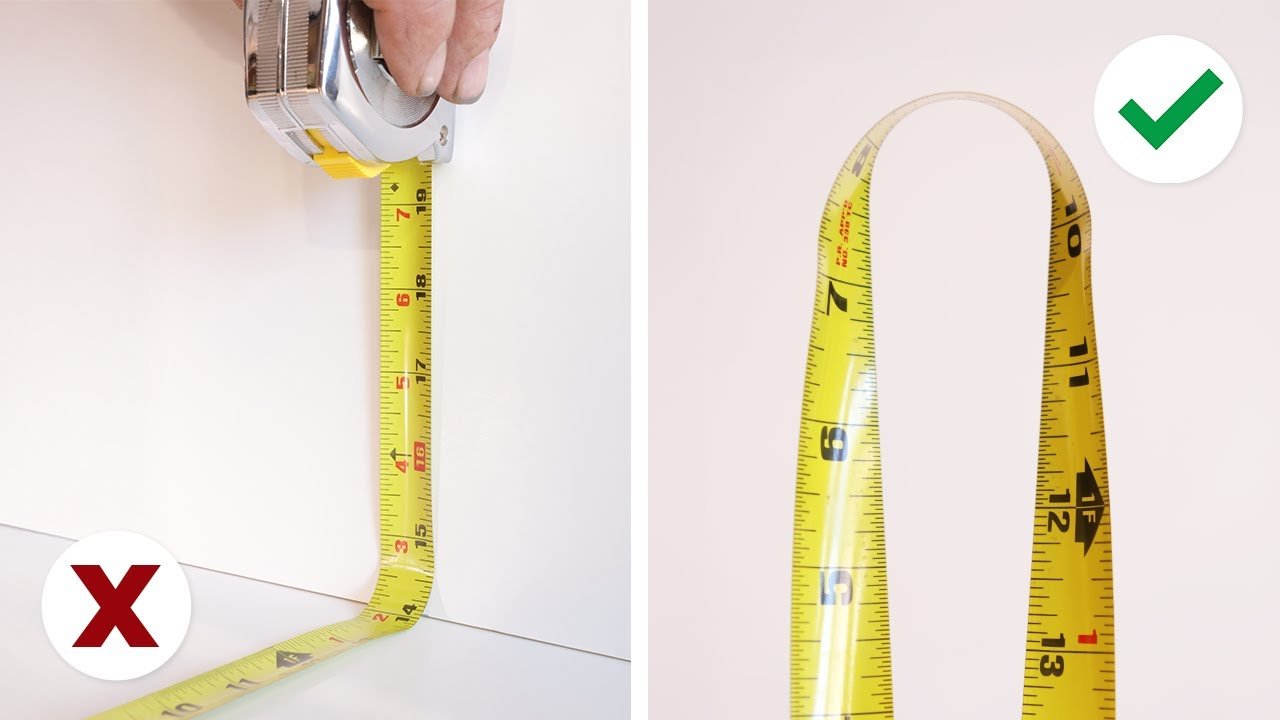
Credit: www.familyhandyman.com
Choosing The Right Tape Measure
Picking the right tape measure is important for big projects. It helps you measure accurately and work faster.
There are many types of tape measures. You should think about length, material, and extra features before buying.
Length And Width Considerations
Choose a tape measure with enough length for your project. Long tapes are best for big spaces and walls.
The width of the tape blade matters too. A wider blade stays straight better and is easier to read.
- Longer tape for large rooms or outdoor use
- At least 25 feet length for most big projects
- Wide blade (1 inch or more) for better stiffness
Material And Durability
Look for tape measures made with strong materials. This helps them last longer on tough job sites.
Steel blades are common and very durable. The case should be tough to protect the tape inside.
- Steel blade resists bending and breaking
- Plastic or rubber case protects tape from drops
- Rust-resistant coating helps in wet conditions
Special Features To Look For
Extra features can make measuring easier and safer. Think about what will help you the most.
Some tapes have locks to hold the blade in place. Others have easy-to-read markings or magnetic tips.
- Blade lock keeps tape steady while measuring
- Clear, large numbers for quick reading
- Magnetic hook to hold tape on metal surfaces
- Comfort grip for better handling
Preparing For Accurate Measurements
Accurate measurements are key for large projects. Careful preparation helps avoid mistakes.
Taking time to set up the measurement area ensures better results. Follow these steps for precision.
Clearing The Measurement Area
Remove any objects or debris from the measuring path. This prevents interference and errors.
- Clear furniture and tools
- Remove loose items like wires or cords
- Check the floor or surface for dust or dirt
- Ensure the area is well lit
Marking Starting Points
Choose a clear point as the start of your measurement. Mark it visibly for reference.
| Mark Type | Use Case |
| Pencil mark | Wood or drywall |
| Masking tape | Delicate surfaces |
| Chalk | Concrete or rough surfaces |
Ensuring Tape Measure Stability
Keep the tape measure steady to avoid slipping. This improves measurement accuracy.
- Hold the tape tight at the start point
- Use a helper to hold the other end for long distances
- Lock the tape if it has a locking feature
- Keep the tape straight without bending
Techniques For Measuring Large Distances
Measuring large distances with a tape measure can be tricky. Using the right methods helps you get accurate results. This guide covers useful techniques for big projects.
Learn how to use the tape measure lock, measure in sections, and work with a helper. These tips make measuring easier and more precise.
Using The Lock Mechanism
The lock mechanism holds the tape in place, so it does not retract. This feature is helpful when measuring long distances alone.
To use the lock:
- Pull the tape out to the desired length.
- Press the lock button or slide the lock switch.
- Check if the tape stays fixed before reading the measurement.
- Release the lock to retract the tape after measuring.
Measuring In Sections
Large distances often exceed the tape length. Measure in sections by marking each point and adding the lengths together.
| Section | Action | Tip |
| First | Extend tape to max length and mark end point | Use chalk or tape for clear marks |
| Middle | Move tape to the last mark and measure next section | Keep tape straight and tight |
| Last | Measure remaining distance to final point | Double check all marks |
Working With A Helper
Having a helper makes measuring large distances faster and more accurate. One person holds the tape start, the other pulls it out.
Tips for working with a helper:
- Communicate clearly about when to hold and when to mark.
- Use a signal to indicate when the tape is tight and straight.
- Double-check measurements together before recording.
- Switch roles to reduce fatigue and improve accuracy.
Avoiding Common Measurement Mistakes
Using a tape measure for large projects can be tricky. Small mistakes can cause big problems later.
It is important to measure carefully and avoid common errors. This guide will help you get accurate results.
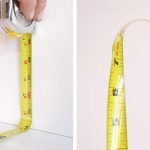
Preventing Tape Sagging
Tape sagging happens when the tape bends or droops between two points. It makes your measurement longer than it really is.
To stop sagging, support the tape along its length. Hold it tight or use a helper to keep it straight.
- Keep the tape level and taut
- Use clamps or weights if needed
- Measure in smaller sections if the tape is very long
Reading Measurements Correctly
Make sure you read the tape measure at eye level. Looking from an angle can cause wrong numbers.
Notice the small marks between numbers. They show fractions of an inch or centimeter. These details improve accuracy.
- Check if your tape uses inches or centimeters
- Read from the start of the tape, not the case edge
- Double-check numbers before writing them down
Accounting For Tape Thickness
The tape itself has thickness. This can add extra length if you measure from the tape case.
To avoid this, measure from the tape’s zero mark, not the metal edge of the case. Some tapes have hooks that move slightly to help this.
- Start measuring from the zero mark on the tape
- Check if the tape hook moves and adjust accordingly
- Subtract tape thickness if measuring inside corners or tight spaces
Tips For Recording And Transferring Measurements
Using a tape measure for large projects needs careful recording and moving of numbers. Small mistakes can cause big problems later.
Keep your measurements clear and organized. This helps you avoid errors and saves time during your project.
Using Measurement Logs
Write down every measurement in a log or notebook. This keeps all data in one place and makes it easy to review.
Use a simple format with columns for location, measurement, and notes. This helps you find details quickly.
- Note the start and end points of each measurement
- Record numbers immediately to avoid forgetting
- Mark any special details or adjustments
Double-checking Measurements
Always measure twice before cutting or building. This reduces mistakes and material waste.
Check your tape measure for accuracy before starting. Use a known length to test it.
- Re-measure critical lengths from both ends
- Compare new measurements with your logs
- Ask someone else to verify your numbers
Communicating Measurements Clearly
Share your measurements in a clear and simple way. Use plain language and avoid jargon.
Use drawings or sketches with numbers to show where each measurement belongs.
- Label each measurement with a name or code
- Use consistent units like inches or centimeters
- Confirm the receiver understands your notes

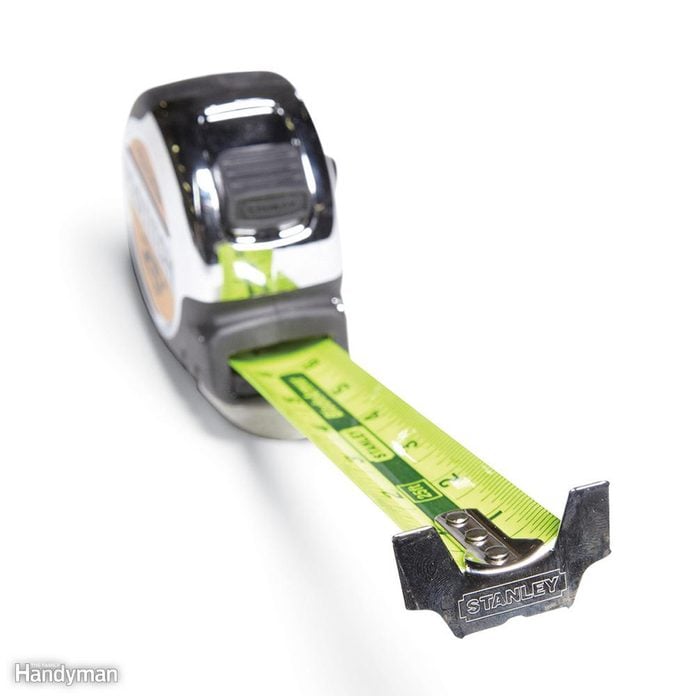
Credit: www.creeklinehouse.com
Maintaining Your Tape Measure
Tape measures are useful tools for large projects. Taking care of them helps keep measurements accurate.
Good maintenance extends the life of your tape measure and saves you money on replacements.
Cleaning And Storage
Clean your tape measure after each use to remove dirt and dust. Wipe the blade gently with a dry cloth.
Store your tape measure in a dry place away from direct sunlight. Keep it retracted to avoid damage.
- Use a soft cloth for cleaning
- Avoid water or harsh chemicals
- Keep it in a toolbox or drawer
- Do not leave it outside exposed to weather
Inspecting For Damage
Check the tape measure regularly for signs of damage. Look for cracks, bends, or worn numbers on the blade.
Make sure the locking mechanism works well and the tape retracts smoothly without sticking.
- Blade should be straight and easy to pull out
- Numbers and markings must be clear and readable
- Lock should hold the tape firmly in place
- Retract the tape slowly to avoid snapping
When To Replace Your Tape
Replace your tape measure if the blade is cracked or the numbers are hard to read. Damaged tapes can cause wrong measurements.
If the locking mechanism fails or the tape does not retract properly, it is time for a new one.
- Blade cracks or deep bends
- Faded or missing measurement marks
- Lock does not hold tape in place
- Tape retracts too fast or not at all
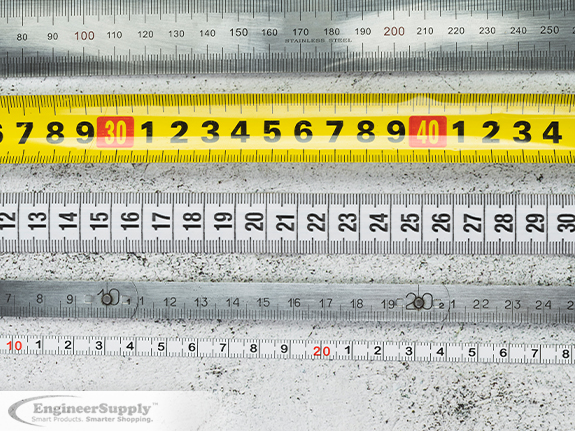
Credit: www.engineersupply.com
Frequently Asked Questions
How Do I Measure Long Distances With A Tape Measure?
Use the tape measure’s locking feature to hold the tape extended. Mark intervals on the surface and measure in sections. Add each section length for the total distance. This method prevents tape sagging and ensures accurate measurements over long distances.
What Tape Measure Length Is Best For Large Projects?
A tape measure between 25 to 50 feet is ideal for large projects. Longer tapes reduce the need for multiple measurements. Choose one with a sturdy blade and clear markings for ease and precision during extended measuring tasks.
How Can I Prevent Tape Measure Bending On Big Projects?
Keep the tape straight and taut during measurement. Use a helper to hold the tape or hook it securely at one end. Avoid sharp bends or twists to maintain accuracy. A rigid or fiberglass tape measure resists bending better than flexible ones.
Why Is Using A Tape Measure On Large Projects Challenging?
Large projects often require measuring over long distances where tape sagging occurs. Keeping the tape straight and level is difficult. Environmental factors like wind can affect accuracy. Using proper techniques and tools helps overcome these challenges efficiently.
Conclusion
Using a tape measure for large projects isn’t hard. Start with the basics. Measure accurately to avoid mistakes. Double-check your numbers. Always keep the tape straight and tight. Practice makes perfect. With time, you’ll measure like a pro. Consistent effort leads to better results.
Remember, accuracy matters in every project. Keep your tape measure handy. It’s a simple tool, but very powerful. Follow these tips for success. Happy measuring!