Are you ready to tackle your flooring project but unsure how to get the measurements just right? Using a tape measure correctly can make all the difference between a perfect fit and costly mistakes.
In this guide, you’ll discover simple tips and tricks to measure like a pro, saving you time, money, and frustration. Keep reading to gain the confidence you need to handle your flooring project with ease and accuracy. Your dream floor starts with the right measurements—let’s make sure you get them right!
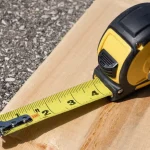
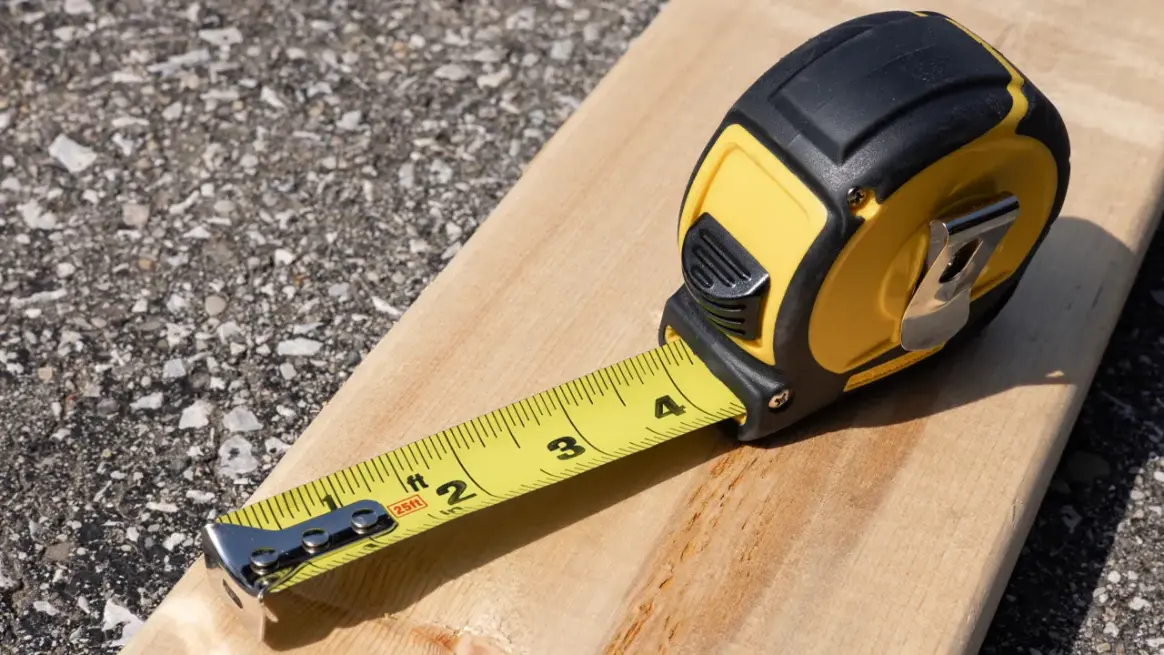
Choosing The Right Tape Measure
A tape measure is a key tool for flooring projects. Picking the right one helps you get exact measurements.
Different tape measures work better for different tasks. Learn what to look for before buying.
Tape Measure Types
There are many tape measure types. Some are best for small rooms, others for large spaces.
- Steel tape measures are strong and resist stretching.
- Fiberglass tapes do not stretch and work well outdoors.
- Cloth tapes are flexible but less durable.
- Digital tape measures show numbers on a screen for easy reading.
Length And Width Considerations
Choose a tape measure long enough for your space. Flooring often needs 25 feet or more.
The width of the tape blade affects how stiff it is. Wider tapes hold straight better for long measurements.
- Long tapes (25-35 feet) are good for large rooms.
- Short tapes (10-16 feet) are fine for small areas.
- Wider blades (1 inch or more) resist bending.
- Narrow blades are easier to carry but bend easily.
Durability And Material
Durable tape measures last longer. Look for strong cases and blades with protective coatings.
Materials like steel and fiberglass resist damage. Rubber cases help protect from drops and wear.
- Steel blades are tough but can rust if not coated.
- Fiberglass blades resist weather and do not stretch.
- Plastic or rubber-coated cases absorb impact.
- Look for tapes with a locking mechanism to hold the blade in place.

Credit: www.tilemountain.co.uk
Preparing For Accurate Measurements
Getting accurate measurements is key for flooring projects. Taking time to prepare helps avoid mistakes.
This guide covers how to clear your workspace, find starting points, and mark measurements properly.
Clearing The Workspace
Remove furniture and obstacles to have a clear area. Clean the floor to see edges and corners clearly.
- Move all furniture out of the room
- Sweep or vacuum the floor
- Remove rugs and mats
- Check for nails or debris that could affect measuring
Identifying Starting Points
Choose fixed points to start measuring. Walls and corners work best as they do not move.
| Starting Point | Why Use It |
| Wall edge | Stable and straight line |
| Room corner | Clear 90-degree angle |
| Door frame | Visible and fixed location |
Using Markers And Chalk
Mark your measuring points to keep track. Use tools that are easy to see and remove after work.
- Use painter’s tape to mark edges without damage
- Apply chalk lines for straight guides across the floor
- Write measurements clearly with a pencil or marker
- Double-check marks before cutting or installing
Measuring Techniques For Flooring
Accurate measurements are key to a successful flooring project. Using a tape measure correctly helps avoid mistakes and wasted materials.
This guide explains simple ways to measure straight lines, corners, angles, and irregular spaces for flooring installation.
Measuring Straight Lines
Measure straight lines by pulling the tape measure tight along the floor. Keep the tape flat and straight to get the right length.
Mark the end point clearly with a pencil or chalk. Double-check the measurement before cutting your flooring material.
- Start at one edge of the area
- Pull the tape measure straight to the other edge
- Keep the tape flat on the floor surface
- Note the number where the tape ends
- Mark the spot for reference
Handling Corners And Angles
Measure corners by placing the tape measure at one wall and extending it along the adjoining wall. Use the corner as the starting point.
For angles, measure each side separately. Add the lengths to understand the total space needed for the flooring piece.
- Place tape at corner’s inside edge
- Measure along one wall first
- Repeat for the adjacent wall
- Add both lengths for total measurement
- Use a protractor for exact angles if needed
Accounting For Irregular Spaces
Irregular spaces require breaking the area into smaller shapes. Measure each shape separately to get accurate totals.
Write down all measurements and add them carefully. This helps you buy the right amount of flooring materials.
- Divide the space into squares, rectangles, or triangles
- Measure each shape’s length and width
- Calculate the area of each shape
- Add all areas for the total floor size
- Allow extra material for cuts and waste

Credit: www.tilemountain.co.uk
Reading Tape Measure Units
Using a tape measure correctly is key for flooring projects. You need to read the units clearly to get accurate cuts.
Tape measures show two main types of units. These are imperial and metric. Understanding them helps you measure well.
Imperial Vs Metric
Imperial units use feet and inches. Metric units use meters and centimeters. Each type suits different needs.
- Imperial units: feet, inches, and fractions of an inch.
- Metric units: meters, centimeters, and millimeters.
- Imperial is common in the US for flooring.
- Metric is standard in most other countries.
Understanding Fractions And Decimals
Imperial tape measures often use fractions for inches. Metric tapes use decimals for centimeters and millimeters.
| Unit Type | Common Markings | Example |
| Imperial | Fractions of an inch | 3 1/4 inches |
| Metric | Decimals of centimeters | 8.5 cm |
Converting Measurements
Sometimes you need to convert between imperial and metric units. Knowing simple conversions saves time.
- 1 inch equals 2.54 centimeters.
- 1 foot equals 30.48 centimeters.
- To convert inches to centimeters, multiply by 2.54.
- To convert centimeters to inches, divide by 2.54.
Common Mistakes To Avoid
Using a tape measure for flooring projects needs care and attention. Small errors can cause big problems later.
This guide points out common mistakes and how to avoid them. Follow these tips to get accurate measurements.
Inaccurate Starting Point
Many people start measuring from the tape’s metal tip without checking if it moves. This can cause wrong lengths.
- Check if the metal tip is loose or tight.
- If loose, measure the tip size and add it to your measurement.
- Always start from the exact edge of the surface.
- Use the hook on the tape to catch the edge for better accuracy.
Ignoring Tape Sag
When measuring long distances, the tape can sag down from its own weight. This makes the measurement longer than it is.
Hold the tape tight and straight. Do not let it bend or droop. This keeps your measurement exact.
| Common Tape Sag Issue | How It Affects Measurement | How to Fix |
|---|---|---|
| Tape bends downward | Measurement is longer than real length | Hold tape firmly and pull straight |
| Tape twists or tilts | Reading is off by angle | Keep tape flat and aligned with surface |
| Tape slack | Loose tape shows wrong length | Keep tape tight without stretching |
Misreading Measurements
Reading the tape wrong is a frequent error. The tape may show feet and inches or metric units.
Check the unit before you write down the number. Look carefully at the small marks between numbers.
- Use a clear tape measure with large numbers.
- Double-check the measurement before cutting.
- Use a pencil to mark the exact spot.
- Ask someone to help read the tape if unsure.

Credit: tikweld.com
Advanced Tips For Flooring Projects
Using a tape measure correctly can save time and avoid costly mistakes in flooring projects. Accurate measuring helps ensure each piece fits perfectly.
Advanced tips focus on teamwork, careful checking, and clear records. These methods improve results and reduce errors.
Using A Helper
Having a helper makes measuring easier and safer. One person can hold the tape while the other reads the measurement.
- Ask your helper to keep the tape straight and tight.
- Use signals or short phrases to communicate clearly.
- Double-check the start and end points together.
- Work slowly to avoid mistakes.
Double Checking Measurements
Always measure twice before cutting. This simple habit prevents waste and fitting problems.
| Why Double Check | How to Double Check |
|---|---|
| Catch small errors | Measure the same spot twice |
| Confirm tape placement | Check tape start and end points |
| Ensure accuracy | Use both inches and centimeters |
| Increase confidence | Have a helper verify measurements |
Recording Measurements Effectively
Write down measurements clearly to avoid confusion later. Use a consistent format and keep notes organized.
- Use a notebook or digital app dedicated to the project.
- Label each measurement with the exact location.
- Write numbers clearly; avoid smudges or unclear marks.
- Note the units used (inches, feet, centimeters).
- Review your notes after each measuring session.
Frequently Asked Questions
How Do I Properly Use A Tape Measure For Flooring?
Start by locking the tape at the starting point. Extend it across the floor area. Read the measurement at the endpoint. Always measure twice to ensure accuracy. Use the tape’s markings for precise cuts and fitting.
What Tape Measure Length Is Best For Flooring?
A tape measure between 16 to 25 feet is ideal for most flooring projects. This length covers typical room sizes without frequent re-measuring. Longer tapes may be cumbersome and less accurate for small spaces.
How Do I Measure Irregular Floor Shapes Accurately?
Break the area into smaller, regular shapes like rectangles or triangles. Measure each section separately using your tape measure. Add all measurements together to get the total flooring size. This method ensures precise material estimation.
Can I Use A Tape Measure For Hardwood Floor Installation?
Yes, a tape measure is essential for hardwood floors. It helps you measure plank lengths and room dimensions. Accurate measurements ensure tight joints and a smooth finish in your flooring project.
Conclusion
Mastering a tape measure makes flooring projects easier. Measure twice, cut once. This saves time and materials. Confidence grows with practice. Your skills improve. Accurate measurements lead to beautiful floors. Mistakes decrease. Floors fit perfectly. You feel satisfied. Precision matters in every step.
Enjoy the process. Your home looks great. A tape measure is your best tool. Use it wisely. Keep learning. Achieve better results every time. Remember, practice makes perfect. Transform your space. Happy measuring!