Have you ever faced a frustrating electrical problem and wondered if a wire is broken or working properly? Knowing how to test continuity in wires can save you time, money, and a lot of guesswork.
Imagine quickly finding out if your wires are intact without any complicated tools or steps. You’ll discover simple, clear methods to check your wires’ continuity. By the end, you’ll feel confident handling your electrical projects and troubleshooting like a pro.
Ready to make your wiring tasks easier and safer? Let’s dive in.
Tools Needed
Testing continuity in wires helps find breaks or faults in electrical circuits. You need the right tools to check if a wire is complete or broken.
This guide covers common tools used for continuity testing. These tools make it easier to check wires safely and accurately.
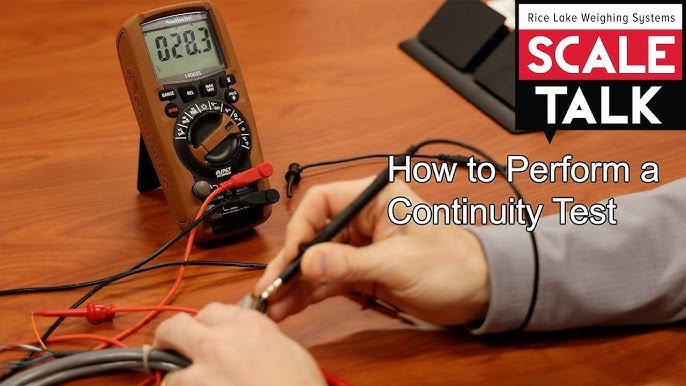
Multimeter Basics
A multimeter is the most common tool for testing wire continuity. It measures electrical current, voltage, and resistance.
For continuity tests, set the multimeter to the continuity mode. This mode beeps if the wire is complete and has no breaks.
- Use probes to touch both ends of the wire
- If the multimeter beeps, the wire is continuous
- No beep means the wire is broken or disconnected
- Make sure the multimeter batteries are charged
- Check the device’s manual for specific settings
Alternative Testing Tools
If you don’t have a multimeter, other tools can test continuity. These tools work well for simple wire checks.
- Continuity Tester:A small device that lights up or beeps when a wire is complete.
- Test Light:A bulb with wires that glow if current passes through the wire.
- Tone Generator and Probe:Sends a signal through a wire and detects it with a probe.
- Ohmmeter:Measures resistance; low resistance means good continuity.
Credit: www.youtube.com
Safety Precautions
Testing continuity in wires needs careful safety steps. Wires can carry dangerous electricity.
Taking safety precautions helps prevent shocks and damage to tools and wires.
Power Off The Circuit
Always switch off the power before testing continuity. This stops any electric current from flowing.
- Locate the main power switch or breaker.
- Turn off the power to the circuit you will test.
- Use a voltage tester to confirm the power is off.
- Never test wires with power on.
Wear Protective Gear
Wear the right gear to protect yourself from electric shocks and injuries.
| Protective Gear | Purpose |
| Insulated Gloves | Stop electric current through hands |
| Safety Glasses | Protect eyes from sparks or debris |
| Rubber-Soled Shoes | Prevent grounding and shocks |
| Long-Sleeve Clothing | Shield skin from burns or cuts |
Preparing The Wire
Testing continuity in wires requires proper preparation. This ensures accurate results and safe handling.
Before testing, carefully prepare the wire by inspecting it and removing insulation where needed.
Inspecting The Wire
Look over the wire for any damage or breaks. Check for cuts, cracks, or worn spots along the insulation.
- Check the entire length of the wire
- Look for discoloration or melted areas
- Make sure connectors are firmly attached
- Note any signs of corrosion or rust
Stripping The Insulation
Remove the insulation carefully to expose the metal wire inside. Use wire strippers for best results.
| Tool | Purpose |
| Wire Strippers | Cut and remove insulation without damaging wire |
| Utility Knife | Score insulation carefully in tight spots |
| Scissors | Trim insulation if strippers are unavailable |

Credit: www.youtube.com
Setting Up The Multimeter
Testing continuity in wires requires a properly set multimeter. Setting it up right ensures accurate results. This guide helps you prepare your device for testing.
Follow these steps to select the right mode and calibrate your multimeter before testing wires.
Selecting Continuity Mode
Turn on your multimeter and find the continuity mode. This mode often has a symbol like a sound wave or diode. It tests if electricity flows through the wire.
- Use the dial to switch to continuity mode.
- Check the display for the continuity symbol.
- Make sure the probes are plugged into the correct ports.
- Verify the multimeter is ready for testing.
Calibrating The Device
Calibration helps your multimeter give correct readings. You do this by checking the device on known connections before testing wires.
| Calibration Step | Action | Expected Result |
| Connect Probes | Touch the two probes together | Multimeter beeps or shows zero resistance |
| Adjust Settings | Set the dial or press buttons if needed | Device shows continuity mode correctly |
| Verify Display | Look for stable readings | No error or fluctuating numbers |
Performing The Test
Testing continuity in wires helps you find breaks or faults. It ensures that electricity flows through the wire without interruption.
You need a multimeter or a continuity tester for this process. The test is simple if you connect the probes correctly and read the results right.
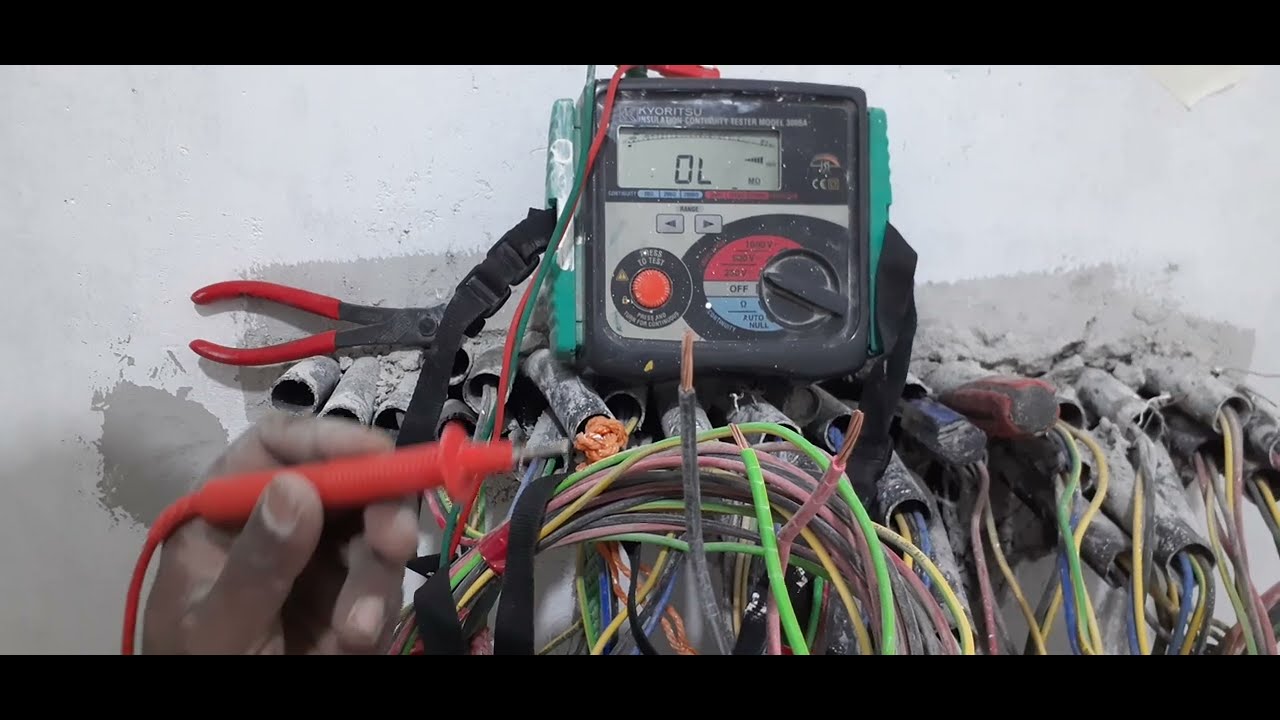
Connecting Probes Correctly
Attach the tester’s probes to the wire ends you want to test. Make sure the wire is not connected to power while testing. This prevents damage and false readings.
- Turn off power and unplug the wire if possible.
- Touch one probe to one end of the wire.
- Touch the other probe to the wire’s opposite end.
- Hold the probes firmly to get a stable reading.
Interpreting The Results
The multimeter or tester shows if the wire has continuity. Usually, a beep or a low resistance number means the wire is good.
| Test Result | Meaning |
| Beep sound or 0 ohms | Wire is continuous and good |
| No beep or infinite resistance | Wire is broken or faulty |
| High resistance value | Wire may have partial damage |
Troubleshooting Common Issues
Testing continuity in wires helps find breaks or faults. Sometimes, you may face issues during testing.
Understanding these common problems makes fixing easier and faster.
No Continuity Detected
No continuity means the wire is broken or not connected. This can happen if the wire is cut or damaged inside.
Sometimes, the test tool or the way you test can cause this result even if the wire is fine.
- Check if the test leads are connected properly to the wire ends
- Make sure the multimeter or tester is set to the correct continuity mode
- Inspect the wire for visible damage like cuts or bends
- Try testing another wire to ensure your tool works well
False Positives
False positives happen when the tester shows continuity, but the wire has a problem. This can mislead you to think the wire is good.
Causes include nearby wires touching or poor tool calibration.
- Check for nearby wires that might cause interference
- Clean wire ends to remove dirt or corrosion
- Use a different tester to confirm results
- Test the wire at different points along its length
Maintaining Your Tools
Testing continuity in wires needs reliable tools. Keeping these tools in good shape helps you get accurate results.
Regular care of your tools prevents damage and extends their life. This guide covers cleaning, storage, and calibration.
Cleaning And Storage
Clean your tools after every use to remove dirt and dust. Dirt can cause wrong readings or damage the tool parts.
- Use a soft cloth to wipe the surfaces.
- Avoid harsh chemicals that can harm plastic or metal.
- Keep tools dry to stop rust and corrosion.
- Store in a dry, cool place away from direct sunlight.
- Use protective cases or covers when available.
Regular Calibration
Calibration keeps your tools accurate. Over time, tools can give wrong readings if not checked regularly.
| Calibration Task | Frequency | Why It Matters |
| Check continuity tester zero | Monthly | Ensures correct baseline reading |
| Test leads inspection | Weekly | Prevents false results from damaged wires |
| Professional calibration | Yearly | Maintains tool accuracy to factory standards |

Credit: www.youtube.com
Frequently Asked Questions
What Tools Do I Need To Test Continuity In Wires?
To test continuity, you need a multimeter or a dedicated continuity tester. Both devices check if current flows through the wire. A multimeter also measures voltage and resistance, making it versatile for electrical tasks.
How Do I Perform A Continuity Test Safely?
First, disconnect power to the wire. Set the multimeter to continuity mode. Touch the probes to both ends of the wire. A beep or zero reading confirms continuity, ensuring the wire is intact and safe to use.
Can Continuity Testing Detect Wire Breaks?
Yes, continuity testing identifies breaks or faults in wires. If the wire is broken, the multimeter shows no beep or infinite resistance. This helps quickly locate damaged sections for repair or replacement.
Why Is Continuity Testing Important In Wiring?
Continuity testing ensures wires are not damaged or broken. It prevents electrical failures and hazards. This test verifies proper connections before powering devices, improving safety and reliability.
Conclusion
Testing wire continuity is essential for electrical safety. It ensures connections work properly. Use a multimeter for accurate results. Always disconnect power before testing. This prevents accidents and damage. Follow step-by-step guides carefully. They make the process easier. Practice improves your skills over time.
Safety gear is vital. Wear gloves and goggles for protection. Regular checks help maintain your system’s health. This prevents future issues. Testing continuity is simple yet crucial. Proper methods ensure reliable connections. Keep learning and practicing. Your confidence will grow.
Soon, you’ll handle these tasks with ease.