Marking layouts on metal can be tricky, but getting it right is key to a perfect project. If you’ve ever struggled with unclear lines, smudges, or mistakes that waste time and material, you’re not alone.
Imagine having a simple, foolproof way to mark your metal that saves you effort and boosts your confidence. You’ll discover easy tips that make your layout work cleaner and more precise. Keep reading, and you’ll learn how to avoid common pitfalls and take your metalworking skills to the next level.
Credit: www.trick-tools.com
Choosing The Right Tools
Marking layouts on metal needs careful tool selection. The right tools help you mark clearly and accurately.
Using proper tools saves time and reduces mistakes during metalwork projects.
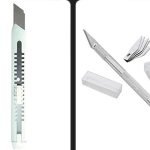
Marking Pens And Scribes
Marking pens make visible lines on metal surfaces. They are easy to use but may fade or wash off.
Scribes create fine, permanent lines by scratching the metal. They work well on smooth or oily surfaces.
- Use marking pens for quick, temporary marks
- Use scribes for precise, lasting lines
- Choose tools based on metal type and surface finish
Using Layout Fluid
Layout fluid is a thin paint applied to metal before marking. It shows lines clearly on dark or shiny metal.
After drying, you can scribe lines into the layout fluid. This helps prevent errors during cutting or welding.
- Apply a thin, even coat of layout fluid
- Let it dry fully before marking
- Scribe lines into the dried fluid for clear marks
Selecting Measuring Instruments
Measuring tools must be accurate for good layout marks. Use rulers, calipers, or tape measures as needed.
Choose tools based on the size and detail of your work. Keep instruments clean and calibrated for best results.
- Use steel rulers for straight lines
- Use calipers for precise measurements
- Use tape measures for longer distances
- Check tools regularly for wear or damage

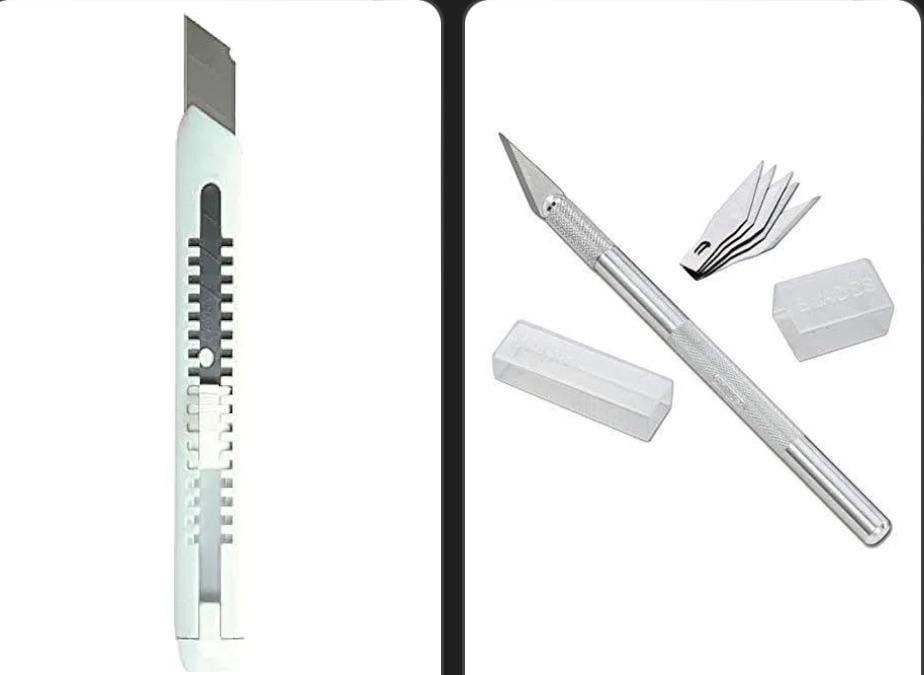
Credit: www.amazon.com
Preparing The Metal Surface
Marking layouts on metal needs a clean surface. Dirt, oil, and rust can cause errors. Proper preparation helps achieve clear and accurate marks.
Before marking, the metal surface must be ready. Cleaning and applying treatments improve the surface for better results.
Cleaning And Degreasing
Remove dirt, grease, and oil from the metal surface. These substances block marking tools and inks. Use proper cleaners for the metal type.
- Use a cloth with a solvent like acetone or alcohol.
- Scrub stubborn grease with a soft brush.
- Rinse with clean water if needed and dry well.
- Avoid abrasive materials that may scratch the surface.
Applying Surface Treatments
Surface treatments improve marking visibility and adhesion. Choose treatments that suit the metal and marking method.
| Treatment Type | Purpose | Application Method |
| Primer | Creates a smooth base for ink or paint | Brush or spray before marking |
| Anti-rust Coating | Prevents rust and corrosion | Dip or spray on cleaned metal |
| Etching Solution | Roughens surface for better ink adhesion | Apply with cloth or brush, then rinse |
Creating Accurate Reference Lines
Marking layouts on metal needs exact reference lines. These lines guide cutting, drilling, and shaping.
Accurate lines reduce errors and save time in metalworking projects.
Using Squares And Straightedges
Squares help create perfect right angles on metal surfaces. Straightedges draw straight lines for cutting.
Use a metal square or carpenter’s square for accuracy. Place the straightedge firmly to avoid slips.
- Hold the square flush against the edge of the metal.
- Check that the straightedge does not move before drawing lines.
- Use a sharp marking tool for clear lines.
- Double-check angles with the square before cutting.
Establishing Baselines And Datum Points
Baselines are starting lines for all measurements. Datum points are fixed spots to measure from.
Use a firm mark for baselines and datum points. These help keep all layout work consistent.
- Choose a clear edge or surface as the baseline.
- Mark datum points with a punch or scribe.
- Always measure from the same datum point to avoid errors.
- Re-check baseline and datum marks before each step.

Credit: www.youtube.com
Techniques For Precise Marking
Marking layouts on metal is key for accurate cuts and holes. Precise marks help you avoid mistakes.
Use the right tools and techniques to make clear, sharp lines. This improves your metalwork quality.
Scoring And Scribing Methods
Scoring means making shallow cuts on the metal surface. It guides your cutting tools for straight lines.
Scribing uses a sharp tool to scratch lines on the metal. These lines are very thin and easy to follow.
- Use a metal scribe or a sharp knife for scribing.
- Draw the layout with a ruler or straight edge first.
- Apply steady pressure to make a clear line.
- Scoring can help when cutting thicker metals.
- Check lines under good light for accuracy.
Using Center Punches For Drill Points
A center punch makes a small dent where you want to drill. This keeps the drill bit from slipping.
Place the punch on the mark and hit it with a hammer. The dent guides the drill for a clean hole.
- Use a sharp center punch for best results.
- Hold the punch steady on the mark before striking.
- Tap lightly at first, then more firmly if needed.
- Check the dent to ensure it is deep enough.
- This technique improves drill accuracy and safety.
Common Mistakes To Avoid
Marking layouts on metal requires care and precision. Avoiding common mistakes helps make your work neat.
Simple errors can cause wasted materials and extra work. Learn what to watch out for during marking.
Over-marking And Smudging
Marking too many lines or making thick marks can confuse your layout. It is hard to see exact points.
Smudging the marks makes the layout unclear. It can happen from touching the metal before the ink dries.
- Use light, precise lines instead of heavy marks
- Let the marking ink dry before moving the metal
- Avoid touching marked areas with dirty or oily hands
- Use proper marking tools for clean lines
Ignoring Tool Calibration
Tools must be checked and calibrated often to keep measurements correct. Ignoring this causes errors.
Even small tool mistakes can make your layout off by millimeters. This affects the final metal part fit.
- Calibrate measuring tools before starting your layout
- Check rulers, squares, and scribers for accuracy
- Replace worn or damaged tools to avoid wrong marks
- Use a reliable calibration standard or gauge block
Maintaining Tools For Accuracy
Keeping your marking tools sharp and well stored helps keep your layouts precise. Dull tools cause errors and slow your work.
Taking care of scribes and marking equipment ensures they last longer and work better every time.
Sharpening Scribes
Scribes need a sharp point to mark clean lines on metal. Use a fine sharpening stone to keep the tip precise.
- Hold the scribe at a low angle to the stone.
- Move it in small circles or back and forth.
- Check the tip often for a sharp point.
- Wipe the scribe clean after sharpening.
- Use oil on the stone to reduce wear.
Storing Marking Equipment Properly
Store scribes and other marking tools in a dry place. This stops rust and damage that affect accuracy.
| Storage Tip | Reason |
|---|---|
| Use a hard case | Protects tools from knocks and drops |
| Keep tools separate | Prevents scratching and dulling of tips |
| Store in low humidity | Reduces rust and corrosion |
| Clean tools before storing | Removes dirt and metal dust |
Advanced Tips For Complex Layouts
Marking layouts on metal requires precision and care. Complex shapes need special techniques to ensure accuracy. Advanced tips help avoid mistakes and save time.
Using the right tools and methods makes transferring patterns easier. Templates and jigs improve repeatability and reduce errors in metal layout work.
Transferring Patterns
Start by preparing the metal surface clean and smooth. Use sharp scribers or marking pens for clear lines. Tape patterns securely to prevent movement.
- Use tracing paper or carbon paper under the pattern for fine details.
- Apply light pressure to avoid shifting the pattern.
- Mark reference points clearly for alignment during assembly.
- Check pattern edges often to maintain accuracy.
Using Templates And Jigs
Templates and jigs reduce layout time for repeated parts. They ensure each piece matches the original design exactly. Build templates from sturdy materials like plywood or plastic.
| Tool | Material | Use |
|---|---|---|
| Template | Plastic or plywood | Trace complex shapes quickly and repeatedly |
| Jig | Metal or wood | Hold parts in place for marking or cutting |
| Fixture | Metal frame | Maintain alignment during multiple operations |
Frequently Asked Questions
What Tools Are Best For Marking Layouts On Metal?
Using scribing tools, metal rulers, and layout fluid ensures precise markings. These tools help create clear, accurate lines without damaging the metal surface.
How Can I Improve Accuracy When Marking Metal Layouts?
Use sharp, fine-point scribers and steady your hand. Applying layout fluid enhances contrast, making markings easier to see for precise measurements.
Why Apply Layout Fluid Before Marking Metal?
Layout fluid creates a dark, contrasting background. This makes scribed lines more visible and helps prevent measurement errors during cutting or drilling.
What Common Mistakes Should I Avoid When Marking Metal?
Avoid using dull tools and inconsistent pressure. Do not skip cleaning the metal surface, as dirt can cause inaccurate markings and poor adhesion of layout fluid.
Conclusion
Marking metal layouts can seem tricky at first. But with practice, it gets easier. Always use the right tools for precise lines. Double-check your measurements. This prevents costly mistakes. Practice makes perfect. Start with small projects. Build your confidence. Clear markings guide your work.
They save time and effort. Remember to stay patient. Patience leads to better results. Keep your workspace organized. It helps you find tools quickly. A neat area improves focus. Use these tips to enhance your skills. Happy marking!