Are you tired of digging through messy piles of tools every time you need something? Imagine having all your tools neatly organized and easily accessible, right where you need them.
Creating your own rolling tool cabinet can make that happen. It’s not just about storage—it’s about saving time, reducing frustration, and working smarter. In this guide, you’ll discover simple steps to build a sturdy, customized rolling tool cabinet that fits your space and your tools perfectly.
Ready to transform your workspace and boost your efficiency? Let’s get started!
Choosing The Right Materials
Creating a rolling tool cabinet requires picking good materials. The right choices make your cabinet strong and last long.
This guide helps you select wood, hardware, and tools for a sturdy and useful cabinet.
Selecting Wood Types
Wood is the main part of your cabinet. Choose types that hold weight and resist damage. Plywood is strong and stable. Hardwood like oak or maple lasts longer but costs more.
- Plywood: Affordable and strong
- Oak: Durable and heavy
- Maple: Smooth and sturdy
- Pine: Easy to work with but softer
Hardware Essentials
| Hardware | Purpose | Material |
|---|---|---|
| Drawer Slides | Allow drawers to open smoothly | Steel or aluminum |
| Casters | Make the cabinet moveable | Rubber or polyurethane wheels |
| Handles | Make opening drawers easier | Metal or plastic |
| Screws and Bolts | Hold parts together | Steel |
Choose hardware that fits your cabinet size and weight. Strong metal parts last longer and provide better support.
Tools You’ll Need
- Measuring tape to get exact sizes
- Circular saw or table saw for cutting wood
- Drill for making holes and screwing
- Screwdrivers for hardware installation
- Clamps to hold pieces while gluing
- Sandpaper or sander for smooth surfaces
Having the right tools makes your work easier and the cabinet more precise.
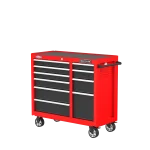
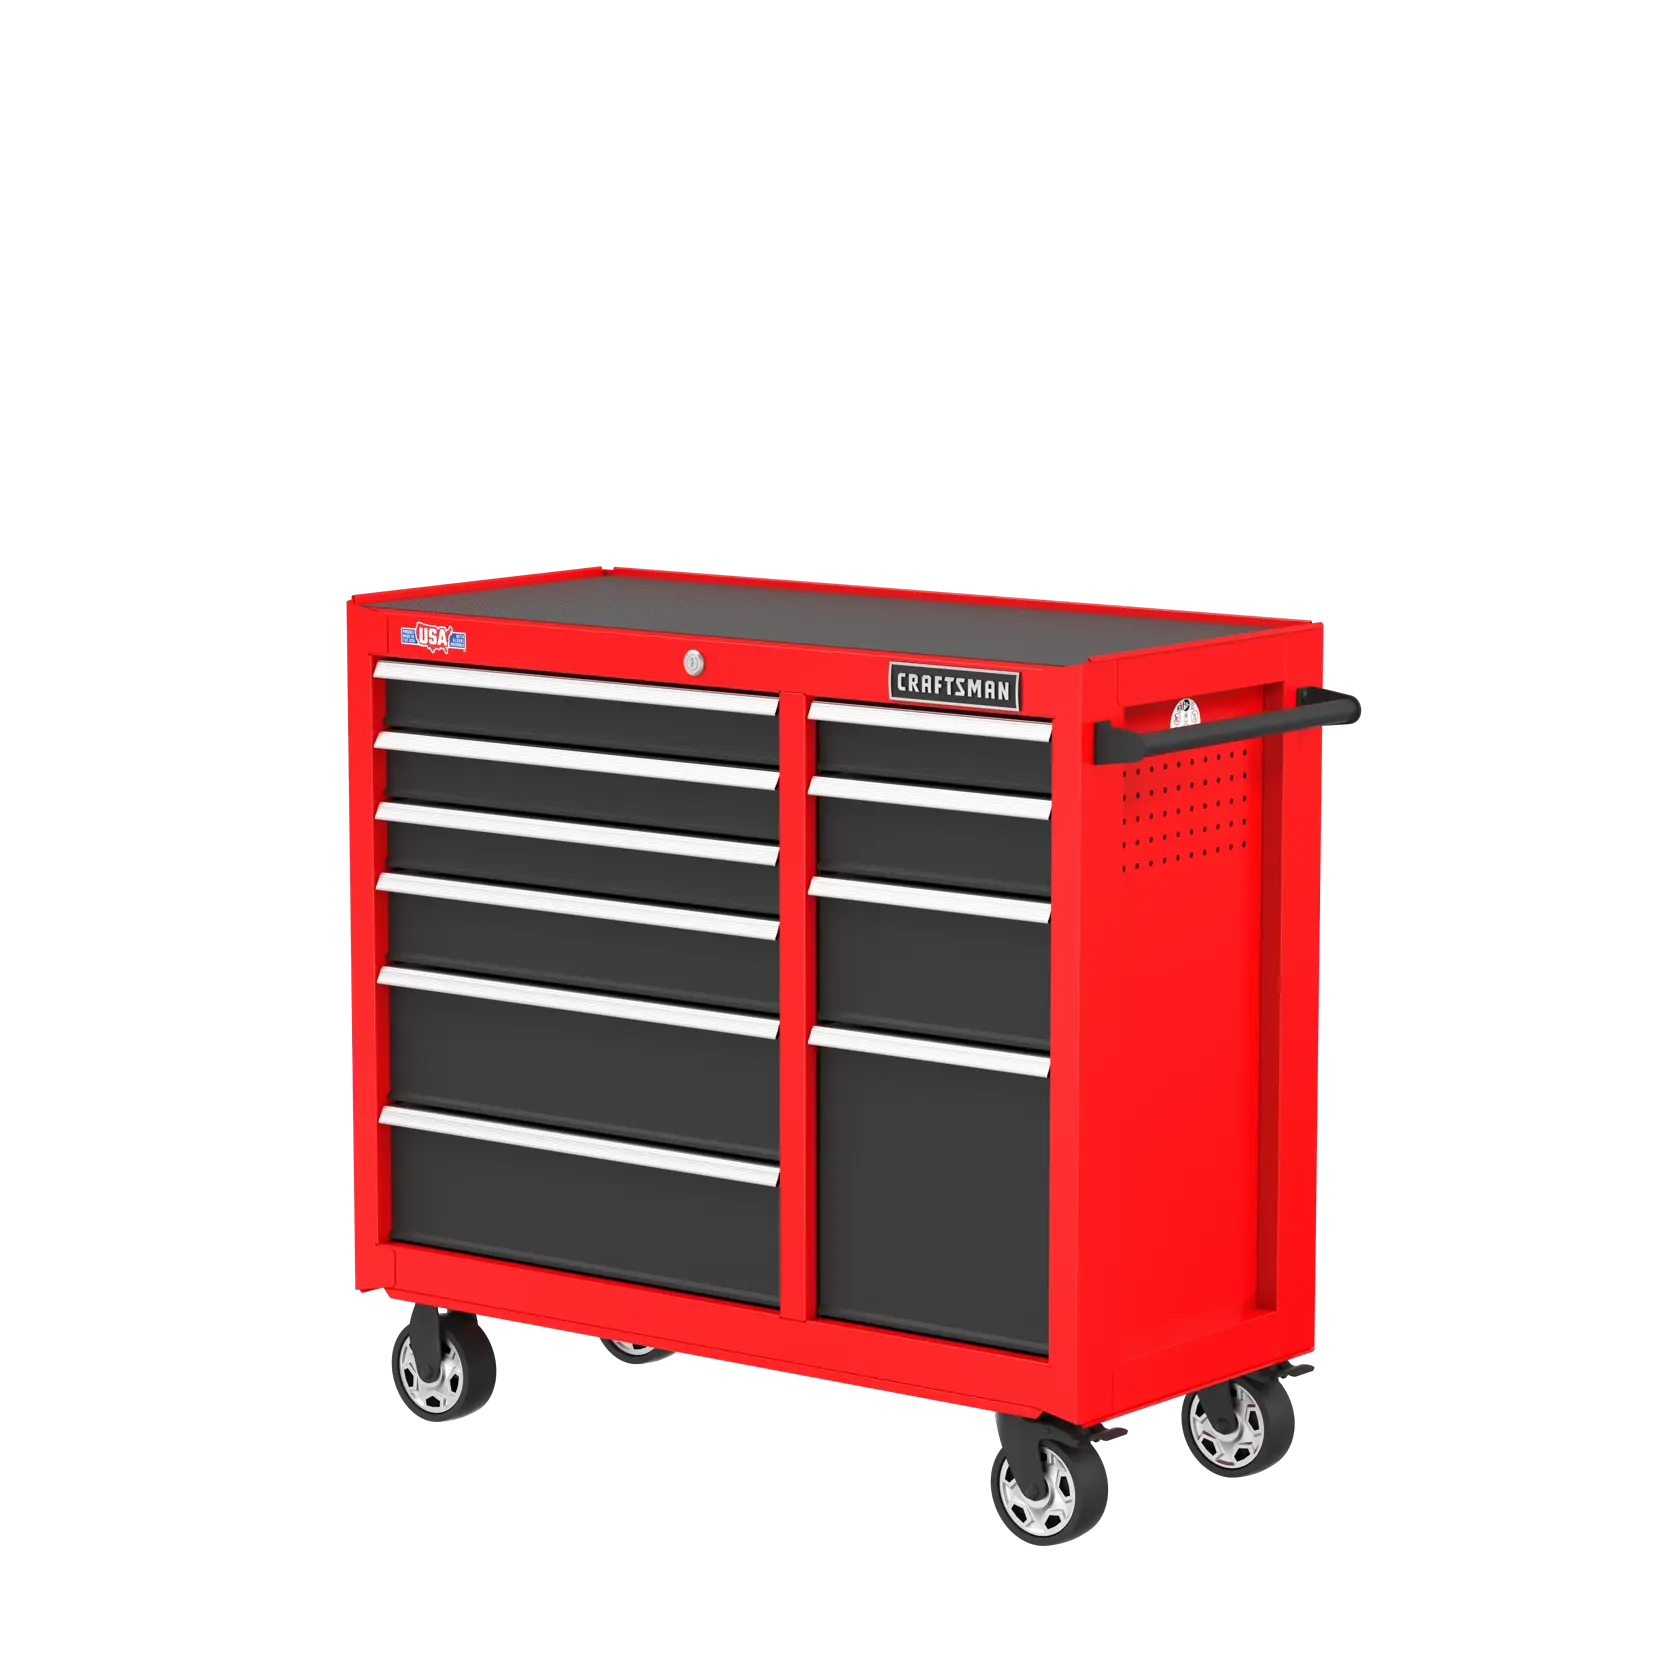
Credit: www.craftsman.com
Designing Your Cabinet
Designing a rolling tool cabinet starts with a clear plan. A good design helps build a strong and useful cabinet.
Think about size, storage, and how you will move it. These ideas guide your design choices.
Measuring And Planning
Measure the space where you will keep the cabinet. Write down height, width, and depth.
Plan the size based on your tools and workspace. Make sure it fits well and is easy to reach.
- Measure doorways to ensure the cabinet passes through
- Check floor space for the cabinet’s base size
- Consider workspace clearance for easy access
Drawer And Compartment Layout
Decide how many drawers and compartments you need. Different tools need different spaces.
Use small drawers for screws and big ones for power tools. Plan compartments for easy sorting.
- Small drawers for nails, screws, and bits
- Medium drawers for hand tools like wrenches and pliers
- Large drawers for power tools and bulky items
- Side compartments for long tools like levels or hammers
Incorporating Mobility Features
Add wheels to make the cabinet easy to move. Choose strong casters that roll smoothly.
Include locks on wheels to keep the cabinet steady when you work. Handles help push or pull the cabinet.
- Pick heavy-duty caster wheels for durability
- Use locking casters to prevent unwanted movement
- Install sturdy handles on sides or top for easy grip
- Make sure wheels fit well under the cabinet base
Cutting And Preparing Parts
Cutting and preparing parts is the first step to build a rolling tool cabinet. Accurate cuts make the assembly easier and the cabinet stronger. Take your time to measure and cut each piece carefully.
Use the right tools and follow safety rules. This ensures your work is safe and clean. Prepare all parts before moving to assembly.
Safe Cutting Techniques
Always wear safety glasses and ear protection when cutting. Use clamps to hold wood steady. Cut slowly and keep your hands away from the blade. Check the blade condition before starting.
- Measure twice and mark clearly before cutting.
- Use a push stick to guide small pieces safely.
- Keep your workspace clean to avoid slips.
- Turn off tools when not in use.
- Follow the tool manufacturer’s instructions.
Sanding And Finishing
Sanding smooths the edges and surfaces of your parts. Start with coarse sandpaper and move to finer grits. This prepares the wood for finishing and prevents splinters.
| Sandpaper Grit | Use |
|---|---|
| 80 | Remove large rough spots |
| 120 | Smooth edges and surfaces |
| 220 | Final sanding before finishing |
After sanding, wipe the parts with a damp cloth to remove dust. Apply paint or varnish in a well-ventilated area and let dry fully before assembly.
Labeling Components
Label each part after cutting and sanding. This helps you find pieces quickly during assembly. Use a pencil or masking tape for temporary labels.
- Write part names or numbers clearly.
- Label both sides of the parts.
- Use matching labels with your cut list or plan.
- Remove labels after assembly to keep the cabinet clean.
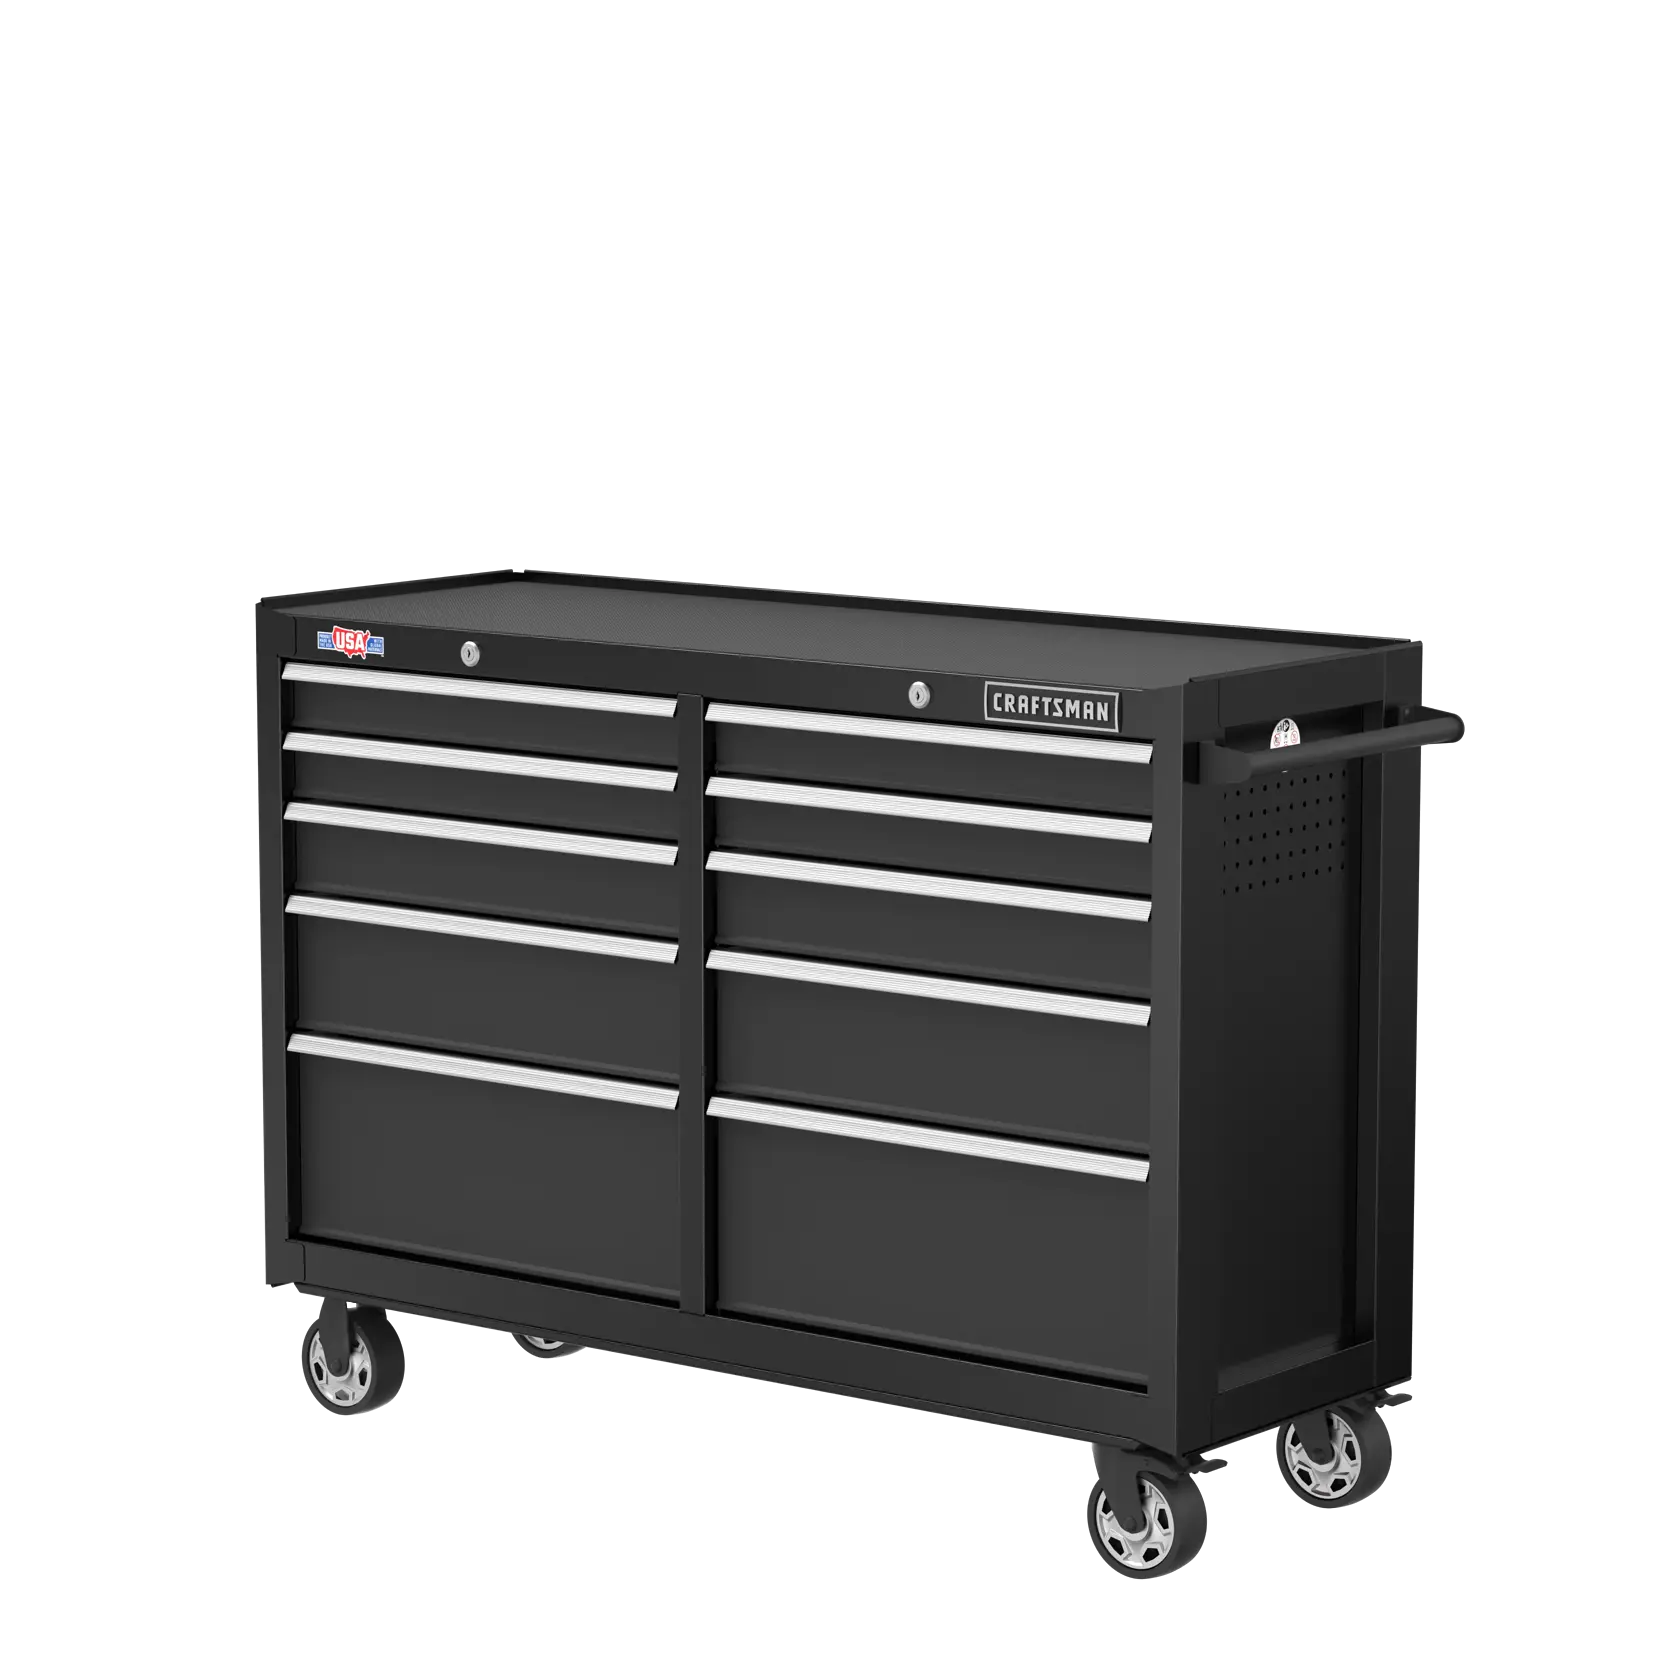
Credit: www.walmart.com
Assembling The Frame
Building a rolling tool cabinet starts with assembling a strong frame. A solid frame holds all parts together. It also supports the weight of tools and drawers.
Focus on making each part fit well. Use the right tools to keep the frame sturdy and level.
Building The Base
The base is the cabinet’s foundation. Use thick plywood or hardwood for strength. Cut it to the size you want for the cabinet.
Attach four casters to the bottom of the base. Make sure the casters can hold the total weight. Locking wheels keep the cabinet from moving.
- Cut base panel to desired size
- Attach corner blocks for support
- Secure casters with screws
- Test wheels to ensure smooth rolling
Constructing The Cabinet Box
Build the cabinet box by joining side panels to the base. Use wood glue and screws for a strong bond. Make sure all corners form right angles.
Add a back panel to keep the box square. The back also protects tools inside from dust and debris.
- Attach side panels to base with screws
- Use clamps to hold parts while drying
- Install back panel flush with edges
- Check for square corners with a carpenter’s square
Securing The Frame
Make the frame sturdy by adding corner braces inside the cabinet. Use metal brackets or wood blocks. Tighten all screws to avoid wobbling.
Check the frame for level and adjust if needed. A secure frame keeps drawers aligned and the cabinet stable.
- Install corner braces on all inside corners
- Use a level to check cabinet balance
- Tighten screws firmly but avoid stripping
- Test frame stability by gently shaking
Installing Drawers And Hardware
Installing drawers and hardware is a key part of building a rolling tool cabinet. Good installation makes the drawers slide smoothly and hold tools safely.
This guide explains how to build drawer boxes, fit drawer slides, and attach handles and locks.
Building Drawer Boxes
Start by cutting wood panels to size for the drawer sides, front, back, and bottom. Use strong wood like plywood for durability.
Assemble the drawer box by joining the sides to the front and back panels. Then, attach the bottom panel securely.
- Cut side panels to drawer height and depth
- Cut front and back panels to drawer width and height
- Use wood glue and screws or nails to join parts
- Attach a sturdy bottom panel to support tools
Fitting Drawer Slides
Drawer slides allow the drawers to open and close smoothly. Choose slides that fit the drawer size and weight.
Attach one part of the slide to the cabinet frame and the other to the drawer box. Align them carefully to avoid sticking.
- Measure drawer and cabinet width accurately
- Mark slide positions on drawer and cabinet sides
- Screw slides in place, keeping them level
- Test drawer movement and adjust if needed
Attaching Handles And Locks
Handles make it easy to pull drawers open. Locks keep tools safe inside the cabinet.
Choose handle styles that fit your cabinet design. Install locks on drawers that need extra security.
- Mark handle positions on drawer fronts
- Drill holes for screws carefully
- Attach handles with screws securely
- Install locks according to the lock type instructions
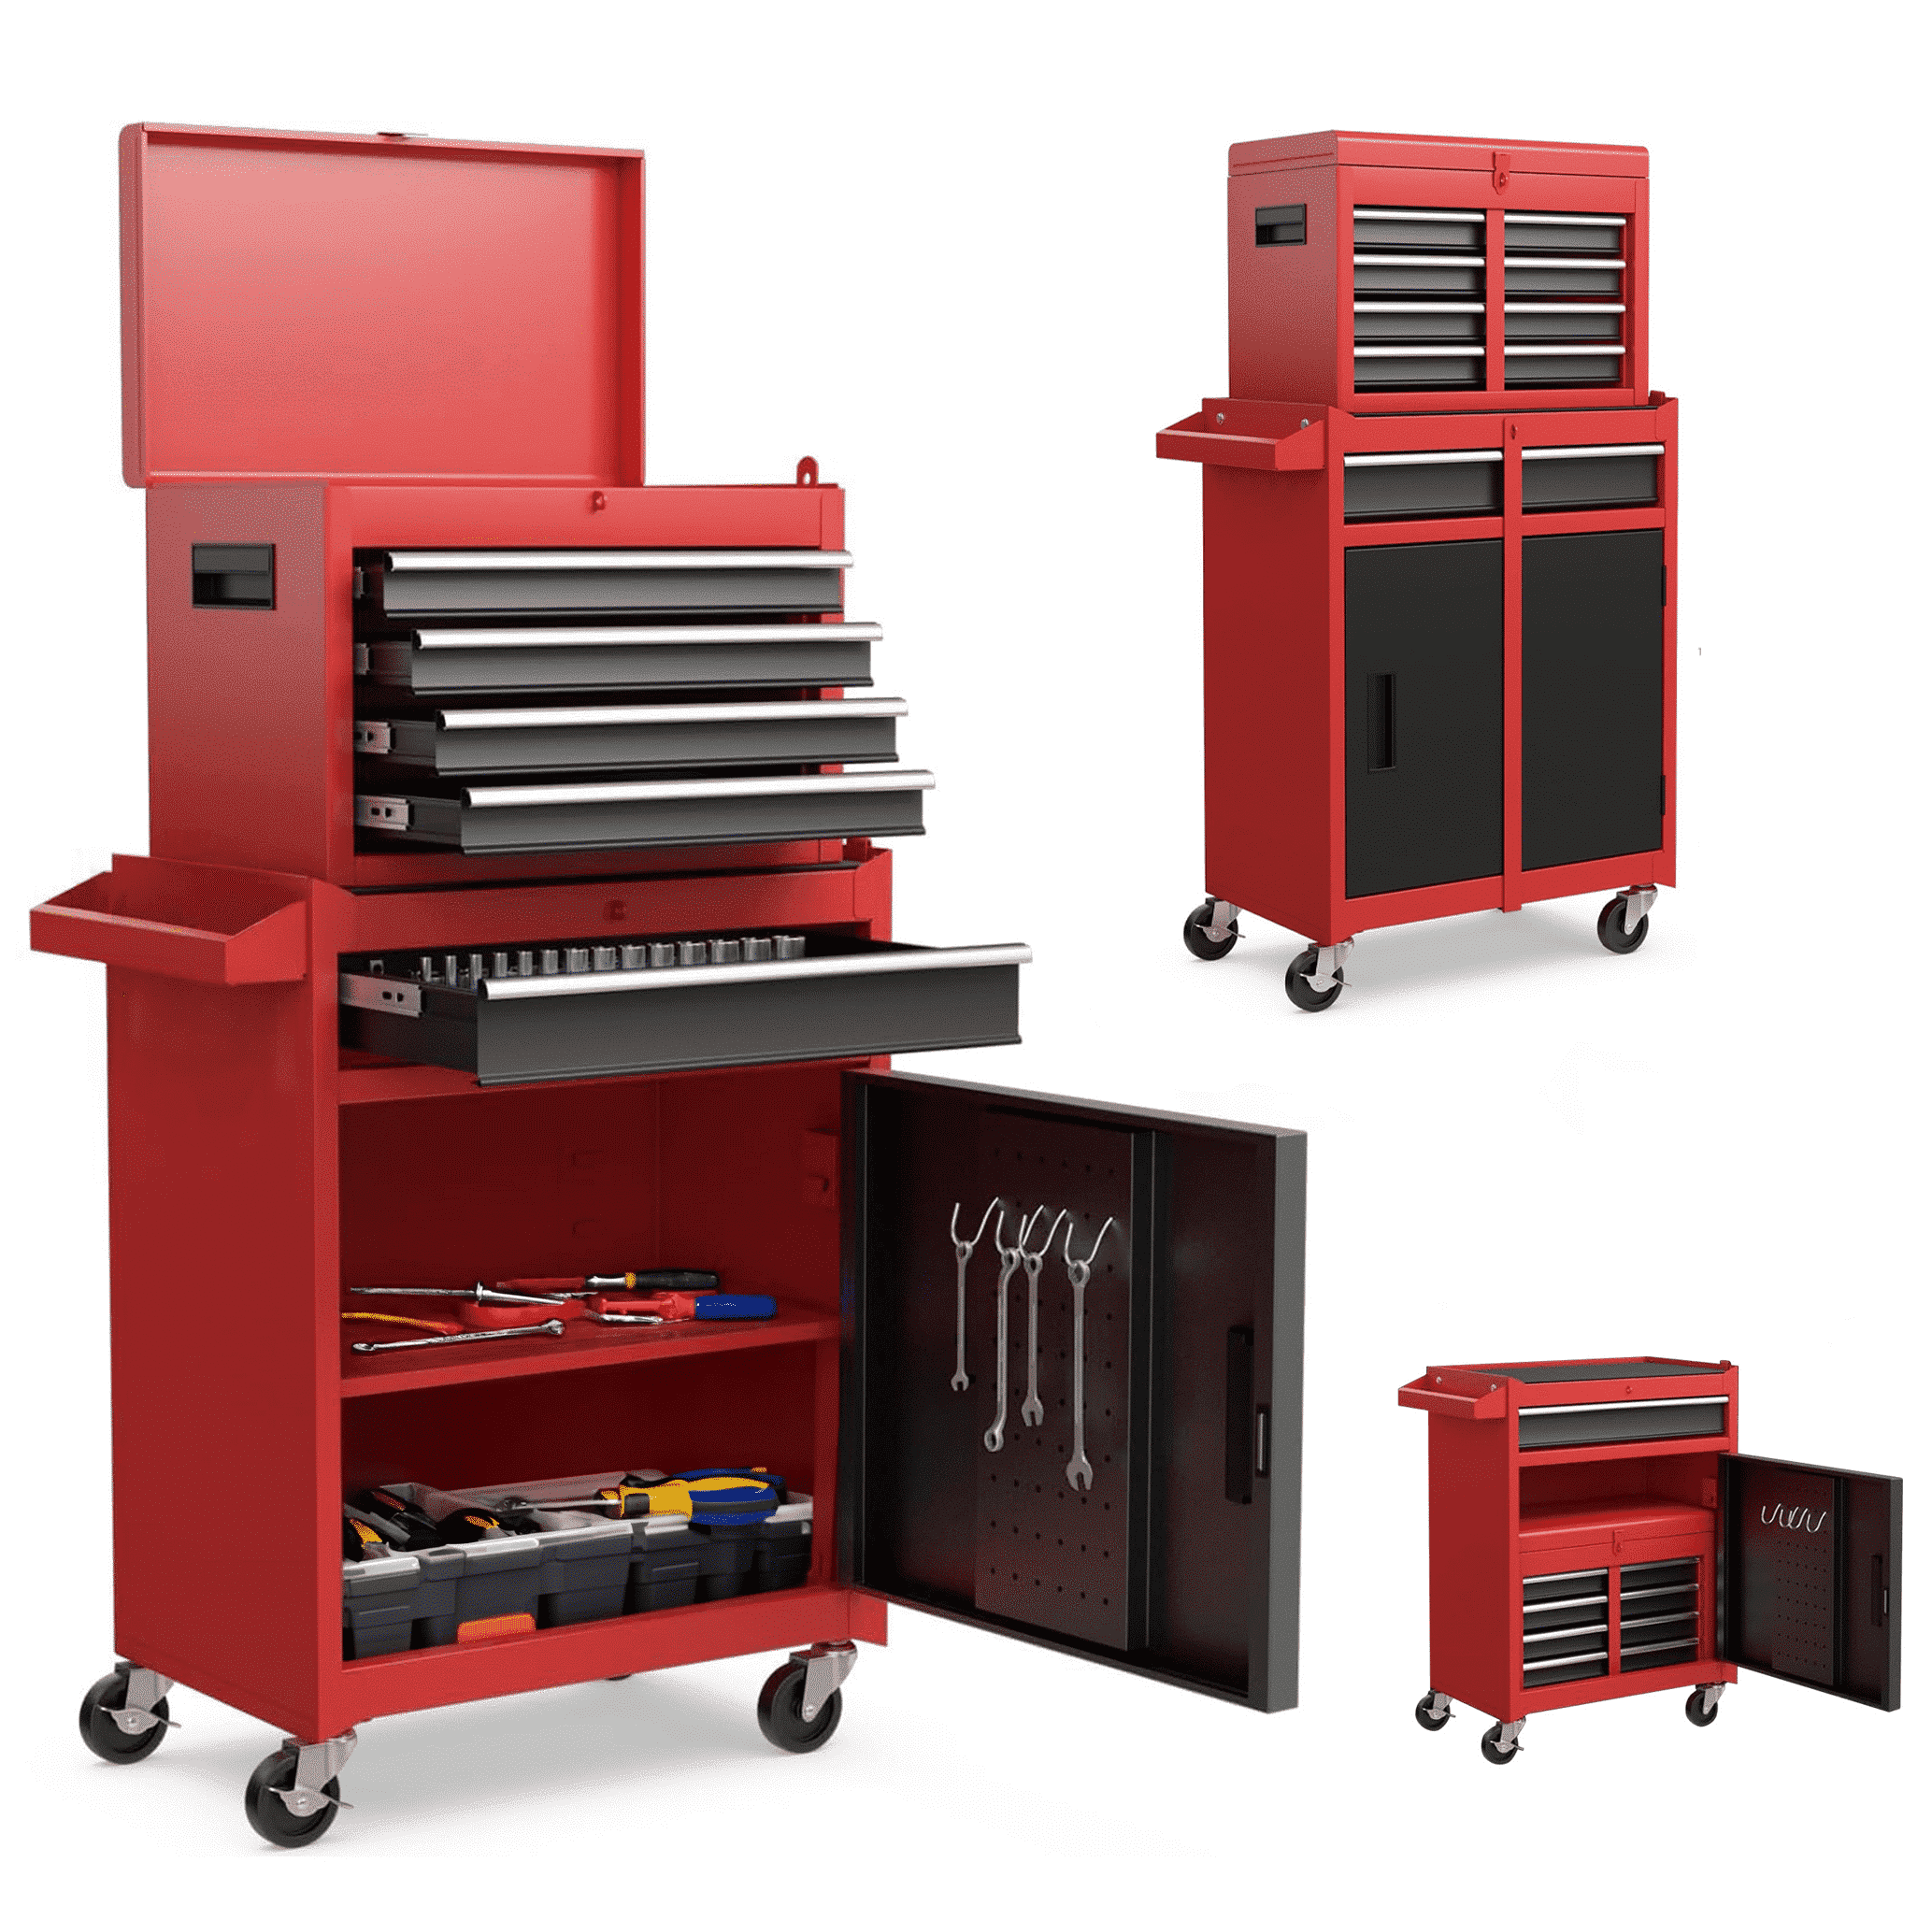
Credit: www.walmart.com
Adding Wheels And Finishing Touches
Creating a rolling tool cabinet makes moving your tools easier. Adding wheels and finishing the cabinet well helps it last longer.
This guide covers how to pick and install casters, paint and seal the cabinet, and organize your tools inside.
Choosing And Installing Casters
Select casters that fit the cabinet’s weight and size. Make sure they roll smoothly and lock in place for safety.
- Measure the cabinet’s base to choose the right caster size.
- Pick casters with locks to keep the cabinet still when needed.
- Use heavy-duty casters for heavy tools.
- Attach casters to the cabinet’s corners for balance.
- Secure screws tightly to avoid loose wheels.
Painting And Sealing
Paint and seal the cabinet to protect it from dust and moisture. This keeps the wood strong and clean.
| Step | Material | Tip |
| 1 | Sandpaper | Use fine grit for smooth surface |
| 2 | Primer | Apply one coat to help paint stick |
| 3 | Paint | Choose durable paint for wood |
| 4 | Sealer | Use clear sealer for extra protection |
Organizing Tools Inside
Organize your tools so you find them fast. Use dividers, trays, and labels for order.
- Group similar tools together.
- Use drawer dividers to separate items.
- Label each drawer or section.
- Keep frequently used tools near the top.
- Use foam inserts to protect delicate tools.
Frequently Asked Questions
What Materials Are Needed To Build A Rolling Tool Cabinet?
To build a rolling tool cabinet, you need plywood, drawer slides, casters, screws, handles, and wood glue. These materials ensure durability and smooth mobility. Choosing quality materials enhances cabinet strength and functionality.
How Do I Ensure Drawers Slide Smoothly?
Install high-quality ball-bearing drawer slides for smooth operation. Align slides carefully and test movement before final assembly. Lubricate slides if needed to reduce friction and noise.
What Size Should A Rolling Tool Cabinet Be?
The size depends on your workspace and tool collection. Common dimensions are 24-36 inches wide, 18-24 inches deep, and 30-40 inches tall. Ensure it fits comfortably and offers enough storage.
How Can I Make My Tool Cabinet Mobile?
Attach heavy-duty swivel casters with locking brakes to the cabinet base. This allows easy movement and stability when stationary. Choose casters rated for the cabinet’s weight.
Conclusion
Building a rolling tool cabinet is a rewarding project. With simple steps, you can organize tools efficiently. Start with a solid plan and gather materials. Measure and cut wood accurately for best results. Assemble carefully, ensuring strong joints. Attach wheels for easy mobility.
Paint or varnish for a polished finish. This cabinet makes tool storage neat and accessible. It also saves space and adds convenience to your workspace. You’ve now built a useful tool for any DIY task. Enjoy your new, practical rolling tool cabinet!