Are you ready to tackle your next DIY project? Soldering electrical wires might sound intimidating, but with the right guidance, you can easily master this skill.
Imagine fixing gadgets, creating your own electronics, or even just saving money on repairs. It all starts with understanding the basics of soldering. By learning how to solder, you not only empower yourself but also open doors to endless possibilities in electronics.
You’ll discover that it’s not just about connecting wires; it’s about creating strong, reliable connections that last. Stay with us as we guide you through the simple steps to become confident in soldering electrical wires. Your journey to becoming a DIY electronics pro starts here. Ready to get started? Let’s dive in!
Tools And Materials Needed
Soldering electrical wires requires some basic tools and materials. These help you join wires safely and firmly.
Knowing what to use makes the work easier and the connection stronger. Here are the main items you need.
Soldering Iron Types
Soldering irons come in different styles. Each type suits certain tasks and skill levels.
Choose the right iron for your project to get good results and work safely.
- Basic Soldering Iron:Simple and affordable, good for light tasks.
- Temperature Controlled Iron:Lets you set the heat, better for delicate work.
- Butane Soldering Iron:Portable and cordless, useful where power is not available.
- Soldering Station:Includes iron and control unit, best for frequent use.
Choosing The Right Solder
Solder is the metal that melts to join wires. Picking the right solder helps create strong connections.
Lead-free solder is safer and common today, but leaded solder melts easier.
- Lead-Free Solder:Made of tin and other metals, safer for health.
- Lead-Based Solder:Contains lead, melts at lower temperatures.
- Flux-Core Solder:Has flux inside, cleans metal while soldering.
- Solid Core Solder:No flux inside, needs separate flux application.
Additional Supplies
Besides iron and solder, other supplies help make soldering easier and safer.
These items help prepare wires and keep your work clean.
- Wire Strippers:Remove insulation from wires cleanly.
- Helping Hands:Hold wires steady while you work.
- Heat Shrink Tubing:Protects and insulates soldered connections.
- Flux:Cleans metal surfaces for better solder flow.
- Cleaning Sponge or Brass Wool:Keep soldering iron tip clean.
- Safety Glasses:Protect your eyes from splashes.
Preparing The Wires
Before soldering electrical wires, it is important to prepare them properly. Good preparation helps create a strong and safe connection.
Properly prepared wires make the solder flow easier and prevent weak joints. Follow these steps to get your wires ready.
Stripping Wire Insulation
Start by removing the insulation from the wire ends. Use a wire stripper tool that fits the wire size. Strip about half an inch of insulation carefully.
Do not cut the wire strands while stripping. Expose the bare wire cleanly to ensure a good solder joint.
Twisting Wire Strands
After stripping, twist the exposed wire strands tightly. Twisting helps the strands stay together and prevents fraying. This makes soldering easier.
Use your fingers or pliers to twist the strands clockwise until they form a neat bundle.
Cleaning Wire Tips
Clean the wire tips to remove dirt, oil, or oxidation. Use a small brush or fine sandpaper to gently clean the metal surface. This improves solder flow.
- Wipe with rubbing alcohol after sanding
- Make sure wires are dry before soldering
- Clean surfaces help create strong bonds
Setting Up The Soldering Iron
Setting up your soldering iron correctly is key for safe and effective work. This guide covers important steps to prepare your tool before soldering wires.
Focus on the right temperature and maintaining the soldering tip. These steps help you get clean joints and avoid damage.
Temperature Settings
Choose the correct temperature based on the wire and solder type. Too hot can damage wires; too cold will not melt solder properly.
- Set the soldering iron between 350°C and 400°C (662°F to 752°F) for most electrical wires.
- Use lower temperatures for delicate wires or components to avoid heat damage.
- Adjust if the solder does not flow smoothly or takes too long to melt.
- Allow the iron to reach the set temperature before starting to solder.
Tin The Tip
Tinning the soldering tip helps it heat evenly and prevents corrosion. It also improves heat transfer to the wires.
| Step | Action | Purpose |
|---|---|---|
| 1 | Heat the soldering iron to the working temperature | Prepare the tip for tinning |
| 2 | Apply a small amount of solder to the tip | Coat the tip with solder |
| 3 | Wipe the tip gently on a damp sponge | Remove excess solder and clean the tip |
| 4 | Repeat tinning before and after each use | Keep the tip protected and working well |

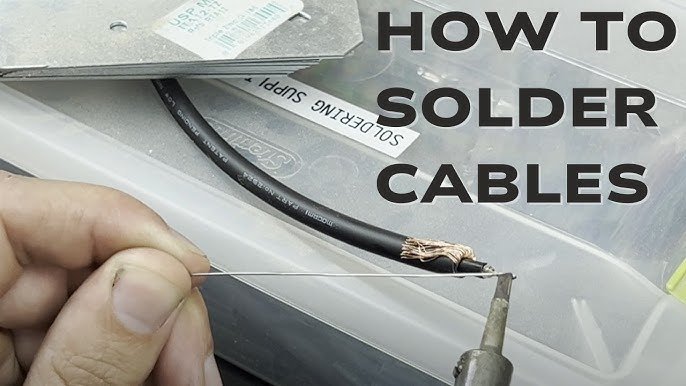
Credit: www.youtube.com
Soldering Techniques
Soldering electrical wires joins them with melted metal. This creates a strong, conductive connection. Using the right technique ensures safety and durability.
Understanding heat control, solder application, and joint quality helps avoid common problems. Each step affects the final result.
Heating The Wire Joint
Heat the wires evenly before adding solder. Use a soldering iron with enough power for the wire size. Touch the iron tip to the joint for a few seconds to warm it.
Do not heat too long or you may damage the wire insulation. The goal is to heat the metal parts, not the surrounding material.
Applying Solder Correctly
Apply solder only to the heated wires, not the iron tip. The solder should melt and flow into the joint smoothly. This creates a solid electrical connection.
- Touch solder to the wire, not the iron
- Use enough solder to cover the joint fully
- Remove solder and iron quickly once melted
- Let the joint cool without moving wires
Avoiding Cold Joints
Cold joints happen when solder does not melt properly. They look dull or cracked and cause bad electrical connections.
| Cause | Effect | Prevention |
| Insufficient heat | Weak joint | Heat wires properly |
| Moving joint too soon | Cracks in solder | Hold wires steady while cooling |
| Contaminated surfaces | Poor solder flow | Clean wires before soldering |
Finishing The Connection
After soldering electrical wires, you must finish the connection properly. This ensures safety and a strong bond. Pay attention to each step to avoid problems later.
Finishing the connection means inspecting the joint, letting it cool, handling it carefully, and insulating it well. Each part is important for a lasting and safe electrical link.
Inspecting The Joint
Look closely at the soldered joint to check its quality. A good joint should be shiny and smooth. Dull or cracked solder can cause poor electrical contact.
- The solder should cover the wire fully.
- There should be no gaps or holes.
- The wires must be joined tightly with no loose ends.
- A clean joint means no excess flux or debris.
Cooling And Handling
Let the soldered joint cool naturally. Avoid moving the wires during this time. Moving can cause cracks in the solder and a weak connection.
| Action | Reason |
| Do not touch the joint immediately | Prevents cold joints |
| Keep wires steady until cooled | Maintains solid connection |
| Use tools if needed to hold wires | Avoids hand movement |
Insulating The Connection
After cooling, cover the joint with insulation. This protects from short circuits and moisture. Use proper materials for the best safety.
- Heat shrink tubing fits snugly over the joint.
- Electrical tape wraps tightly and resists wear.
- Make sure insulation covers all exposed metal.
- Check insulation for damage before use.
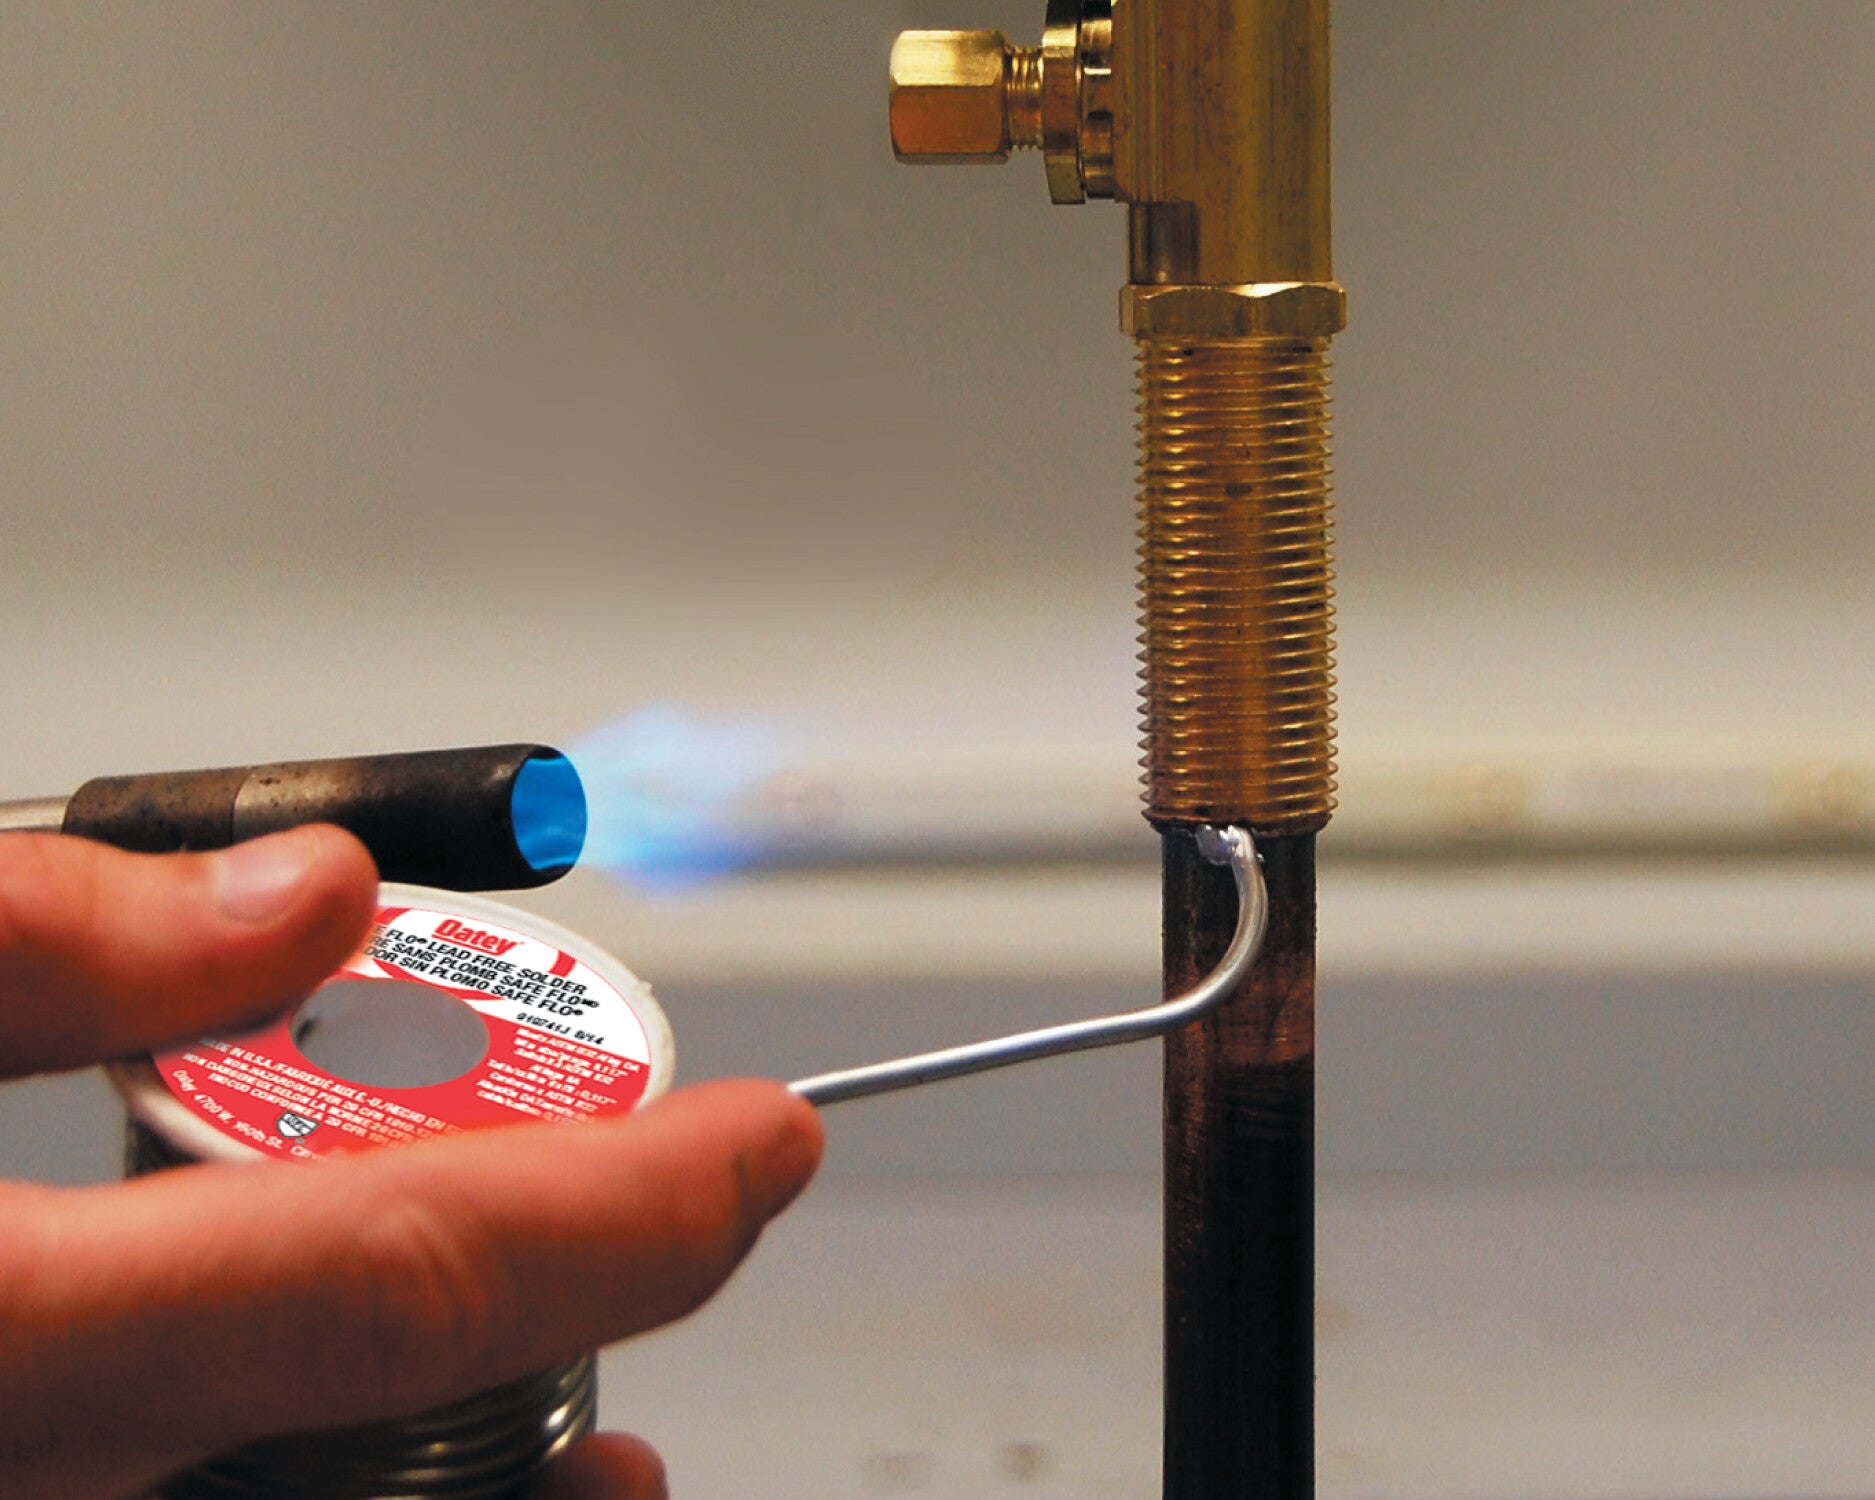
Credit: www.oatey.com
Safety Tips
Soldering electrical wires is useful but can be risky without safety care. Follow safety tips to avoid accidents and injuries.
Wearing safety gear and working carefully helps keep you safe while soldering wires. Pay attention to your workspace and tools.
Proper Ventilation
Soldering creates smoke and fumes that can be harmful to breathe. Always work in a well-ventilated area.
Use a fan or open a window to move fresh air through your workspace. This keeps the air clean and safer to breathe.
- Work near an open window or door
- Use a small fan to blow fumes away
- Avoid soldering in small, closed rooms
Handling Hot Tools
Soldering irons get very hot and can burn your skin. Handle them carefully and always use a stand to hold the iron when not in use.
Keep the hot tip away from flammable items and never touch it directly. Always turn off and unplug the soldering iron after use.
- Use heat-resistant gloves if needed
- Place the iron on a secure stand
- Keep your workspace clear of clutter
- Unplug the iron when finished
Electrical Safety
Working with electrical wires can cause shocks if you are not careful. Always check that the wires are not connected to power before soldering.
Use insulated tools and avoid working in wet or damp places to reduce the risk of electric shock.
- Turn off power before starting work
- Use insulated handles on tools
- Keep your hands dry and clean
- Do not solder live wires
Troubleshooting Common Issues
Soldering electrical wires can sometimes cause problems. Knowing how to fix common issues saves time and improves connections.
This guide covers weak joints, excess solder, and burnt wire insulation. Each section explains the problem and how to solve it.
Weak Joints
Weak solder joints can cause wires to disconnect or fail. Poor heating or dirty wires often cause weak joints.
- Clean wires before soldering to remove dirt and oxidation.
- Heat the wire and solder pad evenly for a strong bond.
- Use enough solder to cover the joint but avoid overuse.
- Let the joint cool naturally without moving the wires.
Excess Solder
Too much solder can create short circuits or weak connections. It also looks messy and can be hard to inspect.
| Problem | Solution |
| Large blobs of solder | Use less solder and apply it slowly. |
| Solder bridging two wires | Use solder wick to remove extra solder. |
| Cold solder joint | Reheat the joint and add a small amount of fresh solder. |
Burnt Wire Insulation
Burnt insulation weakens wire protection and can cause shorts. It happens if the soldering iron is too hot or held too long.
- Set your soldering iron to the correct temperature (around 350°C or 662°F).
- Heat the wire quickly and remove the iron as soon as the solder flows.
- Use heat shrink tubing to protect wires after soldering.

Credit: avcsstechworld.com
Frequently Asked Questions
What Tools Are Essential For Soldering Electrical Wires?
You need a soldering iron, solder wire, wire strippers, and a heat-resistant mat. These tools ensure safe and effective soldering. Quality tools improve connection strength and durability.
How Do I Prepare Wires Before Soldering?
Strip about 1/2 inch of insulation from wire ends. Twist strands tightly to avoid fraying. Clean wires with rubbing alcohol for better solder adhesion.
What Is The Correct Soldering Temperature For Wires?
Set your soldering iron between 350°C to 400°C (662°F to 752°F). This range melts solder quickly without damaging wire insulation or components.
How Long Should I Apply Heat When Soldering Wires?
Apply heat for 1 to 3 seconds to melt solder. Avoid overheating to prevent wire damage or cold solder joints. Quick, steady heat yields the best connection.
Conclusion
Soldering wires is a useful skill for many projects. It makes connections strong and safe. Always keep your work area clean and steady. Use the right tools and take your time. Practice helps you get better and more confident. Remember to check your work for good joins.
With care, soldering can be simple and effective. Keep learning and trying new projects. Small steps lead to great results.