
Imagine walking into your garage and finally having a dedicated space where you can tackle all your DIY projects with ease. Sounds like a dream, right?
Well, it doesn’t have to be. Setting up a garage workbench with storage is simpler than you might think, and it could transform the way you approach tasks at home. Whether you’re a seasoned DIY enthusiast or just starting out, a well-organized workbench can make all the difference.
You’ll not only increase your efficiency but also ensure that every tool has its place, saving you time and frustration. Stick around to discover how you can create your perfect garage workbench, tailored to fit your needs and space. You’ll be amazed at how much more productive—and enjoyable—your projects can become!
Choosing The Right Location
Setting up a garage workbench with storage needs a good spot. Picking the right place helps you work comfortably and stay organized.
Think about your garage space and how you use it. This makes sure your workbench fits well and is easy to use.
Assessing Garage Space
Look around your garage to find a spot with enough room. Measure the area to see if your workbench will fit.
Make sure there is space to move around and open storage doors or drawers. Avoid blocking garage doors or pathways.
- Measure length, width, and height of available space
- Check for obstacles like pipes, vents, or windows
- Leave room for walking and tool access
- Choose a flat, stable surface for the workbench
Considering Lighting And Accessibility
Good lighting helps you see your projects clearly. Pick a place near windows or add extra lights if needed.
Make sure your workbench is easy to reach. Keep tools and storage close so you do not waste time searching.
- Place the bench near natural light sources if possible
- Add overhead or task lighting for night work
- Keep frequently used tools within arm’s reach
- Ensure the workbench is easy to enter and exit
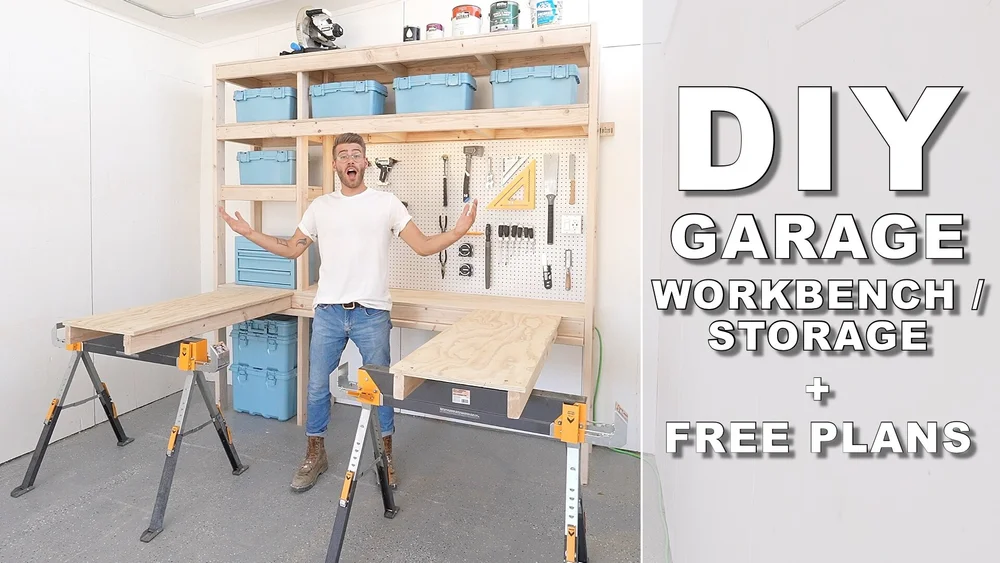
Credit: www.modernbuilds.com
Selecting Workbench Materials
Choosing the right materials for your garage workbench is important. The materials affect the workbench’s strength and how long it lasts. This guide helps you pick good materials for a workbench that works well and stores tools safely.
Consider the type of work you will do and the weight your workbench needs to hold. Good materials make your work easier and keep your garage organized.
Types Of Workbench Tops
The workbench top must be strong and smooth. It should resist dents, scratches, and stains. Here are common types of tops to consider.
- Plywood:Affordable and easy to cut. Use thick plywood for strength.
- Hardwood:Durable and smooth. Maple and oak are popular choices.
- Laminate:Resistant to stains and easy to clean. Good for light work.
- Steel:Very strong and lasts long. Best for heavy-duty work.
- Concrete:Heavy and very durable. Great for heavy tools and projects.
Frame And Support Options
The frame supports the top and holds the workbench steady. Choose materials that match the workbench size and weight capacity you need.
| Material | Strength | Cost | Ease of Assembly |
| Wood (2×4 lumber) | Good | Low | Easy |
| Steel | Very High | High | Moderate |
| Aluminum | High | Medium | Moderate |
| Plastic Composite | Medium | Medium | Easy |
Designing Your Workbench
Designing a garage workbench is key to a neat and efficient workspace. A well-planned workbench fits your needs and tools.
Think about size, height, and storage to make your workbench practical and comfortable.
Determining Size And Height
Choose a workbench size that fits your garage space. Leave room to move around easily.
Set the height to match your comfort. Most workbenches are 34 to 36 inches tall.
- Measure your garage area before building
- Consider what projects you will do
- Adjust height to your body size
- Use adjustable legs if possible
Incorporating Storage Solutions
Storage keeps tools organized and easy to find. Add shelves, drawers, or pegboards.
Choose storage options based on your tool types and size. Make sure they fit under or above the workbench.
- Install drawers for small tools and screws
- Add shelves for larger items and power tools
- Use pegboards to hang frequently used tools
- Include bins or boxes for loose parts
Building The Workbench Frame
Building a strong workbench frame is the first step to a useful garage setup. A solid frame supports your tools and projects well.
This guide covers cutting and assembling wood and how to ensure the frame stays stable and lasts long.
Cutting And Assembling Wood
Start by measuring and cutting all wood pieces carefully. Use a saw that fits your skill level for clean cuts.
- Cut the legs to equal length for balance
- Cut the side and cross supports to fit the frame size
- Sand edges to avoid splinters
- Pre-drill holes to prevent wood from splitting
- Use wood glue for extra hold before screwing parts together
Assemble the frame by attaching legs to the side supports first. Then add cross supports for extra strength.
Ensuring Stability And Durability
Check the frame for level and square after assembly. A crooked frame will weaken the workbench.
| Tip | Reason |
| Use corner braces | Prevents wobbling and adds strength |
| Tighten all screws firmly | Keeps joints secure under weight |
| Apply wood sealant | Protects wood from moisture and wear |
| Place frame on flat surface | Ensures stability and proper balance |
Adding The Work Surface
Adding a work surface to your garage workbench gives you a strong and stable place to work. The surface must be firmly attached and well protected to last long.
This guide covers how to attach the workbench top and how to finish and protect its surface.
Attaching The Workbench Top
Start by placing the workbench top on the frame. Make sure it fits well and is centered. Use clamps to hold it in place while you work.
- Check the frame for any debris and clean it.
- Place the workbench top on the frame carefully.
- Use clamps to hold the top steady.
- Drill pilot holes through the frame into the workbench top.
- Secure the top with wood screws, tightening them evenly.
- Remove the clamps and check the stability.
Finishing And Protecting The Surface
After attaching the top, finish it to protect against stains, scratches, and water damage. A good finish keeps the surface clean and durable.
| Finish Type | Benefits | Application Tips |
|---|---|---|
| Polyurethane | Waterproof and strong | Apply 2–3 coats with a brush |
| Linseed Oil | Natural look and easy to apply | Rub in with cloth, allow to dry |
| Wax | Adds shine and mild protection | Buff after application |
Installing Storage Components
Adding storage to your garage workbench keeps tools organized and easy to find. Proper storage saves time and improves safety.
Choose storage pieces that fit your space and tool collection. Securely install them for stability and durability.
Drawer Units And Cabinets
Drawer units and cabinets store small and large tools safely. They protect tools from dust and damage.
Place drawer units under the workbench for easy reach. Attach cabinets to the wall to save floor space.
- Measure the space before choosing units
- Use screws and wall anchors for secure mounting
- Label drawers for quick tool access
- Keep frequently used tools in top drawers
Shelving And Pegboards
Shelving holds larger items like paint cans and power tools. Pegboards keep hand tools visible and within reach.
Install shelves high enough to clear the work surface. Mount pegboards on walls near the workbench for convenience.
- Use sturdy brackets to support heavy shelves
- Arrange pegboard hooks by tool type
- Keep tools off the floor to avoid clutter
- Adjust shelf heights for different item sizes
Organizing Tools And Supplies
Setting up a garage workbench with storage helps keep your tools and supplies neat. A well-organized space saves time and makes projects easier to complete.
Focus on good storage solutions to keep your tools visible and easy to reach. This guide covers useful holders, racks, and labeling tips.
Tool Holders And Racks
Use tool holders and racks to arrange your tools by type and size. Mount pegboards on the wall to hang frequently used items. Magnetic strips can hold metal tools securely.
- Install wall-mounted pegboards for hand tools
- Use magnetic strips for screwdrivers and pliers
- Add hooks for larger tools like hammers and saws
- Include shelves or bins for small parts and accessories
- Consider drawer dividers for organizing small hand tools
Labeling And Accessibility Tips
Labels help you find items quickly and return them to the right place. Clear labeling reduces clutter and keeps your workbench tidy.
| Label Type | Best For | Tip |
| Printed labels | Drawers and bins | Use large, readable fonts |
| Color-coded tags | Tool categories | Match colors to tool types |
| Chalkboard labels | Reusable containers | Write with chalk markers |
| Label holders | Tool racks | Make labels easy to swap |
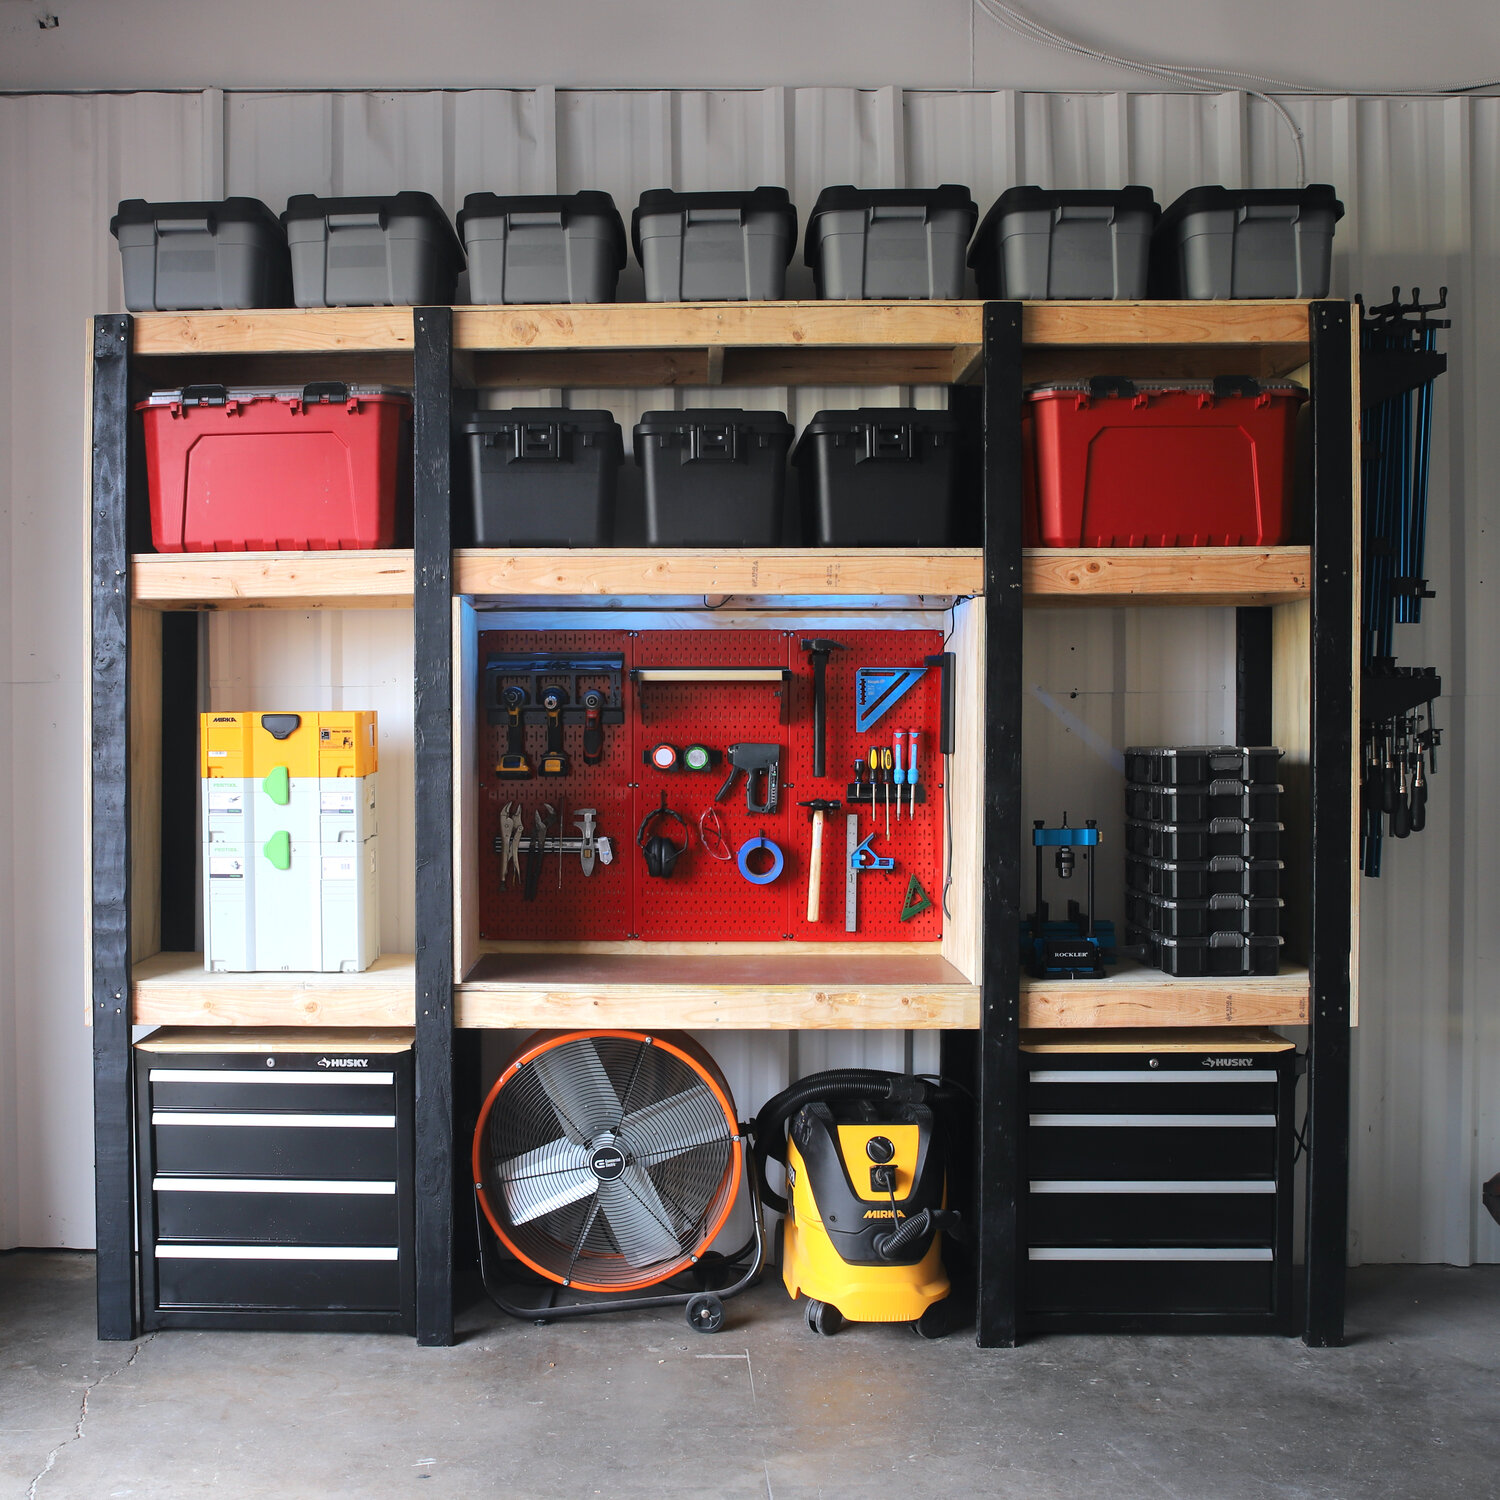
Credit: www.jonny-builds.com
Maintaining Your Workbench
Keeping your garage workbench in good shape helps it last longer. Regular care makes your workspace neat and safe.
A clean and organized workbench improves your work quality and saves time looking for tools.
Cleaning And Upkeep
Clean your workbench after every use. Remove dust, dirt, and leftover materials to avoid damage.
Check for loose screws or nails and tighten them. Repair any cracks or dents in the surface quickly.
- Wipe the surface with a damp cloth
- Use mild soap for stubborn stains
- Keep tools organized to prevent clutter
- Inspect for wear and fix small issues
Upgrading Storage Over Time
Add storage solutions as your needs grow. Extra shelves or drawers can hold more tools and supplies.
Use wall-mounted racks or pegboards to free up space on the bench. Customize storage to fit your work style.
- Install hooks for hanging tools
- Add drawer organizers for small items
- Use bins or boxes to group supplies
- Label storage areas for easy finding

Credit: www.youtube.com
Frequently Asked Questions
What Materials Are Best For A Garage Workbench?
Wood and metal are the most durable materials for garage workbenches. Plywood or hardwood offers a smooth surface, while steel frames provide strength. Combining both ensures stability and longevity, making your workbench suitable for heavy tasks and frequent use.
How Do I Maximize Storage In A Garage Workbench?
Use drawers, shelves, and pegboards to increase storage space. Customize compartments for tools and supplies. Vertical storage keeps the area organized and accessible. Proper labeling helps quickly find items, reducing clutter and improving efficiency during projects.
What Tools Are Essential For Building A Workbench?
Basic tools include a saw, drill, measuring tape, and screwdriver. Clamps and a level ensure precision during assembly. These tools help create a sturdy and well-aligned workbench tailored to your garage needs.
How Can I Make My Workbench Durable And Stable?
Use thick, quality materials and secure joints tightly. Reinforce legs with cross braces for added stability. Proper anchoring to the floor or wall prevents wobbling, ensuring your workbench withstands heavy use over time.
Conclusion
Setting up a garage workbench with storage can make your space neat and useful. Choose the right materials and tools for your needs. Plan your storage to keep everything within reach. Build sturdy shelves and drawers to hold your items safely.
Keep your work area clear for better focus and safety. A well-organized garage helps you finish projects faster. Start small, and add more storage as you go. Enjoy a clean, efficient workspace every time you work. Simple steps bring great results and a better garage.
