Imagine transforming your worn-out floors into a stunning masterpiece, all with a tool that sits comfortably in your hands. That’s the magic of an orbital sander.
If you’re looking to achieve a smooth and flawless finish on your floors, then mastering the use of this tool is key. But where do you start? The thought of sanding might seem daunting, but with the right guidance, you can handle it like a pro.
In this guide, you’ll discover how to harness the power of an orbital sander, turning a tedious task into a rewarding project. Get ready to unlock the secrets to perfect floors that will leave your guests in awe and add value to your home. Stick around, because the transformation begins with you.
Credit: www.ecohome.net
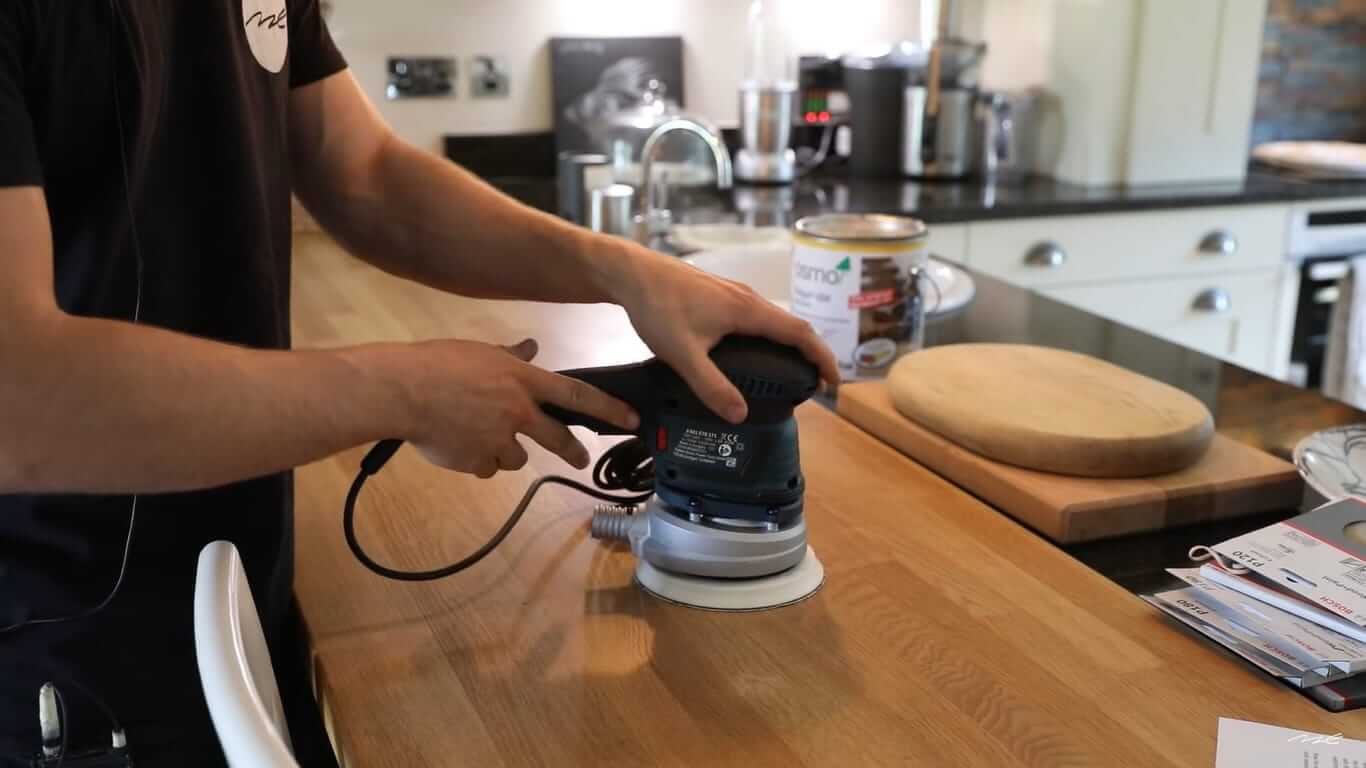
Choosing The Right Orbital Sander
Choosing the right orbital sander is important for finishing floors. The right tool helps you work faster and get a smooth surface.
This guide covers types of orbital sanders, key features to look for, and how to select the correct grit for sanding floors.
Types Of Orbital Sanders
There are several types of orbital sanders. Each type works best for different floor sanding tasks.
- Random Orbital Sander:Moves in a random orbit to reduce swirl marks.
- Finishing Sander:Has a square or rectangular pad for fine sanding.
- Sheet Sander:Uses replaceable sheets of sandpaper and is good for edges.
Key Features To Consider
Look for features that make the sander easier to use and more effective on floors.
| Feature | Why It Matters |
| Variable Speed Control | Adjust speed for different floor types |
| Dust Collection | Keeps work area clean and reduces dust inhalation |
| Ergonomic Handle | Reduces hand fatigue during long use |
| Pad Size | Matches the floor area for faster sanding |
Selecting The Correct Grit
Choosing the right sandpaper grit is key for a smooth finish. Start with coarse grit to remove old finish.
Use finer grits to smooth the floor before applying the final coat.
- Coarse grit (40-60): Removes old finish and rough spots
- Medium grit (80-100): Smooths scratches from coarse grit
- Fine grit (120-150): Prepares floor for finishing coat
Preparing The Floor Surface
Before you start sanding, prepare the floor well. A clean and smooth surface helps the sander work better.
Preparing the floor saves time and gives a nicer finish. Take care with these important steps.
Cleaning And Clearing The Area
Remove all furniture and rugs from the room. Sweep or vacuum the floor to clear dust and dirt.
Make sure nothing blocks your way. A clear space lets you move the sander easily and safely.
- Take out furniture and decorations
- Sweep or vacuum the entire floor
- Remove nails, staples, or screws
- Check for small objects that may damage the sander
Repairing Floor Imperfections
Look for cracks, holes, or loose boards. Fix these problems before sanding to avoid damage.
Use wood filler for small holes and cracks. Replace or nail loose boards firmly in place.
- Fill cracks and holes with wood filler
- Let the filler dry completely
- Sand any rough patches by hand
- Secure loose floorboards with nails or screws
Safety Precautions
Wear safety gear like goggles and a dust mask. This protects your eyes and lungs from dust.
Check the sander’s power cord for damage. Keep the cord away from the sanding area to avoid accidents.
- Wear safety goggles and a dust mask
- Use ear protection if the sander is noisy
- Inspect the sander and cord before use
- Keep the work area well-ventilated
- Take breaks to avoid fatigue
Sanding Techniques For Floors
Sanding floors smooths the surface and prepares it for finishing. Using an orbital sander helps make the job easier and cleaner.
Good sanding techniques improve the floor’s look and extend its life. Follow these tips for the best results.
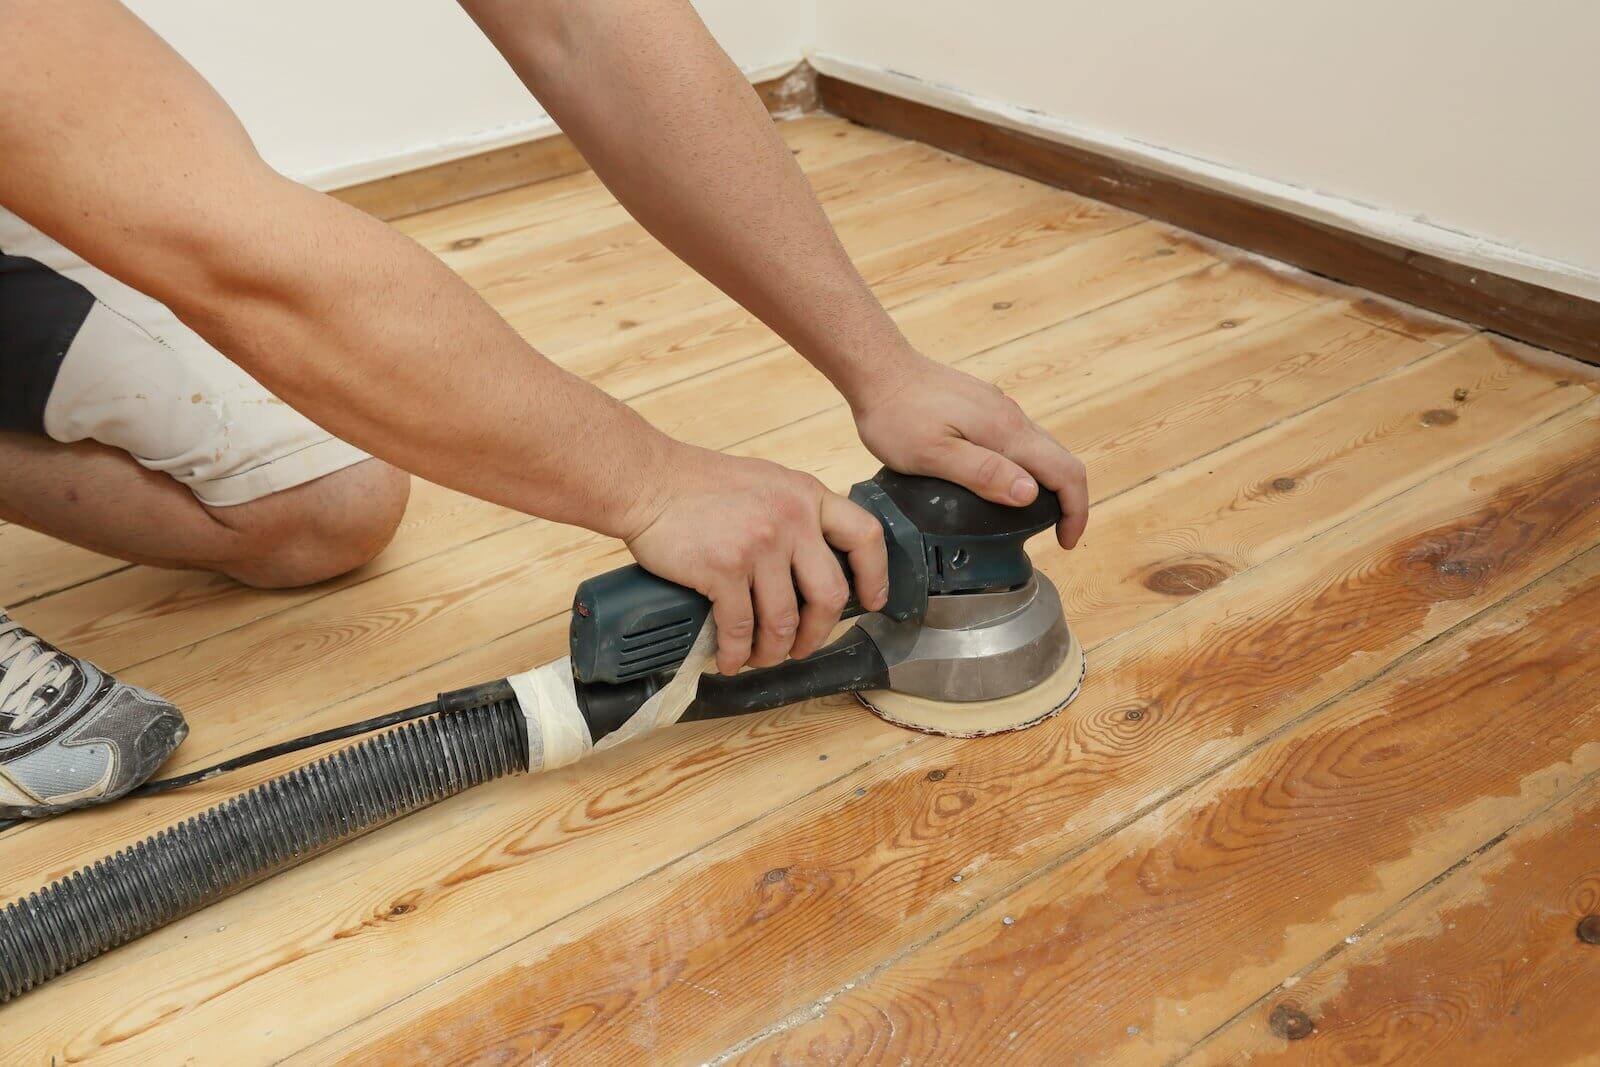
Proper Sander Handling
Hold the sander firmly but do not press down hard. Let the machine do the work to avoid damage.
Keep the sander flat on the floor at all times. Avoid tilting it to prevent uneven sanding or gouges.
- Use both hands for better control
- Keep the sander moving to avoid burns
- Turn off the sander before setting it down
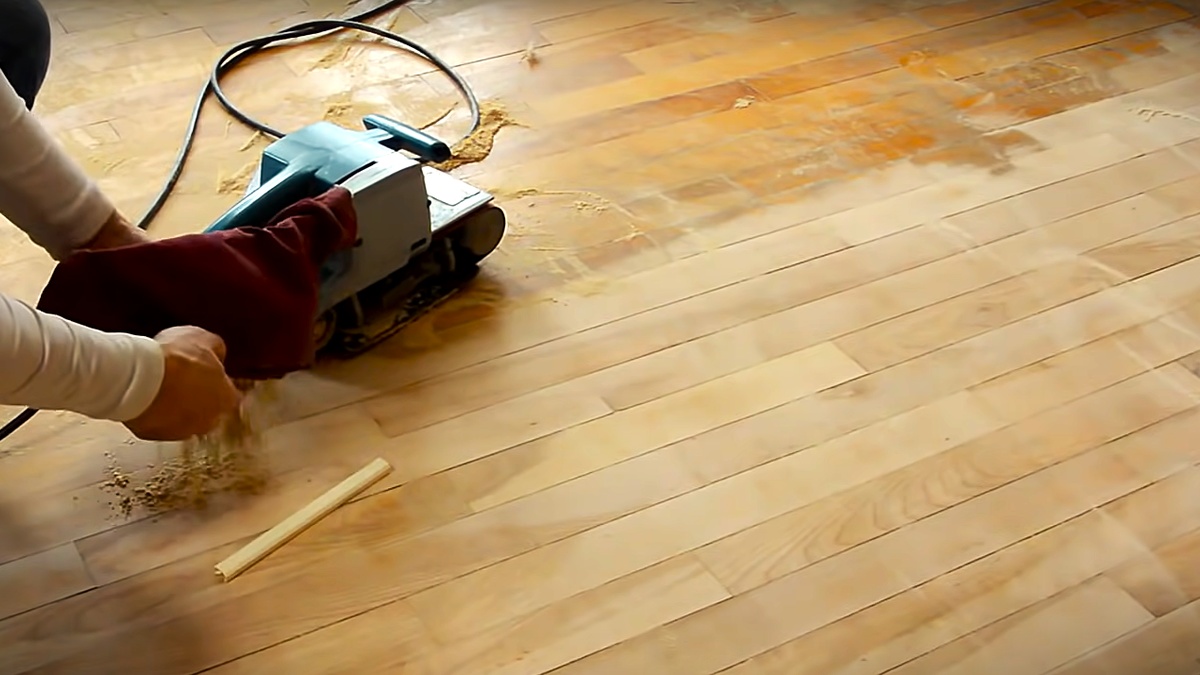
Sanding Patterns And Movements
Sand in a consistent pattern to achieve a smooth finish. Move the sander in slow, even strokes.
Overlap each pass slightly to avoid missed spots. Change directions between sanding steps for even results.
- Start sanding along the wood grain
- Use circular motions for rough areas
- Finish with long strokes following the grain
Avoiding Common Mistakes
Do not stay in one spot too long. This can create uneven surfaces and marks on the floor.
Check the sandpaper often. Replace it when it wears out to keep sanding effective.
- Avoid sanding edges too hard to prevent rounded corners
- Do not rush; slow and steady gives a better finish
- Keep dust collection on to reduce mess and improve visibility

Credit: romerohardwoodfloor.com
Finishing Touches After Sanding
After using an orbital sander on your floors, the job is not yet done. The final steps make the floor look smooth and protect it for years. These steps help prepare the surface for the last coat.
Careful work after sanding ensures the floor stays beautiful and strong. This guide explains how to remove dust, check the surface, and apply the right finish.
Removing Dust And Debris
Dust from sanding can ruin the finish if left on the floor. You must clean the surface well before applying any stain or sealant. Use tools that reach every corner.
- Sweep the floor with a soft broom to gather large dust particles.
- Vacuum the floor using a brush attachment to catch fine dust.
- Wipe the surface with a damp cloth or tack cloth to remove tiny debris.
- Let the floor dry completely before moving to the next step.
Inspecting The Sanded Surface
Look closely at the floor to find any rough spots or scratches. The surface should be smooth and even. Fix problems before sealing or staining.
| Problem | How to Fix |
| Rough patch | Lightly sand with fine grit sandpaper |
| Deep scratches | Fill with wood filler and sand smooth |
| Uneven color | Sand again with medium grit |
| Dust residue | Clean with tack cloth |
Applying Sealants Or Stains
Sealants and stains protect the wood and add color or shine. Choose the right product for your floor type. Apply it carefully for an even finish.
- Stir the sealant or stain gently to mix it well.
- Use a brush or cloth to apply a thin, even layer along the grain.
- Let the first coat dry fully, as the product instructions say.
- Lightly sand the floor with very fine sandpaper between coats.
- Apply a second coat for extra protection and color depth.
- Allow the floor to dry completely before walking on it.
Maintaining Your Orbital Sander
Keeping your orbital sander in good shape helps it last longer. Regular care ensures better sanding results. This guide covers key maintenance tasks.
Learn how to clean and store your sander, replace worn parts, and fix common problems. Proper upkeep saves time and money.
Cleaning And Storage Tips
After each use, clean dust and debris from your orbital sander. Dust buildup can clog the motor and reduce performance.
- Unplug the sander before cleaning.
- Use a soft brush or compressed air to remove dust.
- Wipe the exterior with a dry cloth.
- Store the sander in a dry, cool place.
- Avoid areas with high humidity or dust.
Replacing Pads And Parts
Worn sanding pads lower efficiency and can damage your floor. Check pads regularly and replace them when needed.
| Part | Signs to Replace | Replacement Tips |
| Sanding Pad | Worn surface, poor grip | Match size and hook type |
| Power Cord | Frayed or damaged insulation | Use original or certified cord |
| Brushes | Sparking, reduced power | Replace both brushes at once |
Troubleshooting Common Issues
If your sander stops working or runs poorly, check a few common problems first. Fixing simple issues can avoid costly repairs.
- Check if the power cord is plugged in and intact.
- Clean dust from vents to prevent overheating.
- Replace worn brushes to restore motor power.
- Ensure the sanding pad is securely attached.
- Test the on/off switch for proper function.
Credit: mrsander.co.uk
Frequently Asked Questions
What Is The Best Grit Sandpaper For Floor Finishing?
Start with 60-80 grit sandpaper to remove old finishes. Progress to 100-120 grit for smoothing. Finish with 150-180 grit for a polished surface. Using the right grit sequence ensures a smooth, professional floor finish.
How Do I Avoid Swirl Marks With An Orbital Sander?
Keep the sander moving constantly in overlapping, circular motions. Avoid pressing too hard on the sander. Use finer grit sandpaper for the final sanding steps. This technique prevents visible swirl marks on the floor.
Can I Use An Orbital Sander On Hardwood Floors?
Yes, an orbital sander is safe for hardwood floors. It sands evenly without deep gouges. Use appropriate grit sandpaper and avoid excessive pressure. This method prepares floors perfectly for staining or sealing.
How Often Should I Change The Sandpaper On An Orbital Sander?
Change sandpaper when it becomes clogged or loses abrasiveness. Frequent changes ensure efficient sanding and prevent floor damage. Typically, replace after sanding 100-150 square feet or when performance drops.
Conclusion
Using an orbital sander helps achieve smooth, even floors. Always keep the sander moving to avoid marks. Start with coarse grit, then switch to finer grit papers. Take your time and work in small sections. Clean the floor well before finishing.
Proper sanding improves the look and feel of wood floors. Practice patience for the best results. Your floors will look fresh and polished after sanding. Simple steps lead to great floor finishing.