Have you ever faced a pesky electrical problem in your home and felt stumped about how to troubleshoot it? You’re not alone.
Electrical issues can be tricky, but with the right tools, you can tackle them confidently. One of the most essential tools in your toolbox should be an electrical continuity tester. It’s a simple yet powerful device that helps you detect breaks in electrical circuits effortlessly.
Imagine the peace of mind knowing you can quickly identify issues before they escalate into costly repairs. This guide will walk you through the steps on how to use an electrical continuity tester effectively, empowering you to solve electrical mysteries with ease. Stick around to discover how this tool can be your new best friend in home maintenance.
Choosing The Right Continuity Tester
Using an electrical continuity tester helps check if a circuit is complete. Choosing the right tester is important for accuracy and safety.
There are different types of testers and features to consider before buying one for your needs.
Types Of Continuity Testers
Continuity testers come in several types. Each type works well in different situations.
- Basic Continuity Testers:These testers use a simple light or sound to show continuity. They are easy to use but have limited features.
- Multimeters with Continuity Mode:These devices measure voltage, current, and resistance. They offer more functions but can be more complex.
- Clamp Continuity Testers:These testers can measure continuity without disconnecting wires. They are useful for quick checks on live circuits.
Key Features To Consider
Look for features that fit your tasks. Some features make testing easier and safer.
| Feature | Why It Matters |
| Audible Signal | Makes it easy to know when a circuit is complete without looking |
| Auto Power Off | Saves battery life by turning off the tester when not in use |
| Voltage Detection | Alerts you if the circuit has power to avoid shocks |
| Display Screen | Shows clear readings for better accuracy |
| Durability | Ensures the tester lasts longer in tough conditions |
| Size and Weight | Makes the tester easy to carry and handle |
Safety Precautions Before Testing
Using an electrical continuity tester can be safe if you follow the right steps. Safety is very important before you start testing any circuit.
Always prepare yourself and the tools to avoid accidents or damage to equipment.
Power Off The Circuit
Turn off the power to the circuit before testing with a continuity tester. Live electricity can cause electric shock or damage the tester.
Check that all switches and breakers are off. Use a voltage tester to make sure the circuit is not live.
- Switch off the main power supply
- Disconnect the device from power sources
- Test for voltage before starting
Wear Protective Gear
Wear safety gear to protect yourself during testing. Electricity can be dangerous even if the circuit is off.
Use insulated gloves and safety glasses to avoid shocks and eye injury from sparks or debris.
- Insulated rubber gloves
- Safety glasses or goggles
- Non-conductive footwear
Preparing The Tester
Before using an electrical continuity tester, you need to prepare it. Proper preparation ensures accurate readings and safe use.
This guide will explain how to check the battery and set the tester mode correctly.
Checking The Battery
First, check if the battery in the tester has enough power. A weak battery can give wrong results.
Look for a battery indicator or test the battery with a multimeter. Replace the battery if it is low or dead.
- Open the battery compartment
- Inspect the battery for corrosion
- Use a multimeter to check voltage
- Replace the battery if voltage is low
Setting The Tester Mode
Next, set the tester to the correct mode. Continuity testers often have multiple settings.
Select the continuity mode, usually marked with a sound wave or diode symbol. This mode checks if a circuit is complete.
- Turn the dial or switch to continuity mode
- Check the tester’s display for the correct symbol
- Test the leads by touching them together
- Listen for a beep or look for a light to confirm
Connecting The Tester Leads
Using an electrical continuity tester needs correct connection of the tester leads. This ensures you get accurate readings and avoid mistakes.
Learning to connect the tester leads properly helps you check circuits safely and quickly. Follow the steps carefully for best results.
Identifying Test Points
Test points are places in a circuit where you check if electricity flows. These points help find broken or connected wires.
Look for screws, terminals, or wire ends as test points. Use the device manual or circuit diagram to find these spots.
- Check terminal screws on switches and outlets
- Look at wire ends or connectors
- Use marked test points on circuit boards
- Avoid touching live parts to stay safe
Proper Lead Placement
Place the tester leads correctly to get good readings. The red lead is usually positive, and the black lead is negative or ground.
Touch the leads firmly to the test points without moving. Loose contact can cause wrong results or no reading at all.
- Attach the black lead to the ground or negative point
- Touch the red lead to the point you want to test
- Hold the leads steady and avoid slipping
- Do not touch metal parts of the leads with your hands
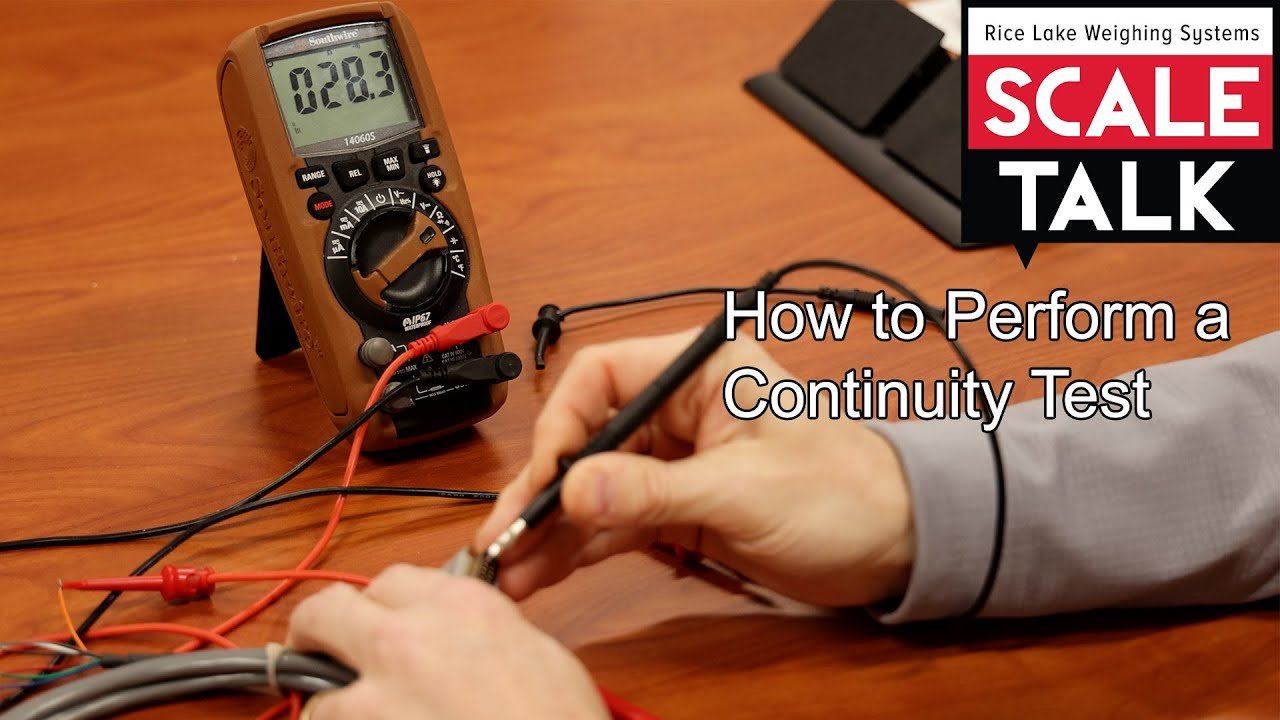
Performing The Continuity Test
Using an electrical continuity tester helps check if a circuit is complete. This test shows if electricity can flow through wires or devices.
To perform the test, you connect the tester’s probes to the circuit points. The device then signals if there is continuity or a break.
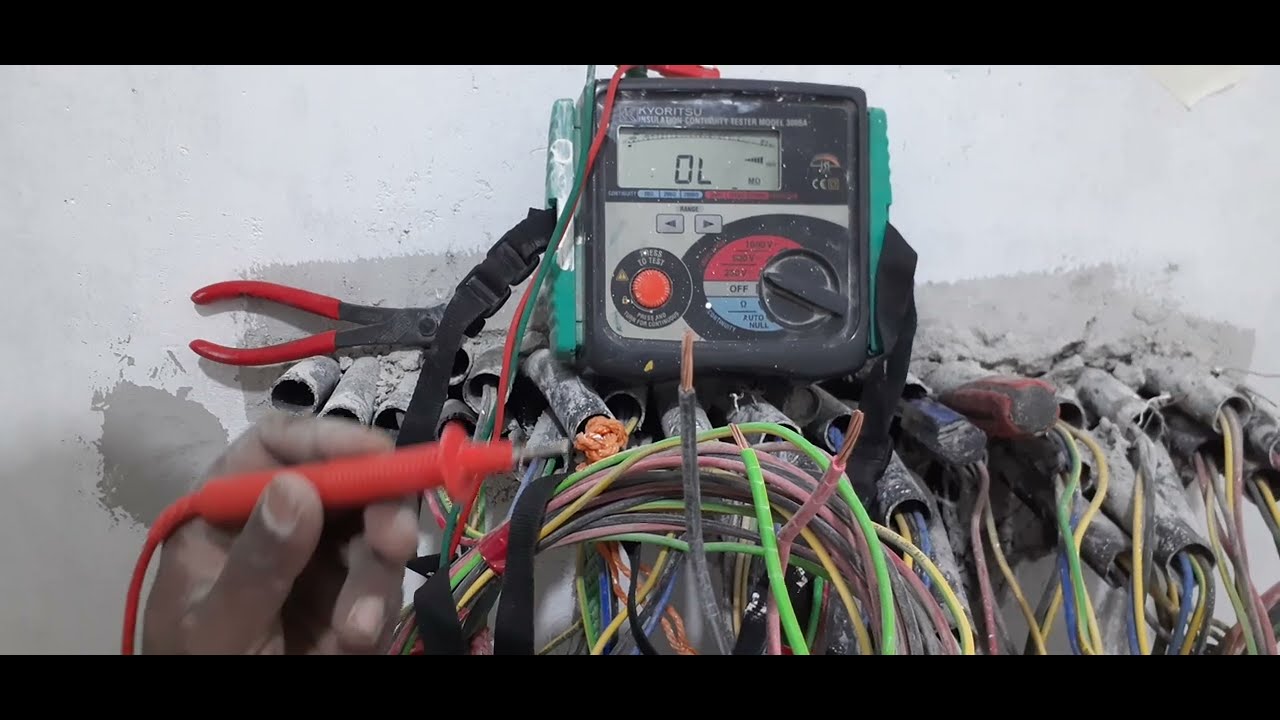
Interpreting Audible Signals
Many continuity testers use sounds to show results. A clear beep means the circuit is complete. No sound means the circuit is open or broken.
- A steady beep means a good connection.
- No beep means no connection or a broken wire.
- A weak or intermittent beep may mean a loose connection.
Reading Visual Indicators
Some testers use lights or meters for results. Green or a full meter reading means continuity. Red or no meter movement means no continuity.
| Indicator | Meaning |
| Green Light | Continuity is present |
| Red Light | No continuity |
| Meter Full Scale | Complete circuit |
| Meter No Movement | Broken or open circuit |
Credit: www.youtube.com
Troubleshooting Common Issues
Using an electrical continuity tester is simple but problems can happen. This guide helps fix common issues.
Check these troubleshooting tips if your tester does not work as expected. They cover no signal and false results.
No Signal Despite Connections
If the tester shows no signal even when wires connect, check the following:
- Make sure the tester’s battery is charged or replaced.
- Check the probe tips are clean and making good contact.
- Verify the wires or components are not broken inside.
- Confirm the tester is set to the correct mode for continuity.
- Look for corrosion or dirt on connectors that block current.
Often, cleaning contacts or changing batteries fixes no signal problems quickly.
False Positives And Negatives
Sometimes the tester shows a connection that is not real, or misses one that exists. These are false results.
| Cause | False Positive | False Negative |
| Dirty probes | Yes | No |
| Battery low | No | Yes |
| Loose connections | Yes | Yes |
| Tester mode wrong | Yes | Yes |
| Interference from other wires | Yes | No |
To reduce errors, double-check connections and test the device on known circuits first.
Maintaining Your Continuity Tester
Keeping your electrical continuity tester in good shape helps it work properly. Regular care extends its life and ensures accurate results.
Simple maintenance steps can prevent problems and keep your tester ready for every job.
Cleaning And Storage Tips
Clean your continuity tester after each use. Dirt and dust can affect its performance. Use a soft, dry cloth to wipe the surface gently.
Avoid using water or harsh chemicals. Keep the tester in a dry place away from extreme heat or cold. Store it in its case or a protective box to avoid damage.
- Wipe with a dry, soft cloth
- Do not use water or cleaning sprays
- Store in a dry, cool place
- Keep it in a protective case
- Avoid exposure to dust and moisture
Regular Calibration Checks
Calibration ensures your tester gives correct readings. Check calibration regularly, especially before important tasks.
If readings seem off, get the tester calibrated by a professional. Follow the manufacturer’s schedule for calibration checks.
- Test calibration before critical use
- Compare readings with known standards
- Send for professional calibration if needed
- Keep a record of calibration dates

Credit: www.youtube.com

Credit: www.reddit.com
Frequently Asked Questions
What Is An Electrical Continuity Tester Used For?
An electrical continuity tester checks if a circuit is complete. It detects breaks in wires, switches, and fuses. This tool helps ensure electrical connections are safe and functional. It is essential for troubleshooting and maintenance in electrical work.
How Do You Use An Electrical Continuity Tester Safely?
Always turn off power before testing circuits. Connect the tester probes to both ends of the wire or component. If the tester beeps or lights up, continuity is present. Follow safety precautions to avoid electric shock or damage to the tester.
Can An Electrical Continuity Tester Detect All Electrical Faults?
No, it only detects open circuits or breaks. It cannot identify voltage issues or short circuits. For full diagnostics, use additional tools like a multimeter or voltage tester. Continuity testers are best for simple connectivity checks.
How To Interpret Continuity Tester Readings Correctly?
A beep or light indicates a closed circuit and good continuity. No sound or light means an open circuit or broken wire. Always confirm results by retesting and inspecting connections visually. Proper interpretation prevents misdiagnosis of electrical problems.
Conclusion
Using an electrical continuity tester helps check if wires work correctly. It shows if circuits connect without breaks. Always test carefully to stay safe and avoid mistakes. This tool saves time and prevents electrical problems. Practice using the tester to gain confidence.
Soon, you will spot issues quickly and fix them. Keep your tester handy for home or work projects. Simple steps make electrical tasks easier and safer. Trust the tester to guide you through basic checks.