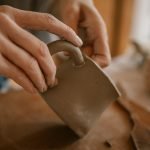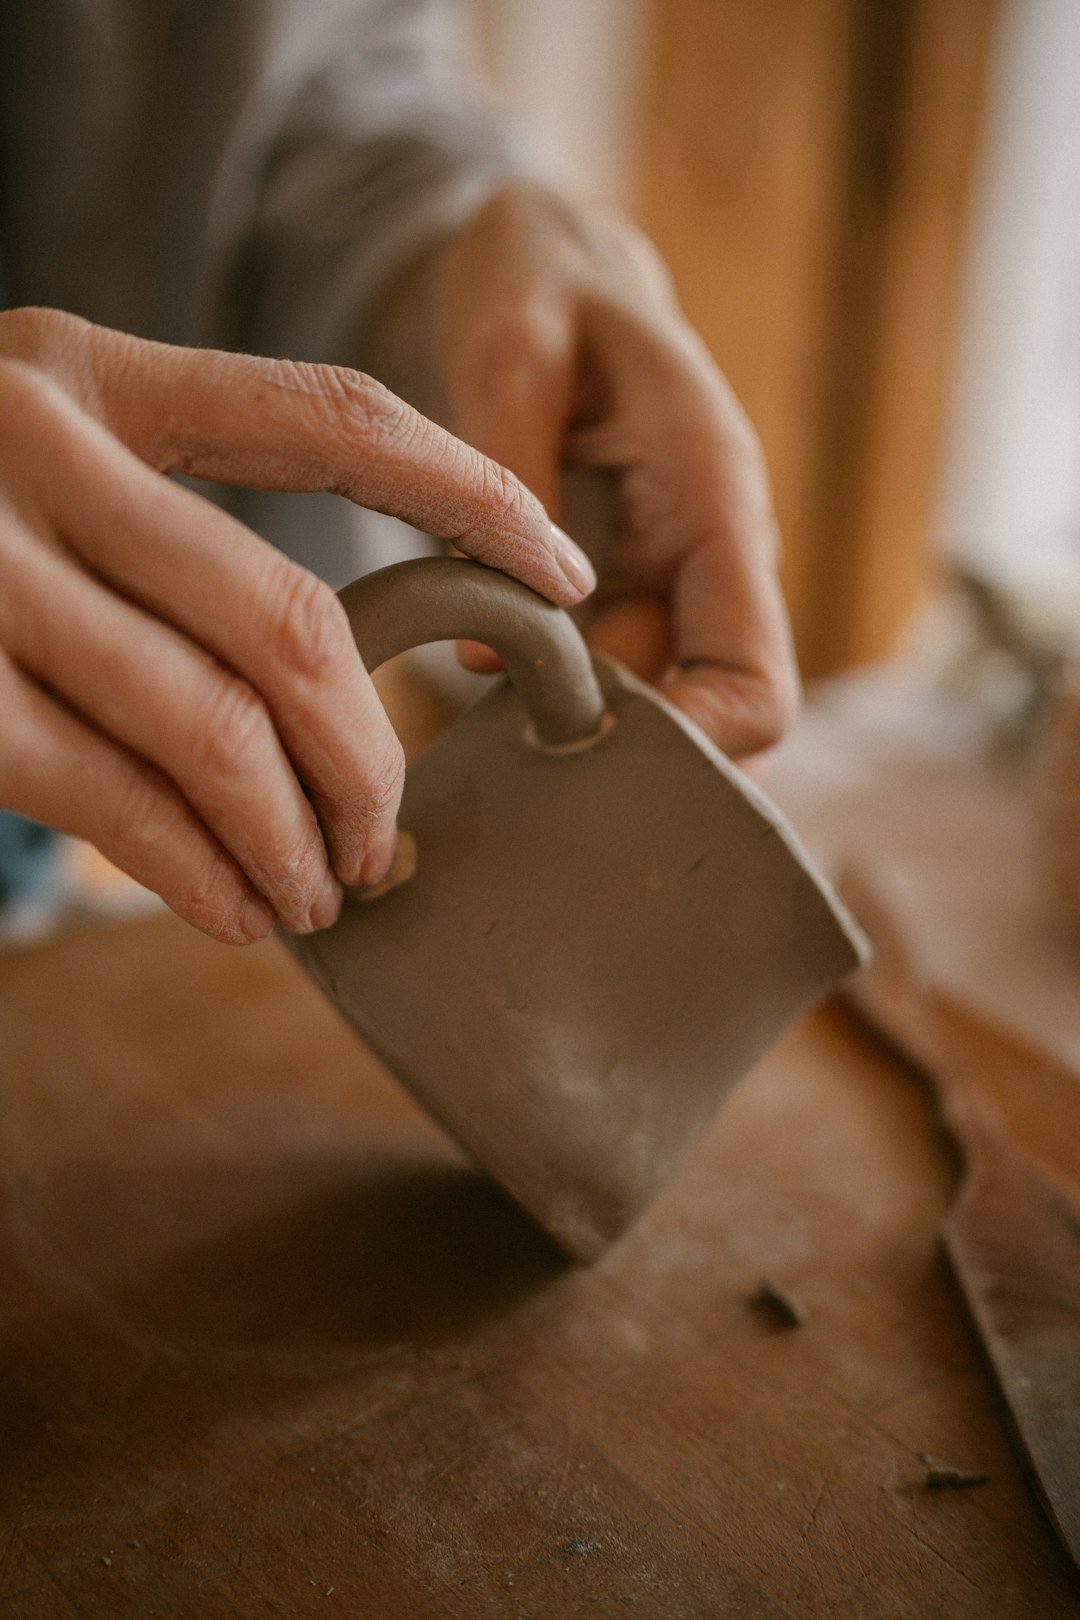
Are you ready to unlock the full potential of your craft projects? A rotary tool might just be your new best friend.
Imagine transforming ordinary materials into beautiful, personalized creations with ease. With the right tips and tricks, you can master this versatile tool and elevate your crafting game. Whether you’re a seasoned DIY enthusiast or just starting out, this guide will provide you with insights to use a rotary tool effectively.
Get ready to discover how you can bring your creative visions to life and make every project a masterpiece. Keep reading to find out how you can become a rotary tool pro and impress everyone with your newfound skills!
Choosing The Right Rotary Tool
Using a rotary tool can make craft projects easier and more fun. Picking the right tool helps you work better and faster.
There are many types of rotary tools. Knowing the basics helps you choose the best one for your needs.
Types Of Rotary Tools
Rotary tools come in many styles. Some are corded, while others use batteries. Corded tools have steady power. Cordless tools offer more freedom to move.
- Basic rotary tools work well for light jobs like sanding and polishing.
- Heavy-duty tools are better for cutting and grinding hard materials.
- Multi-speed tools let you adjust the speed for different tasks.
Essential Accessories
Accessories make your rotary tool more useful. Some common accessories are sanding drums, cutting wheels, and polishing bits.
| Accessory | Use |
| Sanding Drum | Smooth rough surfaces |
| Cutting Wheel | Cut metal and plastic |
| Polishing Bit | Shine and clean surfaces |
| Grinding Stone | Sharpen and shape materials |
Power And Speed Settings
Power matters for how well the tool works. Higher power helps with tough jobs. Adjustable speed lets you control the tool better.
- Low speeds are good for delicate work like carving or engraving.
- Medium speeds work well for sanding and polishing.
- High speeds help cut and grind hard materials quickly.
Credit: www.familyhandyman.com
Safety Measures
Using a rotary tool for craft projects requires safety. This keeps you safe and your project neat.
Follow safety steps before and during your work. This helps avoid accidents and injuries.
Protective Gear
Wear protective gear to guard your eyes, hands, and ears. This stops dust and small bits from causing harm.
- Use safety goggles to protect your eyes from flying debris.
- Wear gloves to prevent cuts and scrapes on your hands.
- Use ear protection if the tool is very loud.
- Wear a dust mask to avoid breathing in dust particles.
Workspace Setup
Set up your workspace to be clean and well-lit. This helps you see your work and avoid accidents.
Keep your work area free from clutter. Make sure your tool’s cord is not in your way to stop trips.
- Work on a sturdy, flat surface.
- Use clamps to hold your project steady.
- Keep a first aid kit nearby for emergencies.
- Ensure good ventilation to clear dust and fumes.
Tool Maintenance
Keep your rotary tool clean and checked. Well-maintained tools work better and are safer to use.
Unplug the tool before cleaning or changing parts. Check for damage or loose parts before each use.
- Clean the tool after each use to remove dust.
- Check the power cord for cuts or frays.
- Replace worn bits or attachments promptly.
- Store the tool in a dry, safe place.
Basic Techniques
Rotary tools are handy for many craft projects. They work well on wood, plastic, and metal. Learning basic techniques helps you use them safely and effectively.
This guide covers cutting, sanding, polishing, engraving, and carving. Each skill lets you create detailed and polished work.
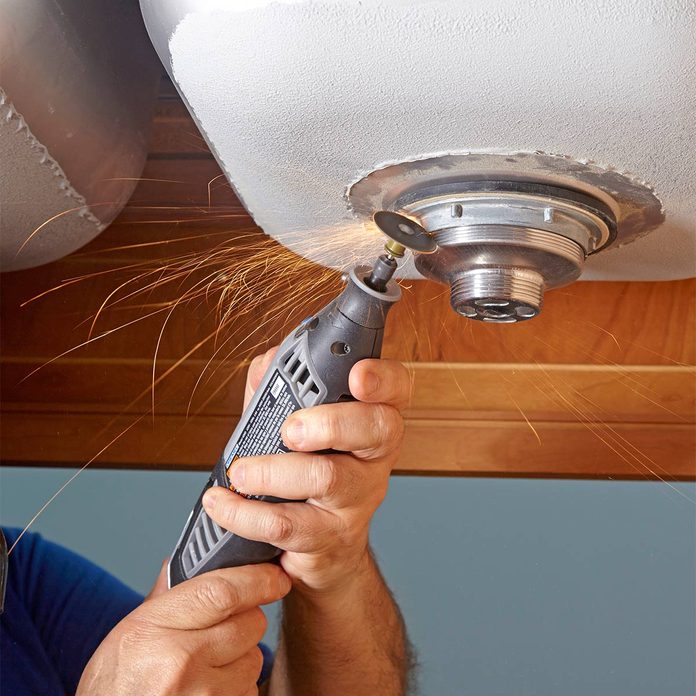
Cutting And Trimming
Cutting with a rotary tool needs steady hands. Use the correct cutting bit for your material. Keep the tool moving to avoid burning or uneven cuts.
- Choose a cutting disc or wheel made for your material
- Wear safety glasses and gloves
- Mark your cut line clearly before starting
- Hold the tool firmly and cut slowly
- Let the tool do the work; do not force the blade
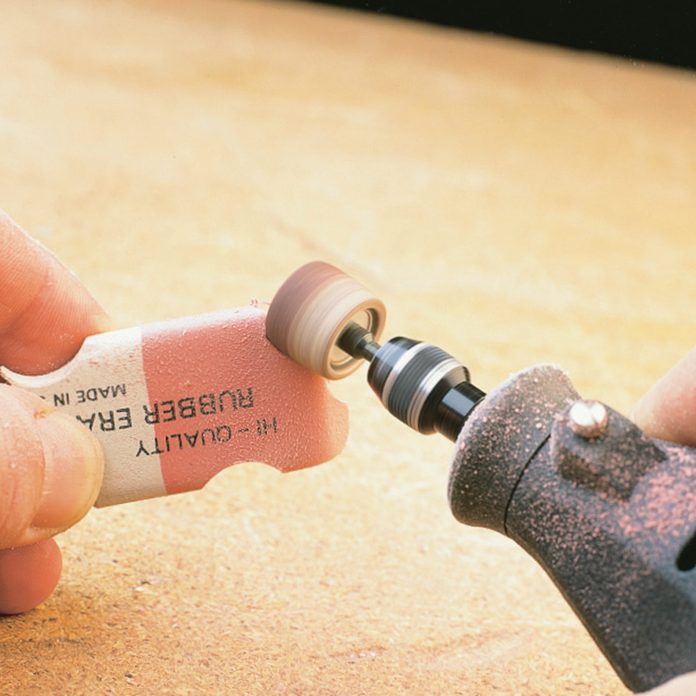
Sanding And Polishing
Sanding smooths rough edges and shapes your project. Polishing adds shine and removes small scratches. Use different sanding attachments for best results.
| Attachment Type | Use |
| Sanding Drum | Remove rough surfaces |
| Flap Wheel | Smooth edges and curves |
| Polishing Wheel | Shine metals and plastics |
| Buffing Pad | Final polish for a clean finish |
Engraving And Carving
Engraving adds designs to surfaces. Carving cuts shapes into wood or soft materials. Use fine bits for detailed work and practice on scrap pieces first.
Tips for engraving and carving:
- Choose the right bit size for the detail needed
- Work slowly to avoid mistakes
- Keep your hand steady and support the workpiece
- Clean the surface before starting for better results
- Wear a mask to avoid dust inhalation
Credit: www.familyhandyman.com
Advanced Tips
Using a rotary tool for craft projects can be fun and creative. Advanced tips help you get better results and avoid mistakes.
These tips focus on bit selection, heat control, and making detailed designs with your rotary tool.
Using Different Bits Effectively
Choose the right bit for your material and task. Different bits cut, grind, or polish in unique ways.
Swap bits often for best results. Use coarse bits for fast work and fine bits for detail.
- Cutting bits for wood and plastic
- Grinding bits for metal and stone
- Polishing bits for smooth finishes
- Engraving bits for detailed lines
Controlling Heat And Pressure
Too much pressure can wear bits and damage your project. Use light, steady pressure for control.
Heat builds up fast. Take breaks to cool the tool and material. This stops melting or burning.
- Use gentle pressure to avoid damage
- Pause often to cool bits and project
- Keep the tool moving to spread heat
- Use lower speeds on heat-sensitive materials
Creating Detailed Designs
For fine details, use small bits and steady hands. Work slowly to avoid mistakes.
Practice on scrap material before your final project. This helps you control the tool better.
- Use small, sharp bits for fine lines
- Hold the tool like a pencil for control
- Work under good light to see details
- Take breaks to keep steady hands
Material-specific Advice
Rotary tools work well for many craft materials. Each material needs a different approach.
Knowing how to handle wood, metal, and plastic helps you get better results. Use the right bits and speeds.
Working With Wood
Use sanding and carving bits for wood projects. Keep the tool speed moderate to avoid burning the wood.
- Start with a coarse bit for shaping
- Switch to finer bits for smooth finishing
- Apply light pressure to prevent splintering
- Wear a dust mask to avoid inhaling wood dust
Crafting With Metal
Metal needs strong, durable bits like carbide or diamond. Use slower speeds to avoid overheating.
| Metal Type | Recommended Bit | Speed Setting |
| Aluminum | Carbide burr | Medium |
| Steel | Diamond bit | Low to medium |
| Copper | Carbide burr | Medium |
Shaping Plastic And Acrylic
Use fine sanding drums and cutting wheels. Keep speed low to prevent melting the plastic.
Tips for best results:
- Test on scrap plastic first
- Use water to cool the plastic if needed
- Work slowly to avoid cracks
- Wear eye protection from plastic shards
Troubleshooting Common Issues
Rotary tools are great for craft projects. Sometimes, small problems can slow you down. Knowing how to fix these problems helps you finish work faster.
This guide covers common issues you may face. It shows simple ways to solve them and keep your project smooth.
Dealing With Bit Slippage
Bit slippage happens when the bit moves inside the tool. This makes cutting or grinding uneven. It can cause damage or slow work.
Tighten the collet nut firmly to hold the bit. Check if the bit fits well and is not worn out. Use the right bit size for your tool.
- Turn off the tool before adjusting bits
- Use the wrench that came with your tool to tighten
- Replace bits that look bent or dull
- Make sure bits match the collet size exactly
Avoiding Burn Marks
Burn marks happen when the tool stays too long in one spot. The heat from friction can burn wood or plastic. It can ruin your project.
Move the tool smoothly and do not press too hard. Use a lower speed for delicate materials. Take breaks to let the tool cool down.
- Keep the tool moving over the surface
- Choose the right speed for your material
- Use light pressure, not heavy force
- Let the tool rest if it gets hot
Fixing Uneven Cuts
Uneven cuts make your craft look rough. This problem can happen if the bit is dull or if you move too fast. It can also happen if the tool wobbles.
Use sharp bits and keep a steady hand. Slow down your cutting speed. Check the tool for loose parts and fix them before starting.
- Replace dull bits often
- Hold the tool steady and use both hands if possible
- Cut slowly and carefully
- Tighten any loose parts before use
Project Ideas To Try
Rotary tools are very useful for craft projects. They help you cut, carve, and polish materials easily.
Try these project ideas to get creative with your rotary tool. Each idea uses different materials and techniques.
Customized Jewelry
Create unique jewelry pieces by engraving or shaping metals and beads. Rotary tools can add fine details and smooth edges.
- Engrave initials or small designs on metal pendants
- Carve patterns into wooden beads for bracelets
- Polish stones to use as pendants or earrings
- Cut thin metal sheets to make custom charms
Home Decor Items
Make your home more personal with handmade decor. Use a rotary tool to shape and decorate wood, glass, or ceramics.
| Item | Material | Technique |
| Picture Frame | Wood | Carving and sanding |
| Candle Holder | Glass | Engraving |
| Coasters | Ceramic | Polishing and etching |
| Wall Art | Metal | Cutting and engraving |
Personalized Gifts
Make gifts special by adding a personal touch. Rotary tools let you customize many surfaces to create meaningful presents.
Try these ideas for personalized gifts:
- Engrave names on wooden keychains
- Carve designs into leather bookmarks
- Polish glass ornaments with custom patterns
- Cut shapes from acrylic to make fridge magnets

Credit: eternaltools.com
Frequently Asked Questions
What Safety Tips Should I Follow When Using A Rotary Tool?
Always wear safety goggles and a dust mask. Secure your workpiece firmly. Keep fingers clear of the bit. Work in a well-ventilated area to avoid inhaling dust. Follow the manufacturer’s safety guidelines carefully to prevent accidents and injuries.
Which Attachments Are Best For Crafting With A Rotary Tool?
Use sanding drums for smoothing surfaces. Cutting wheels are ideal for precise cuts. Polishing bits enhance shine on metals and plastics. Engraving tips work well for detailed designs. Choose attachments based on your specific craft needs.
How Do I Maintain My Rotary Tool For Longevity?
Clean the tool regularly, removing dust and debris. Lubricate moving parts as recommended in the manual. Store the tool in a dry, safe place. Replace worn-out bits promptly to maintain performance. Regular maintenance ensures consistent, safe operation.
Can A Rotary Tool Work On Different Craft Materials?
Yes, a rotary tool works on wood, metal, plastic, and glass. Use the correct attachment for each material type. Adjust speed settings to match the hardness of the material. This versatility makes rotary tools perfect for diverse craft projects.
Conclusion
Using a rotary tool can make craft projects easier and more fun. Always wear safety gear to protect yourself. Choose the right attachments for each task. Take your time and work carefully for best results. Practice helps you get better and faster.
Keep your tool clean and well-maintained. Small steps lead to big improvements. Enjoy the creative process and try new ideas often. This simple tool can open many crafting possibilities. Keep exploring and making your projects unique.