Are you ready to take your woodworking skills to the next level? Mastering lap and rabbet joints can open up a whole new world of possibilities for your projects.
These joints are not only essential for creating strong, durable connections but also add a professional touch to your craftsmanship. But before you can start assembling your pieces, you need to know how to properly mark your wood. This crucial step is the foundation of a successful project, and it’s easier than you might think.
In this guide, you’ll discover simple, effective techniques to mark wood for lap and rabbet joints with precision. Stick around, and by the end, you’ll have the confidence to tackle your next project with ease and accuracy.
Choosing The Right Tools
Marking wood correctly is very important for lap and rabbet joints. Using the right tools helps you make precise marks. This makes your joints fit better and look cleaner.
Choosing the right marking tools can save time and reduce mistakes. It is best to pick tools that are easy to use and give clear lines on wood.
Essential Marking Instruments
A sharp pencil is a common tool for marking wood. It can make thin, clear lines that are easy to follow. A marking knife is another good option. It cuts a fine line on wood, which is very precise.
A marking gauge is also helpful. It allows you to set a fixed distance from the edge of the wood. This helps make consistent lines across pieces.
- Sharp pencil for clear, thin lines
- Marking knife for precise cut lines
- Marking gauge for consistent measurements
Selecting Measuring Tools
Measuring tools help you get exact sizes for your joints. A tape measure or a ruler works well for most tasks. Choose one with clear, easy-to-read markings.
A steel ruler is better than a plastic one. It does not bend easily and stays accurate. You can also use calipers to measure thickness and depth precisely.
- Tape measure for general length
- Steel ruler for straight, accurate lines
- Calipers for thickness and depth
Using Squares And Gauges
Squares help you mark perfect right angles on wood. Try a combination square for more flexibility. It can measure and mark 90 and 45-degree angles.
Marking gauges create parallel lines to the wood edge. They ensure your lap and rabbet joints are even. Use a gauge with a sharp pin for clean marks.
- Combination square for accurate angles
- Try square for quick 90-degree marks
- Marking gauge for parallel lines
Preparing The Wood Surface
Marking wood correctly is important for lap and rabbet joints. You must prepare the wood surface well before marking.
Good preparation helps make clear, accurate lines. It also makes the joint fit better.
Cleaning And Smoothing
Start by cleaning the wood surface. Remove dust, dirt, and grease with a dry cloth.
Next, smooth the surface using fine sandpaper. Sanding removes rough spots and splinters.
- Use 120 to 220 grit sandpaper
- Sand along the wood grain
- Wipe off sanding dust before marking
Identifying Grain Direction
Look at the wood to find the grain direction. The grain runs along the length of the wood.
Marking with the grain helps you make cleaner cuts and avoid splintering.
- Check the wood ends for grain lines
- Run your hand to feel the smooth grain direction
- Mark lines parallel or perpendicular to grain as needed
Aligning Workpieces
Place the wood pieces where the joint will be. Align edges carefully to match the final fit.
Use clamps or guides to hold the pieces steady. This keeps the wood from shifting while marking.
- Check that surfaces are flush and edges meet evenly
- Use a square to verify angles
- Mark both pieces before separating them
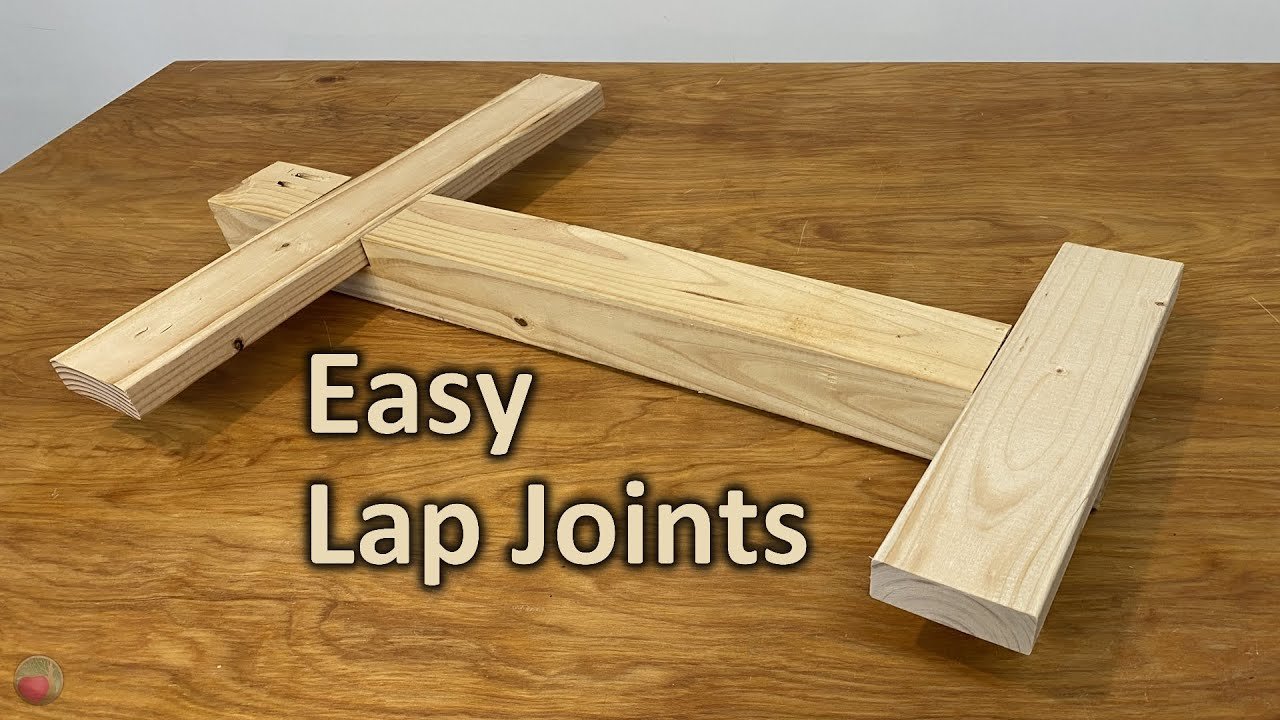
Marking Lap Joints
Marking lap joints correctly helps wood pieces fit tightly. It ensures strong and clean joints.
This guide focuses on marking lap joints with clear steps to measure and draw lines accurately.
Measuring Overlap Depth
Measure the thickness of the wood piece that will overlap. This depth is the amount to remove for the joint.
- Use a ruler or caliper to find the wood thickness.
- Mark this measurement on the edge of the wood.
- Transfer the measurement along the length where the joint will be cut.
Drawing Precise Cut Lines
Clear and precise cut lines help make clean cuts for the lap joint.
| Tool | Use |
|---|---|
| Pencil | Mark fine lines for cutting |
| Try Square | Draw straight, square cut lines |
| Marking Knife | Score wood for cleaner cuts |
Double Checking Measurements
Check all your measurements twice to avoid mistakes and wasted wood.
- Confirm overlap depth matches both pieces of wood.
- Verify cut lines are straight and at correct locations.
- Use a square or ruler to ensure accuracy.
- Re-measure before making any cuts.

Credit: sawmillcreek.org
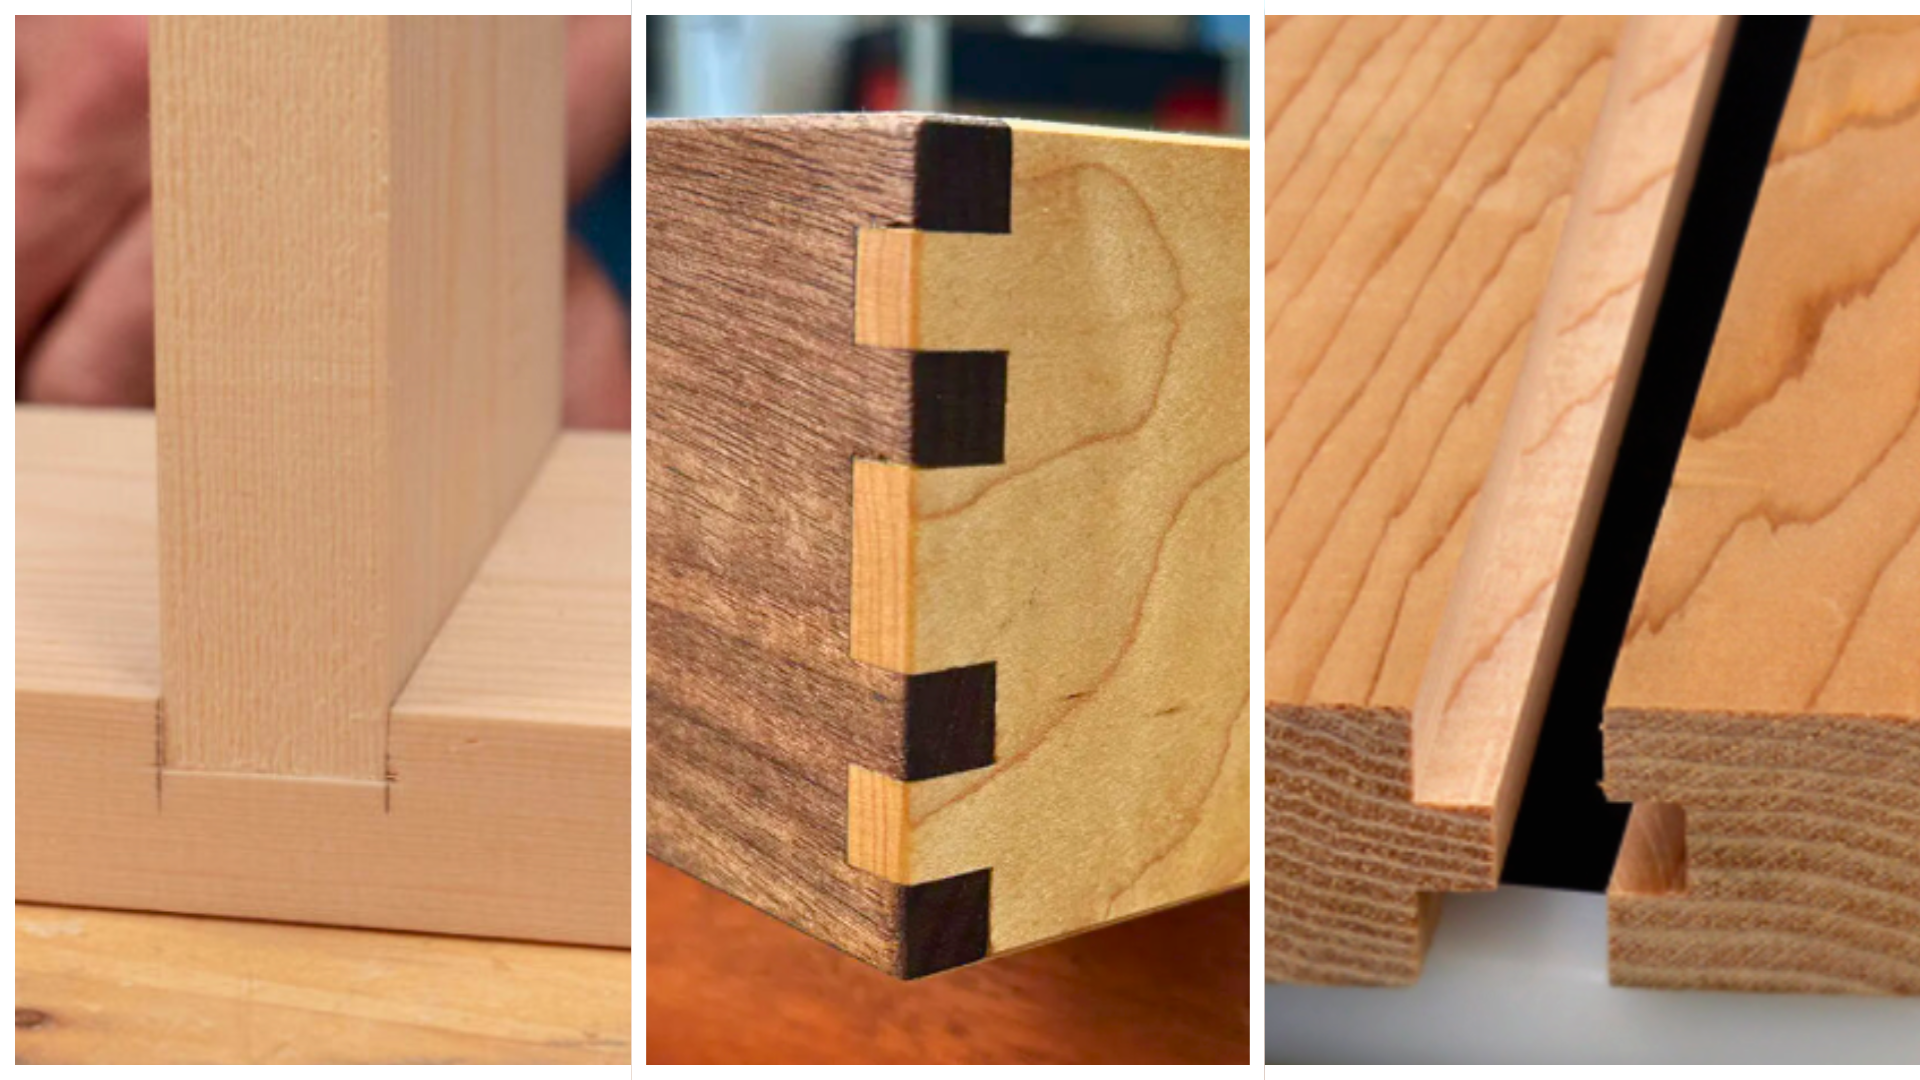
Marking Rabbet Joints
Marking rabbet joints correctly helps wood pieces fit tightly. Accurate marks guide your cuts and ensure strong joints.
This guide covers key steps to mark rabbet joints well. Follow each part to get precise results.
Determining Rabbet Dimensions
First, decide the width and depth of the rabbet. These measurements depend on the thickness of the wood and the joint’s purpose.
- Measure the thickness of the wood piece.
- Choose rabbet width as half the wood thickness for a strong joint.
- Set rabbet depth to match the thickness of the adjoining piece.
Setting Marking Gauges
Use marking gauges to transfer rabbet dimensions onto the wood. Set the gauge to the rabbet width and depth.
| Marking Tool | Purpose |
| Marking Gauge | Set to rabbet width for side marking |
| Depth Gauge or Caliper | Set to rabbet depth for end marking |
| Pencil | Fine line marking for cutting guides |
Transferring Marks Accurately
Mark the wood edges clearly using the gauges. Double-check each mark before cutting to avoid mistakes.
- Hold the marking gauge firmly against the wood edge.
- Run the gauge smoothly along the length to create a clean line.
- Use a sharp pencil to mark ends and corners precisely.
- Confirm all marks match the rabbet dimensions before cutting.
Tips For Accuracy
Marking wood correctly is important for lap and rabbet joints. Accurate marks help you cut pieces that fit well.
Using the right tools and methods makes your work easier and more precise. Small mistakes can cause big problems.
Avoiding Common Mistakes
One common mistake is using a dull pencil or marker. It can make marks hard to see or too thick.
Another error is not measuring twice before marking. This leads to wrong lines and wasted wood.
- Use a sharp pencil for fine lines
- Measure carefully and check again
- Mark on the correct side of the wood
- Keep your ruler steady while marking
Using Clamps For Stability
Clamps hold your wood steady while marking. This prevents slips and inaccurate lines.
Use clamps to fix the wood on a stable surface. This keeps your hands free and improves control.
- Place clamps to avoid covering your marking area
- Check that wood does not move when you mark
- Use enough clamps for larger pieces
Verifying Marks Before Cutting
Always check your marks before cutting the wood. Mistakes here waste time and material.
Look for clear lines that match your measurements. Use a square tool to confirm angles are right.
- Double-check measurements with a tape or ruler
- Use a carpenter’s square for 90-degree marks
- Compare marks on both pieces to fit together
- Fix any unclear or wrong marks before cutting

Credit: www.reddit.com
Advanced Techniques
Marking wood for lap and rabbet joints needs more than basic tools. Advanced methods help improve accuracy and save time. These techniques work well for complex projects and skilled woodworkers.
We will explore ways to mark complex joinery, use templates and patterns, and apply digital tools. Each method adds precision and ease to your woodworking tasks.
Marking Complex Joinery
Complex joinery involves cuts with unusual angles or multiple steps. Careful marking is key to avoid mistakes and ensure tight fits. Use a marking knife instead of a pencil for thin, sharp lines that don’t smudge.
- Use a bevel gauge to measure and transfer angles accurately.
- Mark reference lines on both pieces before cutting.
- Double-check measurements with a ruler or caliper.
- Engrave lines slightly for better visibility during cutting.
- Work slowly and test-fit pieces often to adjust marks if needed.
Using Templates And Patterns
Templates save time and keep cuts consistent. They work well for repetitive joints or unusual shapes. You can make templates from thin plywood or hard plastic.
Here are tips for using templates in marking:
- Create the template carefully by cutting a perfect joint shape.
- Clamp the template firmly onto the workpiece.
- Trace around the template with a sharp pencil or marking knife.
- Check the traced lines before cutting.
- Use the template multiple times for identical joints.
Incorporating Digital Tools
Digital tools help with precision and repeatability. Use digital calipers and angle finders to measure accurately. Some woodworkers use CNC machines or laser cutters to mark or cut joints.
| Tool | Purpose | Benefit |
|---|---|---|
| Digital Caliper | Measure thickness and depth | High accuracy in small measurements |
| Digital Angle Finder | Check angles between surfaces | Exact angle transfer for cuts |
| CNC Router | Cut or mark joints precisely | Consistent and fast production |
| Laser Marker | Draw lines on wood surface | Clear, thin, and permanent marks |
Credit: ahouseinthehills.com
Frequently Asked Questions
How Do You Mark Wood For Lap Joints Accurately?
Use a combination square to measure and mark the overlap. Draw clear, precise lines with a sharp pencil. Double-check measurements before cutting to ensure accuracy.
What Tools Are Best For Marking Rabbet Joints?
A marking gauge, combination square, and sharp pencil work best. These tools help create straight, consistent lines for clean rabbet cuts.
How To Ensure Perfect Alignment In Lap And Rabbet Joints?
Mark both pieces carefully, then dry fit before gluing. Adjust marks if needed to achieve a snug, flush fit for strong joints.
Why Is Marking Important Before Cutting Lap And Rabbet Joints?
Marking guides your cuts, preventing mistakes and material waste. It ensures joints fit tightly and function properly in your woodworking project.
Conclusion
Marking wood for lap and rabbet joints takes practice and care. Always measure twice to avoid mistakes. Use clear lines to guide your cuts. Take your time to make precise marks. Good marking leads to strong, neat joints. These simple steps help improve your woodworking skills.
Keep practicing, and your joints will look professional. Woodworking becomes easier with patience and attention. Now, you are ready to create solid lap and rabbet joints with confidence.