Imagine transforming a simple piece of wood into a masterpiece of precision and design. Whether you’re crafting a delicate jewelry box or constructing a robust piece of furniture, accuracy is your best friend.
One of the essential tools in your woodworking arsenal? The humble protractor. You might think it’s just for math class, but in woodworking, it’s a game-changer. By mastering its use, you can elevate your projects from good to extraordinary. Intrigued?
Stick with us as we reveal practical tips that will make using a protractor in your woodworking projects not only easy but incredibly rewarding. Whether you’re a novice or a seasoned artisan, these insights will sharpen your skills and enhance your craftsmanship. Ready to take your woodworking precision to the next level? Let’s dive in!

Credit: www.youtube.com
Choosing The Right Protractor
Using a protractor in woodworking helps you measure and mark angles precisely. Picking the right protractor makes your work easier and more accurate.
This guide covers key points to consider before buying a protractor for woodworking projects.
Types Of Protractors For Woodworking
There are several protractor types used in woodworking. Each type fits different tasks and skill levels.
- Standard Protractor:A simple half-circle tool, good for basic angle measurements.
- Bevel Protractor:Adjustable arms to measure and set angles accurately.
- Digital Protractor:Shows angle readings on a screen for quick checks.
- Combination Square Protractor:Combines ruler and protractor functions for versatile use.
Material And Build Quality
Durable materials ensure your protractor lasts long and stays accurate. Look for strong metals or tough plastics.
| Material | Advantages | Disadvantages |
| Stainless Steel | Strong and rust-resistant | Can be heavy |
| Aluminum | Lightweight and sturdy | Can bend under pressure |
| Plastic | Affordable and light | Less durable, can crack |
Size And Scale Considerations
Choose a protractor size that fits your projects and workspace. Larger tools are easier to read but may not fit small workpieces.
- Smaller protractors suit detailed, small parts.
- Larger protractors help with big cuts and wide angles.
- Check the scale markings for clear, easy reading.
- Look for fine graduations for precise angle measurement.

Credit: www.wikihow.com
Preparing Your Workspace
Setting up your workspace is important before using a protractor in woodworking. A clean and well-lit area helps you work safely and accurately.
Organizing your tools and woodpieces makes measuring angles easier and faster.
Clearing And Lighting
Clear all unnecessary items from your workbench. This gives you enough space to place the wood and protractor without distractions.
Good lighting is key. Use bright lights from different angles to avoid shadows on the wood surface. Natural daylight or LED lamps work well.
Securing The Woodpiece
Hold your woodpiece firmly to avoid movement while measuring. This prevents mistakes and keeps your cuts precise.
- Use clamps to fix the wood to the table.
- Check that the wood does not wobble before starting.
- Place a non-slip mat under the wood for extra grip.
Marking Reference Points
Mark points on the wood where you will measure angles. Clear marks help you align the protractor correctly.
| Tool | Use | Tip |
| Pencil | Mark small points | Use a sharp pencil for thin lines |
| Awl | Create tiny indentations | Helps keep the protractor from slipping |
| Ruler | Draw straight reference lines | Align ruler with wood edges for accuracy |
Measuring Angles Accurately
Using a protractor helps you measure angles in woodworking projects. Accurate angle measurement ensures your cuts fit well.
Learn how to use a protractor correctly to avoid mistakes and get precise results every time.
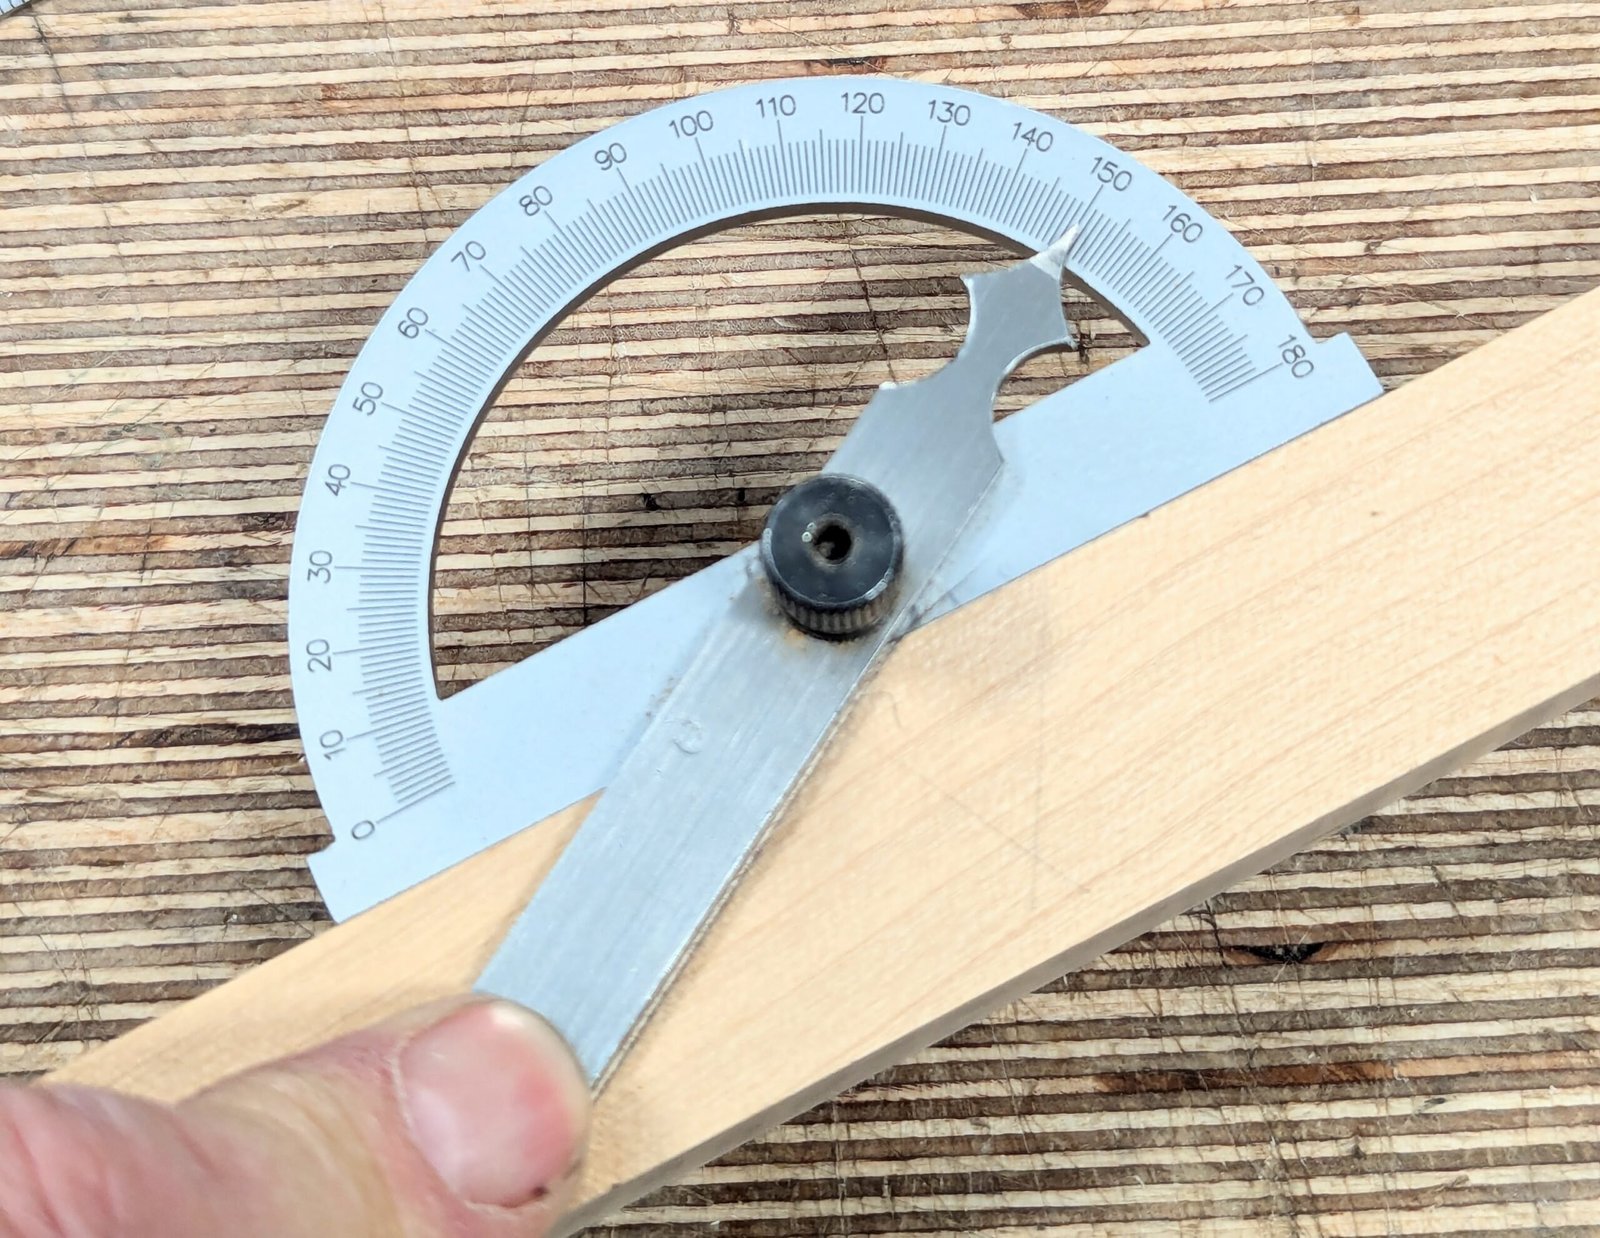
Aligning The Protractor Correctly
Place the protractor flat on the wood surface. Make sure the center hole or point matches the vertex of the angle.
The baseline of the protractor must line up with one edge of the angle. This helps measure the angle from the right starting point.
- Set the center point exactly on the angle’s corner
- Keep the baseline flush with one side of the angle
- Hold the protractor steady to avoid slipping
Reading The Angle Scale
Look at the numbers on the curved edge of the protractor. Find where the other edge of the angle crosses the scale.
Use the inner or outer scale based on how you aligned the protractor. This ensures you read the correct angle value.
- Check if the baseline is on the 0° mark
- Read the number where the angle’s line meets the scale
- Use the scale that starts from zero on your baseline side
Avoiding Common Measurement Errors
Errors happen if the protractor moves during measuring or if you guess the angle instead of reading it carefully.
Check your setup before noting the angle and measure twice to confirm accuracy.
- Do not tilt or lift the protractor while measuring
- Make sure the protractor’s center is exactly on the angle’s vertex
- Read the scale in good light to avoid mistakes
- Double-check the angle by measuring more than once

Credit: www.wikihow.com
Marking And Transferring Angles
Using a protractor in woodworking helps you measure and mark angles accurately. This step is key for cutting pieces that fit well.
Careful marking and transferring of angles prevent mistakes and save wood. Take your time to get clear, precise lines.
Using Sharp Pencils Or Scribes
Use a sharp pencil or a fine scriber to mark angles clearly. Thick or dull lines can cause errors in cutting.
A sharp point gives you a thin, exact line that shows the angle well on wood. Keep your pencil sharpened often.
- Sharpen pencils before marking
- Use a scriber for very fine lines
- Avoid thick or broken marks
Transferring Angles To Wood
Place the protractor flat on the wood surface to get the right angle. Make sure it does not move while you mark.
Use the protractor’s arm or edge to draw the angle line with your pencil or scriber. Draw lightly first, then darken the line.
- Keep the protractor steady
- Align the baseline with your wood edge
- Mark the angle line carefully
- Check the angle before moving the protractor
Double-checking Marks Before Cutting
Always check your angle marks twice before cutting wood. This avoids mistakes that waste material and time.
Use the protractor again to measure the angle on your wood. Confirm the line is where you want it to be.
- Measure the angle after marking
- Compare both sides if cutting a joint
- Adjust marks if needed before cutting
- Trust clear and precise lines
Advanced Techniques
Using a protractor in woodworking goes beyond simple angle measurements. Advanced techniques help you create precise joints and cuts. These skills improve the quality of your projects.
This guide covers measuring compound angles, using digital protractors, and combining protractors with other tools. Each section explains how to use these techniques effectively.
Measuring Compound Angles
Compound angles are angles made from two or more different planes. They are common in complex woodworking joints. A simple protractor cannot measure them directly.
To measure a compound angle, measure each plane angle separately. Then use a calculator or chart to find the combined angle. This helps you cut wood that fits perfectly.
- Mark each individual angle on your wood piece
- Use the protractor on each plane carefully
- Calculate the total angle by adding or using trigonometry
- Transfer the combined angle to your saw or tool for cutting
Using Digital Protractors
Digital protractors show angle measurements on a screen. They offer more accuracy than manual protractors. They are easy to read and reduce mistakes.
Many digital models can measure angles in both degrees and percentages. Some have memory functions to save measurements. Use them for quick and precise angle checking.
- Turn on the digital protractor and calibrate it
- Place it on the wood surface or tool
- Read the angle on the digital screen
- Use the hold function to keep the reading if needed
Combining Protractor With Other Tools
Protractors work best when combined with other woodworking tools. You can use them with bevel gauges, squares, and marking knives. This improves measurement and marking accuracy.
Using a bevel gauge lets you transfer angles directly from the protractor to the wood. Squares help check if angles are correct. Marking knives create clear lines for cutting.
- Set the bevel gauge to the protractor angle
- Use the square to verify right angles and edges
- Mark cut lines with a sharp knife for precision
- Double-check angles before cutting
Maintaining Your Protractor
Keeping your protractor in good shape helps you measure angles accurately. Regular care extends its life and performance.
Learn simple ways to clean, store, and protect your protractor. These tips prevent damage and keep it ready for use.
Cleaning And Storage Tips
Clean your protractor after each use to remove dust and wood particles. Use a soft cloth and mild soap if needed.
- Wipe with a damp cloth and dry immediately
- Avoid harsh chemicals that can damage markings
- Store in a dry place away from sunlight
- Keep in a protective case or box
Calibration Checks
Check your protractor’s accuracy often. Misalignment can cause errors in your woodworking projects.
| Check Method | What to Look For |
| Align with a known 90° angle | Protractor lines match the angle exactly |
| Test with a square tool | No gaps or misreading at edges |
| Rotate and re-measure | Readings stay consistent |
Avoiding Damage During Use
Handle your protractor gently to keep it precise. Rough use can cause scratches and misalignment.
- Do not drop or bend the protractor
- Use it on a flat, stable surface
- Keep it away from sharp tools when not in use
- Do not expose to extreme heat or moisture
Frequently Asked Questions
How Do You Measure Angles With A Protractor In Woodworking?
Place the protractor’s center point on the vertex of the angle. Align one arm with zero degrees. Read the angle where the other arm crosses the protractor scale for an accurate measurement.
What Is The Best Protractor Type For Woodworking?
A clear plastic protractor with a flat base is ideal. It allows precise angle measurements and easy visibility of markings on wood surfaces.
How Can I Ensure Accurate Angle Marking With A Protractor?
Use a sharp pencil for fine lines. Hold the protractor firmly to prevent slipping. Double-check your measurements before cutting or drilling.
Can I Use A Protractor For Cutting Bevel Angles?
Yes, a protractor helps mark bevel angles accurately. Transfer the angle measurement from the protractor to your saw guide for precise bevel cuts.
Conclusion
Using a protractor in woodworking helps you measure angles with ease. It makes your cuts more accurate and your projects look better. Practice reading the protractor before starting your work. Keep it steady to avoid mistakes. Small errors can change the whole shape.
Take your time and double-check your measurements. This simple tool brings more precision to your woodworking. Soon, you will feel more confident in your skills. Remember, good tools and careful work go hand in hand. Enjoy making your wooden pieces perfect every time.