Have you ever hung a picture on your wall, only to step back and see it’s slightly crooked? It’s a common frustration, but there’s a simple tool that can help you achieve perfectly aligned artwork every time: the spirit level.
This guide is your go-to resource for mastering the art of using a spirit level to hang pictures. Imagine the satisfaction of walking into your room and seeing your photos, paintings, and frames perfectly straight. No more tilting your head to appreciate your favorite pieces! By the end of this article, you’ll know exactly how to use this handy tool to enhance the look of your space, making it not only visually appealing but also a true reflection of your style.
Ready to transform your walls into a stunning gallery? Let’s get started!
Choosing The Right Spirit Level
Using a spirit level helps you hang pictures straight and look neat. Picking the right spirit level makes your task easier.
There are different types and sizes of spirit levels. This guide explains how to choose one that fits your needs.
Types Of Spirit Levels
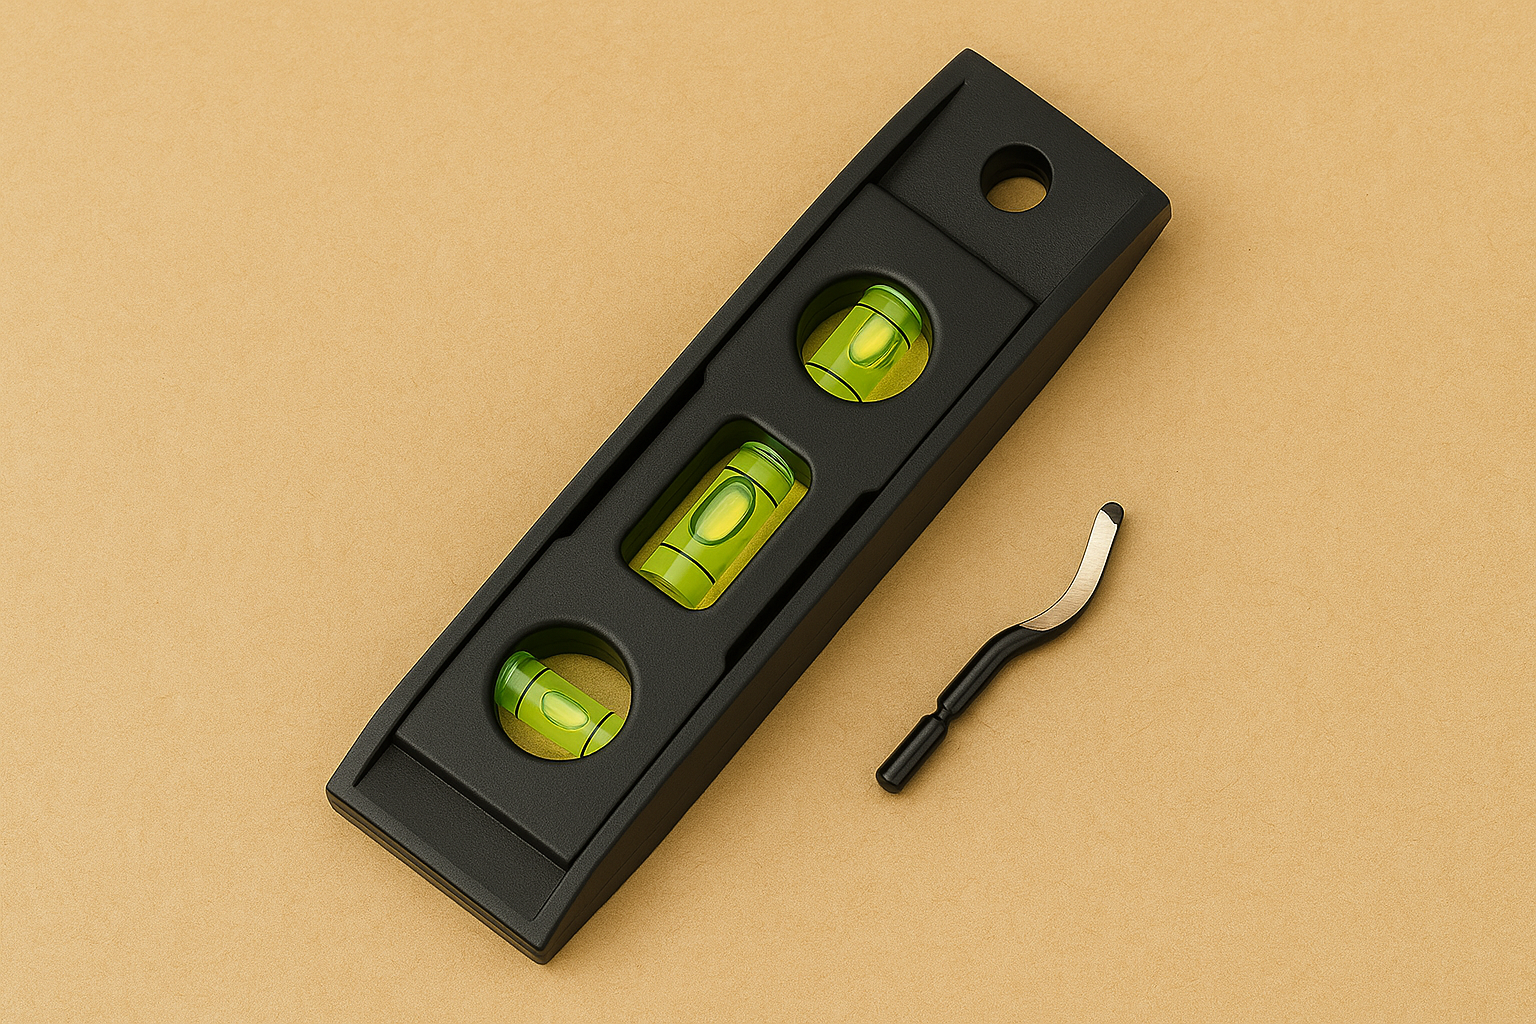
Spirit levels come in many forms. Each type suits a specific job when hanging pictures or working around the house.
- Torpedo Level:Small and easy to carry. Good for tight spaces.
- Box Level:Has multiple vials for checking horizontal and vertical lines.
- Post Level:Designed to check vertical posts and poles.
- Laser Level:Projects a straight line on walls for precise alignment.
Size And Accuracy Considerations
Choosing the right size and accuracy is key. Bigger levels cover more area but can be hard to handle.
| Size | Use | Accuracy |
|---|---|---|
| 6 to 9 inches | Small frames, tight spaces | Less accurate |
| 12 to 24 inches | Medium to large pictures | Moderate accuracy |
| 48 inches or more | Large walls, multiple pictures | Most accurate |
Credit: artshoppy.in
Preparing Your Wall And Picture
Using a spirit level helps hang pictures straight and neat. Preparing your wall and picture makes the process easier.
Start by choosing the right spot and marking it carefully. This guide explains these steps clearly.
Selecting The Hanging Location
Pick a wall area that fits your picture size and room style. Check that the wall surface is clean and dry for better support.
- Look for a flat wall area free of dirt or damage
- Choose a height that fits the room’s eye level
- Avoid spots near windows or direct sunlight to protect the picture
- Check for studs inside the wall if you plan to use screws
Marking The Spot
Mark the exact place where the picture hanger will go. Use a pencil and the spirit level to keep marks straight.
| Tool | Purpose | Tip |
| Spirit Level | Ensures horizontal alignment | Hold it against the wall before marking |
| Pencil | Makes light marks on the wall | Use soft pencil for easy erasing |
| Tape Measure | Measures height from floor or ceiling | Double-check measurements before marking |
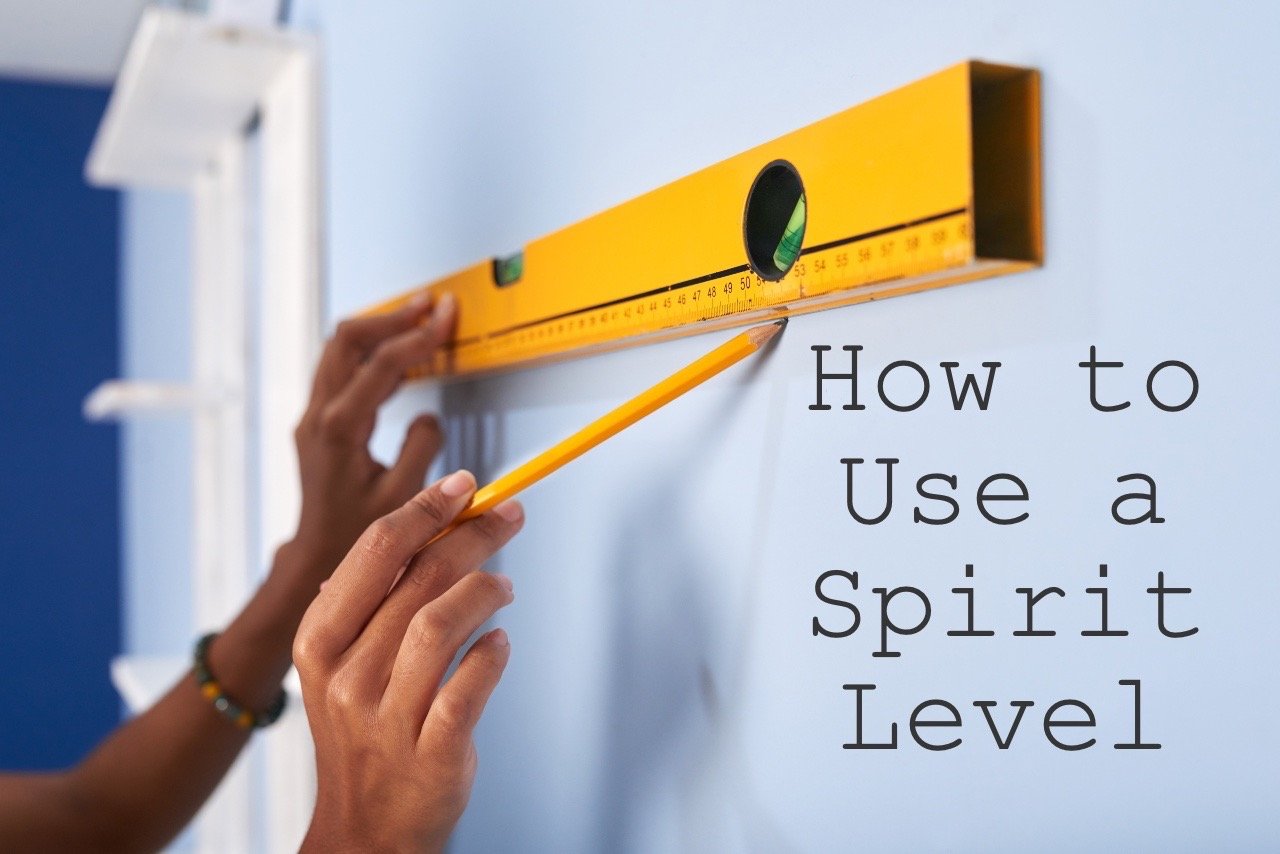
Using The Spirit Level Correctly
Using a spirit level helps you hang pictures straight on your wall. It shows if the frame is level by using a bubble inside a tube.
Knowing how to place and read the level correctly makes your pictures look neat and balanced.
Positioning The Level On The Frame
Place the spirit level flat against the top edge of the picture frame. Make sure it touches the frame firmly without tilting.
If the frame is wide, you can also place the level on the sides to check vertical alignment. Keep the level steady while adjusting the frame.
- Hold the level flat against the frame’s edge
- Keep it steady without moving
- Use the top edge for horizontal checks
- Use the sides for vertical checks
Reading The Bubble Indicator
Look at the bubble inside the tube on the spirit level. The bubble shows if the frame is level or not.
The frame is level when the bubble is exactly between the two marked lines. If the bubble is off-center, adjust the frame until it is centered.
- Bubble centered between lines means level
- Bubble to the left means tilt left
- Bubble to the right means tilt right
- Adjust frame and check again
Hanging The Picture Securely
Using a spirit level helps you hang pictures straight and safely. It ensures your artwork stays firmly on the wall without slipping or falling.
Choosing the right hooks and nails and checking stability are key steps. They keep your picture secure for a long time.
Choosing Appropriate Hooks And Nails
Select hooks and nails that match the picture’s size and weight. Stronger frames need sturdier hardware to hold them safely.
- Use heavy-duty hooks for large or heavy pictures
- Choose nails that fit the hook size perfectly
- Pick rust-resistant hooks for humid rooms
- Consider picture wire and D-rings for extra support
Ensuring Stability
Check that the picture is level and stable before final hanging. Use a spirit level to confirm it is perfectly horizontal.
| Check Point | What to Do | Reason |
| Spirit Level | Place on top edge of the frame | Ensures picture is straight |
| Hook and Nail | Secure tightly in the wall | Prevents picture from falling |
| Wall Type | Use anchors for drywall | Increases holding strength |
| Final Test | Gently shake the picture | Checks if stable and secure |
Adjusting For Multiple Pictures
Hanging many pictures needs extra care to keep them straight. Using a spirit level helps make sure all frames line up well.
It is important to check spacing and balance when adjusting several pictures. This keeps your wall looking neat and tidy.
Aligning Several Frames
Use a spirit level to check the top or bottom edges of all frames. This keeps the pictures in a straight line.
Mark the wall lightly with a pencil where each frame’s edge should go. This helps place each picture at the right height.
- Place the spirit level along the top edge of the first frame.
- Mark a light line on the wall for alignment.
- Repeat for each frame, using the same line to keep them even.
- Check spacing between frames to keep it equal.
Creating A Balanced Arrangement
Balance means pictures look good together without crowding or empty spots. Use the spirit level to keep shapes even.
Arrange pictures so they form a pleasing shape like a grid or a cluster. Measure spaces carefully to keep balance.
- Start by placing the largest frames first.
- Use the spirit level to keep frames level and aligned.
- Fill gaps with smaller frames or art pieces.
- Step back and check the whole arrangement’s balance.
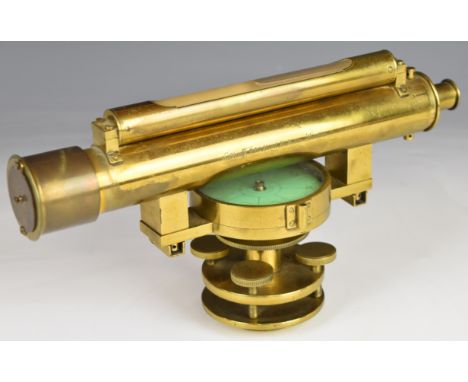
Credit: www.the-saleroom.com
Common Mistakes To Avoid
Using a spirit level helps you hang pictures straight. Many people make simple errors that cause crooked results. Avoid these common mistakes to get better results.
Below are two frequent problems and tips to fix them for perfect picture placement.
Ignoring Wall Imperfections
Many walls have bumps, holes, or uneven surfaces. These imperfections can cause the spirit level to give wrong readings. If you ignore wall flaws, your picture will not hang straight.
- Check the wall surface before measuring.
- Use putty or filler to smooth out bumps and holes.
- Hold the spirit level firmly against the wall.
- Try different spots to find the most even area.
- Consider using a laser level for very uneven walls.
Overlooking Level Calibration
Spirit levels can lose accuracy over time. Not checking calibration leads to incorrect results. It is important to test your level before use.
| Test Method | How to Do It | Result Meaning |
| Flip Test | Place level on a flat surface, note bubble position, then flip 180° | Bubble stays same = Level is accurate |
| Flat Surface Test | Place level on a known flat surface | Bubble centered = Level is good |
| Calibration Needed | Bubble shifts after flip or not centered | Adjust or replace the level |
Additional Tips For Perfect Wall Art
Using a spirit level helps you hang pictures straight. Some extra tips can make your wall art look even better.
These tips will guide you to place your pictures neatly and check their alignment after hanging.
Using Painter’s Tape For Guides
Painter’s tape can mark the exact spot for your picture. It does not damage the wall and is easy to remove.
Apply tape strips to create a straight line as a visual guide. This helps you place hooks or nails accurately.
- Place tape where the top edge of the frame will go
- Use your spirit level along the tape for a straight guide
- Mark nail or hook points on the tape before hanging
- Remove the tape gently after hanging your picture
Checking Level After Hanging
Check the level again after you hang the picture. The picture may shift slightly when you place it on the wall.
Hold the spirit level on the top edge and adjust the frame until the bubble is centered. This ensures your picture is perfectly straight.
- Use a small spirit level for better control
- Adjust the frame by moving it slightly left or right
- Double-check level from different angles if needed
- Tighten hooks or nails if the picture moves

Credit: www.amazon.co.uk
Frequently Asked Questions
What Is The Purpose Of A Spirit Level For Pictures?
A spirit level ensures pictures hang perfectly straight. It prevents crooked frames and enhances wall aesthetics by aligning artwork precisely.
How Do You Use A Spirit Level When Hanging Pictures?
Place the spirit level on top of the frame. Adjust the frame until the bubble centers between the marked lines for perfect alignment.
Can A Spirit Level Improve Picture Hanging Accuracy?
Yes, it helps achieve exact horizontal or vertical alignment. This reduces guesswork and prevents uneven or tilted picture frames.
What Types Of Spirit Levels Work Best For Pictures?
Small torpedo or pocket spirit levels are ideal. They fit easily on frames and provide accurate leveling for picture hanging.
Conclusion
Using a spirit level helps hang pictures straight and neat. It saves time and avoids guesswork. Even beginners can get perfect results with practice. Small adjustments make big differences in your wall art. Keep the level steady and check twice before fixing.
Enjoy a balanced and tidy look in your home. This simple tool makes decorating easier and more fun. Try it on your next picture project. You will see how simple it is to use.
