Are you struggling with precision when it comes to marking metal for drilling? If you’ve ever found yourself scratching your head over uneven holes or misplaced marks, you’re not alone.
Whether you’re a DIY enthusiast or a seasoned professional, mastering the art of accurately marking metal is crucial for any successful project. Imagine the satisfaction of achieving perfect alignment every time, saving both your time and resources. In this guide, we’ll unravel the secrets to marking metal like a pro, ensuring your drilling tasks are executed with pinpoint accuracy.
Get ready to transform your metalworking skills and boost your confidence in every project you tackle. Dive in to discover how you can elevate your craftsmanship to the next level!
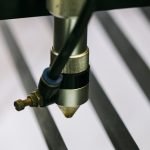
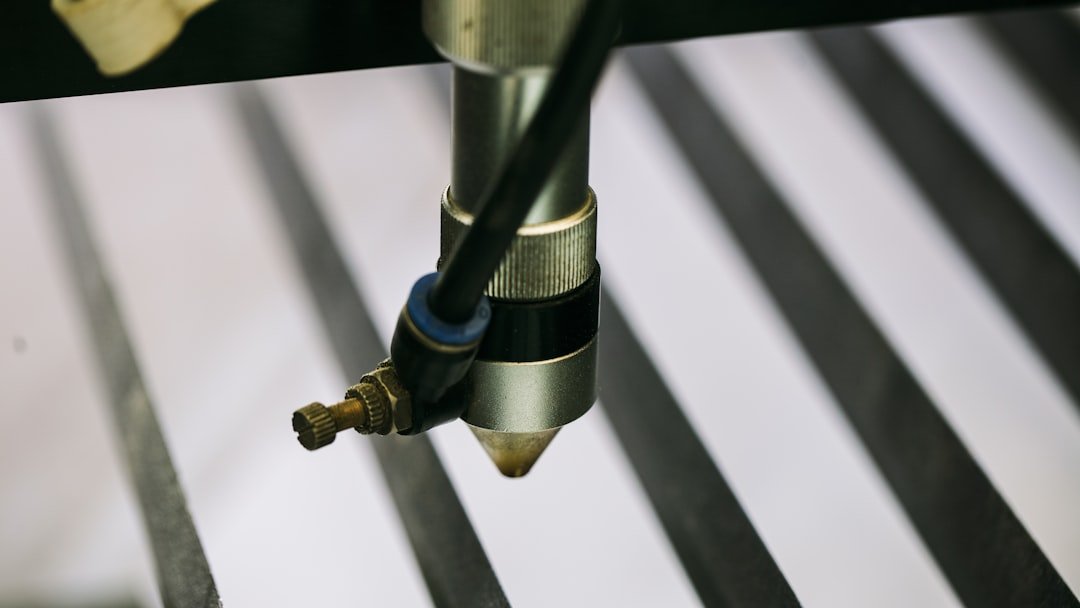
Credit: www.routerforums.com
Choosing The Right Tools
Marking metal before drilling helps you make precise holes. Using the right tools makes marking easy and clear.
Different tools work better for different types of metal. Choosing the right tool saves time and improves accuracy.
Types Of Marking Tools
There are many tools to mark metal. Each tool leaves a different type of mark. Pick the tool that fits your project.
- Center Punch: Makes small indentations to guide drill bits.
- Permanent Marker: Writes clear marks on metal surfaces.
- Scribe: Scratches fine lines for detailed work.
- Soapstone: Marks without scratching, easy to see.
- Chalk: Temporary marks on rough or dirty metal.
Selecting Markers For Different Metals
Different metals need different markers to show marks well. Choose based on metal type and surface finish.
| Metal Type | Best Marking Tool | Reason |
|---|---|---|
| Steel | Center Punch or Scribe | Creates clear, lasting indentations |
| Aluminum | Permanent Marker or Soapstone | Shows marks without scratching surface |
| Brass | Scribe or Permanent Marker | Marks clearly on smooth surfaces |
| Stainless Steel | Center Punch | Hard surface needs strong indentations |
| Cast Iron | Center Punch or Soapstone | Rough surface accepts deep marks |

Credit: www.abmtools.com
Preparing The Metal Surface
Marking metal correctly is important before drilling. A clean and flat surface helps you make accurate marks.
This guide shows how to prepare the metal surface for better drilling results.
Cleaning Techniques
Clean the metal to remove dirt, oil, and rust. This helps the marking stay visible and clear.
Use simple tools and materials to clean the surface well.
- Use a cloth with rubbing alcohol or degreaser to wipe the metal.
- Remove rust with fine sandpaper or a wire brush.
- Wash the metal with water and dry it fully to avoid slips.
- Avoid oily or greasy residues that hide marks.
Creating A Flat Marking Area
Make sure the metal surface is flat where you want to mark. Uneven surfaces cause mistakes during drilling.
Flatten small bumps or rough spots using basic tools for better accuracy.
- Use a metal file to smooth out raised areas.
- Sand the surface with fine-grit sandpaper to remove small scratches.
- Check the area with a straight edge to confirm flatness.
- Wipe the area again to remove dust before marking.
Marking Techniques For Accuracy
Marking metal before drilling helps you make precise holes. It guides the drill and stops mistakes.
Good marking tools and methods improve your work quality and save time.
Using Center Punches
A center punch makes a small dent in the metal. This dent keeps the drill bit from slipping.
Hold the punch firmly and hit it with a hammer to mark the spot. The dent shows exactly where to drill.
- Use a center punch with a sharp tip for best results
- Hold it straight to make a clean mark
- Tap gently first, then harder if needed
- Check the dent before drilling
Employing Scribes And Sharp Tools
Scribes are sharp tools used to scratch lines on metal. These lines guide cutting or drilling.
Use a scribe to draw clear, thin lines. Make sure the metal surface is clean for better marks.
- Hold the scribe like a pen for control
- Draw lines slowly and steadily
- Use a ruler for straight marks
- Keep the scribe sharp for clean lines
Measuring And Layout Tips
Marking metal correctly is key to drilling precise holes. Accurate measuring and layout help avoid mistakes. Use the right tools to get exact marks.
Metal surfaces can be tricky to measure. Take your time and double-check measurements before marking. This saves time and material.
Using Rulers And Calipers
Rulers are good for quick measurements. Use a metal ruler for durability and accuracy. Calipers give even more precision, especially for small distances.
- Place the ruler or caliper flat against the metal surface.
- Measure from a clear edge or known reference point.
- Mark the measurement lightly with a fine-tip marker or scribe.
- Double-check the measurement before making permanent marks.
- Use calipers to measure inside or outside diameters accurately.
Marking Multiple Drill Points
When drilling several holes, keep your marks consistent and organized. A layout table helps track hole positions and sizes clearly.
| Hole Number | Distance from Edge (mm) | Distance from Top (mm) | Drill Size (mm) |
| 1 | 15 | 20 | 6 |
| 2 | 45 | 20 | 6 |
| 3 | 75 | 20 | 6 |
| 4 | 15 | 50 | 8 |
| 5 | 45 | 50 | 8 |
Avoiding Common Mistakes
Marking metal for drilling needs care to avoid errors. Small mistakes can cause big problems.
Using the right methods helps keep marks clear and precise. This saves time and materials.
Preventing Slips And Misalignment
Slips happen when the marking tool moves on the metal surface. This causes wrong drill spots. To stop slips, hold the tool steady and use guides.
- Use a center punch to make a small dent before marking.
- Hold the metal firmly to avoid movement.
- Use a ruler or template to keep lines straight.
- Mark lightly first, then darken the lines if needed.
- Wear gloves to keep a better grip on tools and metal.
Handling Metal Movement
Metal can shift during marking or drilling. This changes where holes appear. Use clamps or vices to keep metal still.
| Problem | Solution |
| Metal slides during marking | Clamp metal to a stable surface |
| Metal bends when pressed | Support metal with a flat base |
| Marking tool slips | Use a center punch first |
| Lines not clear | Use a permanent marker or scribe |

Credit: www.faithfulltools.com
Tips For Drilling After Marking
Marking metal clearly helps you drill with accuracy. After marking, follow key tips to drill safely and precisely.
Using the right tools and techniques protects your work and makes drilling easier. Learn how to start and keep your drill steady.
Starting The Drill Hole
Begin drilling with care to avoid slipping and ruining the mark. Use these actions to start the hole correctly.
- Place a center punch on the mark and tap gently to create a small dent.
- Use a drill bit smaller than the final size to make a pilot hole.
- Hold the drill perpendicular to the surface for a straight hole.
- Start drilling slowly to keep control and avoid wandering.
Maintaining Drill Precision
Keep the drill steady and aligned to maintain a clean hole. Follow these tips for precision.
| Tip | Reason |
| Use clamps to secure the metal | Prevents movement during drilling |
| Apply steady, moderate pressure | Avoids bit breakage and uneven holes |
| Keep drill speed consistent | Reduces heat and bit wear |
| Use cutting oil | Lubricates and cools the drill bit |
| Check alignment regularly | Ensures hole stays on the mark |
Frequently Asked Questions
How Do You Accurately Mark Metal For Drilling?
Use a center punch and hammer to create a small indentation. This guides the drill bit and prevents slipping. Measure twice and mark with a fine-tip marker or scribe for precise placement.
What Tools Are Best For Marking Metal Surfaces?
A center punch, scribe, and fine-tip permanent marker work best. These tools provide clear, precise marks that stay visible during drilling. Avoid using pencils or pens that can smudge or fade.
Why Is Marking Metal Before Drilling Important?
Marking ensures accuracy and prevents mistakes. It helps align the drill bit exactly where needed. This reduces material waste and protects your tools from damage.
Can I Use A Marker Instead Of A Scribe On Metal?
Yes, a fine-tip permanent marker is suitable for light marking. However, a scribe provides more durable, precise lines, especially on rough or oily surfaces.
Conclusion
Marking metal for drilling takes care and simple steps. Use the right tools to make clear, small marks. Check measurements twice before you start drilling. A good mark helps guide the drill and avoid mistakes. Take your time and work carefully.
This makes your project safer and more accurate. Practice these tips, and drilling metal will feel easier. Keep your workspace clean and organized. Soon, marking and drilling will become a smooth part of your work.