Are your chisels scattered around your workspace, making it hard to find the right one when you need it? Properly storing your chisels in racks can save you time, protect your tools, and keep your work area tidy.
In this guide, you’ll discover simple and effective ways to organize your chisels, so they stay sharp and ready for your next project. Keep reading to learn how a little organization can make a big difference in your woodworking experience.
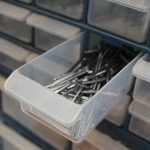
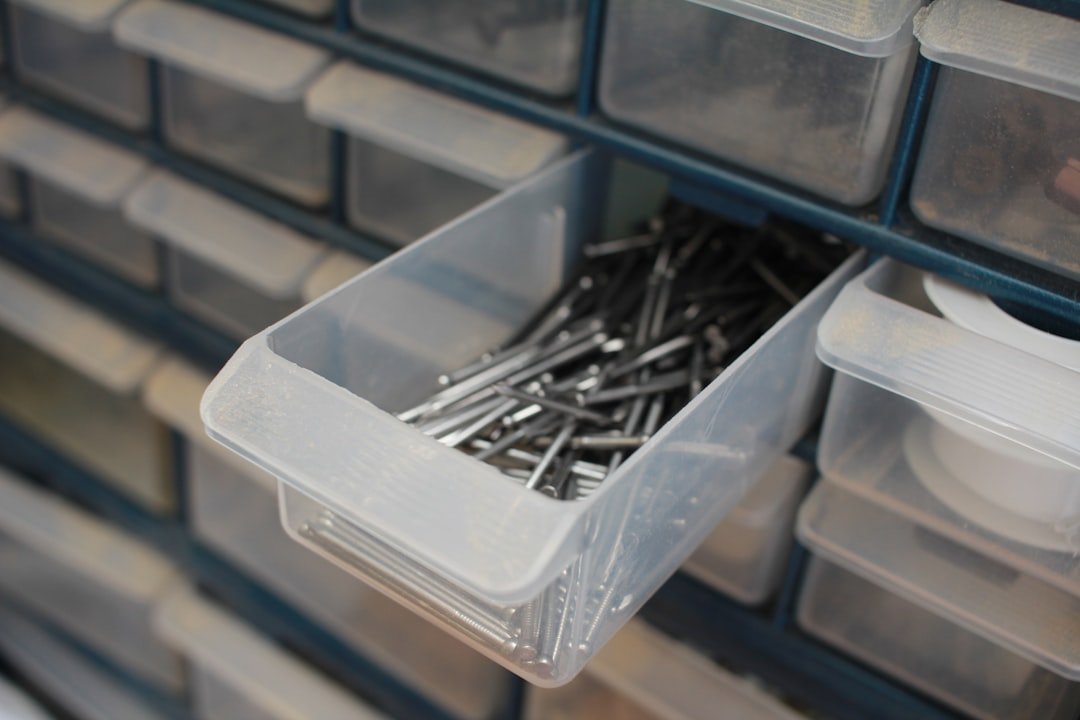
Choosing The Right Chisel Rack
Storing chisels properly keeps them safe and sharp. A good chisel rack helps organize tools neatly.
Picking the right rack depends on your workspace and the chisels you own. Think about size, material, and style.
Materials And Build Quality
Chisel racks come in many materials like wood, metal, and plastic. Each has its own strengths and weaknesses.
Look for racks that feel sturdy and well-built. A strong rack protects chisels from damage and lasts longer.
- Wood racks offer a classic look and hold chisels securely.
- Metal racks are very durable and resist wear.
- Plastic racks are lightweight and easy to clean.
Size And Capacity Options
Choose a rack that fits your chisels without crowding them. Too small racks can cause damage or clutter.
Check how many chisels the rack holds. Some racks store just a few tools, while others hold many.
- Small racks suit hobbyists with only a few chisels.
- Medium racks fit most home workshops.
- Large racks work well for professionals with many chisels.
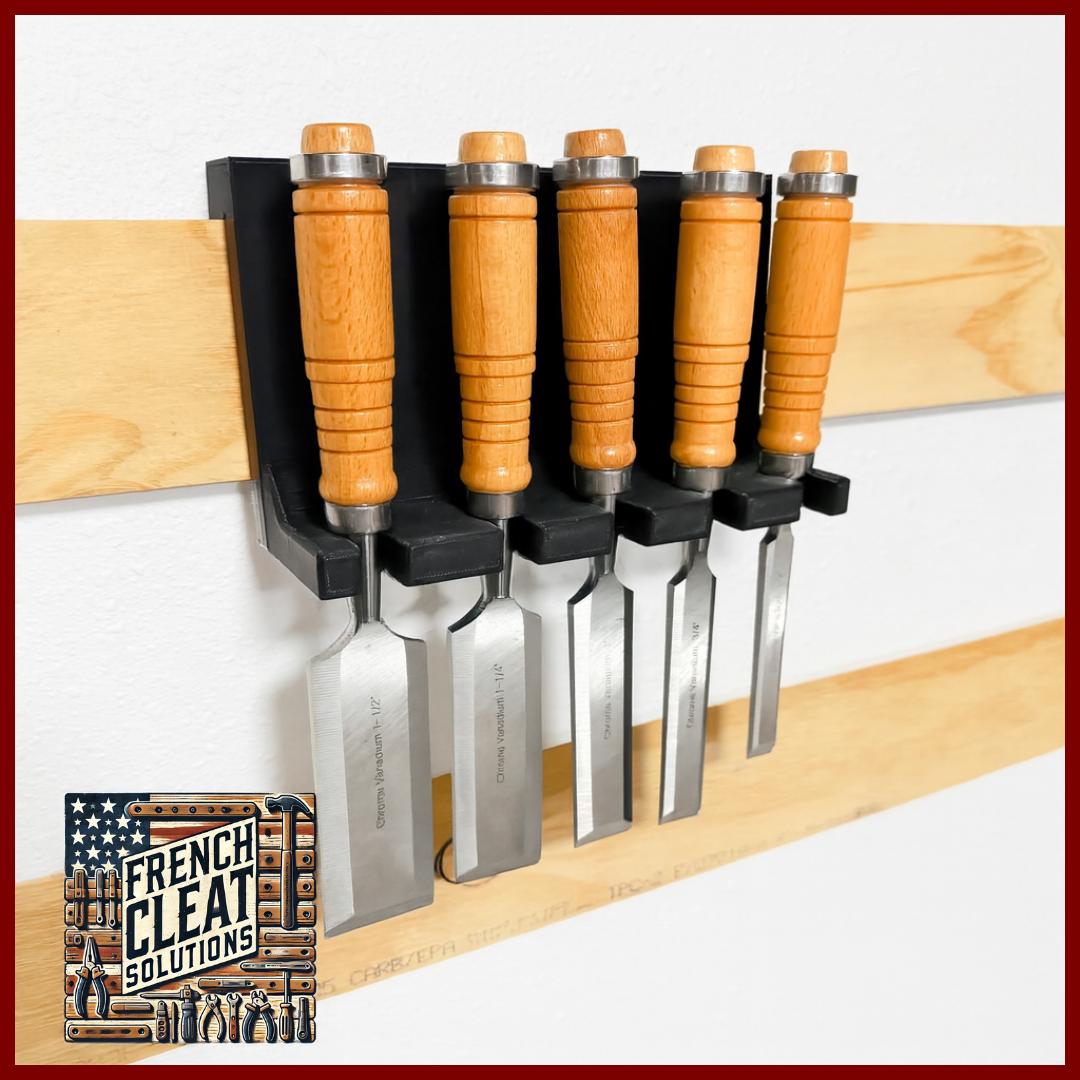
Types Of Racks Available
Racks come in several types, each designed for different needs and spaces.
Pick the type that matches how you use and store your chisels.
- Wall-mounted racks save bench space and keep chisels visible.
- Bench racks sit on your work surface for easy access.
- Drawer racks fit inside drawers and protect chisels from dust.
- Portable racks allow you to carry chisels to different locations.
Preparing Chisels For Storage
Storing chisels properly keeps them sharp and safe. Preparing them before storage helps avoid damage and rust.
Take time to clean and protect your chisels. This makes sure they last longer and work well next time.
Cleaning And Maintenance
Remove dirt and moisture from chisels before storing. Wipe the blades with a clean cloth to clear dust and grime.
Use a light oil or rust inhibitor on metal parts. This helps stop rust and keeps the chisels in good shape.
- Wipe blades with a dry, clean cloth
- Apply a thin layer of oil to metal surfaces
- Check handles for cracks or damage
- Fix loose handles before storage
Sharpening Before Storage
Sharpen chisels before putting them away. Sharp edges stay better and are ready for use next time.
Use a sharpening stone or guide to keep the correct angle. Avoid dull edges that can be hard to fix later.
- Check blade edge for dull spots
- Sharpen with a sharpening stone or file
- Maintain a consistent angle while sharpening
- Remove burrs by honing the edge
Protecting Cutting Edges
Protect the cutting edges to avoid chips or damage. Use blade guards or covers for safety.
Store chisels in a rack or box that holds each tool securely. Keep blades from touching hard surfaces or each other.
- Use plastic or leather blade guards
- Place chisels in individual slots in a rack
- Avoid stacking chisels on top of each other
- Keep chisels in a dry area to prevent rust
Installation Tips For Chisel Racks
Storing chisels properly keeps them safe and easy to find. Using chisel racks helps organize your tools well.
This guide shares tips on installing chisel racks in your workshop. Follow these tips to keep your chisels in good shape.
Optimal Placement In Workshop
Place chisel racks where you use your chisels most. This saves time and effort when working on projects.
Look for walls or workbench sides that have clear space. Avoid areas with high moisture or dust.
- Near your main workbench for quick access
- Avoid damp walls to protect metal chisels
- Keep racks away from heavy traffic zones
- Place at eye level for easy viewing
Mounting Techniques
Use strong screws and anchors to mount your chisel rack securely. This stops the rack from falling or shifting.
Check the wall type before choosing mounting hardware. Drywall, concrete, and wood need different anchors.
- Use wall anchors for drywall installation
- Choose masonry screws for concrete walls
- Use wood screws for wooden walls or studs
- Pre-drill holes to avoid wood splitting
Ensuring Accessibility And Safety
Make sure chisels are easy to grab without risk of falling. Arrange chisels by size or type for quick selection.
Keep the rack away from children’s reach and sharp edges clear. This prevents accidents and tool damage.
- Place frequently used chisels at hand level
- Store sharp edges facing away from reach
- Use racks with secure slots to hold chisels tightly
- Keep the area around the rack clean and clear

Credit: www.amazon.com
Organizing Chisels By Type And Size
Storing chisels properly keeps them safe and easy to find. Organize them by their type and size for quick access.
Good organization helps protect the blades and saves time during projects. Use racks designed to hold chisels securely.
Grouping By Blade Width
Group chisels based on their blade width. This keeps similar sizes together and helps you pick the right tool fast.
Arrange chisels from narrow to wide blades. This order makes your rack look neat and makes finding chisels easier.
- Small blades for fine, detailed work
- Medium blades for general tasks
- Wide blades for heavy chopping
Separating By Function
Sort chisels by their use or function. Keep carving chisels separate from bench chisels to avoid confusion.
This separation helps protect the tools and keeps your work area organized. It also helps when you need a specific chisel quickly.
- Carving chisels for shaping wood
- Bench chisels for general woodworking
- Mortise chisels for cutting joints
Labeling And Identification
Label each section or slot in your chisel rack. Use clear, easy-to-read labels to identify types and sizes.
Labels help you return chisels to the right spot. They also make it simple for others to find and store tools correctly.
- Use printed labels or hand-written tags
- Mark blade width or chisel type
- Keep labels durable and visible
Maximizing Space With Custom Solutions
Storing chisels properly keeps them safe and easy to find. Custom solutions help save space and organize tools well.
Using racks made just for chisels lets you use your workspace better. You can build or buy racks that fit your needs exactly.
Diy Rack Ideas
Making your own chisel rack lets you create a perfect fit for your tools. You can use wood or metal to build racks that hold chisels safely.
Simple racks use slots or holes to hold chisel handles. You can place them on walls or inside cabinets to save bench space.
- Use plywood or hardwood for durability
- Create slots that match chisel sizes
- Mount racks on walls or inside cabinets
- Sand edges to protect handles
- Paint or finish racks for a clean look
Using Magnetic Strips
Magnetic strips are a smart way to store chisels on walls. They hold metal parts firmly and keep chisels visible.
Choose strong magnets that support the weight of your chisels. Attach strips at a height that is easy to reach and safe.
- Mount magnetic strips horizontally or vertically
- Space strips to fit different chisel sizes
- Keep chisels away from moist areas to stop rust
- Test magnet strength before mounting
Incorporating Drawer Inserts
Drawer inserts help organize chisels inside tool drawers. Inserts stop chisels from moving and protect blades from damage.
You can buy inserts or make your own using foam or wood. Custom inserts fit your chisels perfectly and save drawer space.
- Cut foam with slots for each chisel
- Use wood dividers to separate tools
- Label slots for easy chisel identification
- Keep inserts clean to avoid tool damage
Credit: www.etsy.com
Maintaining Your Chisel Storage System
Keeping your chisels well organized helps you work better and stay safe. Regular care of your chisel racks ensures they last longer. This guide covers simple steps to maintain your chisel storage system.
Follow these tips to clean, inspect, and update your chisel storage. A neat storage system saves time and protects your tools.
Regular Cleaning Routine
Dust and dirt can damage your chisels and racks. Clean the storage area often to keep everything in good shape. Use a soft cloth to wipe the racks and chisel handles.
- Remove all chisels before cleaning
- Use a dry or slightly damp cloth
- Do not use harsh chemicals on wooden racks
- Clean metal racks with a mild cleaner
- Dry the racks completely to prevent rust
Checking For Damage
Look over your chisels and racks regularly for signs of damage. Early detection helps you fix problems before they get worse. Check for rust, cracks, or loose parts on the storage rack.
| What to Check | Signs of Damage | Action to Take |
| Chisel Blades | Rust, chips, dull edges | Sharpen or replace blades |
| Chisel Handles | Splits, cracks, loose fittings | Repair or replace handles |
| Storage Rack | Broken slots, loose screws, rust | Tighten screws or repair rack |
Updating Organization As Needed
Your chisel collection may grow or change over time. Adjust your storage to fit new tools. Keeping an organized rack helps you find chisels fast and protects them from damage.
- Rearrange chisels by size or type
- Add new slots or holders if needed
- Label sections to improve order
- Remove broken or unused chisels
- Keep the rack in a dry, safe place

Credit: www.rockler.com
Frequently Asked Questions
How Do You Store Chisels Safely?
Store chisels in a rack with individual slots. This prevents the blades from touching each other. Ensure the rack is mounted securely on a wall or workbench. This keeps them at a convenient height and reduces the risk of injury.
Always keep blades facing away from you.
What Materials Are Best For Chisel Racks?
Wood and metal are ideal for chisel racks. Wood provides a softer surface, preventing blade damage. Metal racks are durable and offer a sleek look. Both materials can be customized to fit specific chisel sizes. Choose based on your workshop aesthetics and durability needs.
How High Should Chisel Racks Be Mounted?
Mount chisel racks at eye or shoulder level. This ensures easy access and visibility. It also minimizes bending or stretching, reducing strain. Consider the height of other workshop tools and benches. This helps maintain a comfortable and efficient workspace layout.
Can Chisel Racks Prevent Tool Damage?
Yes, chisel racks prevent tool damage by providing individual slots. This keeps blades from contacting each other, maintaining sharpness. Proper storage reduces wear and tear over time. A well-organized rack also reduces the risk of accidental drops or bumps. This extends the lifespan of your tools.
Conclusion
Storing chisels in racks keeps them safe and easy to find. It helps prevent damage and keeps your workspace tidy. Good storage also makes your tools last longer. Choose racks that fit your chisels well and place them where you work.
This simple step saves time and effort daily. Keep your chisels organized, and your projects will go smoother. A neat tool rack brings peace of mind. Small changes lead to better work habits. Try it today and enjoy a cleaner workspace.