If you’ve ever found yourself rummaging through a chaotic toolbox, searching for that one elusive chisel, you know how frustrating it can be. Organizing your chisels by function doesn’t just save you time; it enhances your workflow and boosts your creativity.
Imagine reaching effortlessly for the right tool, every time. Sounds like a dream, right? In this guide, you’ll discover simple yet effective strategies to categorize and store your chisels, turning your workspace into a haven of efficiency. Ready to transform your toolbox and elevate your craftsmanship?
Let’s dive in and unlock the secrets of organization that will make your projects smoother and more enjoyable.

Credit: daitool.com
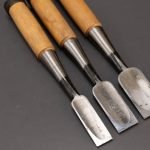
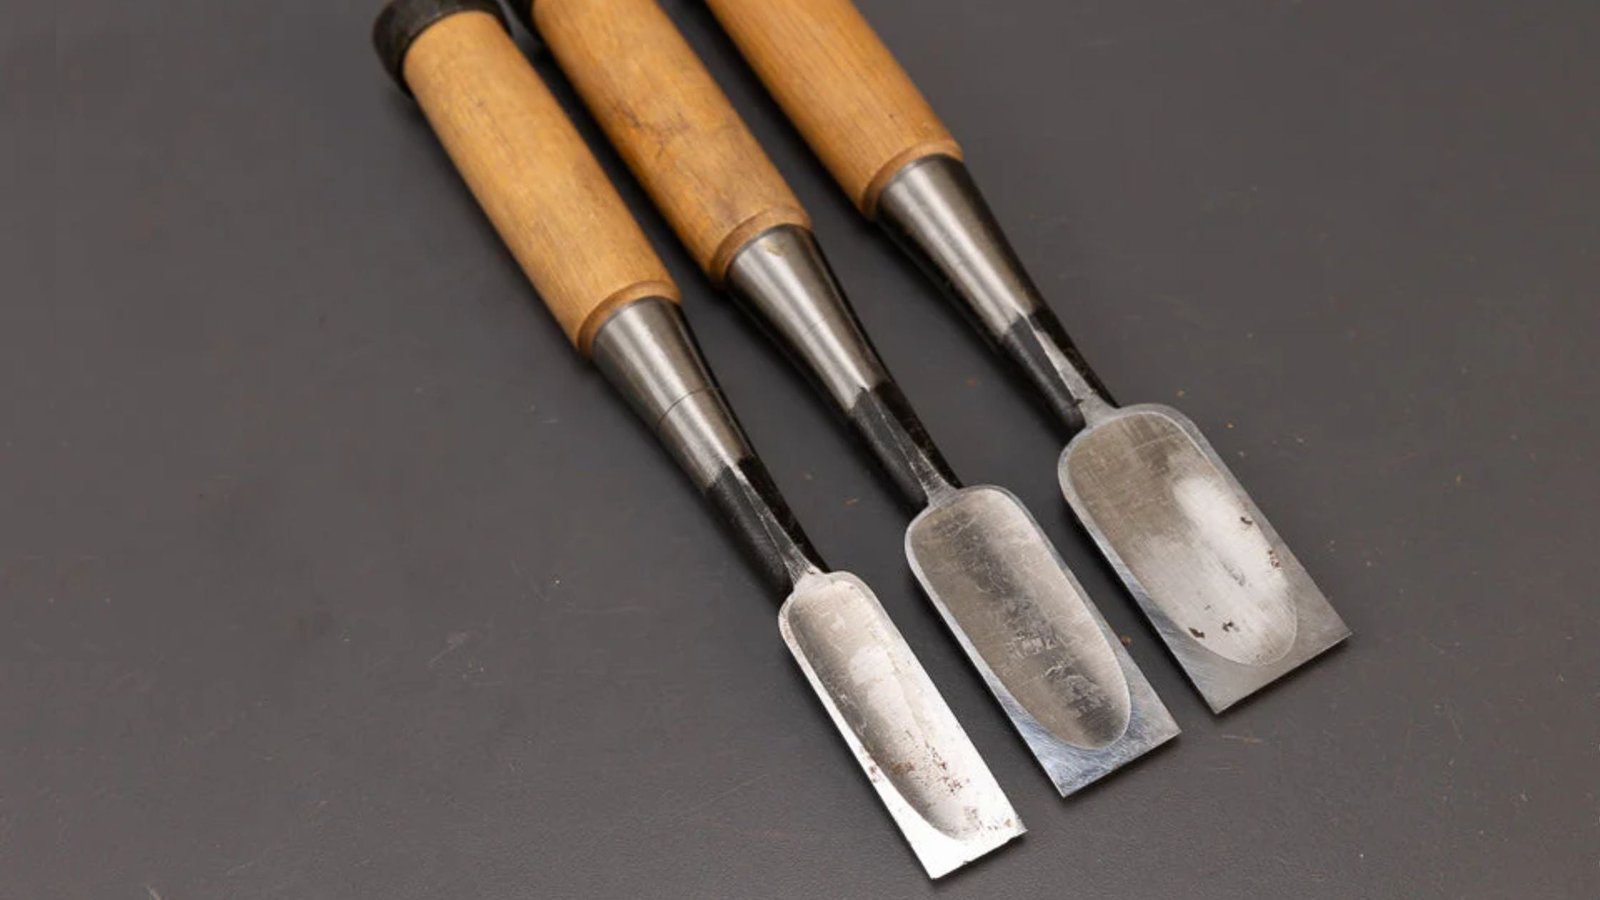
Types Of Chisels
Chisels come in many types. Each type serves a specific purpose. Knowing their uses helps organize them better.
This guide covers four main types of chisels. They are woodworking, cold, masonry, and specialty chisels.
Woodworking Chisels
Woodworking chisels cut and shape wood. They have sharp edges and strong handles. These chisels come in different sizes.
- Bench chisels for general woodwork
- Paring chisels for fine, precise cuts
- Mortise chisels for making square holes
- Skew chisels with angled edges
Cold Chisels
Cold chisels cut metal and hard materials. They have thick blades and blunt edges. These chisels are used with hammers.
| Type | Use | Blade Shape |
| Flat Cold Chisel | Cutting metal sheets | Flat |
| Cross Cut Chisel | Cutting grooves | Pointed |
| Tapered Chisel | Removing rivets | Tapered |
Masonry Chisels
Masonry chisels break or shape stone, brick, and concrete. They have strong, wide blades. These chisels help in building and repair work.
- Plug chisels for rough shaping
- Point chisels for breaking hard spots
- Flat chisels for smoothing surfaces
Specialty Chisels
Specialty chisels serve unique tasks. They include tools for carving, leatherwork, and electrical work. These chisels often have special blade shapes.
| Chisel Type | Use | Blade Feature |
|---|---|---|
| Carving Chisel | Wood shaping and detail work | Small, curved blades |
| Leather Chisel | Punching holes in leather | Multiple pointed prongs |
| Electrical Chisel | Cutting cables and wires | Insulated handle |

Credit: daitool.com
Sorting By Purpose
Organizing chisels by their purpose helps you find the right tool fast. It keeps your workspace neat and efficient.
Chisels serve many functions, from cutting wood to heavy demolition. Sorting them by function makes your work easier.
Cutting And Shaping
Chisels for cutting and shaping have sharp edges. They remove large wood pieces or create rough shapes.
These chisels often have wide blades for quick material removal. They prepare the wood for finer work.
- Bevel-edged chisels
- Firmer chisels
- Mortise chisels
Paring And Smoothing
Paring chisels are thin and long. They remove small layers to smooth surfaces or fit joints.
These chisels cut with light pressure. They help create clean, smooth finishes on wood.
- Paring chisels
- Firmer chisels with thin blades
Carving Details
Detail carving chisels have narrow blades. They work on small shapes, letters, or patterns.
These chisels allow precise cuts. They often include gouges and V-tools for different effects.
- Detail carving chisels
- Gouges (U-shaped blades)
- V-tools (V-shaped blades)
Demolition And Heavy Duty
Heavy-duty chisels have thick, strong blades. They break apart wood or remove tough materials.
These chisels can handle hammer strikes. They are useful for demolition or rough work.
- Chisel with thick blades
- Cold chisels for metal
- Wide, heavy-duty chisels
Storage Solutions
Organizing chisels by function helps you find the right tool fast. Good storage protects chisels and saves space.
Use different storage options to keep chisels safe and sorted. Each option fits different workshop setups.
Magnetic Strips
Magnetic strips hold chisels on the wall for easy access. They keep tools visible and off your workbench.
Install strips at a comfortable height. Make sure the magnets are strong enough to hold all chisels securely.
- Mount near your main workspace
- Keep chisels separated by type
- Check magnet strength regularly
Tool Rolls
Tool rolls are fabric holders that protect chisels during transport. They keep blades safe and organized.
Rolls are great for mobile woodworkers. Choose rolls with padded slots to prevent blade damage.
- Use labeled slots for each chisel
- Store rolls in dry places
- Clean chisels before rolling up
Drawer Inserts
Drawer inserts keep chisels separated inside drawers. They stop tools from moving and getting dull.
Use foam or wood inserts with shaped slots. This protects the edges and keeps chisels easy to find.
- Arrange chisels by size or function
- Label each slot if needed
- Keep drawer dry and clean
Wall-mounted Racks
Wall-mounted racks offer strong support for chisels. They hold many tools in one place and save bench space.
Choose racks with slots or hooks designed for chisels. Place them where you can reach tools easily while working.
- Mount racks securely to the wall
- Group chisels by function or size
- Check racks regularly for stability

Credit: daitool.com
Labeling And Identification
Organizing chisels by function helps you find the right tool fast. Labeling and identification make this process simple and clear.
Good labels reduce mistakes and keep your workspace neat. Use clear signs to tell chisels apart by their uses.
Color Coding
Color coding uses different colors to show a chisel’s function. This helps users spot the right tool quickly.
Assign colors to types like carving, paring, or mortising chisels. Paint handles or use colored tape to mark each group.
- Red for carving chisels
- Blue for paring chisels
- Green for mortising chisels
- Yellow for bench chisels
Engraving Handles
Engraving adds permanent marks on chisel handles. This keeps identification clear even after heavy use.
Use simple codes or names that show the chisel’s size or use. Engraving is best for long-lasting labels.
- Engrave numbers for sizes
- Mark letters for functions
- Use symbols for quick reading
- Keep engraving shallow but clear
Using Tags And Labels
Tags and labels stick on chisels or their storage spots. They offer flexible and easy-to-change identification.
Use waterproof labels or metal tags for durability. Write the function, size, or other details on each tag.
- Attach tags with string or wire
- Use adhesive labels on handles
- Label chisel racks or boxes
- Replace worn tags to keep info clear
Maintenance Tips
Proper care keeps your chisels sharp and safe to use. Regular maintenance extends their life. Follow simple steps to maintain chisels by their function.
This guide covers sharpening, rust prevention, and handle care. Each part helps your tools stay reliable and effective.
Sharpening Techniques
Sharpen chisels to keep cutting edges clean and precise. Use fine sharpening stones or diamond plates for best results. Always sharpen at the right angle for your chisel type.
- Start with a coarse stone to remove nicks.
- Use a medium stone to refine the edge.
- Finish with a fine stone for a sharp, smooth edge.
- Hone the bevel and flat side equally.
- Test sharpness by gently slicing thin wood shavings.
Rust Prevention
Rust damages chisels and weakens their edges. Keep tools dry and clean after use. Apply protective coatings to metal parts to stop rust from forming.
| Method | Description | Frequency |
| Oil Coating | Apply light machine oil to blades | After each use |
| Silica Gel Packs | Store with desiccants to absorb moisture | Regularly replace packs |
| Rust Remover | Use rust remover on rusty spots | As needed |
| Proper Storage | Keep chisels in dry cases or racks | Always |
Handle Care
Handles protect your hands and provide control. Wooden handles need regular care to avoid cracking and splintering. Keep them clean and apply oil to maintain moisture.
Follow these tips for wooden handle care:
- Wipe handles with a dry cloth after use.
- Apply boiled linseed oil once a month.
- Sand rough spots lightly before oiling.
- Store chisels away from direct sunlight and heat.
Optimizing Workflow
Organizing chisels by their function helps you work faster and smarter. It keeps your workspace tidy and tools easy to find.
Good organization reduces downtime and makes your projects smoother. This guide shows ways to sort chisels for better workflow.
Arranging By Frequency Of Use
Place your most used chisels where you can reach them quickly. Less used chisels can stay in less accessible spots.
This setup saves time by reducing the need to search for tools. It keeps your hands on the work instead of looking for chisels.
- Keep daily chisels on the top drawer or front of the bench
- Store specialty chisels deeper or in labeled boxes
- Use magnetic strips or holders to display frequent tools
Grouping By Project Type
Sort chisels by the type of project you do. This helps you grab all needed tools at once.
For example, keep woodcarving chisels separate from furniture-making chisels. This reduces mistakes and speeds work.
- Group chisels for carving, joinery, or detail work
- Label each group clearly for quick recognition
- Use small bins or trays to keep groups together
Creating Work Zones
Set up zones in your workspace for different tasks. Each zone has the chisels and tools you need for that job.
This layout reduces walking and searching. It keeps your focus on the task and improves your speed.
- Designate a carving zone with carving chisels and mallets
- Have a joinery zone for chisels used in fitting joints
- Keep sharpening tools near all zones for quick access
Safety Considerations
Chisels are sharp tools that require careful use and storage. Safety is key to avoid injuries.
This guide covers important safety tips for storing, handling, and protecting yourself while using chisels.
Safe Storage Practices
Store chisels in a safe place to prevent accidents. Keep blades covered and tools organized.
- Use blade guards or sheaths for each chisel
- Store chisels in a toolbox or rack away from children
- Keep chisels dry to avoid rust and damage
- Arrange chisels by size or function for easy access
Proper Handling
Handle chisels carefully to prevent slips and cuts. Always cut away from your body.
- Hold the chisel firmly with one hand
- Use a mallet, not a metal hammer, to strike the chisel
- Keep your hands behind the cutting edge
- Work on a stable surface to avoid sudden movements
- Inspect chisels before use to ensure sharpness and no damage
Protective Gear
Wear gear to protect your hands, eyes, and body when using chisels.
| Protective Item | Purpose |
| Safety Glasses | Protect eyes from flying chips and debris |
| Cut-Resistant Gloves | Shield hands from accidental slips |
| Long Sleeves | Prevent scratches and cuts on arms |
| Closed-Toe Shoes | Protect feet from dropped tools |
Frequently Asked Questions
What Is The Best Way To Organize Chisels By Function?
Organize chisels by their specific tasks such as carving, paring, or mortising. Grouping by function improves workflow and tool accessibility.
How Do I Identify Chisels By Their Function?
Look at the blade shape and size. Each type, like bench or carving chisels, serves a distinct woodworking purpose.
Why Organize Chisels By Function Instead Of Size?
Function-based organization ensures quick tool selection for tasks. Size alone doesn’t reflect the chisel’s specific use or application.
What Tools Help In Organizing Chisels Effectively?
Use labeled racks, magnetic strips, or tool rolls. These keep chisels visible, accessible, and protected according to their function.
Conclusion
Organizing chisels by function saves time and keeps your workspace neat. Each chisel has a clear place for quick access. You avoid confusion and mistakes during projects. Tools stay in good shape and last longer. This simple system helps you work faster and better.
Try sorting your chisels this way for easier use. It makes any woodworking task smoother and more fun. Keep your tools ready for action every time.