Are you tired of ending up with crooked cuts and wasted material when working with metal sheets? Accurate marking is the secret to getting clean, precise cuts every time.
Imagine saving time and money while achieving perfect results on your projects. You can do this by mastering the art of marking metal sheets accurately. In this guide, you’ll discover simple techniques and tips that make a world of difference in your metalworking projects.
Whether you’re a seasoned professional or a DIY enthusiast, you’ll find these insights valuable and actionable. Keep reading to learn how to transform your cutting tasks and achieve flawless results.
Choosing The Right Tools
Marking metal sheets accurately is key for clean cuts and safe work. Using the right tools helps you draw precise lines that guide your cutting tools well.
This guide covers the types of marking tools, choosing tools based on metal type, and how to keep your tools sharp and accurate.
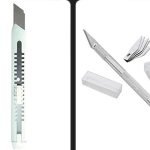
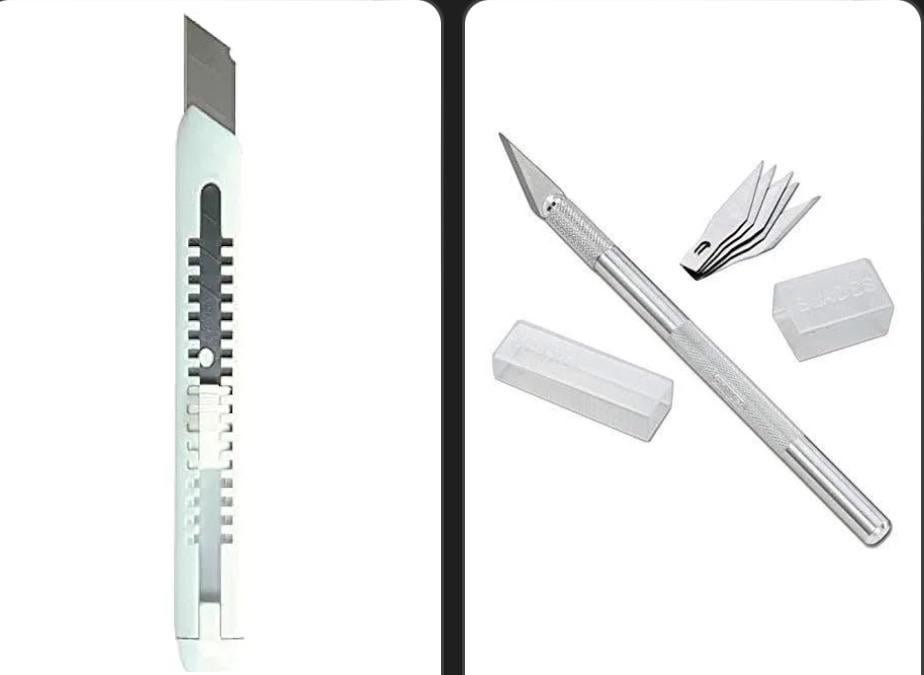
Types Of Marking Tools
You can use different tools to mark metal sheets. Each tool works best for certain metals and cutting styles.
- Permanent markers: Good for quick marks on smooth metal surfaces.
- Scriber tools: Sharp tips scratch the metal surface for long-lasting lines.
- Soapstone pencils: Leave visible marks that resist heat and oils.
- Chalk pencils: Useful for temporary marks on rough metal.
- Engraving pens: Electric or manual pens for deep, clear lines.
Selecting Based On Metal Type
Different metals need different marking tools. Soft metals need gentle marks, while hard metals need strong lines.
| Metal Type | Recommended Marking Tool |
| Aluminum | Permanent marker or soapstone pencil |
| Steel | Scriber or engraving pen |
| Copper | Chalk pencil or permanent marker |
| Brass | Scriber or soapstone pencil |
| Stainless steel | Engraving pen or scriber |
Maintaining Tool Precision
Keep your marking tools sharp and clean. Dull tips cause thick or unclear lines. Clean tools prevent rust and stains on metal.
- Sharpen scribers with a fine file regularly.
- Wipe markers and pencils clean after use.
- Store tools in a dry place to avoid rust.
- Replace worn tips on engraving pens promptly.
Preparing The Metal Surface
Marking metal sheets clearly helps you cut them accurately. The surface must be ready for marking.
Preparing the metal surface improves the visibility and precision of your marks.
Cleaning And Degreasing
Clean metal sheets remove dirt and oil. Dirt can hide your marks and cause mistakes.
Use a degreaser or soap with water. Wipe the metal surface with a clean cloth.
- Apply degreaser with a soft cloth
- Scrub gently to remove grease and oil
- Rinse with clean water and dry completely
Surface Smoothing Techniques
A smooth surface makes marking easier and clearer. Rough spots can cause uneven lines.
Lightly sand the metal with fine sandpaper. Remove any rust or rough areas before marking.
- Use 220-grit sandpaper for smoothing
- Sand in one direction for a uniform finish
- Wipe off dust after sanding
Applying Temporary Guides
Temporary guides help you mark straight and accurate lines. Use tape or chalk for easy removal.
Place masking tape along your cut line. Draw on the tape or use a pencil on chalk lines.
- Use masking tape for clean, removable lines
- Chalk lines work well on rough surfaces
- Remove guides after cutting is complete
Marking Techniques
Marking metal sheets accurately helps achieve precise cuts. Choosing the right marking method depends on the project and tools available.
This guide covers three effective techniques for marking metal sheets before cutting.
Using Scribes And Punches
Scribes make fine, visible lines on metal surfaces. Punches create small indentations to guide cutting tools.
- Use a sharp scriber for thin, clear lines.
- Hold the metal sheet steady while marking.
- Apply punches at corners or important points.
- Double-check marks before cutting.
Employing Templates And Stencils
Templates and stencils help repeat shapes accurately on metal sheets. They reduce errors and save time.
| Type | Description | Best Use |
| Metal Template | Rigid and durable, perfect for repeated shapes | Cutting multiple identical parts |
| Plastic Stencil | Flexible and easy to handle | Marking curves or complex patterns |
| Paper Template | Disposable and simple to make | One-time or rough marking |
Laser Marking Options
Laser marking uses focused light to make precise marks on metal. It leaves clear lines without damaging the surface.
- Laser marks are permanent and easy to see.
- They work well on shiny and dark metals.
- Use laser marking for complex or detailed designs.
- Requires special equipment and trained operators.

Credit: boss-exteriors.com
Ensuring Measurement Accuracy
Marking metal sheets accurately is key for clean cuts and good results. Measuring carefully helps avoid mistakes and wasted material.
Using the right techniques can improve your measurement accuracy. This guide shows how to check your tools and marks before cutting.
Measuring Tools Calibration
Check your measuring tools often to keep them accurate. Rulers and tape measures can wear out or bend over time.
Calibrate tools by comparing them to a known standard. This keeps your measurements true and reliable.
- Use a certified metal ruler or gauge block
- Replace damaged or worn-out tools
- Store tools properly to avoid damage
Double-checking Dimensions
Measure twice before marking to avoid errors. Taking extra time saves material and effort later.
Check both length and width carefully. Confirm angles if your cut is not straight.
- Measure the sheet’s edges and center points
- Use different tools to verify measurements
- Have another person check your marks
Using Grid And Reference Lines
Draw grid lines on the metal sheet to guide your marks. Grids help keep measurements even and straight.
Use reference lines from fixed points on the sheet. This helps place marks exactly where you want them.
- Use a square or straight edge to draw lines
- Mark key points clearly on the grid
- Keep lines light to avoid confusion during cutting
Tips For Complex Shapes
Marking metal sheets for cutting can be tough, especially with complex shapes. Accurate marks help you cut safely and correctly.
Use the right techniques to break down shapes and measure curves. This makes the process easier and more precise.
Breaking Down Shapes Into Sections
Large or complex shapes are easier to mark if you split them into smaller parts. This helps you focus on one section at a time.
Draw straight lines to divide the shape into simple areas. Mark each area clearly before cutting.
- Identify main parts of the shape
- Use straight lines to separate sections
- Label each section for clarity
- Work on one section at a time
Marking Curves And Angles
Curves and angles need careful marking for smooth cuts. Use curved rulers or templates to trace curves accurately.
For angles, measure each side and mark clear points. Connect points with a straight edge for sharp lines.
- Use curved rulers or flexible templates
- Mark points along curves evenly
- Measure angles on both sides
- Connect angle points with a straight edge
Utilizing Flexible Measuring Tools
Flexible tools like bendable rulers or tapes help measure odd shapes. They fit curves and edges better than rigid tools.
Use these tools to follow the exact shape outline. Mark points along the tool’s edge and transfer them to the metal.
- Bend the tool to match curves
- Mark points evenly along the edge
- Transfer points carefully to the metal
- Double-check measurements before cutting
Common Mistakes To Avoid
Marking metal sheets for cutting needs care and precision. Mistakes can cause waste and poor cuts.
Learn what to avoid to get clean, accurate cuts every time you work with metal sheets.
Misaligned Markings
Marking lines that do not match the cutting guide lead to uneven edges. This causes parts to not fit well. Use a straight edge and check your measurements twice before marking.
Over-markings And Smudges
Too many marks or smudges make it hard to see the correct cutting line. This confusion can cause mistakes. Keep your marking tools clean and use light, clear lines.
- Use a fine-tip permanent marker or scribe for precise lines.
- Wipe off any excess ink or pencil marks before cutting.
- Avoid heavy hand pressure that can smudge the marks.
- Mark only the necessary lines needed for cutting.
Ignoring Material Expansion
Metal expands and contracts with temperature changes. Ignoring this causes wrong fits after cutting. Plan for expansion by adding a small gap or allowance in your markings.
| Metal Type | Expansion per 1m (mm) | Recommended Gap (mm) |
| Aluminum | 1.2 | 1.5 |
| Steel | 0.6 | 1.0 |
| Copper | 1.7 | 2.0 |
Post-marking Checks
After marking metal sheets for cutting, it is important to check the marks carefully. This helps avoid mistakes and waste.
Post-marking checks ensure the lines are clear, accurate, and ready for the cutting process.
Visual Inspection
Look closely at all the marks on the metal sheet. Make sure the lines are straight and visible.
Check if the marks match the measurements you planned. Confirm there are no extra or missing lines.
- Lines should be clear and easy to follow
- Markings must align with your cutting guide
- Remove any smudges or unclear marks
- Check for any damage or dents near the marks
Test Cuts On Scrap Metal
Perform test cuts on a scrap piece of metal. This helps you see if the marks guide the cut correctly.
Use the same tools and settings you will use on the actual sheet. Check if the cut matches the mark.
- Use scrap metal of the same thickness
- Cut along the marked lines on the scrap
- Check if the cut is clean and accurate
- Note any differences between the mark and cut
Adjusting Marks If Needed
If test cuts or inspection show problems, fix the marks before cutting the real sheet.
Use a fine marker or scribe tool to correct lines. Erase or cover wrong marks clearly.
- Redraw lines to improve accuracy
- Double-check measurements after adjustments
- Clean the surface to avoid confusion
- Repeat test cuts if changes are large

Credit: www.heatsign.com

Credit: www.faithfulltools.com
Frequently Asked Questions
How Do I Mark Metal Sheets For Accurate Cutting?
Use a fine-tip permanent marker or scribe for precise lines. Measure twice, mark once, and use a straightedge for accuracy. Ensure the surface is clean to avoid slipping during marking.
What Tools Are Best For Marking Metal Sheets?
A scribe, permanent marker, or metal pencil works best. These tools provide clear, fine lines that won’t smudge. Use a ruler or square to guide your marks for precision.
How Can I Ensure Straight Lines On Metal Sheets?
Use a metal ruler or square as a guide. Clamp the ruler firmly to prevent movement. Draw slowly and steadily to maintain a straight, clear line.
Why Is Surface Preparation Important Before Marking Metal?
Cleaning the metal sheet removes dirt and oil that cause smudging. A clean surface ensures your marks are clear and precise. This improves cutting accuracy and reduces errors.
Conclusion
Marking metal sheets clearly helps you cut with confidence. Use the right tools and take your time. Double-check your measurements before cutting to avoid mistakes. Clean and sharp lines make the cutting process easier. Practice these steps to improve your accuracy.
Keep your workspace organized for better focus. Accurate marking saves materials and reduces waste. Follow these tips for better metal cutting results every time. Simple habits lead to professional outcomes. Your projects will look cleaner and fit better with precise marking.