Are you tired of spending precious time searching for the right clamp amidst a chaotic tool wall? Imagine a workspace where every clamp is easily accessible, neatly organized, and ready to use.
By learning how to efficiently organize clamps on your tool wall, you can save time, reduce frustration, and boost your productivity. We’ll guide you step-by-step to transform your cluttered tool wall into a well-organized haven. Discover simple tips and tricks that will not only make your work area more efficient but also inspire you to tackle any project with ease.
Dive in to find out how you can create a tool wall that serves you, rather than the other way around.

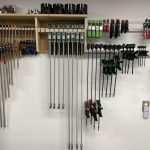
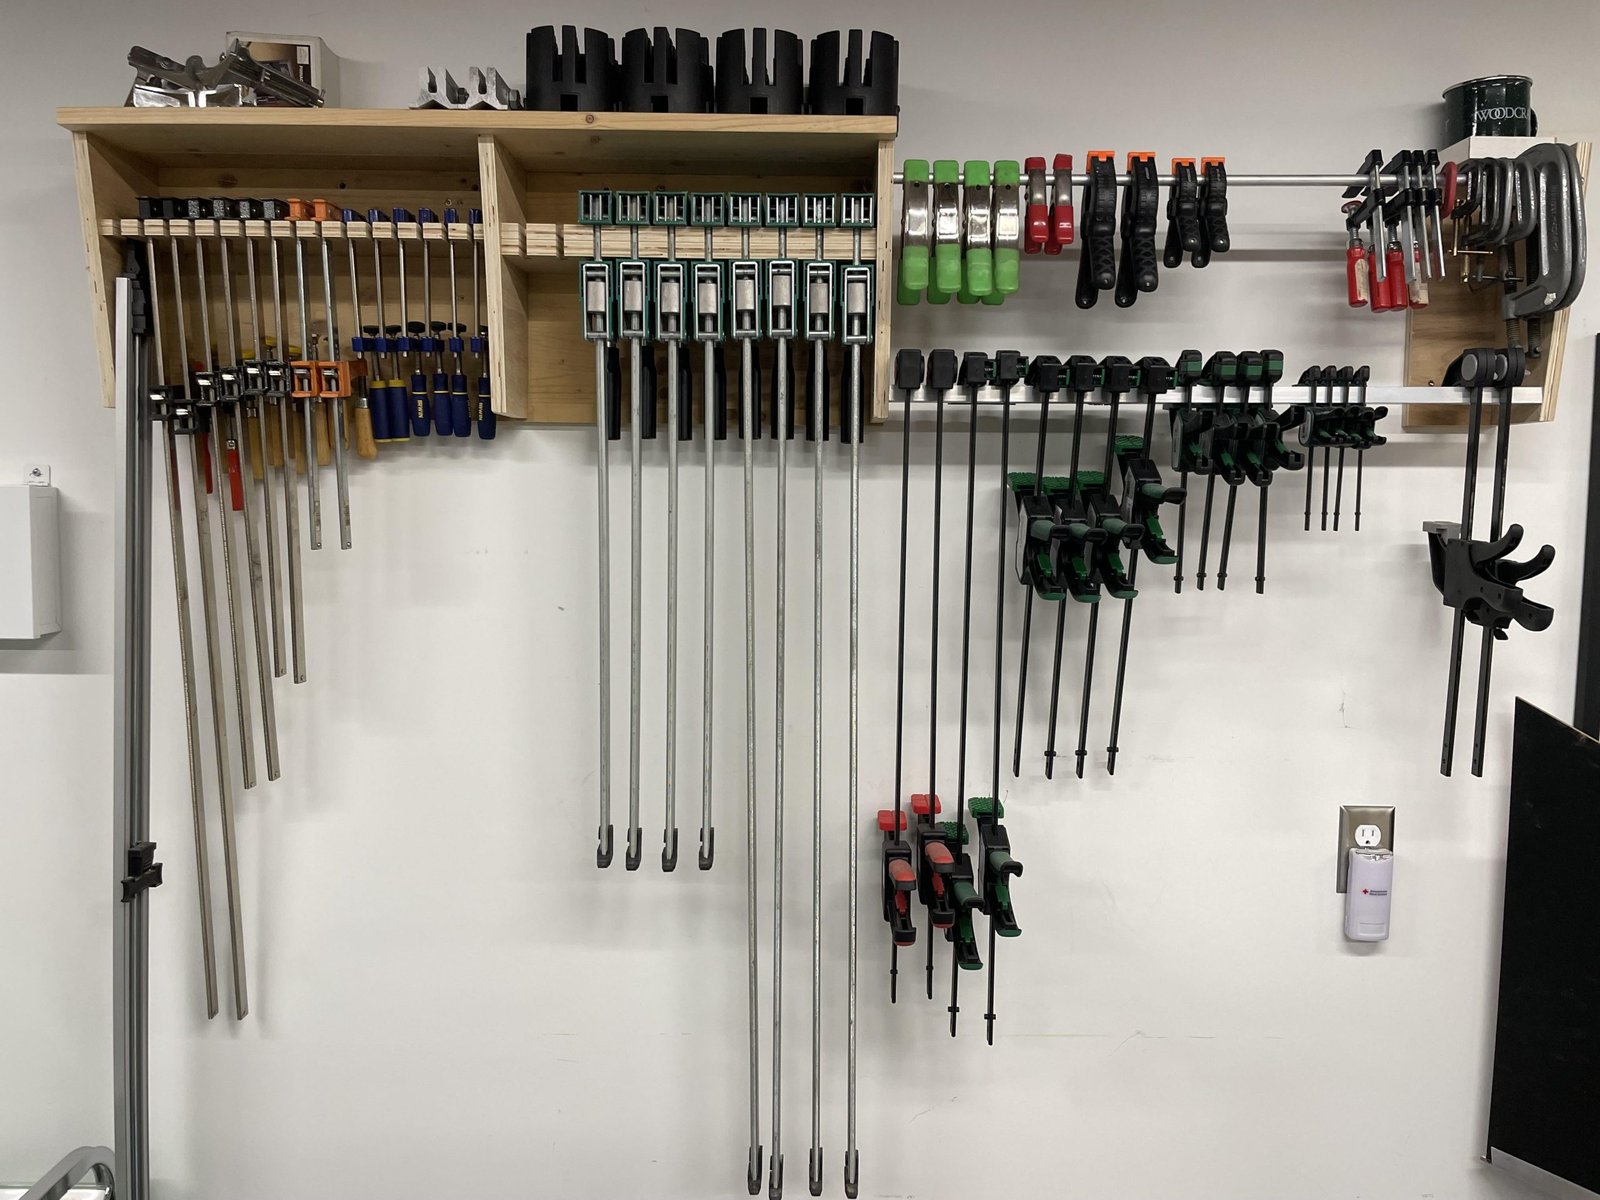
Credit: www.reddit.com
Choosing The Right Tool Wall
Organizing clamps on a tool wall helps keep your workspace tidy. Picking the right tool wall is important for easy access and safety.
A good tool wall holds clamps securely and fits your workspace size. Consider materials, placement, and sizing before starting.
Materials For Durability
Choose strong materials that can hold heavy clamps. Wood, metal, and plywood are common options.
Metal walls resist wear and last long. Wood walls are easier to customize and repair.
- Metal: Very durable and holds heavy clamps well
- Wood: Easy to drill and customize for hooks
- Plywood: Affordable and strong for most clamps
Optimal Wall Placement
Place the tool wall where you work most. Keep clamps within arm’s reach for quick use.
Avoid placing the wall in damp or cluttered areas. Good lighting helps you find clamps fast.
- Near your main workbench or table
- At eye level for easy viewing
- In a dry, well-lit space
Sizing For Clamp Variety
Measure your clamps before choosing wall size. Leave space for different clamp sizes and future additions.
Organize clamps by size or type. Use wider spaces for large clamps and smaller hooks for light ones.
- Allow extra space for long clamps
- Include small hooks for quick clamps
- Plan for extra clamps you may buy
Types Of Clamps And Their Needs
Clamps come in many shapes and sizes. Each type holds workpieces differently.
Organizing clamps well keeps your workspace clean and saves time.
Quick-grip Clamps
Quick-grip clamps use a trigger to tighten fast. They are easy to use with one hand.
They are best for light to medium tasks. Store them where you can grab them quickly.
- Hold small parts together
- Adjust quickly for different sizes
- Good for woodworking and crafts
C-clamps
C-clamps are strong and heavy. They use a screw to tighten firmly.
They work well for metal or thick wood pieces. Store them on sturdy hooks or shelves.
- Provide strong pressure
- Good for welding or carpentry
- Come in many sizes
Bar Clamps
Bar clamps have a long metal bar. They can hold wide or long pieces.
Use them for large woodworking projects. Hang bar clamps horizontally on a wall rack.
- Adjustable to different widths
- Apply even pressure
- Good for panel gluing
Specialty Clamps
Specialty clamps serve specific needs. Examples include corner clamps and pipe clamps.
Store specialty clamps in labeled bins or hooks. Keep them separate for easy access.
- Corner clamps hold right angles
- Pipe clamps fit around round objects
- Spring clamps hold light parts
Mounting Options For Clamps
Organizing clamps on a tool wall keeps your workspace tidy. It also makes clamps easy to find and use quickly.
There are several ways to mount clamps. Choose the option that fits your wall space and clamp size.
Hooks And Pegs
Hooks and pegs are simple and effective for hanging clamps. They hold clamps securely and allow quick access.
- Use sturdy metal hooks for heavy clamps
- Place pegs spaced to fit clamp handles
- Label hooks for different clamp types
- Arrange by size for easy sorting
Magnetic Holders
Magnetic holders work well for clamps with metal parts. They keep clamps off the surface and save space.
| Type of Clamp | Magnet Strength Needed | Ideal Use |
| C-Clamps | Strong | Hold firmly on metal walls |
| Spring Clamps | Medium | Quick grab and release |
| Pipe Clamps | Extra Strong | Support heavy weight |
Custom Shelves
Custom shelves fit clamps of all shapes and sizes. They provide a stable place for clamps that do not hang well.
Tips for building custom shelves:
- Measure clamp length and width first
- Use strong wood or metal for shelf material
- Add dividers to keep clamps from sliding
- Mount shelves at reachable height

Credit: www.reddit.com
Maximizing Vertical Space
Organizing clamps on a tool wall saves space and keeps tools easy to find. Using vertical space helps store many clamps without clutter.
Smart storage keeps your work area tidy and improves efficiency. This guide shows ways to use wall space well.
Stacking Techniques
Stack clamps by size and type to save room. Place smaller clamps on top of larger ones to keep them stable.
- Group clamps by shape or function
- Stack the same size clamps together
- Use sturdy shelves or hooks for support
- Keep the heaviest clamps at the bottom
Using Multiple Rows
Arrange clamps in rows to use the full height of your wall. Space rows evenly to avoid crowding and allow easy access.
| Row | Clamp Type | Height from Floor (inches) |
| Top | Small spring clamps | 72-80 |
| Middle | Medium bar clamps | 48-72 |
| Bottom | Large pipe clamps | 24-48 |
Adjustable Mounts
Adjustable mounts let you change clamp positions as your collection grows. They make the tool wall flexible and easy to update.
Benefits of adjustable mounts include:
- Custom spacing for different clamp sizes
- Easy to move or add mounts
- Helps keep clamps secure on the wall
- Reduces the need for extra shelves or racks
Labeling And Accessibility
Organizing clamps on a tool wall makes your workspace safer and faster. Labeling and accessibility help you find clamps quickly.
Clear labels and smart placement keep your clamps easy to reach. This guide shows simple ways to arrange clamps well.
Clear Identification Methods
Label each clamp type clearly. Use tags or stickers with size and type info. This helps spot the right clamp fast.
- Use waterproof labels to avoid damage
- Color-code clamps by size or purpose
- Place labels near the clamp handle
- Update labels if clamps are moved
Quick Reach Strategies
Place clamps at eye level or within arm’s reach. Group clamps by frequency of use to save time.
| Clamp Type | Placement | Access Tip |
| Small spring clamps | Eye level | Use color-coded hooks |
| Bar clamps | Lower section | Hang by handles |
| Pipe clamps | Side wall | Use heavy-duty holders |
| C-clamps | Central area | Arrange by size |

Credit: www.youtube.com
Maintenance And Safety Tips
Organizing clamps on a tool wall keeps your workspace tidy and safe. Proper care helps clamps last longer and work better.
This guide covers simple ways to inspect, protect, and handle your clamps safely.
Regular Inspection
Check your clamps often to spot any wear or damage early. Look for cracks, rust, or loose parts.
- Inspect clamp jaws for dents or cracks.
- Test screws and handles for smooth movement.
- Check springs and locking parts for proper function.
- Clean clamps to remove dirt and debris.
Preventing Damage
Keep clamps in good shape by storing them correctly and avoiding harsh conditions.
| Action | Reason |
| Hang clamps on hooks or racks | Prevents bending or warping |
| Keep clamps dry and clean | Avoids rust and corrosion |
| Use protective pads on clamp jaws | Prevents damage to both clamps and workpieces |
| Do not overload clamps beyond their capacity | Prevents breakage and loss of grip |
Safe Handling Practices
Handle clamps carefully to protect yourself and keep tools working properly.
- Wear gloves to avoid pinches and cuts.
- Keep fingers clear when tightening or releasing clamps.
- Use the right clamp size for the task.
- Store clamps out of walkways to prevent trips and falls.
- Do not use clamps with broken or missing parts.
Frequently Asked Questions
How Do I Choose The Best Clamps For My Tool Wall?
Select clamps based on size, type, and frequency of use. Prioritize durable clamps that fit your projects. Organize by clamp type for easy access and efficient workspace.
What Is The Ideal Spacing For Clamps On A Tool Wall?
Space clamps evenly to avoid crowding and ease access. Leave at least 2 inches between clamps for handling. Proper spacing prevents damage and maintains a neat appearance.
How Can I Securely Mount Clamps On A Tool Wall?
Use strong hooks, brackets, or pegboards for mounting clamps. Ensure they support the clamp’s weight safely. Secure mounts prevent clamps from falling or damaging the wall.
What Are The Best Materials For A Clamp Tool Wall?
Wood and metal pegboards are durable and versatile options. They support various clamp sizes and weights. Choose materials that match your workshop style and durability needs.
Conclusion
Organizing clamps on a tool wall saves time and space. Keep clamps visible and easy to reach. Group similar clamps together for quick access. Use hooks, shelves, or pegboards to hold them securely. Regularly check and tidy your tool wall to maintain order.
A neat workspace helps you work faster and with less stress. Start organizing today and enjoy a cleaner workshop. Simple steps make a big difference in tool management.