Are you ready to elevate your woodworking skills with precision and accuracy? Using a protractor might just be your secret weapon.
This simple tool can transform your woodworking projects, allowing you to achieve perfect angles and flawless finishes. Whether you’re a seasoned craftsman or a woodworking enthusiast, mastering the protractor can significantly improve your work. Imagine the satisfaction of having your pieces fit together seamlessly, every single time.
You’ll discover practical tips and insights that make using a protractor easy and effective. Stick around, and unlock the potential to turn your woodworking dreams into reality.

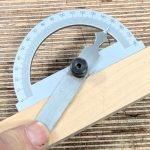
Credit: www.reddit.com
Choosing The Right Protractor
Using a protractor helps you measure and mark angles accurately in woodworking. Picking the right protractor makes your work easier and more precise.
There are many types of protractors. Each one suits different woodworking tasks. Knowing the options helps you choose the best tool for your project.
Types Of Protractors
Protractors come in various shapes and designs. Some are simple and good for basic angles. Others have special features for complex work.
- Standard semicircle protractors measure angles up to 180 degrees.
- Bevel protractors have adjustable arms for transferring angles.
- Digital protractors show angle readings on a screen.
- Combination protractors include rulers and levels.
Materials And Durability
Protractors are made from different materials. Choose one that lasts long and fits your work environment.
Plastic protractors are light and affordable but may break easily. Metal protractors are stronger and more durable. Stainless steel resists rust and damage.
- Plastic: lightweight, less durable
- Metal: strong, long-lasting
- Stainless steel: rust-resistant, durable
Size And Scale Options
Protractors come in different sizes. The size affects how easy it is to read and use the tool.
Smaller protractors are good for tight spaces. Larger ones have bigger scales for better accuracy. Look for clear markings that are easy to see.
- Small: fits tight spots, less precise
- Medium: balanced size and accuracy
- Large: easy to read, very accurate

Credit: www.wikihow.com
Preparing Your Workspace
Setting up your workspace well helps you use a protractor better. A good setup keeps your work safe and accurate.
Focus on three main things: flat surface, proper lighting, and organized tools. Each helps in making woodworking easier.
Ensuring A Flat Surface
A flat surface stops your protractor from slipping. It also helps you measure angles right every time.
- Use a sturdy table or workbench.
- Check if the surface is even with a level tool.
- Clear the surface of dust and debris before starting.
- Place a non-slip mat if the surface is smooth or slippery.
Proper Lighting Conditions
Good lighting helps you see angle markings clearly. It reduces mistakes and eye strain.
| Type of Lighting | Best Use |
| Natural Light | Daytime projects near windows |
| LED Desk Lamp | Focused light for detailed work |
| Overhead Fluorescent | Even lighting for larger areas |
Organizing Tools For Efficiency
Keep your protractor and other tools close and tidy. This saves time and avoids losing items.
- Use small containers or trays for small tools.
- Hang frequently used tools on a pegboard.
- Label drawers or boxes to find tools fast.
- Keep a clean workspace by putting tools back after use.
Measuring Angles Accurately
Using a protractor helps you measure angles for woodworking projects. Accurate angle measurements ensure your cuts fit together well. Small mistakes can cause gaps or misaligned pieces.
Follow some simple tips to get the best results. Proper use of a protractor makes your work cleaner and more professional.
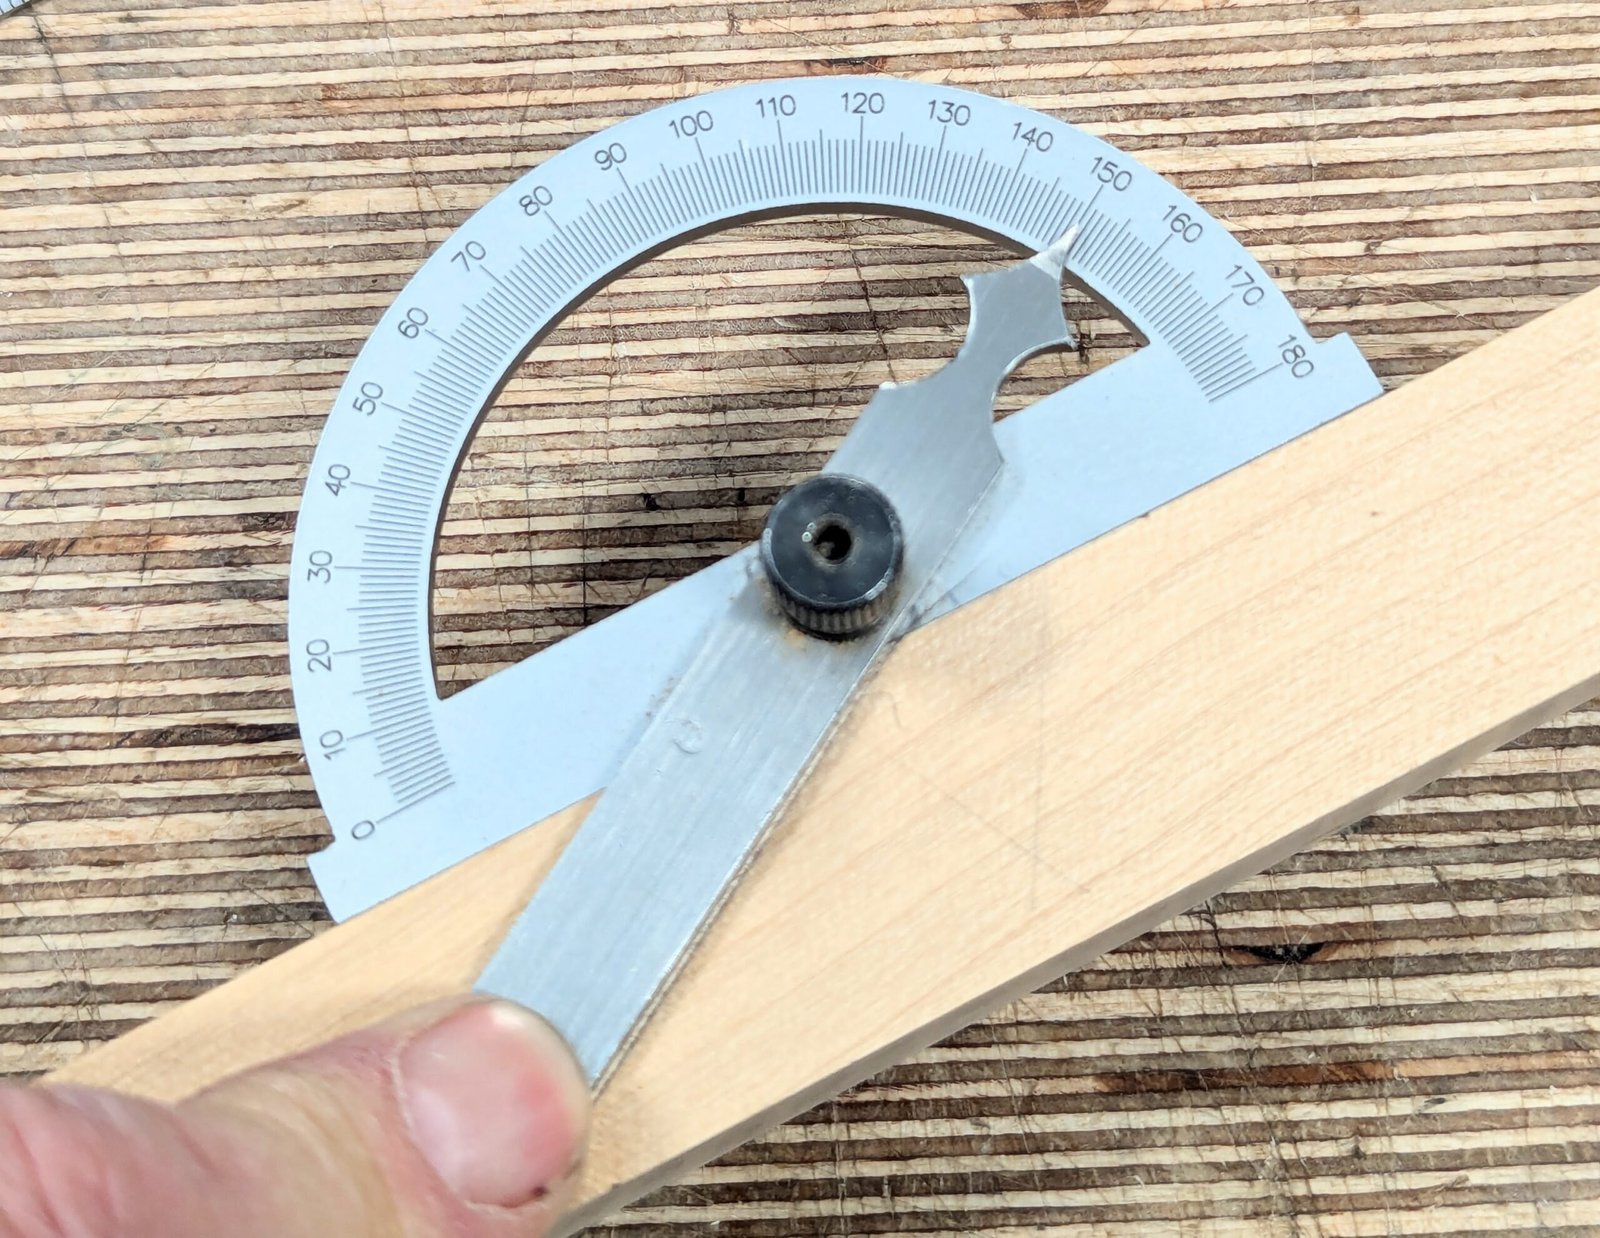
Aligning The Protractor Correctly
Place the protractor flat on the wood surface. Make sure the center hole or pivot point matches the angle vertex. The base line of the protractor must line up with the wood edge or reference line.
- Check that the protractor does not tilt or move.
- Hold it steady with one hand while marking.
- Use a sharp pencil for clear marks.
Reading The Angle Scale
Look carefully at the numbers on the protractor scale. Identify if you need to read the inner or outer scale depending on your angle type. Read the scale from zero on the base line to the mark where your angle ends.
| Type of Angle | Scale to Use | How to Read |
|---|---|---|
| Acute < 90° | Inner scale | Count from zero on baseline to angle mark |
| Obtuse > 90° | Outer scale | Count from zero on baseline to angle mark |
| Right angle 90° | Both scales | Check alignment with baseline and vertical mark |
Marking The Wood Precisely
After reading the angle, mark the wood clearly. Use a sharp pencil or marking knife. Draw a fine line along the edge of the protractor at the correct angle.
- Double-check the mark before cutting.
- Keep your hand steady to avoid smudging.
- Use a ruler to extend the line if needed.

Credit: www.wikihow.com
Common Mistakes To Avoid
Using a protractor correctly is key to getting precise angles in woodworking. Many beginners make simple errors that cause mistakes in their projects.
Watch out for common pitfalls to improve your accuracy. Avoiding these errors saves time and material waste.
Misreading The Scale
One of the most frequent mistakes is reading the wrong side of the protractor scale. Protractors often have two sets of numbers going in opposite directions.
- Check if you are using the inner or outer scale for your measurement.
- Align the 0° mark properly before reading the angle.
- Double-check the number to avoid confusing acute and obtuse angles.
Improper Placement
Placing the protractor incorrectly on the workpiece leads to wrong angle readings. The baseline must line up exactly with the edge of the wood.
| Common Placement Errors | Effect on Measurement |
| Protractor shifted away from edge | Angle appears larger or smaller |
| Pivot point not on vertex | Incorrect angle reference |
| Protractor tilted or lifted | Reading is not precise |
Ignoring Calibration
Some protractors may lose accuracy over time or have factory errors. Ignoring calibration causes consistent angle mistakes in your work.
To check calibration:
- Place the protractor on a known 90° corner.
- Align it carefully and read the angle.
- If it does not show 90°, adjust your readings accordingly.
- Mark corrections on the protractor if needed.
Advanced Techniques
Using a protractor in woodworking can do more than measure simple angles. It helps with detailed and tricky cuts. Learning advanced ways to use it saves time and improves accuracy.
These tips show how to handle complex shapes and combine tools for better results. Adjusting the protractor for uneven surfaces is also important in real projects.
Using Protractors For Complex Cuts
For complex cuts, use your protractor to mark exact angles on wood. This helps with shapes like polygons or irregular designs. Take your time to place the protractor correctly.
Double-check angles by measuring from both sides of the cut line. This reduces errors and keeps your project precise.
- Place the protractor base on the wood edge
- Align the center hole with the cut point
- Mark the angle clearly with a pencil
- Measure angles from both sides to confirm
Combining With Other Measuring Tools
Use your protractor with rulers and squares for better accuracy. This helps check straight lines and angles together. Combining tools lets you plan cuts before sawing.
A tape measure helps get the length, while the protractor sets the angle. Use a carpenter’s square to check right angles before cutting.
- Measure length with a tape measure
- Set angle with the protractor
- Check right angles using a carpenter’s square
- Mark all points clearly before cutting
Adjusting For Irregular Surfaces
Wood surfaces are not always flat. The protractor can give wrong readings on curved or rough wood. Adjust it by holding the tool steady and level.
Use a small block under the protractor to keep it flat. Check your angle marks twice to avoid mistakes caused by surface bumps.
- Hold the protractor steady and flat
- Use a flat block to support uneven wood
- Double-check angle marks for accuracy
- Make small corrections if needed
Maintaining Your Protractor
Keeping your protractor in good shape helps with accurate woodworking. Proper care makes it last longer. You can avoid mistakes by maintaining it well.
Here are some useful tips to clean, store, and handle your protractor. Regular checks and gentle care keep it reliable for every project.
Cleaning And Storage Tips
Clean your protractor after each use to remove dust and wood particles. Use a soft cloth to avoid scratches. Avoid using harsh chemicals that can damage the markings.
- Wipe with a dry, soft cloth
- Use mild soap and water for stubborn dirt
- Dry completely before storing
- Keep in a protective case or pouch
- Store in a dry, cool place away from direct sunlight
Regular Calibration Checks
Check your protractor’s accuracy often. Small errors can cause big problems in woodworking. Calibration helps keep angles precise.
| Check Method | How Often | Why |
| Compare with a known angle tool | Monthly | Detects wear or damage |
| Test on a scrap wood piece | Before major projects | Ensures correct measurements |
| Inspect markings for fading | Every use | Maintains readability |
Handling And Care Practices
Handle your protractor gently. Avoid dropping it or exposing it to extreme temperatures. Proper handling prevents cracks and misalignment.
- Hold with clean, dry hands
- Do not bend or force the tool
- Keep away from heavy tools or objects
- Use a flat surface for measurements
- Check for damage before each use
Frequently Asked Questions
How Do I Measure Angles Accurately With A Protractor?
Align the protractor’s baseline with your wood edge. Place the center hole over the vertex. Read the inner or outer scale for the angle, ensuring your eye is level for accuracy.
What Protractor Type Is Best For Woodworking Projects?
A clear plastic protractor with a 180-degree scale works best. It allows precise angle reading and easy alignment on wood surfaces for detailed cuts.
How Can I Mark Angles Precisely Using A Protractor?
After measuring, use a sharp pencil to mark the angle point. Connect the mark to the vertex with a ruler for a clear cutting guide.
Can I Use A Protractor For Complex Wood Angles?
Yes, a protractor helps measure and replicate complex angles. For compound angles, measure each angle separately, then transfer them carefully to your wood.
Conclusion
Using a protractor helps you get precise angles in woodworking. Take your time to measure carefully and mark clearly. Practice often to feel more confident with your tool. Small mistakes can affect your final project, so be patient. Remember, steady hands and good focus lead to better results.
Keep your protractor clean and store it safely after use. These simple steps make woodworking easier and more enjoyable. Try these tips on your next project and see the difference.