Are you ready to take on your next DIY project with confidence? Whether you’re building a new frame for your home or just hanging a picture, mastering the use of a claw hammer can make all the difference.
Imagine the satisfaction of driving nails with precision, effortlessly tackling your framing tasks like a pro. In this guide, we’re going to unlock the secrets of using a claw hammer for framing, ensuring your projects not only stand strong but look great too.
Stick around, because by the end of this article, you’ll have the insider tips and tricks that will transform your hammering skills and leave you feeling empowered to tackle any framing challenge that comes your way. Let’s hammer out the details and elevate your DIY game!
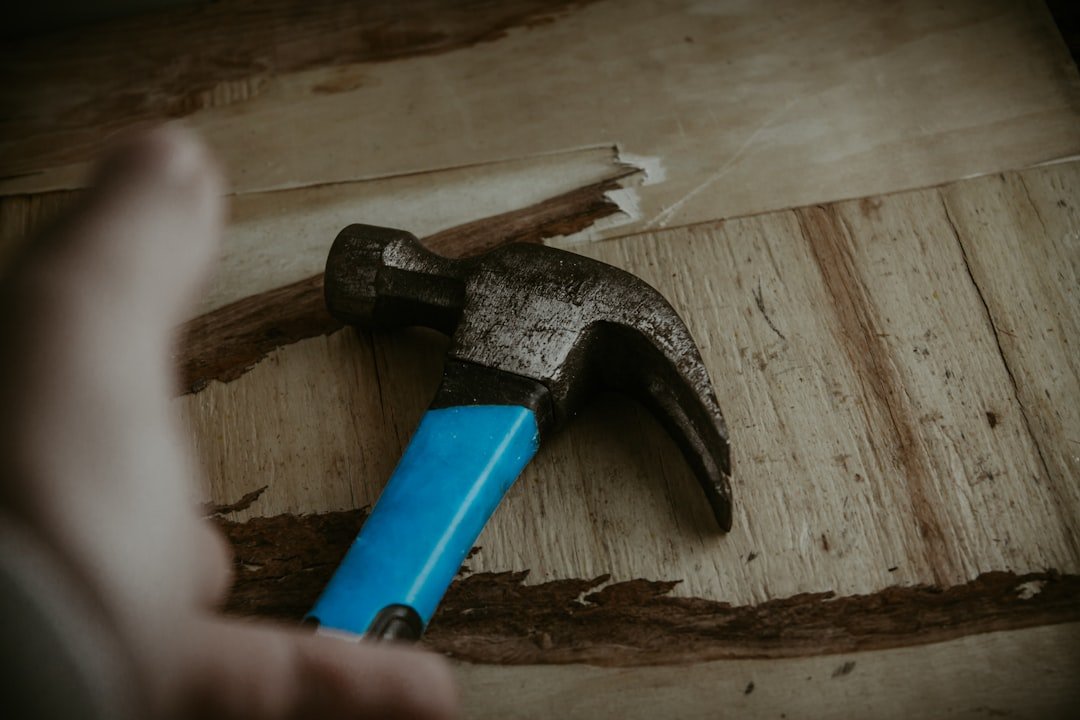
Credit: www.fastek.ca
Choosing The Right Claw Hammer
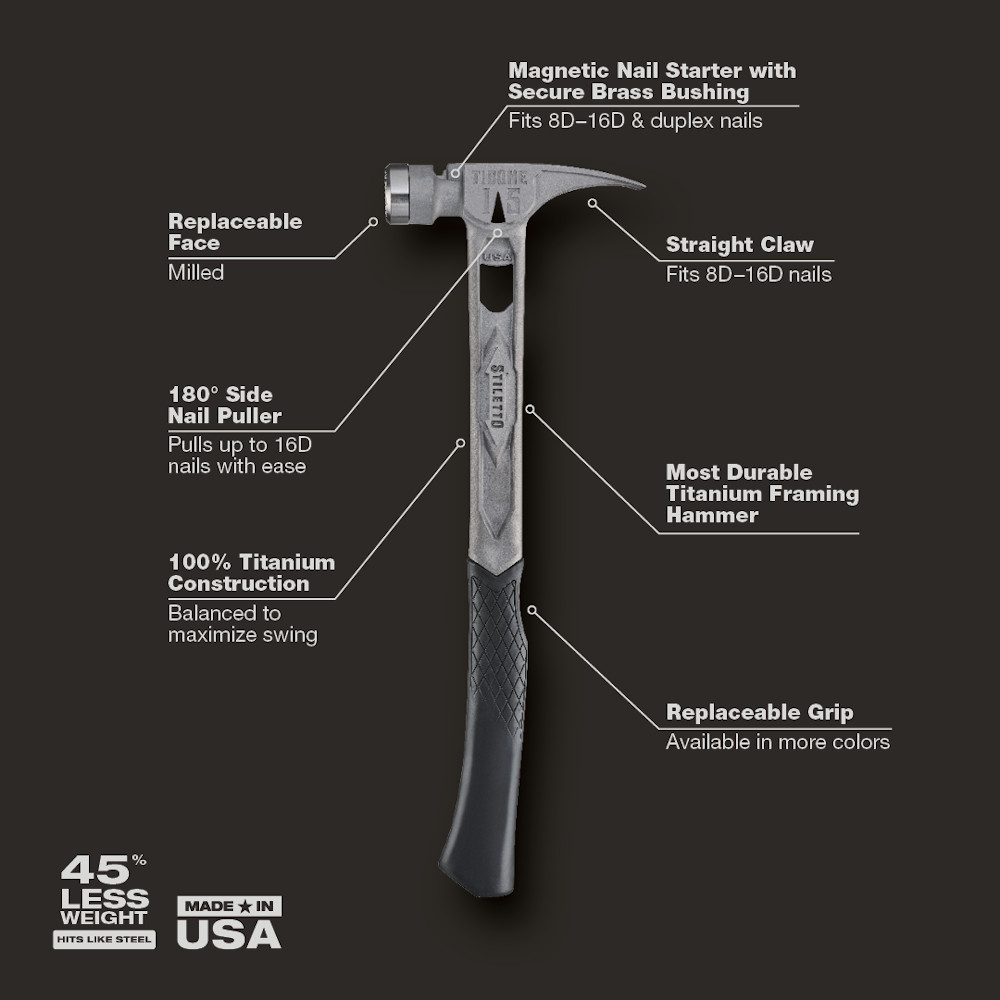
Picking the right claw hammer makes framing easier and safer. Consider the hammer’s weight, balance, handle, and grip before buying.
These features help you work longer without getting tired. They also improve your accuracy and control while driving nails.
Weight And Balance Considerations
Choose a hammer with the right weight for your strength. A hammer that is too heavy can tire your arm fast. A light hammer may not drive nails well.
- 16 to 20 ounces is best for most framing jobs
- Check that the hammer feels balanced in your hand
- Balanced hammers reduce wrist strain and improve control
- Try holding the hammer before buying it
Handle Materials And Grip Options
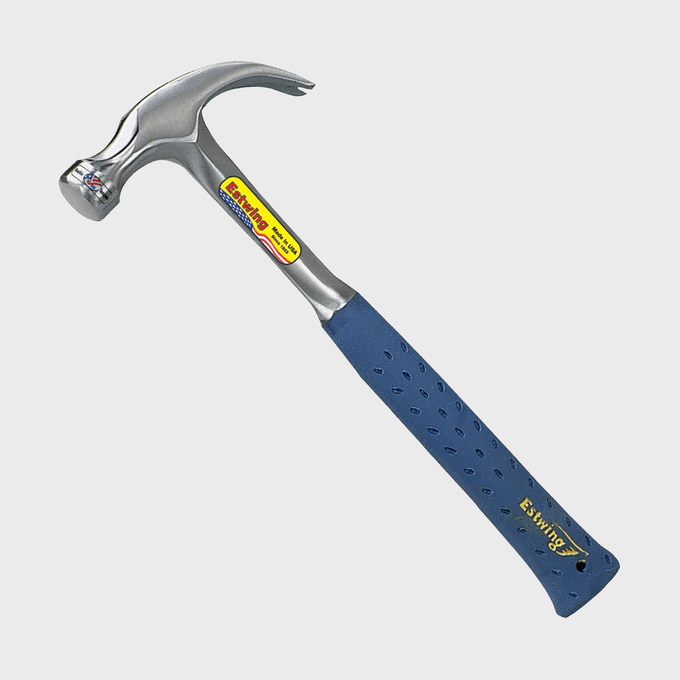
Hammer handles come in wood, steel, and fiberglass. Each has pros and cons for comfort and durability.
| Handle Material | Benefits | Drawbacks |
|---|---|---|
| Wood | Good shock absorption, traditional feel | Can break or splinter over time |
| Steel | Very strong, long-lasting | More vibration, heavier |
| Fiberglass | Lightweight, absorbs shocks well | Can crack if dropped hard |

Credit: www.familyhandyman.com
Preparing For Framing Tasks
Using a claw hammer for framing needs careful preparation. Getting ready helps you work safely and faster.
Before you start, make sure you have the right tools and set up your workspace well. This avoids mistakes and injuries.
Safety Gear Essentials
Safety gear protects you from injuries while using a claw hammer. Always wear the right equipment to stay safe.
Good safety gear helps prevent cuts, bruises, and eye damage. It also keeps your hands steady and secure.
- Wear safety glasses to protect your eyes from flying nails and wood chips.
- Use work gloves to guard your hands from splinters and hammer slips.
- Wear sturdy shoes with closed toes to protect your feet.
- Consider hearing protection if you work near loud tools.
Work Area Setup
Set up your work area before starting framing tasks. A clear and organized space helps you work better.
Keep your tools within reach and remove anything that can cause trips or falls. Good lighting also helps you see clearly.
- Clear the floor of debris and unnecessary items.
- Arrange lumber and nails near your workspace for easy access.
- Use a stable surface or sawhorse to hold wood pieces.
- Make sure your area has enough light to see nails and wood joints.
Basic Hammering Techniques
Using a claw hammer correctly helps you build stronger frames. Good technique saves time and reduces injuries.
Learn the right grip and stance, and how to start nails quickly. These skills make framing easier.
Proper Grip And Stance
Hold the hammer near the end of the handle for better control and power. Keep your wrist loose to swing smoothly.
- Stand with feet shoulder-width apart.
- Face your work straight on.
- Bend your knees slightly for balance.
- Keep your eyes on the nail head.
Starting Nails Efficiently
Hold the nail near its base with your thumb and forefinger. Tap lightly at first to set the nail in place.
| Hammering Phase | Tips |
|---|---|
| Positioning | Hold nail steady with fingers, keep hammer near end. |
| Initial Taps | Use gentle taps to avoid bending the nail. |
| Driving the Nail | Increase swing power after nail is set. |
Advanced Framing Tips
Using a claw hammer well can make framing easier and faster. Small skills help you get better results.
These tips focus on driving nails and fixing mistakes cleanly. Follow them to improve your work.
Driving Nails Flush
Driving nails flush means the nail head sits even with the wood surface. This helps keep a smooth frame.
To do this, hold the hammer near the end for control. Use light taps to start the nail, then stronger hits to finish.
- Start nails straight to avoid bending
- Tap gently to set the nail without damage
- Use full swings for the last few hits
- Stop when the nail head is level with wood
Removing Mistakes Cleanly
If you drive a nail in the wrong spot, remove it without harming the wood. The claw hammer is perfect for this.
Slide the claw under the nail head and pull back slowly. Use a small block of wood as a lever to protect the surface.
- Place a wood block under hammer claw to avoid dents
- Pull the nail straight out to reduce damage
- Remove bent nails carefully to prevent wood splitting
- Fill holes before nailing again for a strong frame
Maintaining Your Claw Hammer
Keeping your claw hammer in good shape helps it last longer. Regular care ensures it works well for framing tasks.
Simple maintenance steps can prevent damage and keep the hammer safe to use.
Cleaning And Storage
Clean your claw hammer after each use. Remove dirt, dust, and sap from the head and handle. Use a cloth and mild soap if needed.
- Wipe the hammer with a dry cloth to remove moisture.
- Apply light oil on the metal head to stop rust.
- Store the hammer in a dry place, away from water.
- Use a toolbox or wall rack to keep it safe and easy to find.
Checking For Wear And Damage
Inspect your hammer regularly. Look for cracks, splinters, or loose parts. A damaged hammer is unsafe and less effective.
| Part | What to Check | Action if Damaged |
| Handle | Cracks or splinters | Replace handle or hammer |
| Head | Rust or dents | Clean rust; replace if dented |
| Head Attachment | Loose or wobbly | Tighten or replace hammer |
| Claw | Bent or chipped | Replace hammer |
Credit: www.familyhandyman.com
Frequently Asked Questions
What Is The Best Claw Hammer For Framing?
A framing claw hammer should have a 16 to 20-ounce head for power. Choose one with a comfortable, non-slip grip to reduce fatigue during extended use. A straight claw design helps in efficient nail removal. Durable steel construction ensures longevity and strength.
How Do I Hold A Claw Hammer Correctly?
Grip the hammer handle near the end for maximum leverage. Hold it firmly but not too tight to maintain control. Keep your wrist straight and swing from the elbow for accuracy. This technique improves power and reduces strain during framing tasks.
What Safety Tips Should I Follow When Framing?
Always wear safety goggles to protect your eyes from flying debris. Use gloves to prevent blisters and improve grip. Check your work area for hazards and keep it clean. Ensure nails are properly positioned to avoid slippage and injuries.
How Do I Remove Nails With A Claw Hammer?
Position the claw under the nail head firmly. Use the hammer’s handle as a lever to pry the nail out slowly. Apply steady pressure to avoid damaging the wood. If the nail is stubborn, wiggle the claw gently to loosen it.
Conclusion
Using a claw hammer for framing becomes easier with practice. Hold the hammer firmly and strike nails straight. Keep your eye on the nail head to avoid misses. Use the claw carefully to remove any bent nails. Safety matters—wear gloves and goggles while working.
Small tips like these help you work faster and better. Keep tools in good shape for best results. Soon, framing will feel less like a chore and more like a skill you enjoy. Simple steps lead to strong, sturdy frames every time.