Are you tired of spending precious minutes searching for your tools every time you start a project? Imagine having all your tools organized and within reach, ready to roll wherever you need them.
Setting up a rolling tool storage cart might just be the game-changer you’ve been looking for. This guide will walk you through the simple steps to create your own mobile workshop companion. You’ll learn how to organize your tools efficiently, maximize space, and save time.
By the end of this article, you’ll not only have a clutter-free workspace but also a newfound sense of control over your projects. Ready to transform your DIY experience? Let’s dive in!
Choosing The Right Cart
Selecting the right rolling tool storage cart makes your work easier. You must consider different features before buying one.
Focus on materials, size, and how easily you can move the cart. These factors affect durability and convenience.
Materials And Durability
Look for carts made from strong materials like steel or heavy-duty plastic. These materials resist rust and damage.
- Steel carts last longer and hold heavy tools
- Plastic carts are lighter and resist corrosion
- Check for powder coating to prevent scratches
- Quality wheels and handles improve durability
Size And Weight Capacity
Choose a cart size that fits your space and tool collection. Also, check the weight the cart can hold safely.
| Cart Size | Tool Capacity | Recommended Use |
| Small (under 20 inches) | Up to 50 lbs | Light tools, home use |
| Medium (20-30 inches) | 50 to 150 lbs | Mixed tools, garage work |
| Large (over 30 inches) | 150+ lbs | Heavy tools, professional use |
Mobility Features
Good mobility makes moving the cart easy. Look for wheels that roll smoothly and locks to keep the cart still.
- Swivel casters help steer the cart in tight spaces
- Locking wheels keep the cart in place when needed
- Handles should be comfortable and strong
- Check wheel size for the floor type you have

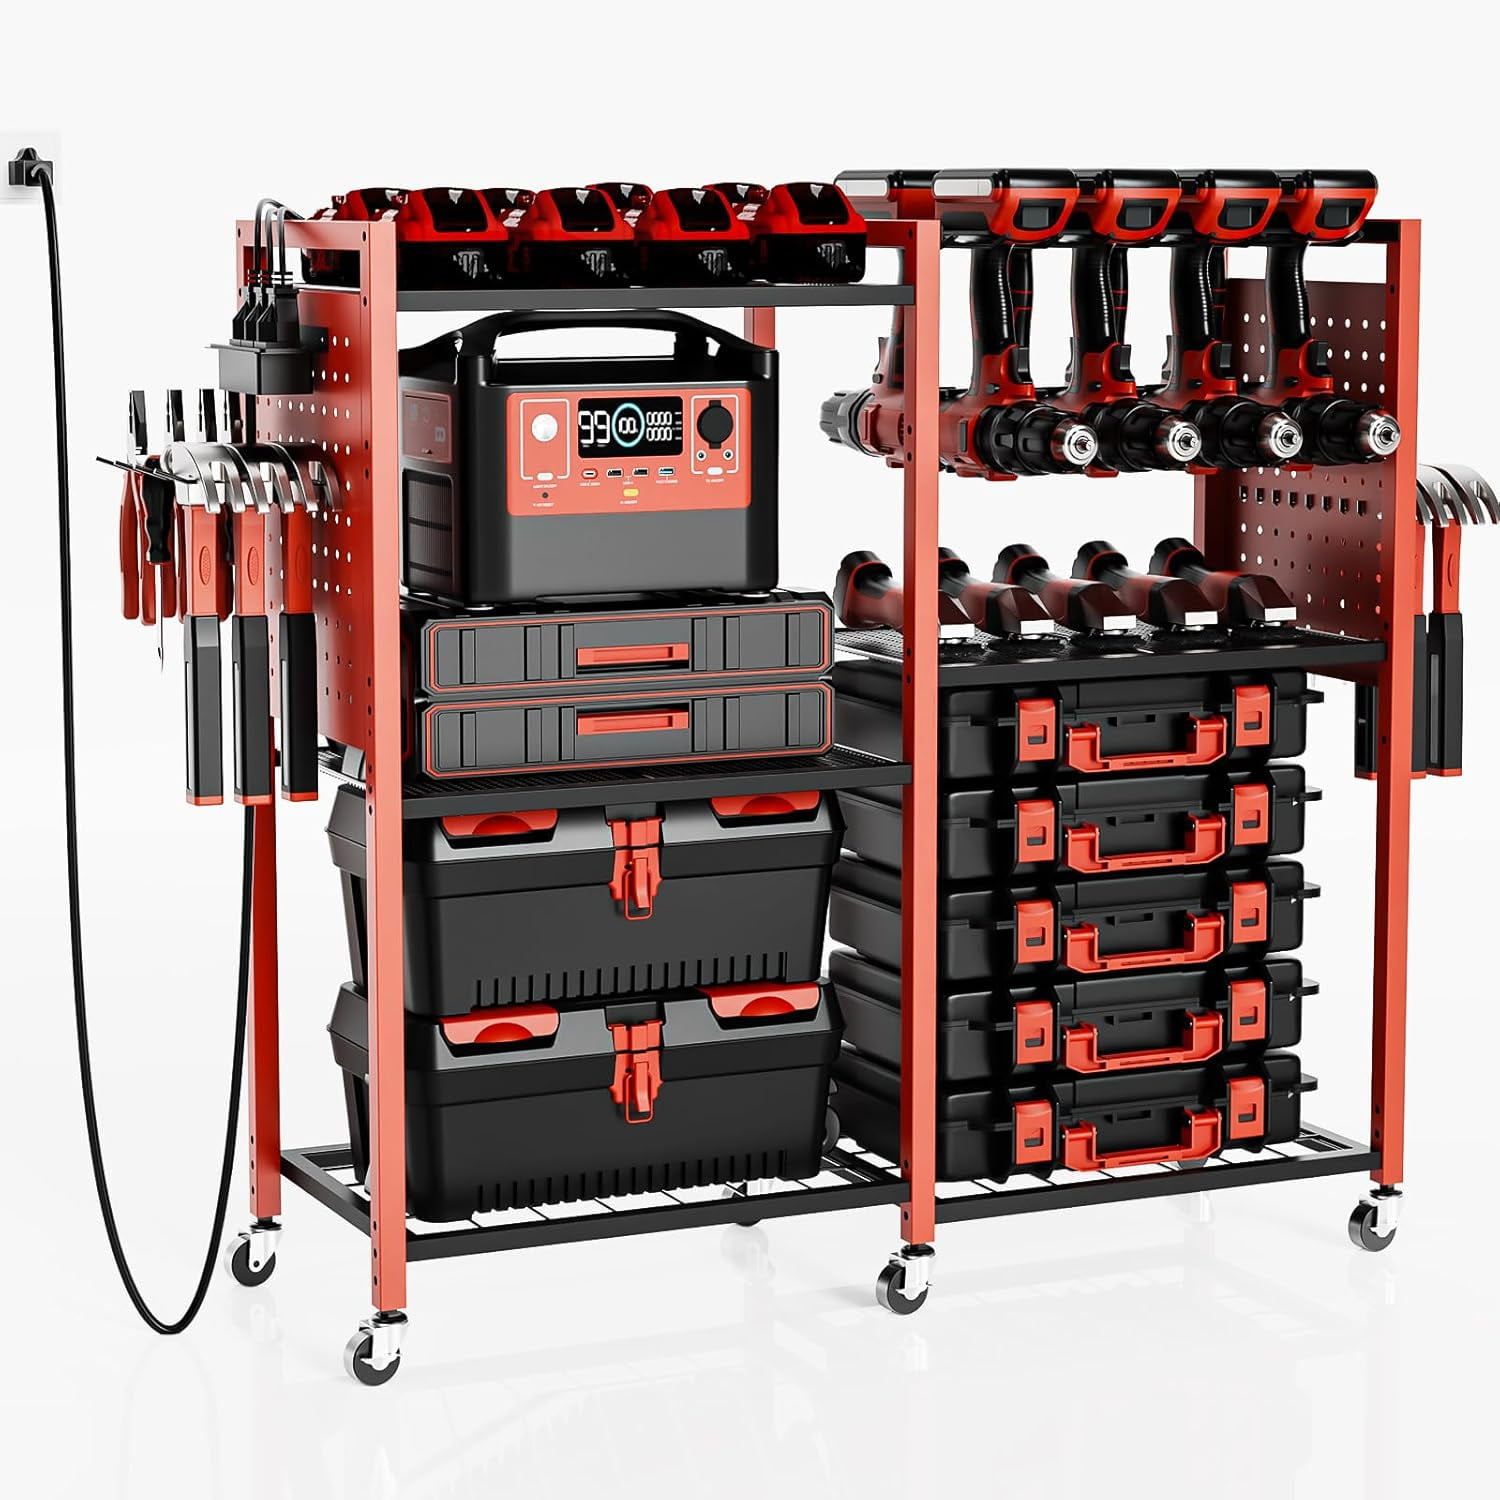
Credit: www.amazon.com
Gathering Necessary Tools
Setting up a rolling tool storage cart needs some basic tools. Having the right tools helps you build it faster.
Gather all tools before you start. This saves time and avoids frustration during assembly.
Basic Assembly Tools
You need a few common tools to put the cart together. These tools help with fixing parts and tightening screws.
- Screwdriver (Phillips and flathead)
- Adjustable wrench
- Rubber mallet
- Allen wrench set
- Measuring tape
These tools make sure all parts fit well and stay secure. Keep them close by while you work.
Additional Accessories
Some extra items can make assembly easier and cleaner. These accessories are not always needed but help a lot.
- Work gloves for hand protection
- Masking tape to hold parts temporarily
- Small container to hold screws and bolts
- Level to check cart balance
- Cleaning cloth to wipe surfaces
Using these accessories can improve your work speed and safety. They keep your workspace organized.
Assembling The Cart Frame
Building the frame is the first step to set up your rolling tool storage cart. The frame supports the whole cart and holds all parts together.
Follow these instructions carefully to ensure a strong and stable frame for your cart.
Step-by-step Frame Setup
Start by laying out all frame pieces on a flat surface. This helps you identify the parts and makes assembly easier.
- Attach the side panels to the base panel using the screws provided.
- Connect the front and back panels to the side panels, forming a rectangular frame.
- Make sure each panel fits snugly before tightening the screws.
- Use a level tool to check that the frame is even and square.
- Adjust as needed to ensure the frame is perfectly aligned.
Securing Joints And Fasteners
Secure all joints firmly to keep the frame sturdy. Loose fasteners can cause wobbling and reduce cart safety.
| Fastener | Use | Tip |
|---|---|---|
| Screws | Hold panels together | Tighten with a power drill but avoid over-tightening |
| Bolts | Attach heavy parts | Use washers to spread pressure evenly |
| Brackets | Reinforce corners | Check alignment before fixing |

Credit: www.amazon.com
Installing Shelves And Drawers
Setting up a rolling tool storage cart makes your workspace tidy. Shelves and drawers help keep tools organized and easy to find.
Follow simple steps to install shelves and drawers safely and correctly in your cart.
Positioning Shelves
Place shelves at heights that fit your tools and supplies. Make sure shelves are balanced to hold weight evenly.
Check the cart’s frame for the best spots to fix the shelves securely.
- Measure tool sizes before choosing shelf height
- Keep heavier items on lower shelves for stability
- Leave space between shelves for tall tools
- Use level tools to ensure shelves are straight
Attaching Drawers Securely
Drawers need strong attachment to prevent wobbling and falling out. Use the right screws and brackets for your cart type.
Test drawer slides for smooth opening and closing before tightening all screws.
- Align drawer slides evenly on both sides
- Use a screwdriver or drill for tight screws
- Check drawer movement before final fix
- Add stops to avoid drawers sliding out
Adding Mobility Components
Adding mobility components to your rolling tool storage cart makes it easy to move. It helps you carry tools around your workspace.
Choose strong parts that hold the cart’s weight. Make sure the wheels and locks work well together.
Attaching Wheels
Select wheels that fit the size and weight of your cart. Larger wheels roll better on rough floors.
Secure the wheels firmly to the bottom corners of the cart. Use bolts or screws that fit the wheel mounts.
- Pick wheels with a strong frame for heavy loads
- Position wheels evenly for balance
- Tighten bolts to avoid wobbling
- Test wheels by rolling the cart before use
Locking Mechanisms
Locking wheels stop the cart from moving when you work. This keeps your tools safe and stable.
Install locks on at least two wheels. Check that locks engage and release easily.
- Choose wheel locks that fit your wheel size
- Mount locks where you can reach them fast
- Test locks on a flat surface before use
- Keep locks clean to prevent sticking
Credit: www.walmart.com
Organizing Tools Efficiently
Setting up a rolling tool storage cart helps keep your tools neat and easy to find. A well-organized cart saves time and effort during projects.
Using smart organization methods makes your work area safer and more productive. Let’s explore how to organize tools efficiently in your cart.
Tool Categorization
Sort your tools by type or use. Group similar tools together to find them faster. This helps avoid digging through the cart.
Keep frequently used tools in easy-to-reach drawers. Store less-used items in lower drawers or on shelves.
- Hand tools like screwdrivers and pliers
- Power tool accessories such as drill bits
- Measuring tools like tape measures and levels
- Fasteners including nails and screws
Using Dividers And Holders
Dividers keep small tools and parts separate. They stop tools from shifting when you move the cart.
Holders and hooks hold larger tools upright. This saves space and keeps tools visible and accessible.
- Use drawer dividers for screws and nails
- Install hooks for hammers and wrenches
- Add foam inserts to protect delicate tools
- Label sections to find tools quickly
Maintaining Your Tool Cart
Keeping your rolling tool storage cart in good shape helps it last longer. Regular care makes sure your tools stay safe and easy to find.
Simple maintenance tasks can prevent big problems. Focus on cleaning and checking your cart often.
Regular Cleaning Tips
Clean your tool cart to remove dust, dirt, and grease. This keeps the surfaces smooth and the wheels rolling well.
- Wipe down the outside with a damp cloth every week.
- Use a mild soap solution for stubborn stains.
- Dry all parts thoroughly to stop rust.
- Clean the wheels to avoid debris buildup.
- Empty and dust out drawers regularly.
Inspecting For Wear And Damage
Check your tool cart for signs of wear or damage. Fix small issues before they get worse and affect your tools.
| Part | What to Check | Action |
| Wheels | Cracks, loose bolts, smooth rolling | Tighten or replace if needed |
| Drawers | Alignment, smooth sliding, locks | Lubricate or fix locks |
| Handles | Firm attachment, no cracks | Tighten screws or replace handle |
| Surface | Rust, dents, scratches | Clean and touch up paint |
Frequently Asked Questions
What Tools Do I Need For A Rolling Tool Cart?
You need a screwdriver, wrench, drill, and measuring tape. Also, gather screws, bolts, and casters. These tools help assemble your rolling tool cart efficiently.
How Do I Choose The Best Wheels For Mobility?
Select heavy-duty casters with locks for stability. Wheels should support your cart’s weight. Smooth-rolling wheels improve maneuverability on workshop floors.
What Materials Are Best For Tool Cart Construction?
Metal and plywood are durable and sturdy choices. Metal offers strength, while plywood is lightweight and easy to customize. Both ensure a long-lasting tool cart.
How Can I Maximize Storage Space On My Cart?
Use drawer dividers and pegboards to organize tools. Add shelves and hooks for extra storage. Proper layout keeps tools accessible and tidy.
Conclusion
Setting up a rolling tool storage cart makes work easier. It keeps tools organized and easy to find. You save time and reduce frustration. Choose the right cart for your needs. Arrange tools by type and frequency of use. Secure heavy items to avoid accidents.
Regularly clean and maintain your cart. This simple step improves your workflow daily. A well-set cart helps any project go smoothly. Start today and enjoy a tidier workspace tomorrow.