Have you ever struggled with uneven wooden surfaces, wondering how to make them perfectly smooth? Imagine transforming rough, splintered wood into silky, flawless planes with ease.
This is where the power planer becomes your best friend. Whether you’re a seasoned woodworker or a DIY enthusiast, mastering the use of a power planer can significantly enhance your projects. In this guide, you’ll discover simple techniques and expert tips to make your surfaces irresistibly smooth.
Ready to unlock the secrets of a professional finish? Read on, and let’s transform your woodworking skills today!
Choosing The Right Power Planer
Using a power planer helps smooth wood surfaces easily. Picking the right planer makes your work better and safer.
Learn about types, features, and safety to choose the best power planer for your project.
Types Of Power Planers
Power planers come in different types. Each type fits different jobs and skill levels.
- Handheld Planers: Small and easy to handle, good for light work.
- Bench Planers: Bigger and fixed on a bench, used for large wood pieces.
- Block Planers: Compact and used for small, detailed work.
Key Features To Consider
Check these features before buying a power planer to get the best results.
| Feature | Why It Matters |
| Motor Power | Stronger motors cut wood faster and smoother. |
| Cutting Width | Wider blades cover more surface in less time. |
| Depth Adjustment | Allows control over how much wood you remove. |
| Dust Collection | Keeps your workspace clean and safe. |
| Weight | Lighter planers are easier to control for long jobs. |
Safety Precautions
Safety is key when using power planers. Follow these rules to avoid accidents.
- Wear safety glasses to protect your eyes.
- Keep hands away from the blade area.
- Work on a stable surface to control the planer well.
- Unplug the tool before changing blades or cleaning.
- Check the wood for nails or screws before planing.
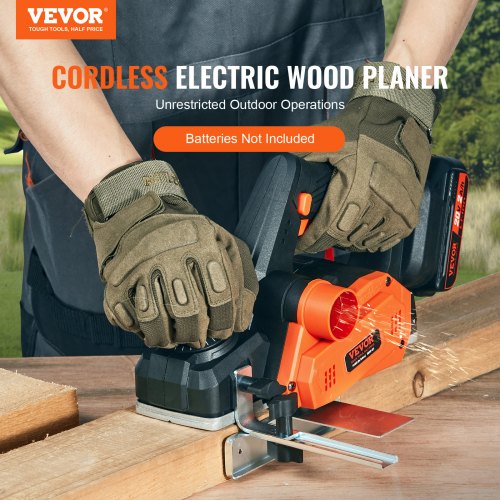
Credit: www.vevor.ca
Preparing Your Workspace
Using a power planer needs a safe and tidy workspace. Proper preparation helps you work better and avoid accidents.
Focus on securing the wood, clearing the area, and setting the depth. These steps protect you and improve results.
Securing The Wood
Hold the wood firmly before planing. Use clamps or a workbench to stop it from moving. This keeps your hands safe and lets you plane evenly.
- Place the wood on a flat surface
- Use clamps to fix it tightly
- Check that the wood does not wobble
- Avoid holding the wood by hand while planing
Clearing The Area
Keep the workspace free of tools and debris. A clear area stops trips and lets you move easily with the planer.
Workspace Checklist:
- Remove loose nails or screws
- Clear sawdust and wood chips
- Keep power cords away from the planer path
- Ensure good lighting
- Wear safety gear like goggles and ear protection
Setting The Depth
Adjust the planer’s depth to control how much wood you remove. A shallow depth gives a smooth finish, while a deeper cut removes more material.
| Depth Setting | Use |
|---|---|
| 1 mm or less | Final smoothing and fine finishing |
| 2-3 mm | Removing small uneven spots |
| 4 mm or more | Shaping or removing large amounts of wood |
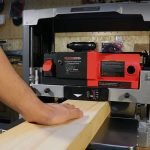
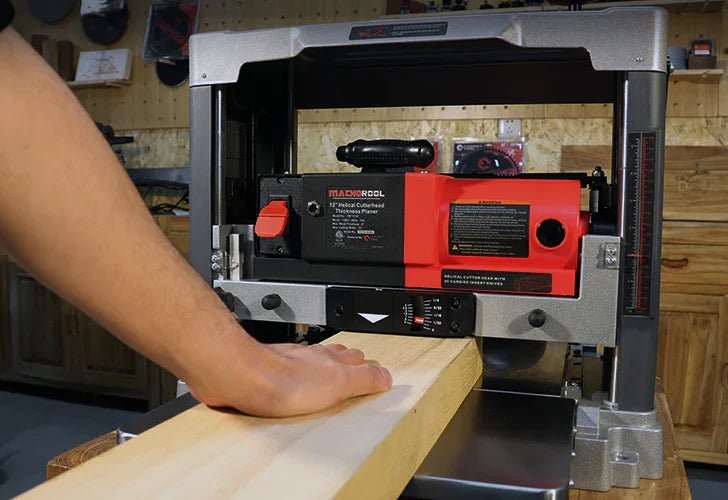
Step-by-step Smoothing Process
Using a power planer can make wood surfaces smooth and even. It removes rough spots and levels the wood quickly. This guide will help you use the planer safely and effectively.
Follow the steps below to get the best results. Pay attention to each part of the process for a smooth finish.
Starting The Planer
Before you begin, check the planer’s blades for sharpness. Make sure the depth setting is right for your wood. Plug in the planer and hold it firmly with both hands.
- Set the blade depth to remove a thin layer of wood.
- Place the planer flat on the wood surface at the edge.
- Turn on the planer and let it reach full speed.
- Start moving the planer forward slowly and steadily.
Maintaining Steady Movement
Keep the planer moving at a steady pace to avoid dips or gouges. Do not stop the planer while it touches the wood. Use both hands to guide it smoothly across the surface.
| Tip | Reason |
|---|---|
| Keep a firm grip | Prevents uneven cuts |
| Move planer forward only | Avoids scratches and gouges |
| Overlap passes slightly | Ensures complete surface coverage |
| Check surface often | Helps catch mistakes early |
Avoiding Common Mistakes
Many users push the planer too fast or set the blade too deep. This causes rough surfaces or damage. Always test on scrap wood before starting your project.
- Never force the planer; let it cut at its own speed.
- Do not plane against the grain to avoid tear-out.
- Keep blades clean and sharp for smooth cuts.
- Wear safety gear like goggles and ear protection.
Credit: www.hardman.co.th
Finishing Touches
Using a power planer helps smooth rough wood surfaces quickly. After planing, you need to add finishing touches.
Finishing makes the surface ready for paint or stain. It also improves how the wood feels and looks.
Checking For Smoothness
Run your hand gently over the wood surface. Feel for bumps or uneven spots left by the planer.
Use good light to see any rough areas or tool marks. Mark these spots to fix them later.
Sanding For Perfection
Sanding smooths out small bumps and scratches left by the power planer. Use fine sandpaper for best results.
Sand in the direction of the wood grain to avoid scratches. Change sandpaper if it gets clogged.
- Start with 120-grit sandpaper
- Finish with 220-grit sandpaper
- Use a sanding block for even pressure
Cleaning The Surface
Remove dust and debris after sanding. Use a brush or vacuum to clear the surface well.
Wipe the wood with a damp cloth to pick up fine dust. Let the surface dry before painting or staining.
Maintaining Your Power Planer
Keeping your power planer in good shape helps it work well for a long time. Regular care stops damage and keeps the blades sharp.
This guide explains how to care for the blades, clean the tool, and store it properly.
Blade Care And Replacement
Check the blades often for dullness or damage. Sharp blades make smoother cuts and reduce effort.
- Turn off and unplug the planer before handling blades.
- Remove the blades carefully following the manual.
- Sharpen dull blades with a sharpening tool or replace them if needed.
- Reinstall blades securely to avoid accidents.
Regular Cleaning
Cleaning your planer removes dust and debris that can clog the motor and parts.
| Part | Cleaning Method |
| Blades | Brush off dust and wipe with a dry cloth. |
| Body | Use a soft cloth or compressed air to clear dust. |
| Air Vents | Blow out dust with compressed air to keep airflow clear. |
| Base Plate | Wipe clean to maintain smooth surface contact. |
Storage Tips
Store your power planer in a dry, clean place to avoid rust and damage.
- Keep the planer in its case or cover it with a cloth.
- Remove the blades or lock the tool to prevent accidents.
- Store away from moisture and extreme temperatures.
- Place the tool on a stable shelf or surface.

Credit: www.findbuytool.com
Frequently Asked Questions
What Is The Main Purpose Of A Power Planer?
A power planer smooths rough wood surfaces quickly and evenly. It removes small layers of wood for a flat finish. This tool is ideal for furniture making, door fitting, and woodworking projects requiring precision. It saves time compared to manual sanding or planing.
How Do You Safely Operate A Power Planer?
Always wear safety goggles and ear protection before use. Secure the wood piece firmly to avoid movement. Keep hands away from the blade path. Start the planer before contacting the wood and maintain steady pressure. Turn off the planer before setting it down.
Can A Power Planer Fix Uneven Wood Surfaces?
Yes, a power planer effectively removes high spots on uneven wood. It shaves down raised areas to create a smooth, level surface. Multiple passes may be needed for deep unevenness. This tool is perfect for preparing wood for finishing or joining.
What Type Of Wood Works Best With A Power Planer?
Hardwoods and softwoods can both be planed, but softer woods are easier. Avoid extremely dry or brittle wood to prevent splintering. Use sharp blades for clean cuts on all wood types. Proper feed rate ensures smooth results regardless of wood species.
Conclusion
Using a power planer makes smoothing surfaces easier and faster. Always keep a steady hand and move the tool evenly. Check the wood often to avoid removing too much. Safety gear protects you during the work. Practice on scrap pieces before starting your main project.
With care and patience, your surfaces will look clean and smooth. This tool helps you get better results than sanding alone. Try these tips next time you want a smooth finish.