Are you tired of digging through clutter just to find your hammer? When your tools are scattered everywhere, it wastes your time and drains your energy.
Imagine a workspace where your hammer is always within reach, neatly arranged and ready to use. Organizing your hammers efficiently not only saves you frustration but also boosts your productivity. You’ll discover simple, practical tips that make organizing your hammers quick and easy.
Get ready to transform your tool area into a space that works for you. Keep reading to unlock the secrets to a clutter-free, efficient hammer setup!
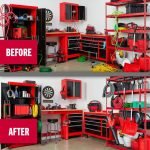
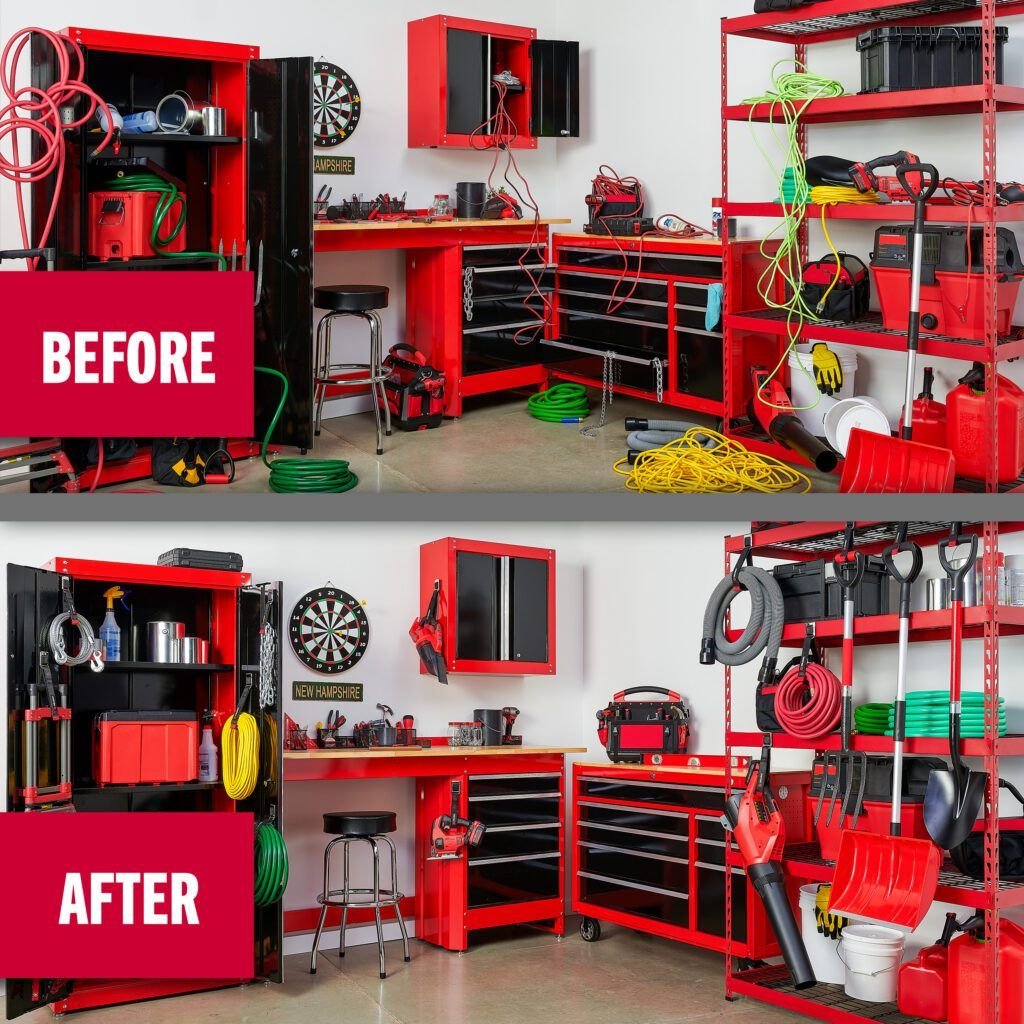
Choosing The Right Storage Spot
Organizing your hammers well helps keep your workspace tidy. The right storage spot can save time and avoid damage.
Consider your workspace size and usage to pick the best place for your hammers.
Assessing Your Workspace
Look around your workspace to find where hammers fit best. Think about how often you use them and how much space you have.
- Check for clear wall space near your workbench.
- Find spots that are easy to reach quickly.
- Avoid crowded areas that slow you down.
- Keep safety in mind to prevent accidents.
Maximizing Vertical Space
Use walls and vertical areas to store hammers. This frees up your work surface and floor space.
| Vertical Storage Method | Benefits |
|---|---|
| Wall-mounted racks | Easy to see and grab hammers |
| Magnetic strips | Hold metal hammers securely |
| Pegboards with hooks | Flexible layout for different hammer sizes |
Utilizing Hidden Areas
Hidden spots keep your hammers safe and out of sight. Use under shelves or inside drawers.
- Install small hooks under shelves to hang hammers.
- Use drawer dividers to organize hammers inside.
- Store extra hammers in labeled boxes on high shelves.
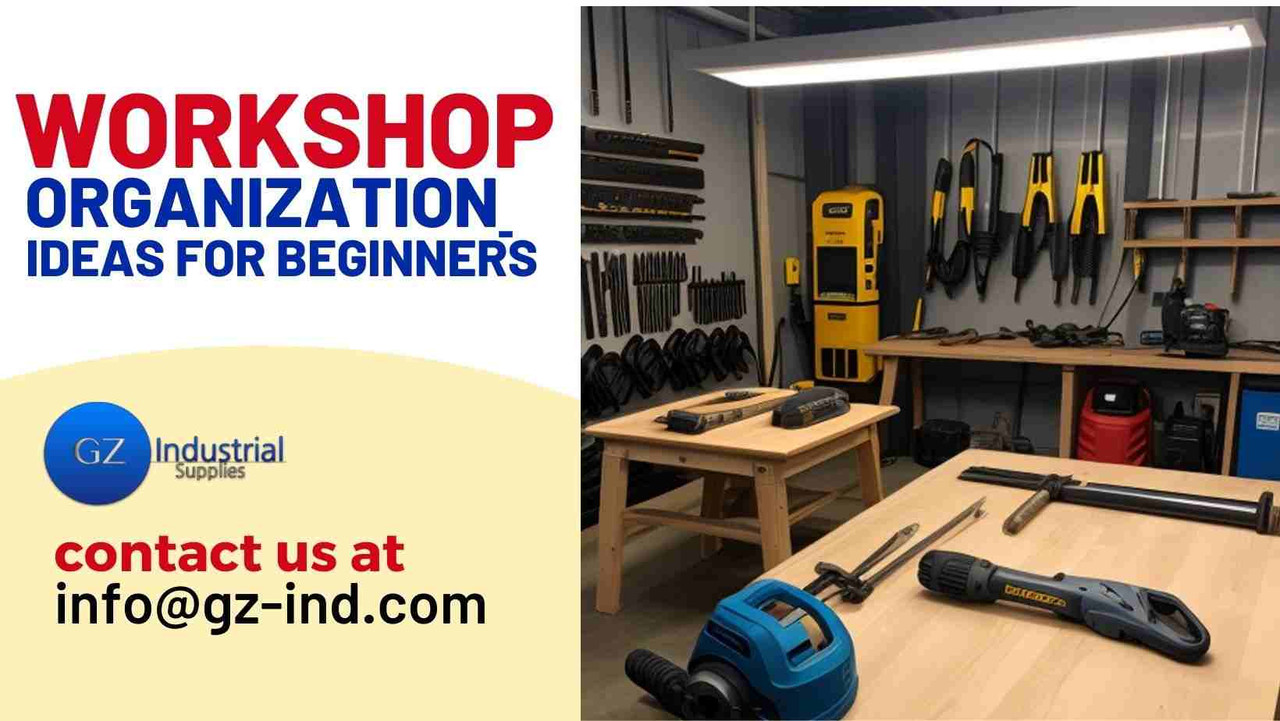
Credit: www.gz-supplies.com
Creative Hammer Storage Ideas
Keeping your hammers organized saves time and space. A neat storage system makes your workspace safer. Try these creative ideas for storing hammers efficiently.
Each method helps you find your hammer quickly and keeps your tools protected. Choose what fits your workspace and style.
Magnetic Strips And Bars
Magnetic strips hold metal hammers on walls or workbenches. They keep hammers visible and easy to grab. Install a strong magnetic bar in your workspace for quick access.
- Mount strips on walls near your work area
- Use heavy-duty magnets for secure holding
- Arrange hammers by size or type for order
- Combine with other tools on the same strip
Pegboards And Hooks
Pegboards offer flexible hammer storage with hooks. You can move hooks to fit different hammer sizes. This keeps your hammers off surfaces and easy to spot.
| Type of Hammer | Hook Size Needed | Recommended Pegboard Spacing |
| Claw Hammer | Medium | 4 inches apart |
| Ball Peen Hammer | Small | 3 inches apart |
| Sledgehammer | Large | 6 inches apart |
| Tack Hammer | Small | 3 inches apart |
Diy Hammer Racks
Building your own hammer rack lets you customize storage. Use wood or metal to create holders that fit your hammers perfectly. This option saves money and space.
Here is a simple list of materials for a DIY hammer rack:
- Wood plank (size depends on number of hammers)
- Nails or screws
- Wood glue
- Sandpaper
- Hooks or small wooden blocks for holding handles
Sorting And Categorizing Hammers
Organizing hammers helps you find the right tool quickly. Sorting by size and type keeps your workspace neat.
Proper categorizing also protects your tools and makes them last longer. Let’s look at easy ways to sort and label hammers.
Grouping By Size And Type
Group hammers by their size and type to keep them easy to find. This method helps you grab the right hammer for any job.
- Separate small tack hammers from large sledgehammers
- Keep claw hammers in one section
- Place ball-peen and mallet hammers together
- Store specialty hammers like brick or roofing hammers separately
- Arrange groups from light to heavy for quick access
Labeling For Quick Access
Labels save time and avoid confusion. Clear tags show where each hammer belongs and its use.
| Label Type | Description |
| Size Labels | Mark small, medium, and large groups |
| Type Tags | Identify claw, sledge, or specialty hammers |
| Usage Notes | Add short tips or job types |
| Color Codes | Use colors for quick visual sorting |
Maintaining Hammer Organization
Keeping your hammers organized helps you find them quickly. It also protects the tools and your workspace.
Regular care and simple habits keep your hammer area neat and safe. Use easy methods to maintain order.
Regular Clean-up Routines
Set a time each week to clean your hammer storage. Remove dust and dirt to keep tools in good shape.
- Wipe hammer handles and heads with a dry cloth
- Check for rust and remove it with fine sandpaper
- Organize hammers by size or type on racks or pegboards
- Return each hammer to its place after use
- Keep the storage area free from clutter and debris
Repair And Replacement Tips
Check your hammers often for damage. Fix small issues to avoid bigger problems later.
| Problem | Fix | When to Replace |
| Loose handle | Tighten or replace handle | If handle cracks or splits |
| Worn or chipped head | File down sharp edges | If head is badly damaged |
| Rust on metal parts | Remove rust and oil | If rust weakens the hammer |
| Loose head | Secure with wedges or glue | If head falls off repeatedly |
Space-saving Hacks For Small Workshops
Small workshops need smart ways to save space. Organizing hammers well can clear up room.
Using clever storage ideas helps keep tools easy to find and prevents clutter.
Multi-purpose Storage Solutions
Using storage that serves more than one purpose saves space. Shelves with hooks can hold hammers and other tools.
- Wall-mounted pegboards keep hammers visible and accessible.
- Tool racks with slots hold hammers and screwdrivers together.
- Magnetic strips stick to walls and hold metal hammer heads.
- Storage bins with compartments store small hammer types and nails.
Portable Hammer Holders
Portable holders let you carry hammers easily. They save space by keeping tools off benches.
| Type | Best Use | Space Benefit |
| Leather Tool Belt | Hands-free carrying | Frees workbench space |
| Magnetic Hammer Holster | Quick tool access | Hangs on metal surfaces |
| Compact Tool Caddy | Multiple tools storage | Organizes tools in one place |

Credit: www.velcro.com
Credit: jcblhandtools.com
Frequently Asked Questions
How Do I Store Hammers Safely?
To store hammers safely, use a wall-mounted tool rack or magnetic strip. This keeps them visible and accessible. Ensure the storage area is dry to prevent rust. Group hammers by type and size for easy retrieval. Regularly inspect and clean them to maintain their condition.
What Is The Best Way To Organize Hammers?
The best way to organize hammers is by using a pegboard. It allows easy access and visibility. Arrange hammers by size and type for convenience. Label sections to quickly identify the right tool. This method maximizes space and keeps your workspace tidy and efficient.
How Can I Maximize Hammer Storage Space?
Maximize hammer storage by using vertical space with wall-mounted racks. Install adjustable shelves for versatility. Use hooks and magnetic strips to hang hammers. This saves floor space and keeps tools organized. Regularly declutter and only keep essential hammers to maintain an efficient storage system.
Why Use A Toolbox For Hammers?
A toolbox provides portable, organized storage for hammers. It protects them from damage and rust. Compartments within the toolbox help categorize hammers by type. This ensures quick access and prevents clutter. A toolbox is ideal for on-the-go projects and compact spaces.
Conclusion
Organizing hammers saves time and space in your workspace. Keep tools easy to find and ready to use. Use hooks, racks, or boxes to sort hammers by size or type. Labeling helps prevent confusion and keeps things neat. A tidy area reduces accidents and improves work flow.
Small steps can make a big difference in tool care. Start with simple changes and build good habits. Enjoy a cleaner, safer, and more efficient work zone every day.