Is your drill press not running as smoothly as it used to? A worn or broken belt could be the reason behind the problem.
Replacing drill press belts might sound tricky, but with the right steps, you can do it yourself quickly and safely. You’ll discover simple, clear instructions that make the process easy—saving you time and money. Keep reading, and you’ll have your drill press working like new in no time.

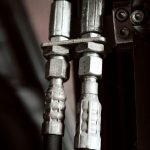
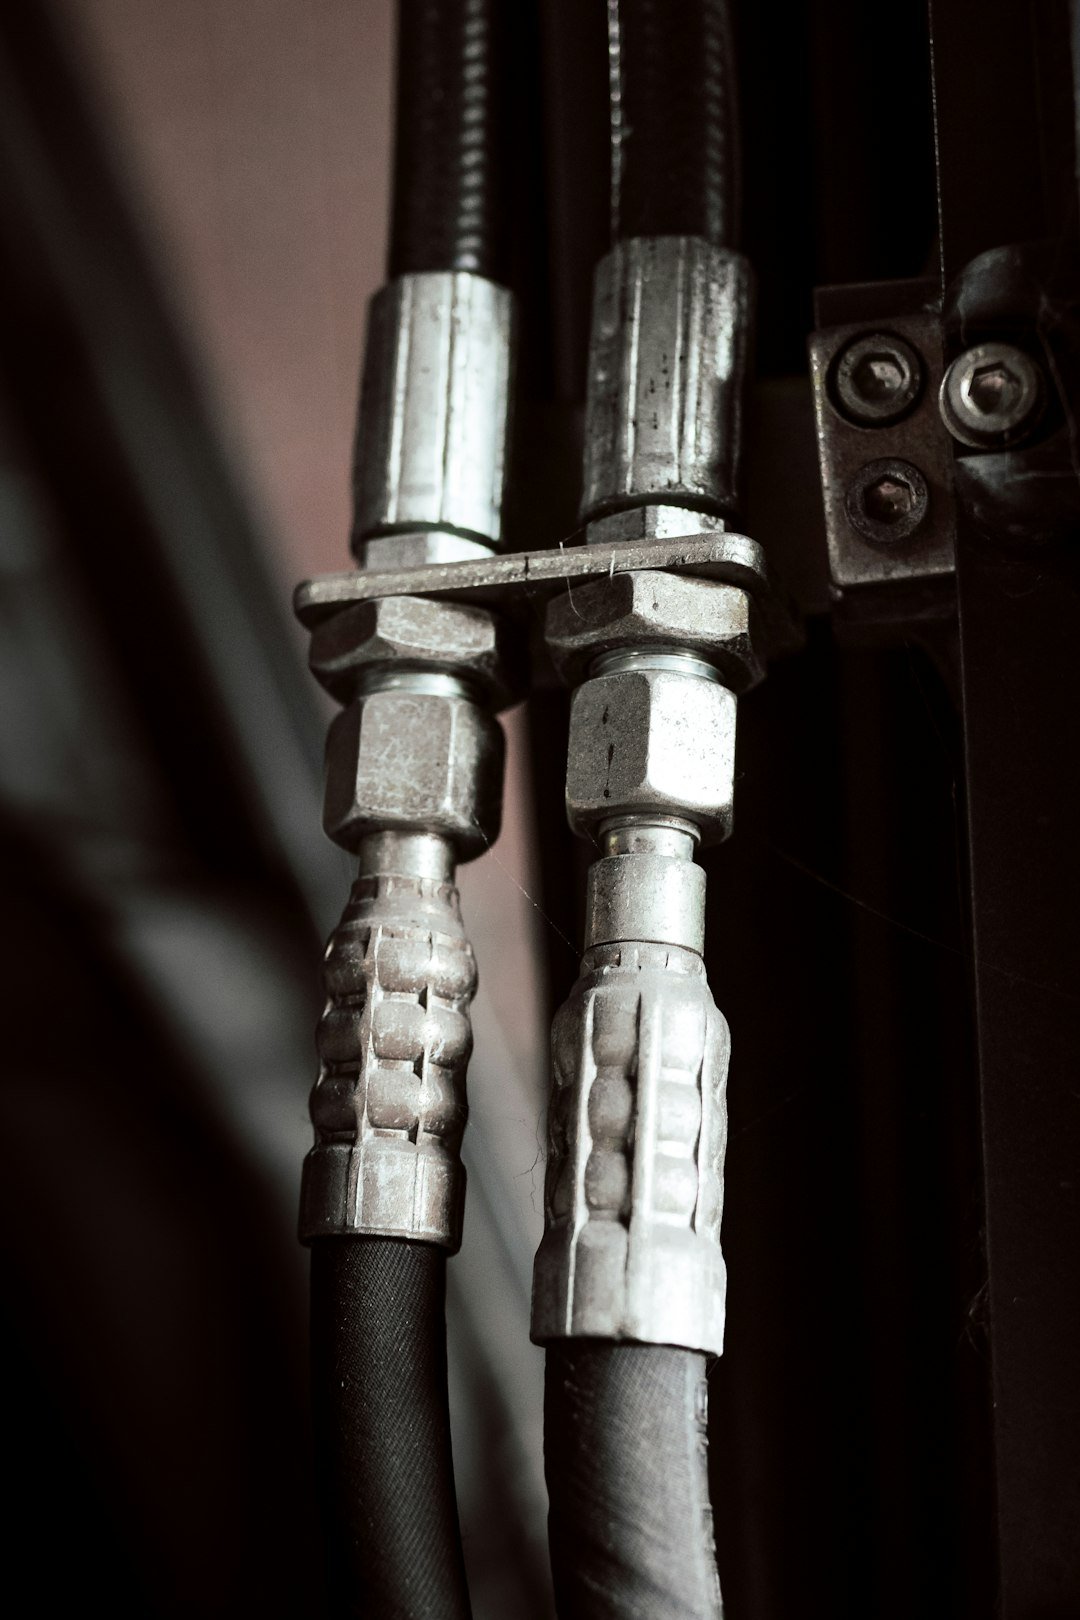
Credit: www.mainservice.fi
Tools And Materials Needed
Replacing drill press belts requires the right tools and materials. Having everything prepared helps the job go smoothly and safely.
This guide covers the basic tools and materials you need to replace your drill press belts properly.
Drill Press Belt
Choose a belt that matches your drill press model. Check the size and type in your drill press manual or on the old belt.
Basic Hand Tools
- Screwdrivers (flathead and Phillips)
- Wrenches or socket set
- Pliers
- Allen keys (if needed)
These tools help remove covers, loosen tension, and adjust parts during belt replacement.
Safety Gear
| Item | Purpose |
| Safety glasses | Protect your eyes from dust and debris |
| Work gloves | Keep hands safe from sharp edges |
| Dust mask | Prevent inhaling dust while working |
Cleaning Supplies
Cleaning the drill press helps it work better after belt replacement. Use a brush or cloth to remove dust and dirt.
- Rag or soft cloth
- Brush (small or paintbrush works well)
- Light machine oil (for lubrication)
Safety Precautions
Replacing drill press belts needs careful attention to safety. Following safety rules helps prevent injuries.
Always prepare your workspace and tools before starting the belt replacement process.
Turn Off And Unplug The Drill Press
Make sure the drill press is completely off before working on it. Unplug the machine from the power source.
This stops the drill press from accidentally turning on during belt replacement.
Wear Proper Safety Gear
Use safety glasses to protect your eyes from dust or debris. Wear gloves to protect your hands.
Avoid loose clothing or jewelry that might get caught in moving parts.
Secure The Drill Press
Make sure the drill press is stable on a flat surface. This prevents it from tipping over while you work.
Use clamps or bolts if needed to keep it steady.
Check The Belt And Pulleys For Damage
Inspect the old belt and pulleys before removal. Look for cracks, tears, or wear on parts.
Damaged parts can cause accidents or machine failure.
Handle The Belt Carefully
Do not force the belt on or off the pulleys. Use gentle pressure to avoid injury or damage.
Keep your fingers clear of pinch points when adjusting the belt.
Preparing The Drill Press
Before replacing the drill press belts, you must get the machine ready. Proper preparation keeps you safe and makes the task easier.
This section explains how to unplug the drill press and access the belt area carefully.
Unplugging The Machine
Always unplug the drill press before working on it. This stops the machine from starting by accident and causing injury.
- Locate the power cord connected to the drill press.
- Unplug the cord from the electrical outlet.
- Check that the machine is completely off.
Accessing The Belt Area
You need to open the belt area to reach the belts. This area is usually covered for safety and dust protection.
- Find the belt cover on the drill press.
- Use a screwdriver or wrench to remove the screws or bolts.
- Lift the cover carefully and set it aside.
- Inspect the belts and pulleys for dirt or damage.
| Tool | Purpose |
| Screwdriver | Remove screws holding the belt cover |
| Wrench | Remove bolts securing the belt cover |
| Flashlight | Improve visibility inside the belt area |
Removing The Old Belt
Replacing the drill press belt starts with removing the old one. It is important to take it off carefully to avoid damage.
First, you need to loosen the belt tension to make removal easier. Then, you can safely take off the belt from the pulleys.
Loosening The Tension
To loosen the tension, locate the motor adjustment mechanism. This lets you move the motor to reduce belt tightness.
Use a wrench or your hand to carefully slide the motor away from the drill press pulleys. This creates slack in the belt.
- Find the motor mount bolts
- Loosen the bolts slightly
- Push or pull the motor to reduce tension
- Retighten the bolts to hold the motor in place
Taking Off The Belt
With the tension loosened, you can now remove the belt. Gently slide the belt off the pulleys starting from the smaller pulley.
Check the belt for any damage or wear. Dispose of the old belt properly before installing the new one.
- Hold the belt firmly
- Slide it off the small pulley first
- Then remove it from the large pulley
- Inspect and discard the old belt
Selecting The Right Replacement Belt
Replacing drill press belts is essential to keep your machine running well. Choosing the correct belt size and type ensures good performance and safety.
This guide helps you measure your belt and pick the right kind for your drill press.
Measuring Belt Size
Measure the old belt or the pulleys to find the correct belt size. Accurate measurement avoids buying belts that are too loose or tight.
- Use a tape measure to find the belt’s total length.
- If the old belt is missing, measure the distance around the pulleys.
- Note the belt width by measuring its flat side.
- Check the belt thickness if possible, as it varies by type.
Choosing Belt Type
Pick a belt type that fits your drill press model and workload. Some belts last longer and work better under heavy use.
| Belt Type | Best Use | Material | Advantages |
|---|---|---|---|
| V-Belt | General purpose | Rubber with fabric | Good grip and moderate durability |
| Poly V-Belt | High speed and precision | Synthetic rubber with multiple ribs | Flexible and quiet operation |
| Leather Belt | Older machines | Leather | Traditional look, needs care |
| Cogged Belt | Heavy load | Rubber with notches | Better heat dissipation and grip |
Installing The New Belt
Installing a new drill press belt is a simple task. It keeps your drill working smoothly and safely. Follow these clear steps to fit the belt correctly.
Pay close attention to the belt position and the tension. Correct installation helps the drill run without slipping or damage.
Positioning The Belt On Pulleys
Place the new belt carefully on both the motor and drill press pulleys. Make sure it sits evenly in the grooves. The belt should not twist or overlap.
- Turn off and unplug the drill press before starting.
- Remove the old belt if still in place.
- Place the belt on the smaller pulley first for easy fitting.
- Stretch the belt gently over the larger pulley.
- Check that the belt lies flat and fits well in the pulley grooves.
Adjusting The Tension
Proper belt tension prevents slipping and extends belt life. Too tight can damage parts. Too loose will cause slipping.
| Check | Action | Result |
|---|---|---|
| Belt feels loose | Move motor away from drill press pulley | Tightens the belt |
| Belt feels tight | Move motor closer to drill press pulley | Loosens the belt |
| Belt deflects more than 1/2 inch | Tighten motor mount | Proper tension |
Testing The Drill Press
After replacing the drill press belts, it is important to test the machine. Testing ensures the belts work correctly and the press runs smoothly.
Careful testing helps avoid damage and keeps the drill press safe to use. Follow these steps to check the machine.
Running The Machine
Start the drill press at low speed to watch how the belts move. Listen for any strange noises like squeaks or grinding sounds.
Watch the belts as the machine runs. Make sure they stay on the pulleys without slipping or jumping off.
- Turn on the drill press slowly
- Look for smooth belt movement
- Stop if you hear unusual sounds
- Turn off the machine immediately if belts slip
Checking Belt Alignment And Tension
Proper belt alignment keeps the drill press running efficiently. Check if the belts sit straight on the pulleys without twisting.
Belt tension is important too. The belts should be tight enough to avoid slipping but not so tight they strain the motor.
- Look for belts running straight across the pulleys
- Adjust pulleys if belts are off-center
- Press belts gently; they should have slight give
- Tighten or loosen belts to reach correct tension

Credit: www.reddit.com
Maintenance Tips For Longevity
Replacing drill press belts is important for good machine performance. Proper care helps belts last longer.
Regular checks and simple maintenance keep the drill press running smoothly. This saves time and money.
Inspect Belts Regularly
Look at the belts often for cracks, frays, or wear. Replace them if you see damage to avoid breaks.
Check belt tension too. Belts that are too loose or tight can cause problems.
Keep Belts Clean
Dust and oil can harm belt material. Wipe belts clean with a dry cloth to remove dirt.
Avoid using harsh chemicals that may damage the belt surface.
Maintain Proper Belt Tension
Adjust belt tension to the right level. Too tight or too loose belts wear out fast.
Use the drill press manual to find the correct tension and adjust as needed.
Store Spare Belts Properly
Keep spare belts in a cool, dry place away from sunlight. Heat and moisture can weaken belts.
Store belts flat or hung to avoid bends or twists that cause damage.
Replace Belts When Needed
Change belts at signs of wear or after long use. Old belts reduce drill press efficiency.
Use the correct belt size and type recommended by the manufacturer for best results.

Credit: www.ebay.com
Frequently Asked Questions
How Often Should Drill Press Belts Be Replaced?
Drill press belts should be replaced when they show signs of wear. Check for cracks, fraying, or slipping. Regular inspection every 6 months helps maintain efficiency and safety. Replace belts sooner if you notice reduced performance or unusual noises during operation.
What Tools Are Needed To Replace Drill Press Belts?
You need a wrench or screwdriver, new belts, and possibly a belt tension gauge. Safety gloves can protect your hands. These tools help loosen pulleys, remove old belts, and install new ones securely. Having the right tools ensures a smooth replacement process.
Can I Use Any Belt For My Drill Press?
No, always use belts specified for your drill press model. Using the wrong size or type can cause poor performance or damage. Check the manufacturer’s manual for recommended belt size and material. Proper belts ensure optimal operation and longevity.
How Do I Adjust Belt Tension Correctly?
Proper belt tension prevents slipping and wear. Loosen the motor mount, adjust the belt until it’s firm but not tight. Test by pressing the belt; it should deflect about half an inch. Then, tighten the motor mount securely to maintain tension.
Conclusion
Replacing drill press belts keeps your machine running smoothly. Follow steps carefully to avoid mistakes. Check belt tension and alignment for best results. Regular maintenance saves time and prevents damage. Take your time and work safely throughout the process. Soon, your drill press will work like new again.
Simple care helps your tools last longer. Try this guide next time you need a belt change. Easy to do, with clear steps to guide you.