
Are you ready to take your woodworking skills to the next level? Learning how to use a miter saw for angled cuts can make your projects look sharper and more professional.
Whether you’re building a frame, molding, or a custom piece, mastering this tool will save you time and frustration. In this guide, you’ll discover simple steps to get precise, clean angled cuts every time. Keep reading, and soon you’ll feel confident handling your miter saw like a pro.
Choosing The Right Miter Saw
A miter saw helps make angled cuts in wood and other materials. Picking the right saw is key to getting clean, accurate cuts.
Different saws fit different jobs. Knowing their features makes your work easier and safer.
Types Of Miter Saws
There are three main types of miter saws. Each one works well for certain tasks and projects.
- Basic Miter Saw:Cuts at various angles. Good for simple projects.
- Compound Miter Saw:Cuts angles and bevels. Useful for trim and molding.
- Sliding Compound Miter Saw:Has a sliding arm. Cuts wider boards easily.
Choose a saw type based on the material size and cut angles you need.
Blade Selection Tips
Blade choice affects cut quality and speed. Pick the right blade for your material and saw.
- Blade Size:Match the blade size to your saw for safety and fit.
- Teeth Count:More teeth give smoother cuts; fewer teeth cut faster.
- Material Type:Use carbide blades for wood and special blades for metal or plastic.
- Blade Kerf:Thin kerf blades waste less material and need less power.
Regularly check your blade for sharpness. A dull blade makes poor cuts and is unsafe.

Credit: www.amazon.ca
Setting Up For Accuracy
Making precise angled cuts with a miter saw requires careful setup. Accuracy depends on how you prepare your workspace and adjust the saw.
Follow the right steps to ensure each cut fits perfectly in your project. Attention to detail in setup saves time and materials.
Workstation Preparation
Start by cleaning your work area. Remove any debris or objects that could interfere with your saw or wood pieces.
- Clear a flat, stable surface to place the saw.
- Ensure good lighting so you can see cutting lines clearly.
- Use clamps to hold wood firmly in place during cutting.
- Keep measuring tools nearby for quick checks.
- Check that the saw is securely mounted to avoid movement.
Adjusting The Saw Angle
Set the saw angle precisely for the cut you want. Most miter saws have angle markers and locks for accurate adjustments.
| Angle Setting | Use | Tip |
| 0° | Straight crosscuts | Double check with a square |
| 45° | Common miter cuts | Lock the saw firmly after setting |
| 22.5° | Halfway angle cuts | Verify with a protractor if needed |
| Custom angles | Special cuts | Test cut on scrap wood first |
Marking And Measuring Angles
Making angled cuts with a miter saw needs careful marking and measuring. Accurate angles help your cuts fit perfectly.
Using simple tools, you can measure and mark angles easily before cutting. This saves wood and reduces errors.
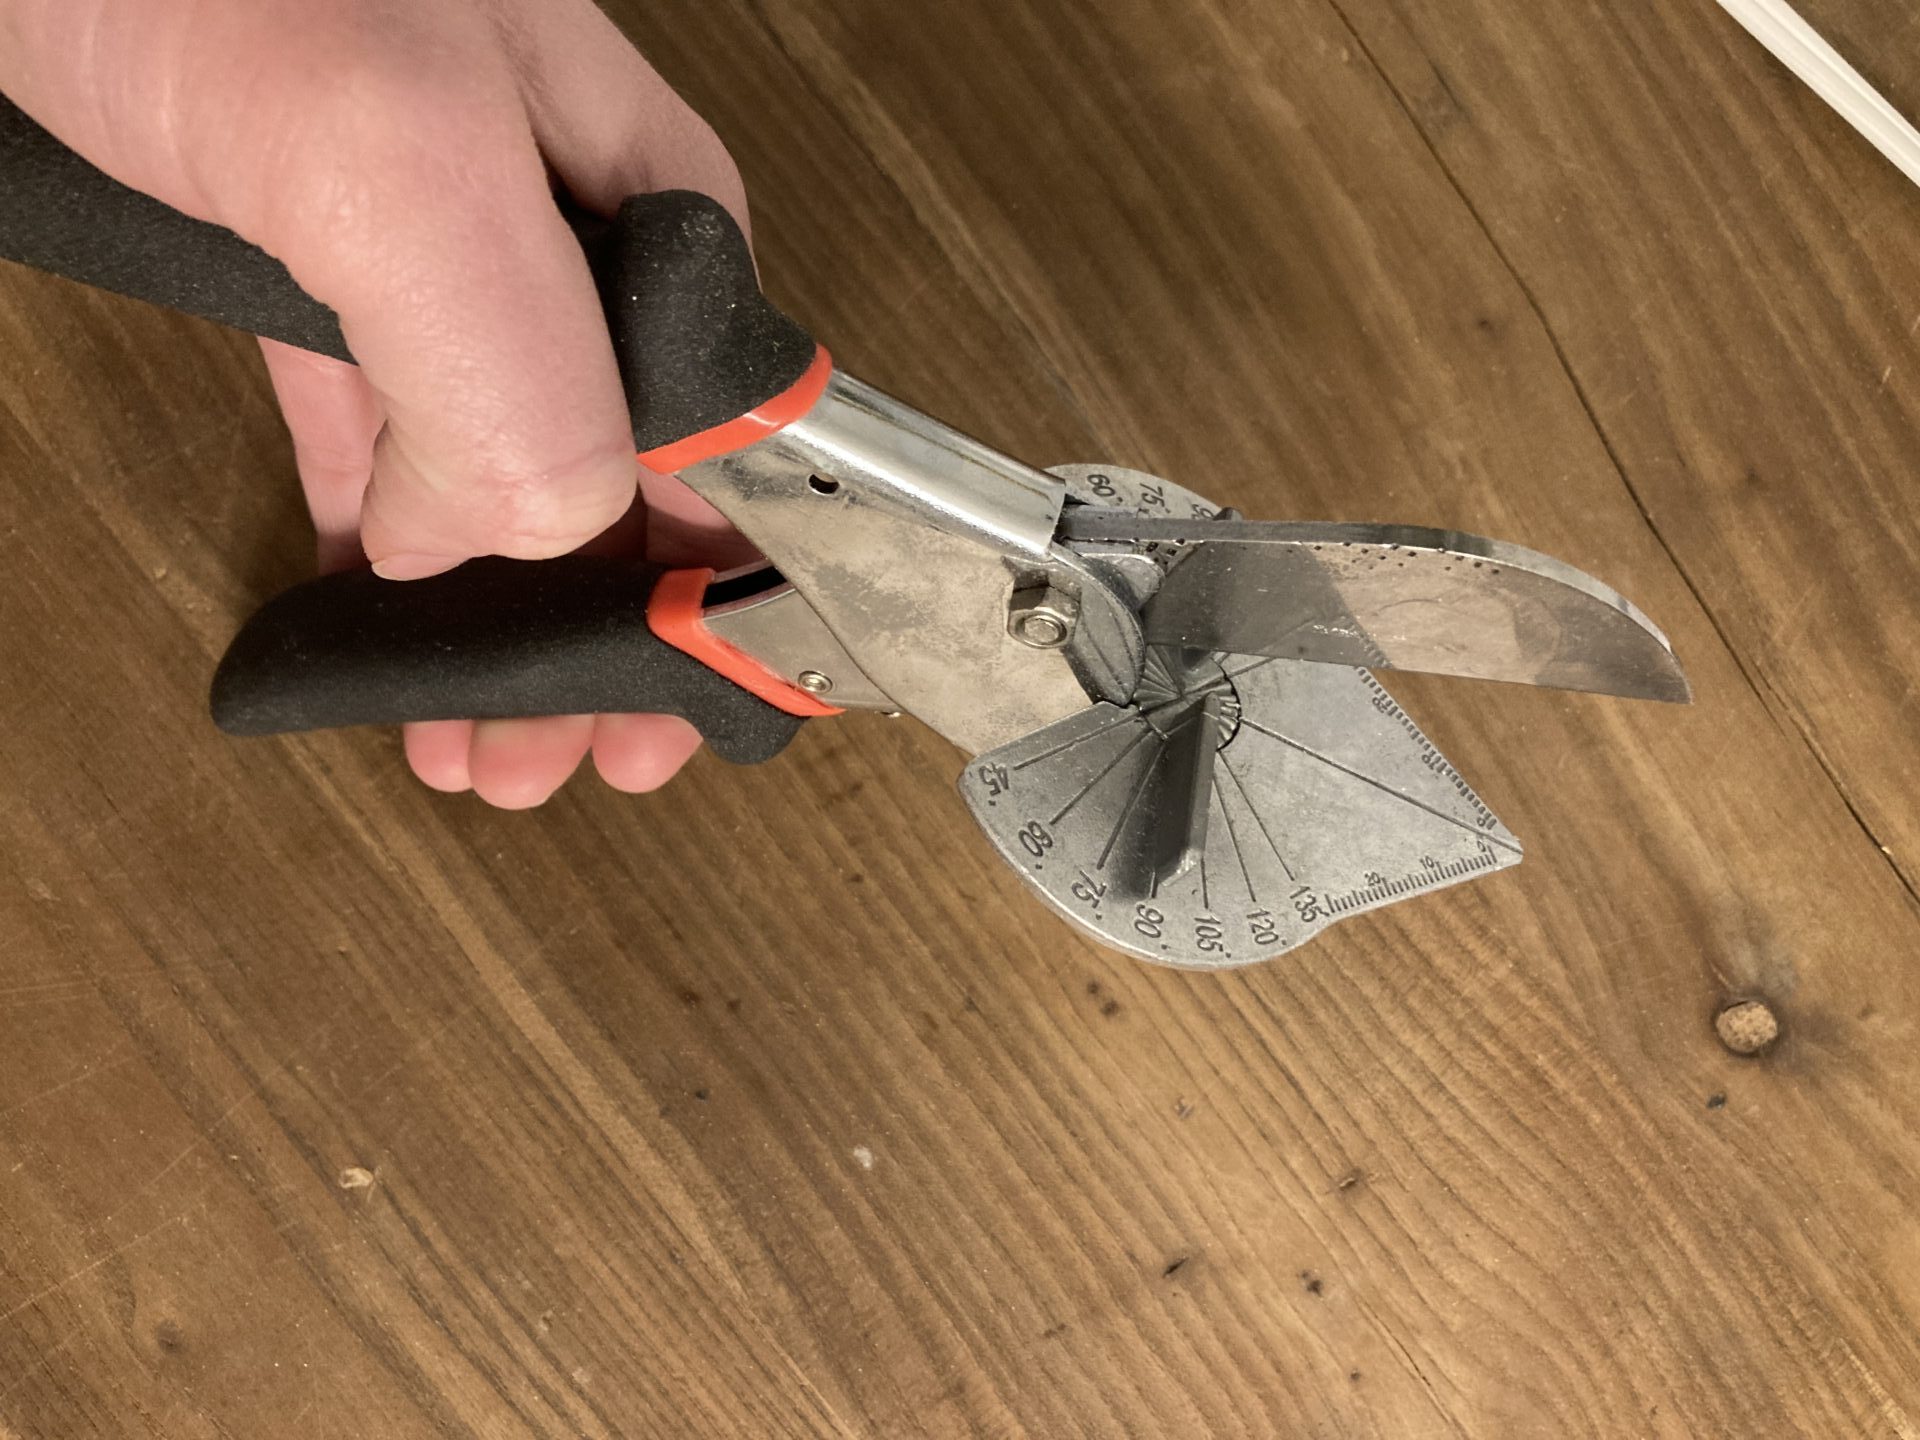
Using A Protractor
A protractor helps you measure angles on wood before cutting. Place it on the board’s edge to mark the angle.
Align the protractor’s center point with the corner. Read the degree marking where the edge meets the protractor.
- Hold the protractor firmly on the wood
- Mark the angle using a pencil
- Double-check the mark before cutting
Common Angle Measurements
Some angles are used more often in woodworking. Knowing them helps you set the saw quickly and accurately.
| Angle | Use |
|---|---|
| 45° | Making corners for frames and boxes |
| 90° | Standard straight cuts |
| 30° | Decorative trims and molding |
| 60° | Cutting joints for hexagon shapes |
Credit: youcandiyblog.com
Making Precise Angled Cuts
Using a miter saw for angled cuts helps create clean, accurate edges. This skill is useful for projects like picture frames and trim work.
To get precise cuts, you need to position the material correctly and use safe cutting techniques. Both steps ensure your work is neat and safe.
Positioning The Material
Place the wood firmly against the saw’s fence. This keeps the material stable during the cut.
Mark the cut line clearly on the wood. Align this mark with the saw blade before starting the cut.
- Use clamps if needed to hold the material steady.
- Double-check the angle setting on the saw for accuracy.
- Keep your hands away from the blade path.
Safe Cutting Techniques
Always wear safety glasses to protect your eyes from dust and debris. Make sure the saw is on a stable surface.
Start the saw and let the blade reach full speed before cutting. Use a slow, steady motion to guide the blade through the wood.
- Keep your fingers at least six inches from the blade.
- Never remove cut pieces while the blade is moving.
- Turn off the saw and wait for the blade to stop before removing material.
Advanced Cutting Techniques
Using a miter saw for angled cuts can improve your woodworking projects. Advanced techniques help you cut complex shapes accurately.
This guide covers compound cuts and combining bevel and miter angles for precise results.
Compound Cuts
Compound cuts combine a bevel angle with a miter angle. These cuts are common for crown molding and angled trim work.
- Set the miter angle on the saw’s base.
- Adjust the bevel angle by tilting the saw blade.
- Secure the workpiece firmly to avoid movement.
- Make a slow, steady cut to maintain accuracy.
Bevel And Miter Combinations
Combining bevel and miter angles allows you to cut complex shapes. Each angle affects the final fit and appearance.
| Angle Type | Description | Typical Use |
|---|---|---|
| Miter Angle | Rotation of the saw table left or right | Corner joints and frames |
| Bevel Angle | Tilt of the saw blade forward or backward | Crown molding and angled edges |
| Compound Cut | Combination of miter and bevel angles | Complex trim and molding |
Credit: www.woodworkingtalk.com
Troubleshooting Common Issues
Using a miter saw for angled cuts can be tricky. Some issues may cause rough edges or wrong angles. Fixing these problems helps you get clean, precise cuts every time.
Below are common problems and ways to solve them. These tips will help you use your miter saw better and avoid mistakes.
Avoiding Tear-out
Tear-out happens when wood splinters on the cut edge. It looks messy and weakens the wood. This often occurs with angled cuts because the blade exits the wood at an angle.
To avoid tear-out, use a sharp blade and support the wood firmly. Cutting slowly and using painter’s tape on the cut line also helps keep the wood from splintering.
- Use a sharp, fine-tooth blade
- Place painter’s tape along the cut line
- Clamp wood securely to prevent movement
- Cut slowly and steadily without forcing the blade
- Cut with the good face of the wood down
Fixing Inaccurate Cuts
Inaccurate cuts happen when angles are off or measurements are wrong. This can ruin your project and waste materials. Check your saw settings and measuring tools carefully.
Calibrate your miter saw regularly and test cuts on scrap wood. Adjust the fence and bevel angles to match your desired cut. Mark your wood clearly and double-check measurements before cutting.
- Verify the angle settings on the saw before cutting
- Use a reliable measuring tape or square
- Make test cuts on scrap wood first
- Check the saw fence is tight and square
- Recalibrate the saw if cuts are consistently off
Maintenance For Longevity
Proper care of your miter saw helps it last longer and work better. Regular maintenance keeps cuts precise and safe.
Focus on blade care and calibration to maintain the tool’s performance. These simple tasks improve cutting quality and extend the saw’s life.
Blade Care
Keep the blade clean and sharp to ensure smooth cuts. Dull blades can cause rough edges and put extra strain on the motor.
- Remove sawdust and resin buildup after each use.
- Use a blade cleaner or mild detergent with a brush.
- Sharpen the blade regularly or replace it if damaged.
- Check for missing or broken teeth before every project.
- Store the blade in a dry place to prevent rust.
Regular Calibration
Calibration keeps your miter saw accurate for angled cuts. Check the settings often to avoid mistakes and wasted materials.
| Calibration Task | How to Check | Frequency |
| Blade Angle | Use a digital angle gauge to verify the blade’s tilt. | Monthly |
| Miter Angle | Cut a test piece and measure the angle with a protractor. | Before each project |
| Fence Alignment | Ensure the fence is square to the blade using a carpenter’s square. | Monthly |
| Bevel Lock | Test the lock for tightness and adjust as needed. | Every 3 months |
Frequently Asked Questions
What Is A Miter Saw Used For?
A miter saw is used for making precise crosscuts and angled cuts in wood, plastic, and metal. It’s essential for tasks like creating frames, moldings, and trim. By adjusting the angle settings, you can achieve accurate bevels, miters, and compound cuts, ensuring a professional finish for your projects.
How Do I Adjust The Miter Saw Angle?
To adjust the miter saw angle, unlock the miter handle and rotate the saw table. Align the indicator with your desired angle on the miter scale. Once set, lock the handle to secure the position. This adjustment allows you to make precise cuts at various angles for your woodworking projects.
How To Ensure Safety When Using A Miter Saw?
Ensure safety by wearing protective gear like safety glasses and ear protection. Always keep hands away from the blade and use clamps to secure materials. Before cutting, ensure the blade guard is functional and never remove safety features. Maintain focus and avoid distractions while operating the saw.
Can Miter Saws Cut Metal?
Yes, miter saws can cut metal, but you need a metal-cutting blade. Ensure the blade is compatible with your saw model. Always wear appropriate safety gear, such as safety glasses and gloves. Adjust the speed settings if your saw allows, and proceed slowly to avoid overheating the blade.
Conclusion
Using a miter saw for angled cuts is simple with practice. Always measure twice to cut once. Keep your hands steady and follow safety rules. Adjust the saw angle carefully before each cut. Clean your workspace to work better and safer.
Small mistakes can cause big problems. Take your time and stay focused. With patience, your cuts will look neat and fit well. This tool helps create strong, precise joints. Enjoy building with confidence and skill every time.
