Is your miter saw not cutting as smoothly as it used to? You rely on this tool for precise cuts, and when it’s off, your whole project can suffer.
The good news is, many common issues can be fixed quickly with the right tips. You’ll discover easy steps to repair your miter saw and get it running like new again. Keep reading—you’ll save time, money, and avoid unnecessary frustration.
Your next perfect cut is just a few repairs away!
Common Miter Saw Problems
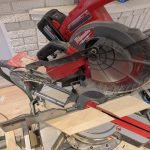
Miter saws are useful tools for cutting wood at different angles. Like all tools, they can have issues that affect their work.
Understanding common problems helps you fix your saw and keep it working well for a long time.
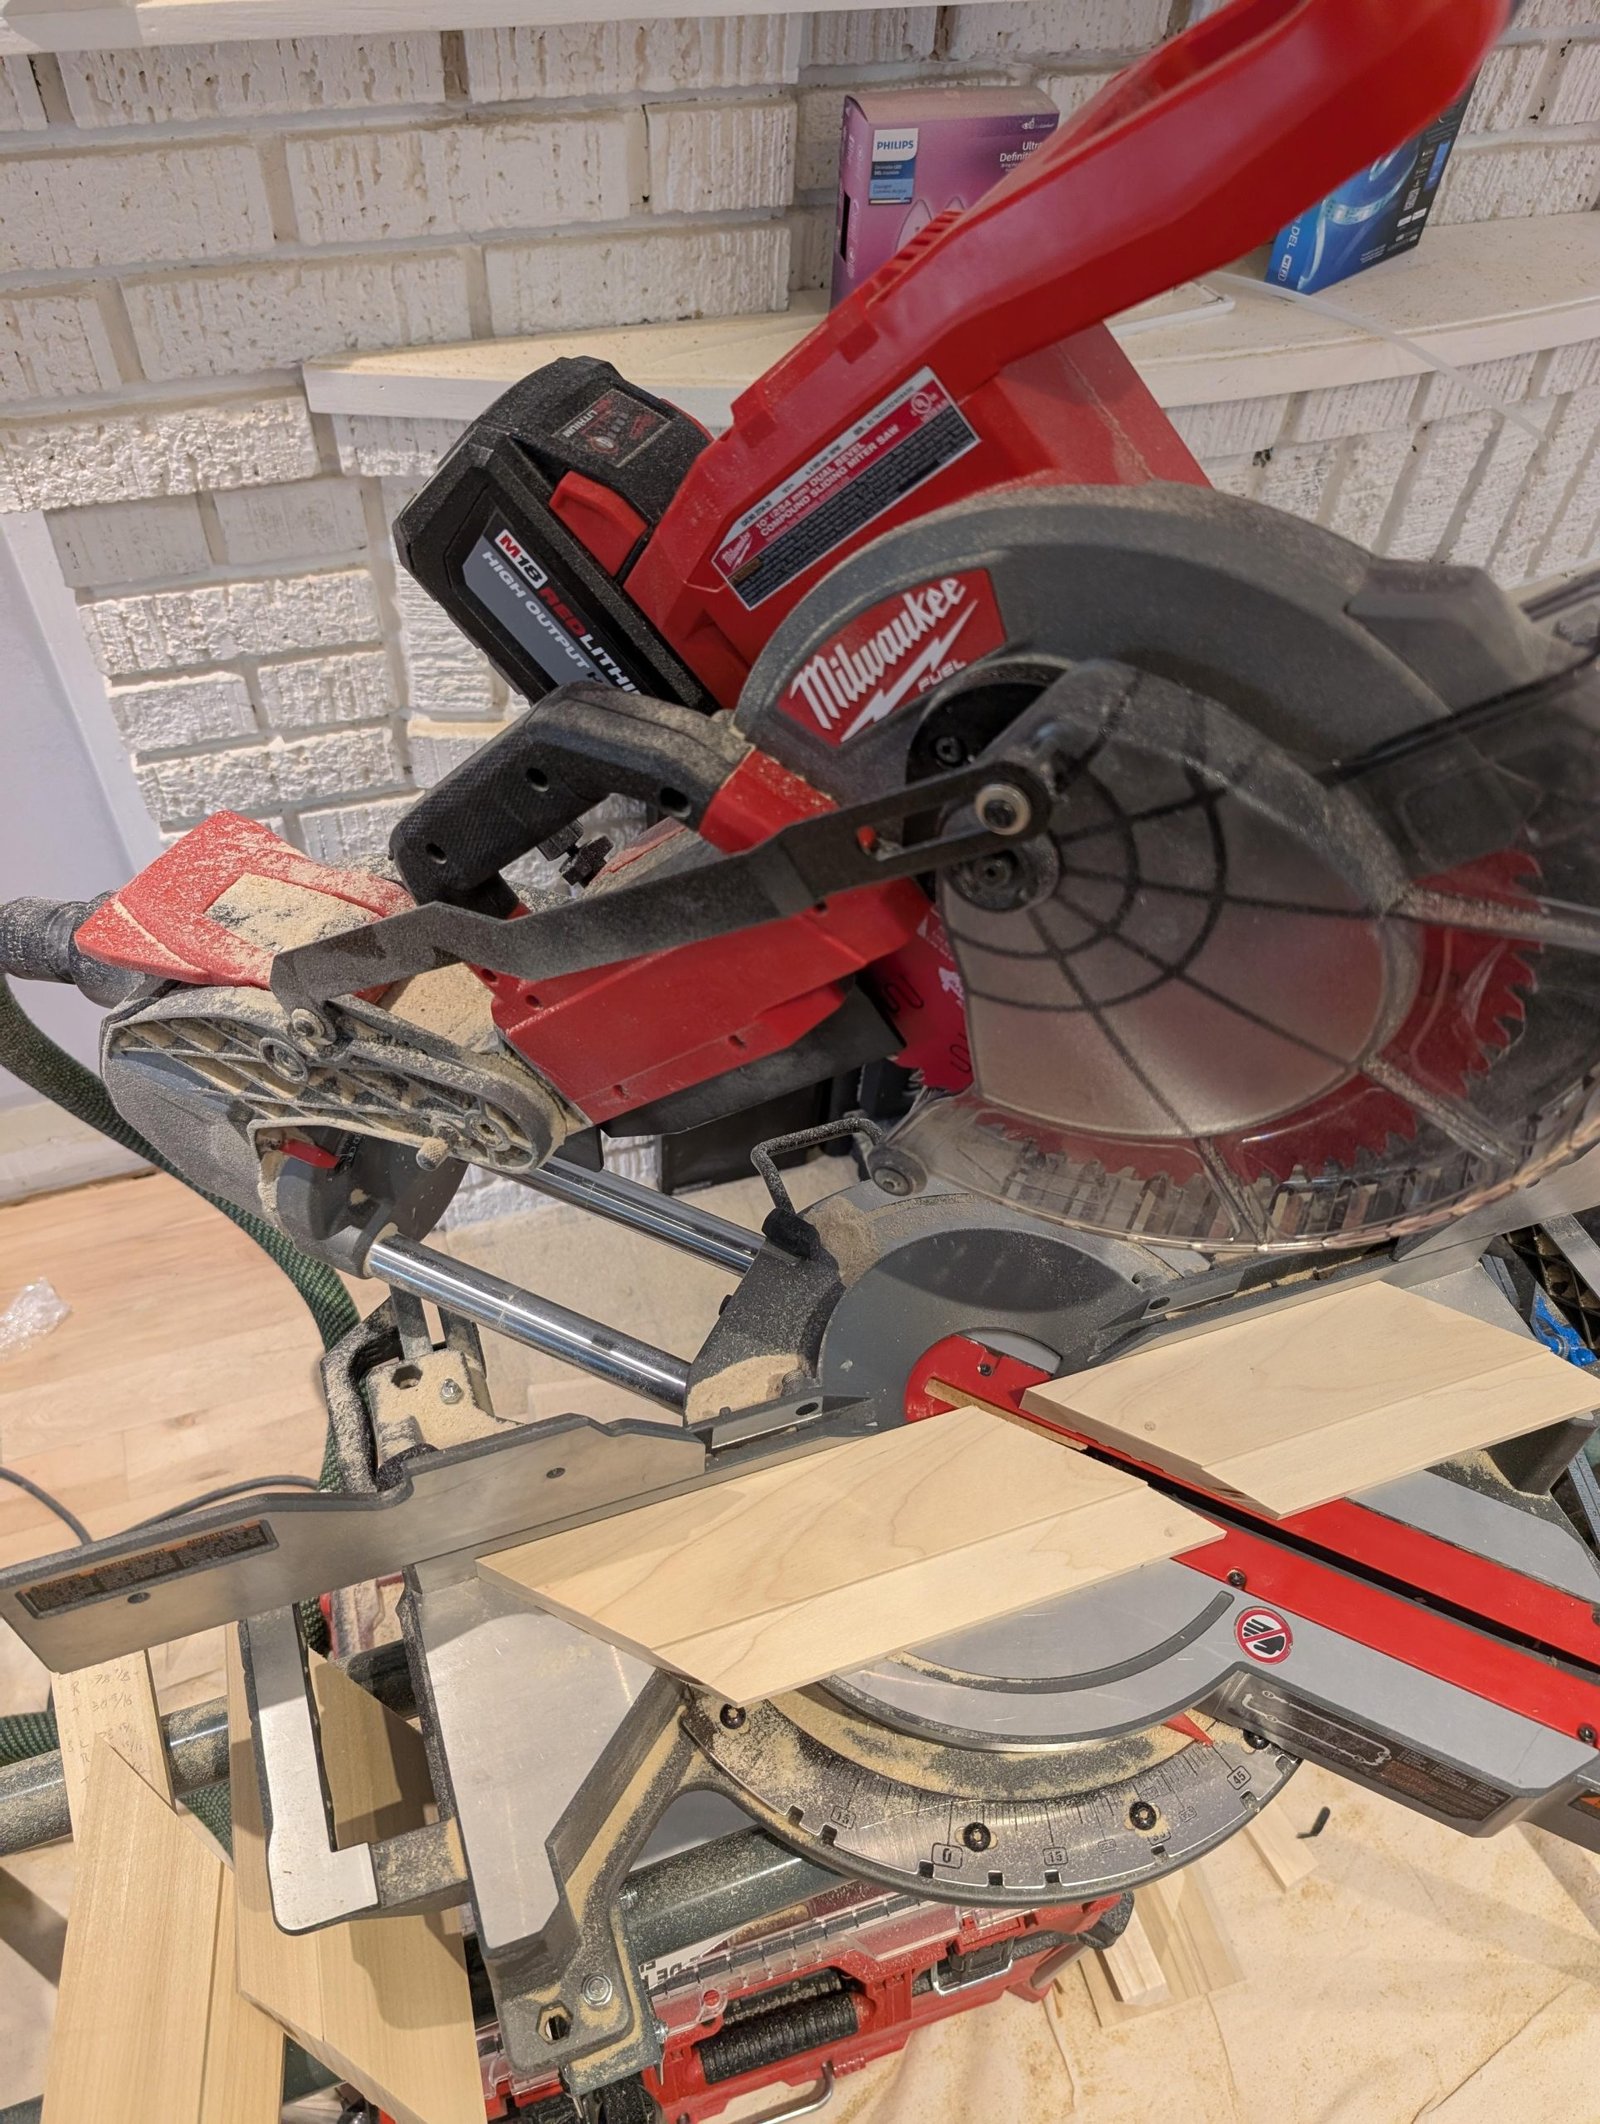
Blade Issues
A dull or damaged blade is a common problem. It can cause rough cuts or make the saw work harder.
- Check the blade for dullness or missing teeth.
- Clean resin and pitch buildup on the blade.
- Replace the blade if it is cracked or severely damaged.
- Use the right blade type for your material.
Alignment Errors
If your cuts are not straight or at the right angle, alignment might be off. This can cause waste and poor results.
| Part | Check | Fix |
|---|---|---|
| Fence | Is it square to the blade? | Adjust screws or bolts to align it. |
| Bevel angle | Does the angle match the gauge? | Calibrate using a protractor or square. |
| Miter angle | Does it lock firmly at set angles? | Tighten locks or adjust stops. |
Power And Motor Troubles
If the saw does not start or runs slow, motor or power issues may exist. These can stop your work.
- Check the power cord and plug for damage.
- Make sure the outlet works by testing with another tool.
- Clean dust from motor vents to prevent overheating.
- If the motor hums but does not run, the brushes may need replacement.
Dust Collection Problems
Dust buildup can cause poor visibility and damage parts. Good dust collection keeps the saw clean and safe.
- Check if the dust bag or port is full or blocked.
- Clean or replace dust bags regularly.
- Use a vacuum attachment if your saw supports it.
- Keep the work area clean to reduce dust hazards.

Credit: www.youtube.com
Safety Precautions Before Repairs
Repairing a miter saw can be dangerous without proper safety steps. Taking precautions helps prevent injuries.
Follow these safety tips before starting any repair work on your miter saw.
Disconnecting Power
Always unplug the miter saw from the power source before repairs. This stops the saw from turning on by accident.
Check that the cord and plug are not damaged. Do not work if the power supply is faulty.
Wearing Protective Gear
Wear safety glasses to protect your eyes from dust and debris. Use gloves to protect your hands from sharp parts.
Use ear protection if you will test the saw after repair. Wear a dust mask if dust is heavy.
- Safety glasses
- Protective gloves
- Ear protection
- Dust mask
Work Area Preparation
Clear the work area of clutter to avoid tripping or knocking things over. Good lighting helps you see small parts clearly.
Keep a first aid kit nearby. Have tools organized and within reach to work safely and efficiently.
- Clear workspace
- Good lighting
- First aid kit ready
- Organized tools
Blade Repair And Replacement
Miter saw blades need care to work well. Fixing or changing the blade keeps cuts clean and safe.
This guide helps you spot blade problems and replace the blade correctly.
Identifying Blade Wear
Look at your blade for signs of damage. Worn blades cut poorly and can be unsafe.
Check for dull teeth, missing teeth, or rust. Also, notice if cuts burn the wood.
- Dull teeth make rough cuts
- Missing teeth cause uneven cutting
- Rust weakens the blade
- Burn marks on wood show blade problems
Choosing The Right Blade
Select a blade that fits your saw and task. Size and tooth count affect cutting quality.
Use blades made for your miter saw type. Pick tooth types for wood, metal, or plastic cuts.
- Match blade diameter with your saw
- Higher tooth count gives smoother cuts
- Carbide-tipped teeth last longer
- Use blade type for your material
Step-by-step Blade Replacement
Turn off and unplug the saw before starting. Safety is very important.
Follow these steps to change your blade safely and correctly.
- Lock the saw’s blade in place using the spindle lock.
- Use a wrench to loosen the blade bolt by turning it counterclockwise.
- Remove the bolt, washer, and old blade carefully.
- Install the new blade with teeth facing the right direction.
- Put the washer and bolt back on and tighten securely.
- Release the spindle lock and check blade spin by hand.
- Plug the saw back in and test it with a cut.
Fixing Alignment Problems
Proper alignment is important for clean cuts with a miter saw. Misalignment can cause uneven cuts and waste material.
This guide helps you fix common alignment issues on your miter saw. Follow these tips to improve accuracy and safety.
Checking Bevel And Miter Angles
Start by checking the bevel and miter angles on your saw. These angles control the tilt and rotation of the blade.
Use a reliable angle gauge or protractor to verify these settings. Adjust if the blade does not match the angle marks.
- Set the saw to 0 degrees for both bevel and miter.
- Place the angle gauge against the blade and fence.
- Check if the blade is perfectly vertical and square to the fence.
- Adjust the bevel or miter stops if needed.
Adjusting The Fence
The fence supports the workpiece and helps keep cuts straight. A loose or misaligned fence causes cutting errors.
Check if the fence is square to the blade and tightly fixed. Tighten screws or bolts if the fence moves.
- Use a carpenter’s square to check fence alignment.
- Make sure the fence is flush with the base plate.
- Adjust fence position to be at 90 degrees to the blade.
- Secure the fence firmly to avoid movement during cuts.
Calibrating The Laser Guide
The laser guide helps show where the blade will cut. It must be aligned with the blade edge for accuracy.
Turn on the laser and check if it matches the blade line on the work surface. Adjust the laser if it is off.
- Switch on the laser guide and lower the blade to the cutting surface.
- Mark the laser line and the blade edge on the surface.
- Use screws or knobs to move the laser until it matches the blade line.
- Test the laser alignment with a sample cut.
Resolving Power And Motor Issues
Miter saws can lose power or stop working due to motor problems. Fixing these issues keeps your saw running safely. Checking parts regularly helps avoid big repairs.
Focus on electrical connections, moving parts, and replacing broken components. These steps restore your saw’s strength and smooth operation.
Inspecting Electrical Connections
Loose or damaged wires can cause power loss. Unplug the saw before checking. Look for worn insulation or disconnected wires. Tighten screws on terminals. Use a multimeter to test voltage flow.
- Unplug the saw before inspection
- Check all wires for damage
- Secure loose connections
- Test voltage with a multimeter
- Replace frayed or broken cables
Cleaning And Lubricating Moving Parts
Dirt and rust slow the motor and reduce power. Clean dust from vents and gears. Lubricate bearings and pivot points. Use a light machine oil or grease. Avoid over-lubricating to prevent dust buildup.
| Part | Cleaning Method | Lubrication Type |
| Motor vents | Blow out dust with air | None |
| Gears | Wipe with cloth | Light grease |
| Bearings | Remove debris | Machine oil |
| Pivot points | Clean with brush | Light oil |
Replacing Faulty Components
Some parts wear out and cause motor failure. Common parts to replace include brushes, switches, and belts. Use parts made for your saw model. Replace damaged parts promptly to avoid more damage.
- Identify worn brushes and replace them
- Test and swap faulty switches
- Check belts for cracks or looseness
- Use manufacturer-approved parts
- Follow safety rules during replacement

Credit: www.youtube.com
Improving Dust Collection
Keeping your miter saw clean helps it work better and last longer. Dust can block parts and make cutting unsafe.
Good dust collection keeps your workspace tidy and stops dust from spreading in the air.
Clearing Dust Ports
Dust ports on miter saws can get clogged. Clean them often to keep air flowing well.
Use compressed air or a small brush to remove dust inside the ports. Check for any blockages you can see.
- Turn off and unplug the saw before cleaning
- Blow out dust with compressed air
- Use a soft brush to clear hard-to-reach areas
- Inspect ports for cracks or damage
Upgrading Collection Systems
Stock miter saw dust collectors may not catch all dust. Upgrading helps trap more particles.
Consider attaching a better vacuum or using a dust bag made for your saw model.
- Choose a vacuum with strong suction power
- Look for dust bags that fit your saw snugly
- Use adapters to connect to larger shop vacuums
- Check filters on collection systems and clean them
Regular Maintenance Tips
Dust collection works best if you keep your saw clean and maintained regularly.
Check parts often and replace worn brushes or filters as needed to keep dust control strong.
- Clean dust ports after each use
- Inspect and replace worn dust bags or filters
- Keep vacuum hoses free of cracks or holes
- Store your saw in a clean, dry place
Tools And Materials For Repairs
Fixing a miter saw needs the right tools and materials. Using correct items makes repairs safer and easier.
This guide covers the main tools and materials you need to repair your miter saw properly.
Essential Hand Tools
Hand tools help you open, adjust, and fix parts on the saw. Having the right tools speeds up work and prevents damage.
- Screwdrivers: both flathead and Phillips for screws
- Allen wrenches for hex bolts
- Adjustable wrench for nuts and bolts
- Socket set for tight fasteners
- Hammer for light tapping
- Needle-nose pliers for gripping small parts
- Wire cutters if electrical parts need attention
Replacement Parts
Some parts wear out and need to be replaced. Using the right replacements keeps your saw working well and safe.
| Part | Common Issue | Replacement Tip |
| Blade | Dull or damaged teeth | Use manufacturer-approved blades only |
| Drive belt | Cracks or slips | Check size and tension before buying |
| Carbon brushes | Motor sparking or slow start | Replace in pairs for best results |
| Switch | Fails to turn on/off | Match voltage and type exactly |
| Bearings | Noise or wobble | Use sealed bearings for durability |
Lubricants And Cleaners
Lubricants keep moving parts smooth. Cleaners remove dust and debris. Both help your saw last longer.
- Light machine oil for pivot points
- Grease for gears and bearings
- Compressed air to blow out dust
- Soft brush to clean hard-to-reach spots
- Rags for wiping surfaces
- Non-corrosive cleaner for metal parts
Preventive Maintenance Tips
Keeping your miter saw in good shape saves you time and money. Regular care helps the saw work safely and last longer.
Follow simple steps to avoid big repairs. These tips focus on inspection, storage, and cleaning habits.
Regular Inspection Routines
Check your miter saw before each use. Look for loose parts, damaged cords, and blade wear. Fix small problems early.
- Inspect the blade for cracks or dullness
- Check the power cord for cuts or frays
- Make sure all screws and bolts are tight
- Test safety features like blade guards
- Look for unusual noises during operation
Proper Storage Practices
Store your miter saw in a dry, clean place. Keep it covered to stop dust and moisture from reaching it. Good storage protects parts from damage.
- Use a case or cover to block dust
- Keep the saw in a cool, dry area
- Store on a stable surface to avoid falls
- Keep away from heavy tools that can cause dents
- Unplug the saw before storing
Routine Cleaning Habits
Clean your miter saw after each use. Remove sawdust and debris from all parts. Clean tools work better and last longer.
- Use a brush or air compressor to clear dust
- Wipe metal parts with a dry cloth
- Remove resin build-up from the blade
- Check and clean the blade guard regularly
- Apply light oil to moving parts to stop rust
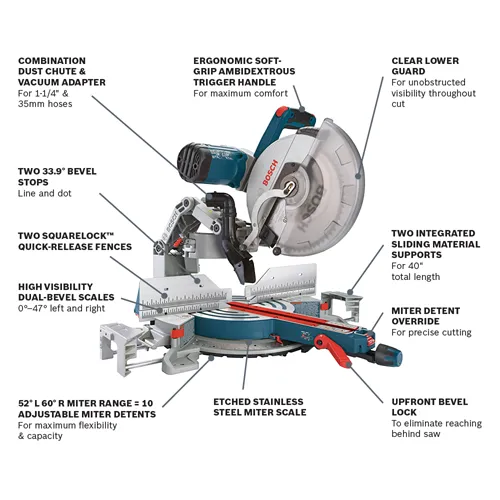
Credit: www.boschtools.com
Frequently Asked Questions
How Do I Fix A Misaligned Miter Saw?
To fix a misaligned miter saw, start by checking the bevel and miter angles. Use a square to adjust them to 90 degrees. Tighten any loose screws or bolts to ensure stability. Regularly calibrate your saw to maintain accuracy. Always follow the manufacturer’s instructions for adjustments.
Why Won’t My Miter Saw Start?
If your miter saw won’t start, first check the power source and ensure it’s plugged in. Inspect the power cord for any damage. Check the fuse or circuit breaker. Also, ensure the safety switch is not engaged. Consult the user manual for specific troubleshooting steps related to your model.
How Can I Reduce Miter Saw Blade Wobble?
Blade wobble in a miter saw can be reduced by tightening the arbor nut. Ensure the blade is correctly seated and clean. Check for any warping or damage to the blade itself. Regular maintenance and cleaning can prevent buildup that may cause wobble.
Replace blades that are damaged or warped.
What Causes Burning Marks On Wood Cuts?
Burning marks on wood cuts often result from a dull blade or excessive feed pressure. Ensure the blade is sharp and properly aligned. Adjust the feed rate to prevent overheating. Clean any resin buildup on the blade. Using the correct blade type for your material can also help reduce burning.
Conclusion
Repairing miter saws can save time and money. Regular checks keep your saw working well. Use the right tools for each repair step. Clean parts gently to avoid damage. Tighten screws and replace worn blades carefully. Always follow safety rules during repairs.
Small fixes prevent bigger problems later. Practice these tips to keep your saw sharp. Stay patient and take your time. A well-maintained saw cuts better and lasts longer. Keep these simple tips in mind for easy repairs.