If you’ve ever struggled with putting together furniture, you know how tricky it can be to get everything to fit just right. Using the right tool can make all the difference, and a mallet is one of the best tools you might be overlooking.
But how do you use a mallet properly without damaging your furniture? You’ll discover simple, step-by-step tips to help you use a mallet like a pro. By the end, assembling your furniture will feel easier and more satisfying than ever before.
Keep reading to unlock the secret to a smooth, damage-free build.
Credit: www.popularmechanics.com
Choosing The Right Mallet
Using a mallet helps assemble furniture without damaging the wood. Picking the right mallet makes the job easier and safer.
Different mallets suit different tasks. Knowing which one to use saves time and effort.
Types Of Mallets
There are several mallet types. Each has a specific use in furniture assembly.
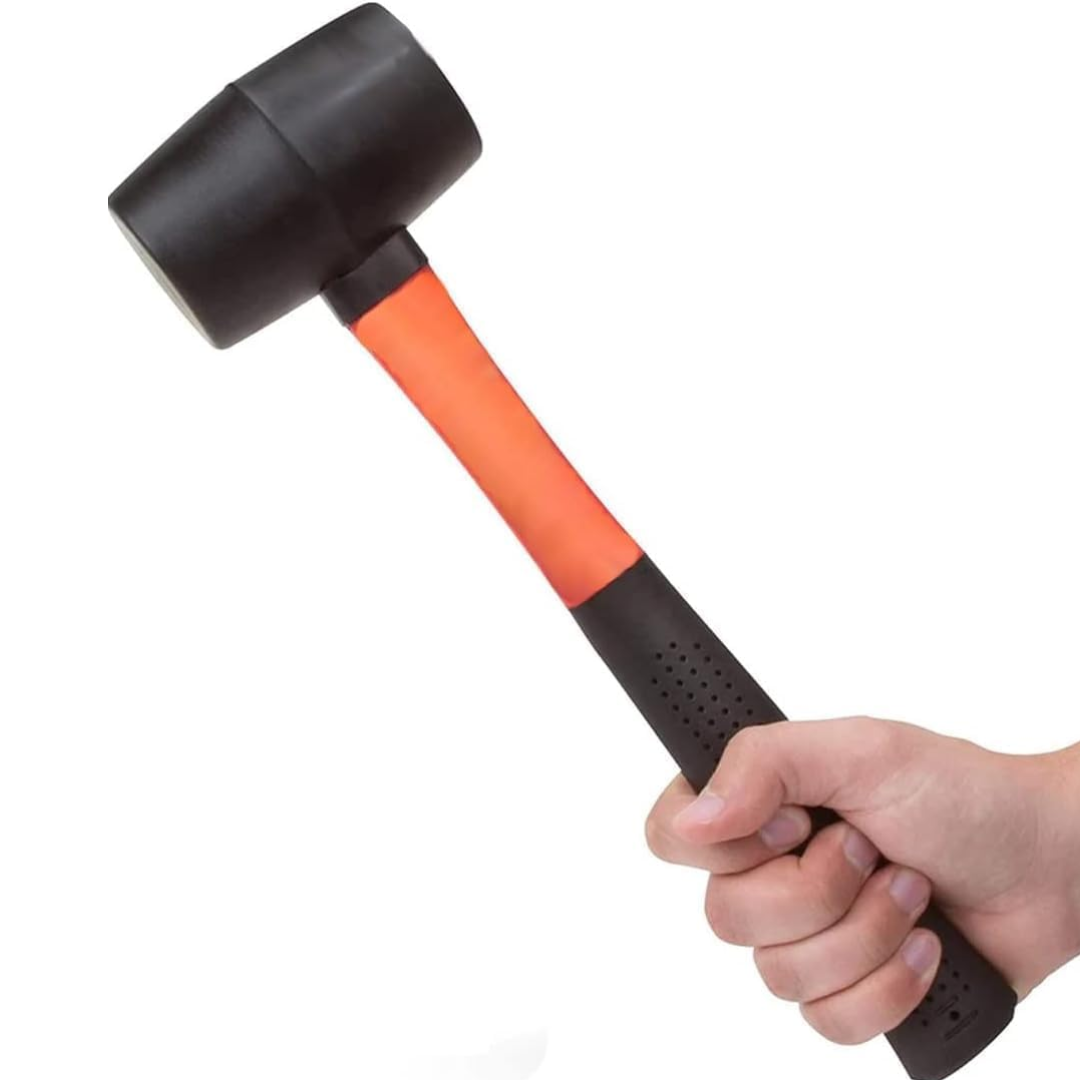
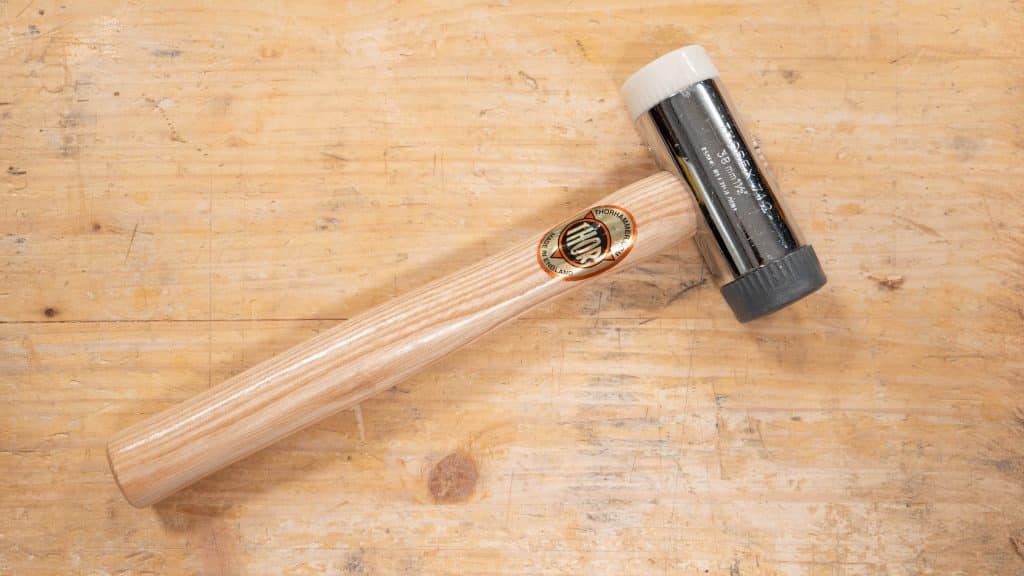
- Wooden Mallets:Common for woodworking. They are gentle and prevent dents.
- Rubber Mallets:Good for delicate surfaces. They reduce marks on soft wood or veneer.
- Plastic Mallets:Durable and lightweight. Ideal for light tapping and adjusting parts.
- Rawhide Mallets:Used for fine woodworking. They deliver soft but firm blows.
Material Considerations
The mallet’s material affects how it hits and protects your furniture. Choose based on the wood type and task.
| Material | Best Use | Advantages |
| Wood | General woodworking | Gentle, traditional, less damage |
| Rubber | Soft wood, veneer | Non-marring, absorbs shock |
| Plastic | Light assembly | Lightweight, durable |
| Rawhide | Fine woodworking | Soft impact, precise control |
Size And Weight Factors
Size and weight affect your control and force. Choose a mallet that feels balanced in your hand.
- Heavier mallets deliver stronger hits but tire your hand faster.
- Lighter mallets give more control but less force.
- Handle length should fit your grip comfortably.
- Head size matches the area you need to strike.

Credit: www.amazon.com
Preparing For Assembly
Using a mallet to assemble furniture is easier when you prepare well. Getting ready helps avoid mistakes and saves time.
This guide covers important steps before you start using your mallet. Follow these tips for smooth assembly.
Checking Furniture Components
Look over all parts before you begin. Make sure nothing is missing or damaged. This saves frustration during assembly.
Check the instruction manual to identify every piece. Lay them out to see everything clearly.
- Count screws, bolts, and dowels
- Inspect wooden panels and frames
- Verify hardware matches the manual
- Report missing parts before starting
Clearing Your Workspace
Make sure your workspace is clean and spacious. Remove clutter to avoid losing small parts.
Work on a flat surface to keep pieces stable. Good lighting helps you see details clearly.
- Clear table or floor area
- Use a soft mat to protect parts
- Keep a trash bin nearby
- Ensure good lighting
Gathering Necessary Tools
Besides the mallet, gather all tools needed for assembly. This avoids stopping in the middle to search for tools.
Check the instruction sheet for the list of required tools. Have them ready before you start.
- Wooden or rubber mallet
- Screwdrivers (flat and Phillips)
- Allen keys or hex wrenches
- Measuring tape
- Protective gloves (optional)
Proper Mallet Techniques
Using a mallet correctly helps you assemble furniture safely and efficiently. A good technique protects both you and the wood.
Learn how to hold the mallet, strike with control, and avoid damage to your furniture pieces.
Correct Grip And Stance
Hold the mallet handle firmly but not too tight. Your grip should allow a smooth swing without strain.
Stand with feet shoulder-width apart for balance. Keep your body relaxed and your eyes on the target.
- Use your dominant hand to hold the mallet
- Wrap your fingers around the handle comfortably
- Position your feet for steady support
- Keep your wrist straight to avoid injury
Striking With Controlled Force
Strike the wood with steady, controlled hits. Avoid swinging too hard, which can cause damage or miss the target.
Start with light taps and increase force as needed. This helps you feel how much power is necessary.
- Use your wrist and arm together for smooth swings
- Keep each strike firm but not too forceful
- Pause briefly between hits to check progress
- Adjust force based on the wood type and joint fit
Avoiding Damage To Wood
Using a mallet incorrectly can dent or crack wood. Always protect the surface you strike.
Use a soft mallet head or a protective block if the wood is delicate. Check the wood for cracks before starting.
- Choose a rubber or wooden mallet head for delicate parts
- Place a scrap piece of wood between mallet and furniture if needed
- Strike only on designated areas or joints
- Inspect your work regularly to catch damage early
Credit: commonwoodworking.com
Assembling Different Furniture Types
Using a mallet is helpful for putting furniture together. It lets you fit parts without breaking them.
Different furniture types need different mallet techniques. This guide helps you use a mallet safely and well.
Flat-pack Furniture Tips
Flat-pack furniture often uses wooden dowels and cam locks. A mallet helps push these parts into place.
Tap gently with the mallet to avoid damaging the wood or hardware. Use a cloth to protect visible surfaces.
- Use light taps to fit dowels tightly.
- Cover edges with cloth to avoid dents.
- Check alignment before final taps.
Wooden Joinery Assembly
Wood joints need careful assembly to fit well. A mallet helps join parts without cracking the wood.
Hit the joint edges softly and evenly. This ensures tight joints and strong furniture frames.
- Use a rawhide or rubber mallet to prevent marks.
- Tap around the joint evenly for balance.
- Do not hit too hard to avoid splitting wood.
Handling Delicate Materials
Delicate materials need special care when assembling. A mallet can help fit parts without damage.
Use soft mallets or add padding to the mallet head. This protects fragile finishes and thin wood.
- Wrap mallet head in cloth for extra softness.
- Tap lightly to avoid chips and scratches.
- Check parts often to stop damage early.
Troubleshooting Common Issues
Using a mallet to assemble furniture can be simple. Yet, some problems may occur. Knowing how to fix these issues helps keep your project on track.
This guide covers three common problems and their solutions. You will learn how to handle stuck joints, fix misaligned parts, and decide when to use extra tools.
Dealing With Stuck Joints
Joints can get stuck if parts do not fit well or if there is dirt inside. Using a mallet too hard may damage the wood. Try these methods first:
- Tap gently with the mallet to avoid damage.
- Apply a small amount of wax or soap on the joint to ease sliding.
- Check if any debris blocks the joint and clean it out.
- Use a soft cloth to protect the wood while tapping.
Fixing Misaligned Parts
Parts may not align correctly if you hit the wrong spot or use uneven force. Fix misalignment by adjusting the parts carefully. Follow these tips:
| Problem | Solution |
| Part too far in | Tap lightly on the back edge to pull it out |
| Part not fully inserted | Tap evenly on the joint to push it in |
| Uneven edges | Loosen and realign before tapping again |
When To Use Additional Tools
Sometimes, a mallet alone is not enough. Other tools can help finish the job safely and faster. Consider using extra tools if these issues occur:
- Stuck joints that need gentle prying.
- Parts needing precise alignment or holding.
- Wood surfaces at risk of damage from hard tapping.
Maintenance And Safety
Using a mallet for furniture assembly is common and helpful. Keeping the mallet in good shape and staying safe are very important.
This guide explains how to care for your mallet and how to work safely. It also covers storing your tools the right way.
Caring For Your Mallet
Clean your mallet after each use. Wipe dirt and dust off with a dry cloth. Avoid using water to stop wood from swelling.
Check the handle and head for cracks. Fix or replace the mallet if you see damage. This keeps your mallet safe and useful.
- Keep the mallet dry to avoid damage
- Tighten loose heads or handles immediately
- Store in a cool, dry place
Safety Precautions During Assembly
Wear safety glasses to protect your eyes from flying debris. Use gloves to avoid blisters and injuries on your hands.
Strike the furniture parts gently. Do not use too much force to avoid breaking pieces or hurting yourself. Keep your work area clean.
- Wear eye protection and gloves
- Use controlled, light hits with the mallet
- Keep fingers clear of the striking area
- Work on a stable surface
Storing Tools Properly
Store your mallet and other tools in a toolbox or on a tool rack. Keep tools organized to find them easily and avoid damage.
Keep the storage area dry and away from direct sunlight. This protects the tools and extends their life.
- Use a toolbox or wall rack for storage
- Keep tools separated to prevent damage
- Store in a dry, shaded area
- Check tools regularly for wear
Frequently Asked Questions
What Is The Best Mallet Type For Furniture Assembly?
A wooden or rubber mallet is best for furniture assembly. They prevent damage to wood and provide controlled force. Avoid metal hammers to protect the furniture surface.
How Do I Hold A Mallet Correctly?
Hold the mallet handle firmly near the end for better control. Use a relaxed grip to deliver gentle, precise taps when assembling furniture.
Can A Mallet Replace A Hammer In Assembly?
Yes, a mallet can replace a hammer for delicate tasks. It avoids dents and scratches on wood, making it ideal for furniture assembly.
How Hard Should I Strike With A Mallet?
Strike with moderate force to avoid damaging the wood. Use light taps for alignment and firmer hits to secure joints without splitting the material.
Conclusion
Using a mallet makes furniture assembly easier and safer. It helps avoid damaging delicate parts. Always choose the right mallet size and material. Rubber mallets work well for most tasks. Remember to use gentle taps. This prevents over-tightening or breaking.
Practice your technique to improve accuracy. Keep your workspace organized and clean. This ensures smooth assembly. Follow these tips for better results every time. Your furniture will last longer and look great. Enjoy your crafting and building projects!