
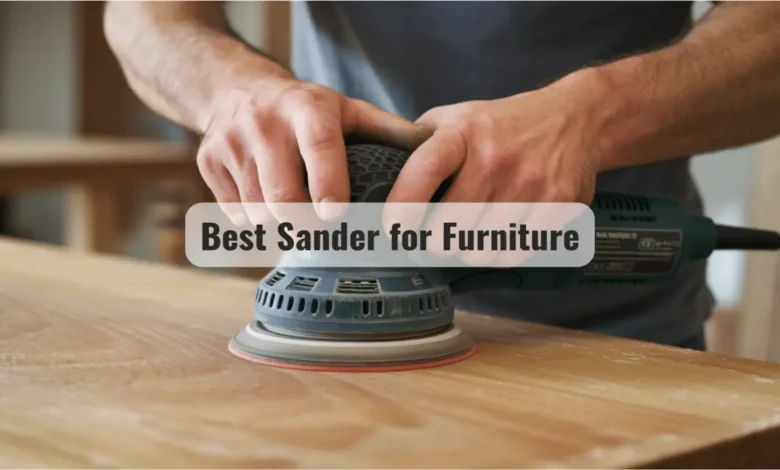
Are you ready to give your furniture a smooth, professional finish without the hassle? Using an orbital sander can make your sanding tasks faster, easier, and more effective.
But if you’re new to this tool, it might seem tricky at first. Don’t worry—this guide will walk you through everything you need to know. By the end, you’ll feel confident handling your orbital sander and transforming your furniture like a pro.
Keep reading to unlock the secrets that will save you time and help you achieve flawless results every time.

Credit: mrsander.co.uk
Choosing The Right Orbital Sander
Using an orbital sander can make furniture sanding easier and faster. Picking the right sander helps you get smooth, even surfaces.
There are different types of orbital sanders and features to consider. Knowing these helps you choose the best tool for your project.
Types Of Orbital Sanders
Orbital sanders come in several types. Each type works best for certain tasks and surfaces.
- Random Orbital Sander:Moves in random orbits. Good for smooth finishes without swirl marks.
- Finishing Sander:Has a square pad. Best for fine sanding and corners.
- Detail Sander:Small and pointed. Ideal for tight spaces and intricate parts.
Key Features To Look For
Choosing a sander means checking important features. These affect how easy and effective the tool is.
- Power:Higher power means faster sanding but can be harder to control.
- Speed Settings:Variable speed lets you adjust for different materials.
- Dust Collection:A good dust system keeps your workspace clean and safe.
- Ergonomics:Comfortable handles reduce hand fatigue during use.
- Pad Size:Larger pads cover more area, smaller pads reach tight spots.
Selecting The Correct Grit Sandpaper
Sandpaper grit affects how much material you remove. Choosing the right grit helps protect your furniture.
Start with coarse grit to remove old finishes. Then use finer grits for smooth surfaces.
- Coarse Grit (40-60):Removes paint and rough surfaces quickly.
- Medium Grit (80-120):Smooths surfaces and removes small scratches.
- Fine Grit (150-220):Prepares wood for finishing with a smooth feel.
Credit: seebloginfo.com
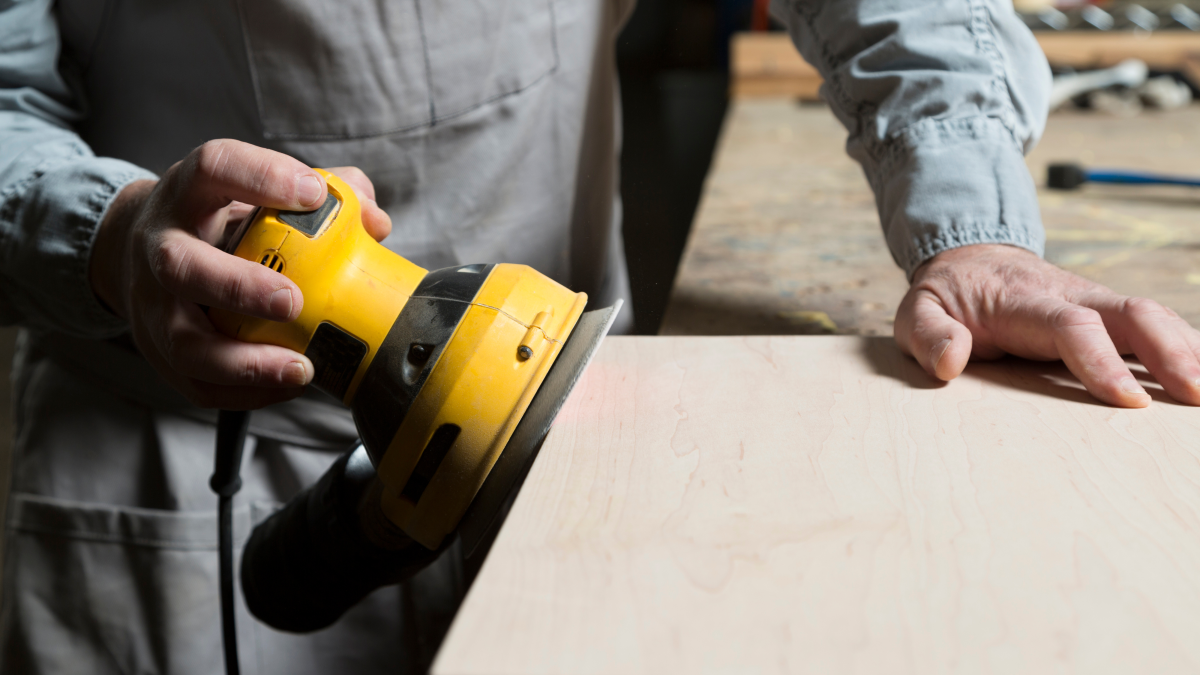
Preparing Furniture For Sanding
Before using an orbital sander on furniture, prepare the surface carefully. This helps achieve smooth results and avoids damage.
Proper preparation includes cleaning, securing the piece, and wearing the right safety gear. Each step is important for a safe and effective sanding process.
Cleaning And Removing Old Finish
Clean the furniture to remove dust, dirt, and grease. Old finishes like paint or varnish need to be stripped or sanded off before starting.
- Use a mild detergent and water to clean the surface.
- Wipe down with a clean cloth and let it dry.
- Apply chemical stripper if the finish is thick or tough.
- Scrape off old finish with a plastic scraper carefully.
- Lightly sand rough spots to smooth the surface.
Securing The Workpiece
Keep the furniture steady to avoid accidents. Secure it firmly before sanding to maintain control and prevent damage.
| Method | Description |
| Clamps | Use to hold small pieces or panels securely on a workbench. |
| Workbench | Place larger furniture on a stable workbench to avoid movement. |
| Non-slip Pads | Put pads under furniture legs to prevent sliding on smooth floors. |
| Straps | Use straps for heavy items to hold parts together firmly. |
Safety Gear Essentials
Wear the right safety gear to protect yourself while sanding. Orbital sanders create dust and noise that can harm your health.
- Dust mask or respirator to avoid breathing in dust.
- Safety glasses to protect your eyes from debris.
- Ear protection like earplugs or earmuffs for loud noise.
- Gloves to protect your hands from splinters and vibration.
- Wear long sleeves and pants to protect your skin.
Sanding Techniques For Smooth Results
Using an orbital sander helps make furniture surfaces smooth and ready for finishing. Good sanding techniques reduce scratches and uneven spots.
Learn how to handle the sander well, avoid common mistakes, and adjust your sanding for different wood types to get the best results.
Proper Handling And Movement
Hold the sander firmly but avoid pressing too hard. Let the machine do the work. Move the sander in slow, even circles or straight lines depending on the surface shape.
- Keep the sander flat against the wood surface
- Move evenly to avoid dips or gouges
- Overlap each pass slightly for full coverage
- Change sanding discs when worn out
- Turn off the sander before lifting it away
Avoiding Common Sanding Mistakes
Many users sand too fast or press too hard, causing uneven surfaces or swirl marks. Skipping grit steps can leave scratches that show up under finish.
| Mistake | Effect | How to Avoid |
|---|---|---|
| Pressing too hard | Surface gouges | Hold sander lightly |
| Using worn discs | Poor sanding | Replace discs regularly |
| Skipping grit levels | Visible scratches | Sand through proper grit sequence |
| Sanding too fast | Swirl marks | Move sander slowly and evenly |
Sanding Different Wood Types
Softwoods and hardwoods respond differently to sanding. Adjust pressure and sanding speed to fit the wood type and grain direction.
Tips for wood types:
- Softwood:Use light pressure to avoid dents.
- Hardwood:Sand with the grain to prevent scratches.
- Exotic wood:Test sanding on a scrap piece first.
Credit: dengarden.com
Finishing Touches After Sanding
After using an orbital sander on your furniture, some important steps follow. These steps help prepare the surface for the final look. Proper finishing ensures your work lasts longer and looks better.
Focus on removing dust, checking the smoothness, and getting ready for staining or painting. These tasks make a big difference in the final result.
Cleaning Dust Residue
Sanding creates a lot of dust that sticks to the furniture. Dust can cause roughness and affect how paint or stain sticks. Clean the surface thoroughly to avoid these problems.
- Use a vacuum with a brush attachment to remove loose dust.
- Wipe the surface with a damp cloth to catch fine dust.
- Allow the wood to dry completely before the next step.
- Use a tack cloth for a final wipe to pick up remaining particles.
Inspecting Surface Smoothness
Check the surface by running your hand over it. It should feel even and smooth without rough patches. Look for scratches or areas missed by the sander.
| What to Check | What to Do |
|---|---|
| Rough spots | Sand lightly with fine-grit sandpaper |
| Scratches | Sand again with medium-grit paper |
| Uneven surfaces | Use the orbital sander carefully to level out |
Preparing For Staining Or Painting
Before applying stain or paint, prepare the surface well. This step helps the finish stick better and look even. Use the right products and tools for the best results.
- Make sure the surface is clean and dry.
- Choose a primer if painting to help the paint bond.
- Test stain or paint on a small area first.
- Apply thin, even coats for a smooth finish.
- Allow proper drying time between coats.
Maintaining Your Orbital Sander
Keeping your orbital sander in good shape helps it work better and last longer. Regular care saves time and money on repairs.
Learn simple tips for cleaning, replacing parts, and fixing common problems with your orbital sander.
Cleaning And Storage Tips
Clean your sander after each use to remove dust and debris. Dust can clog the vents and reduce motor life.
- Unplug the sander before cleaning.
- Use a soft brush or compressed air to clear dust.
- Wipe the exterior with a damp cloth.
- Store the sander in a dry, cool place.
- Avoid placing heavy objects on the sander during storage.
Replacing Pads And Parts
Check sanding pads often for wear or damage. Replace worn pads to keep sanding smooth and even.
| Part | Signs It Needs Replacing | How Often to Check |
| Sanding Pad | Cracks, tears, or uneven surface | Before each use |
| Power Cord | Frays or exposed wires | Monthly |
| Dust Bag/Filter | Clogged or torn | After every few uses |
Troubleshooting Common Issues
If your sander stops working or vibrates more than usual, check these common problems.
- Sander won’t start:Check power supply and switch. Replace blown fuse or reset breaker.
- Excessive vibration:Inspect sanding pad and replace if worn or damaged.
- Dust not collecting:Clean or replace dust bag and check for blockages in vents.
- Burn marks on wood:Use finer grit sandpaper and avoid pressing too hard.
Frequently Asked Questions
What Is An Orbital Sander Used For?
An orbital sander is used for smoothing surfaces. It’s ideal for furniture refinishing. This tool helps in removing old paint or varnish. It prepares surfaces for a new coat. Its circular motion ensures a smooth finish.
How Do You Use An Orbital Sander?
To use an orbital sander, start with coarse sandpaper. Gradually move to finer grits. Move the sander in even, overlapping strokes. Apply light pressure for best results. Always wear protective gear while sanding.
Can Orbital Sanders Damage Furniture?
Yes, if used improperly, orbital sanders can damage furniture. Using too much pressure can cause gouges. Always ensure the sandpaper is appropriate for the wood type. Regularly check for overheating. Proper handling ensures a smooth finish.
How Do You Maintain An Orbital Sander?
Regularly clean the sander to maintain its efficiency. Check and replace worn-out sandpaper. Inspect for any loose parts before each use. Keep the sander dust-free to prevent overheating. Proper maintenance extends the tool’s lifespan.
Conclusion
Using an orbital sander makes furniture sanding faster and easier. Always choose the right sandpaper grit for the best finish. Keep the sander moving to avoid uneven spots. Wear safety gear to protect your eyes and lungs. Clean the surface well before applying any paint or stain.
Practice on scrap wood to gain confidence. With these tips, your furniture will look smooth and professional. Enjoy your sanding project and the great results it brings.